Whether you’re a beginner or an expert, here are five essential food photography props you’ll want to have in your arsenal.
But having the right props in and of itself is NOT going to transform your photography in a meaningful way. Because if you don’t understand the fundamentals of photography, no amount of prop styling is going to fix that!
So before you continue reading, ask yourself these three questions:
-
Do you know how to manipulate or control natural light in at least one way?
-
Do you know what aperture means and how it affects your photos?
-
Do you know what shutter speed to use to avoid camera shake?
If you can’t confidently answer YES to all of these questions, then take a minute to bookmark this blog post, and then visit the below introductory photography resources.
-
Food Photography Tips for the Beginner (this is a four-part series)
-
Behind-the-Scenes Food Photography Tutorial (Youtube video)
Let the info you learn from these introductory resources sink in and then come back to this post. I promise it will make a lot more sense and give you more context for the tips mentioned here.
Okay, back to the five essential food photography props. I SO wish that I would have had some sort of food photography prop cheat sheet when I first started out. It would have saved me inordinate amounts of time and money, and even heartache. I mean, it is heartbreaking* to think you’ve found the best coffee mug in the world, only to realize that a shiny, fire engine red coffee mug actually looks awful in photos and deserves to go in the donation bin immediately.
*Some may dispute whether this scenario qualifies as heartbreaking. Having personally experienced this exact same situation, I can confirm that it is, in fact, heartbreaking.
And that’s why knowing what props NOT to buy and what to save your money on is almost as important as knowing which props are essential. Because no one likes wasting money. Or being heartbroken.
Okay, enough about sad things like heartbreak. Here are the 5 Essential Food Photography Props you need!
-
Ceramic or Porcelain Plates and Bowls in Neutral Colors
Wow, that was a mouthful, but I promise you it’s a meaningful mouthful. A lot of food photography resources or prop lists will just say something vague like “neutral plates” or “white bowls.” I don’t think these descriptions are that helpful, and here’s why.
“Neutral plates” can mean anything from contemporary white ceramic plates to lightly speckled stoneware pottery. In other words, the precise definition of neutral plates depends on your personal photography style.
If you’re just starting out, you might not have identified your personal style yet, and that’s okay. But if you think you’re leaning towards a modern, minimalist style, your “neutral plates and bowls” will look very different from the “neutral plates and bowls” that a photographer known for slow cooking photography uses.
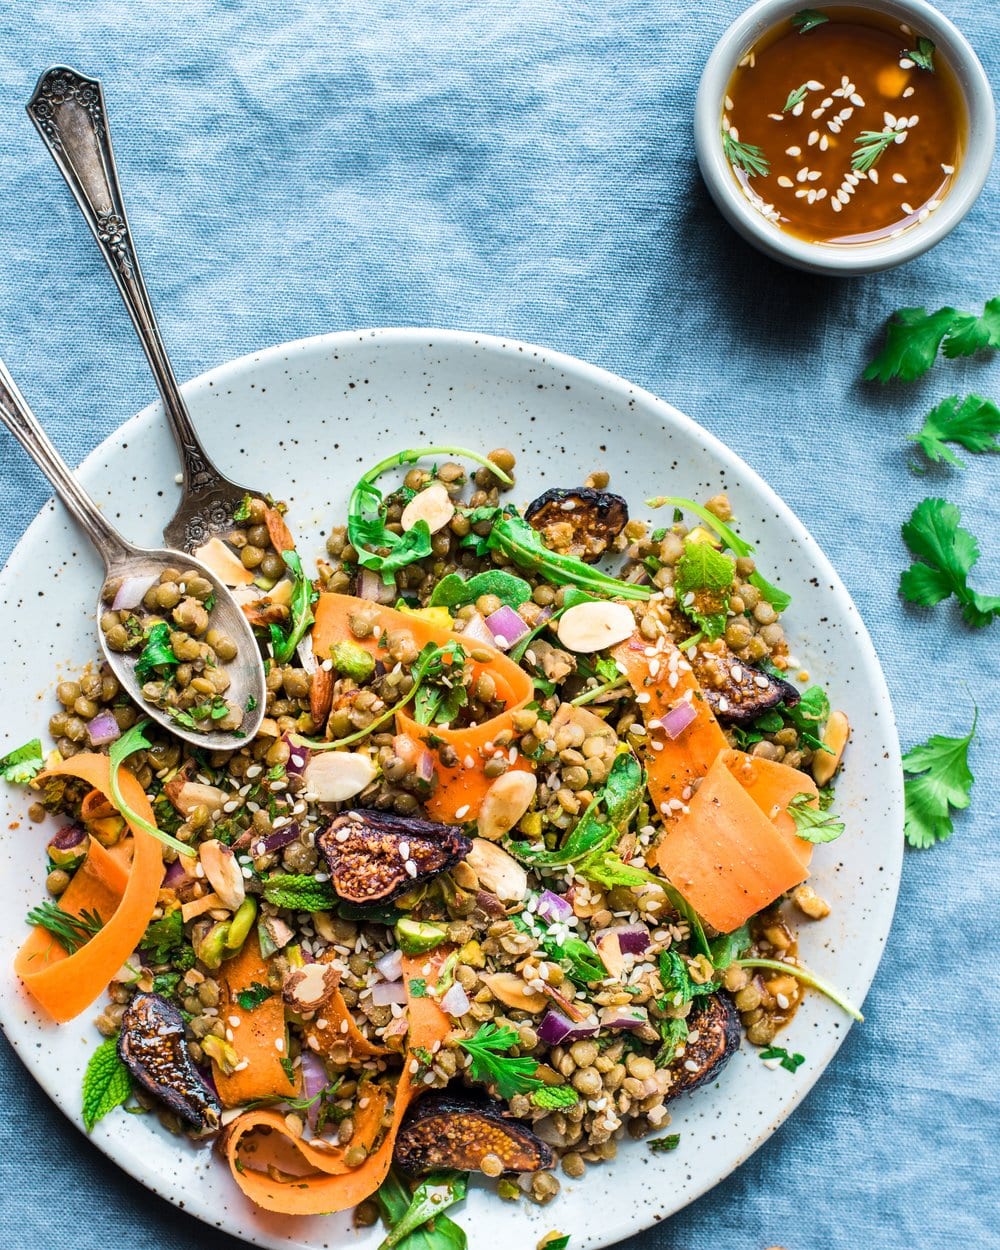
And while plates get most of the love, do not forget the bowls! Bowls are perhaps even more useful than plates in food photography (maybe, jury is still out on this one). They’re the perfect vessel for obvious foods like soup and porridge, but they also work really well with pasta, stir-fries, desserts, you name it. Okay, maybe not pizza. Don’t put pizza in a bowl. Nobody would ever eat pizza in a bowl.
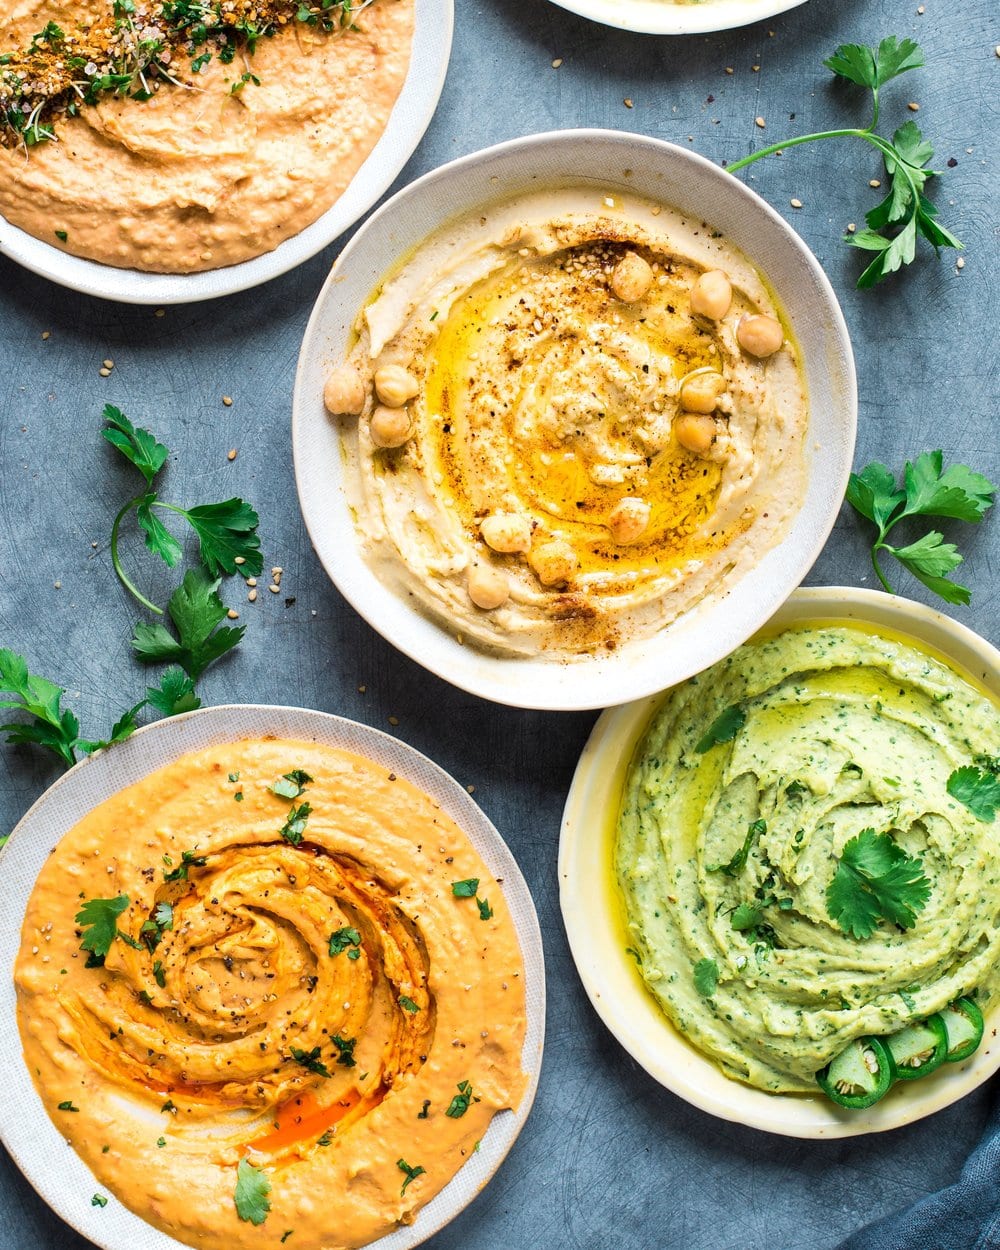
What you DON’T need: Plates and bowls in different colors or heavily patterned plates/bowls. Sure, that rhinestone studded plate looks cool and maybe it’s something that Rihanna would eat cake off of, but you really don’t need it for food photography. Of course, as you build up your prop collection, you can start to invest in plates and bowls that aren’t just white/beige and that bring in some color, but that’s for another blog post (how does “5 Non-Essential But Lovely Food Photography Props if You Can Afford Them” sound??).
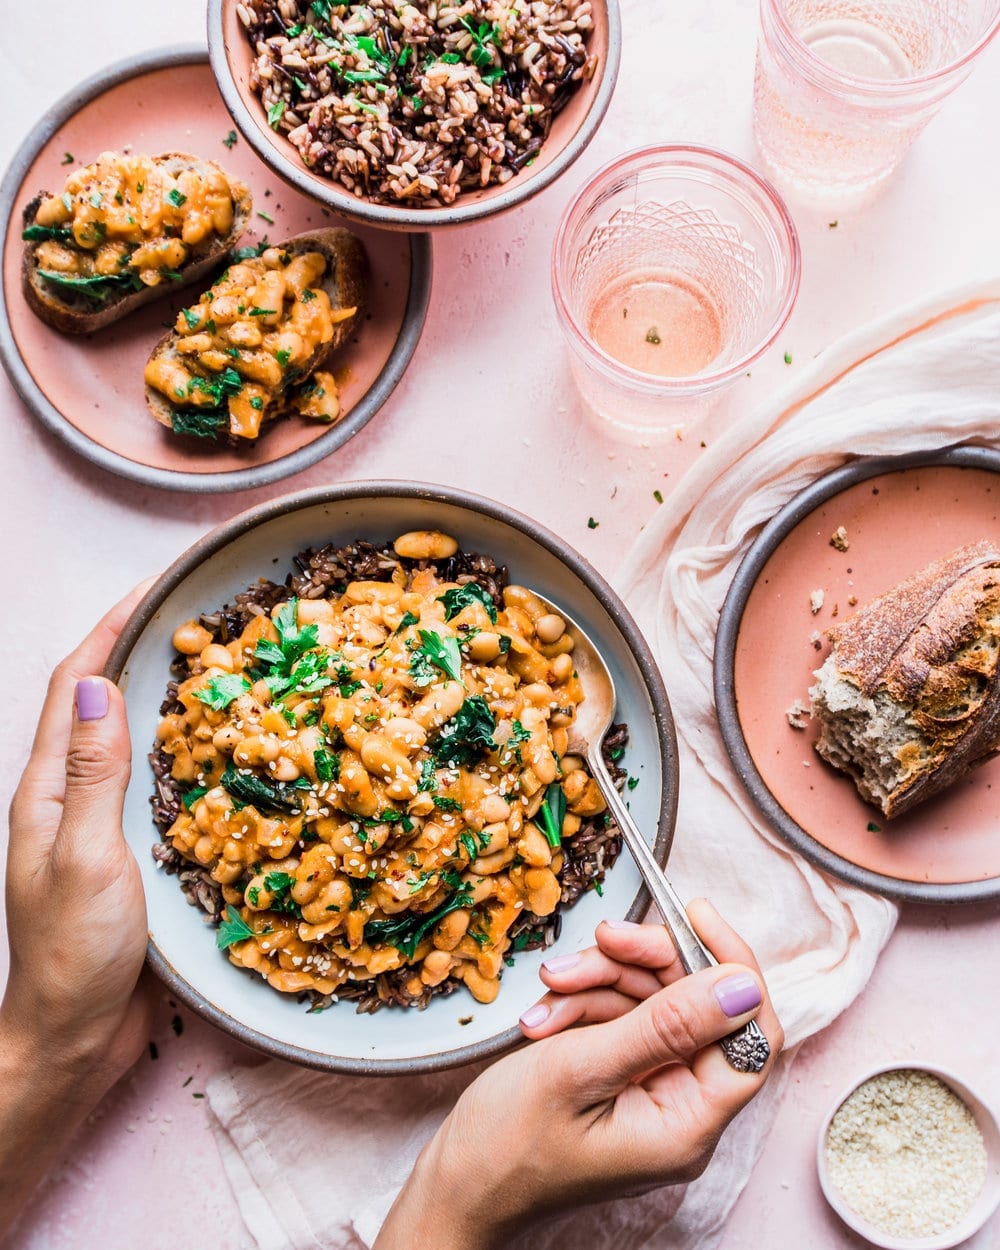
Yes, these pinkish-orange hued ceramic bowls and plates are gorgeous, but they’re not essential.
2. Pinch Bowls
I had never even heard of pinch bowls until about a few months ago. I had been using them for awhile, but I had just been referring to them as “tiny little bowls that I put garnishes in.” And then I was on set at a photo shoot and someone asked me if I could pass them the “pink pinch bowl,” and that’s when the lightbulb in my tiny brain turned on.
Pinch bowls are incredibly useful for a few reasons. First, they bring life to larger scenes and expansive flatlays where the goal is to tell a story. Trying to convey a family-style pasta night? Surely, there would be a small bowl of grated Parmesan on the table for last-minute cheesiness, right? Photographing a behind-the-scenes baking scene with a rich chocolate cake? There’d definitely be a little bowl of flaky sea salt for extra sweet-salty goodness, right?
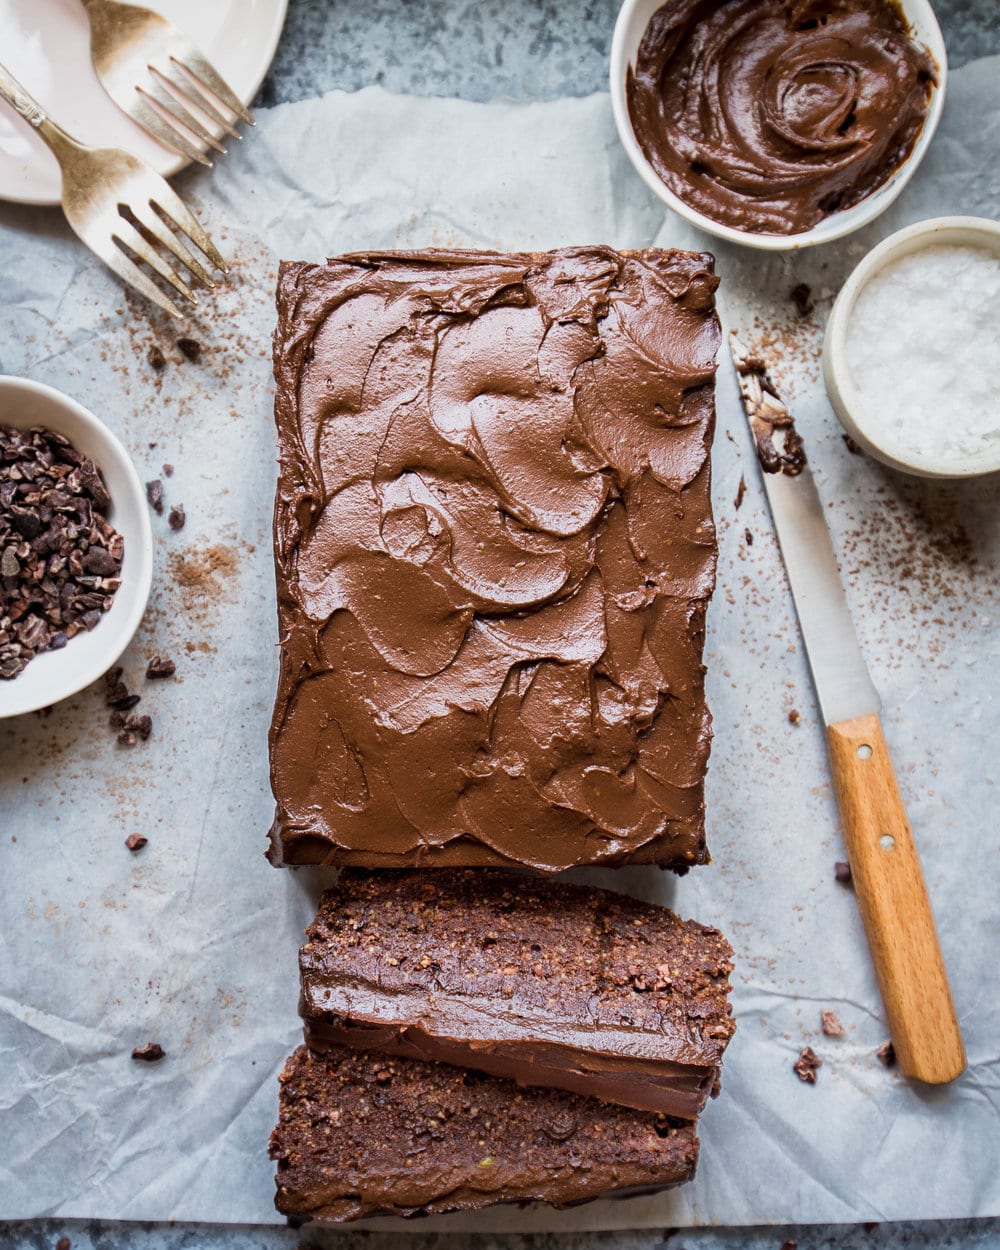
Pinch bowls are also helpful for rounding out your compositions. While there’s nothing wrong with leaving some negative space (and if done right, it can be exquisitely beautiful), if your photo is missing something or heavily balanced to one side of the frame, a pinch bowl can come to the rescue. Just be sure to put a relevant ingredient inside the pinch bowl (don’t add chopped parsley to the pinch bowl if there’s on visible parsley elsewhere in the photo).
What you DON’T need: Cereal-sized bowls. They’re too deep to be useful for most food photography.
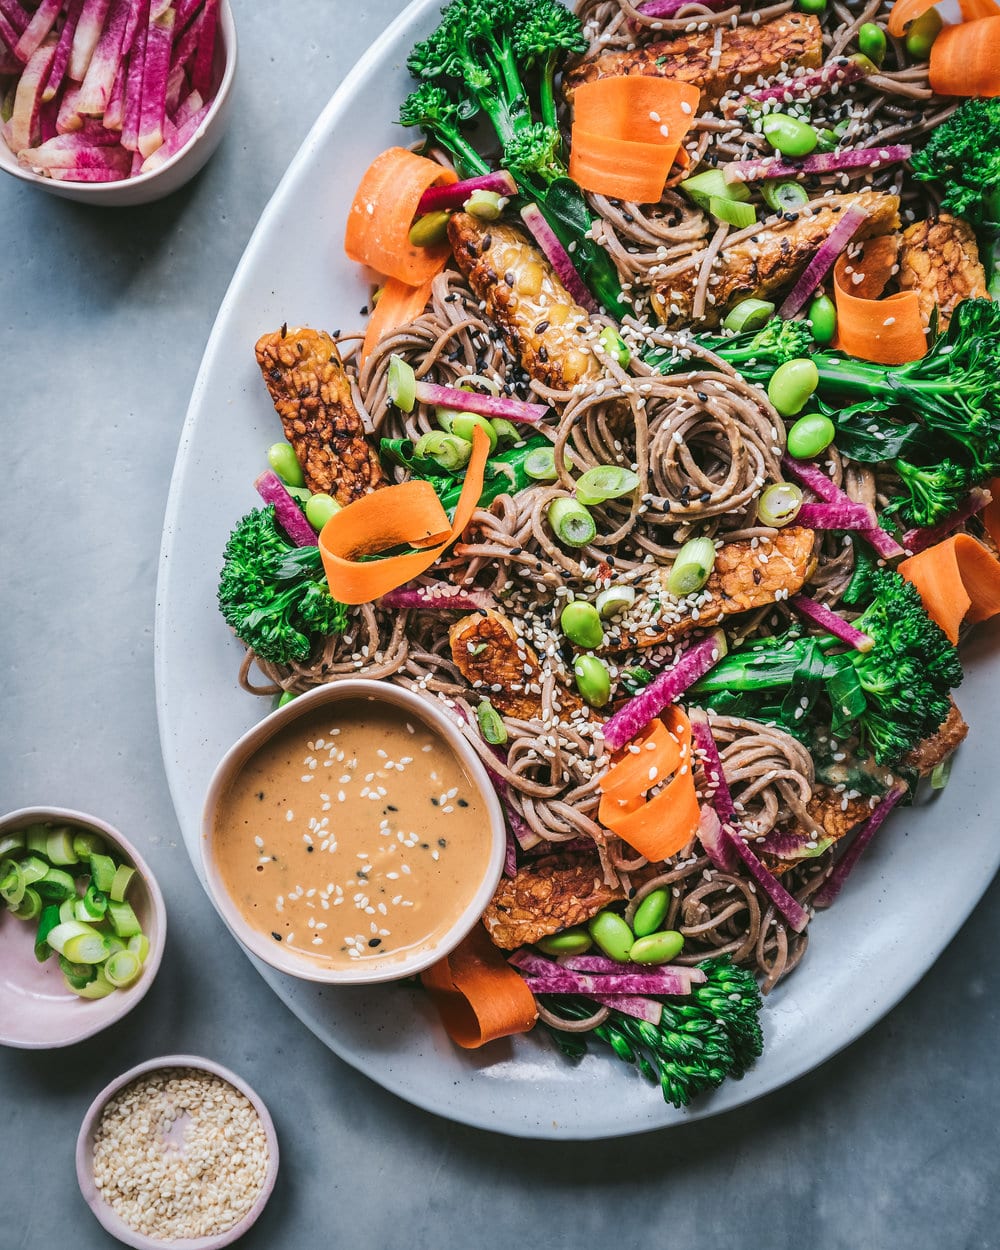
3. Linen or Textured Napkins
An artfully placed napkin can bring a photo together, add shape and dimension, and complete a story.
That sounds wonderful, right? Yes, it is, but not all napkins are capable of doing such magic. That’s because not all napkins are created equally. Humans may be created equally, but napkins are not humans.
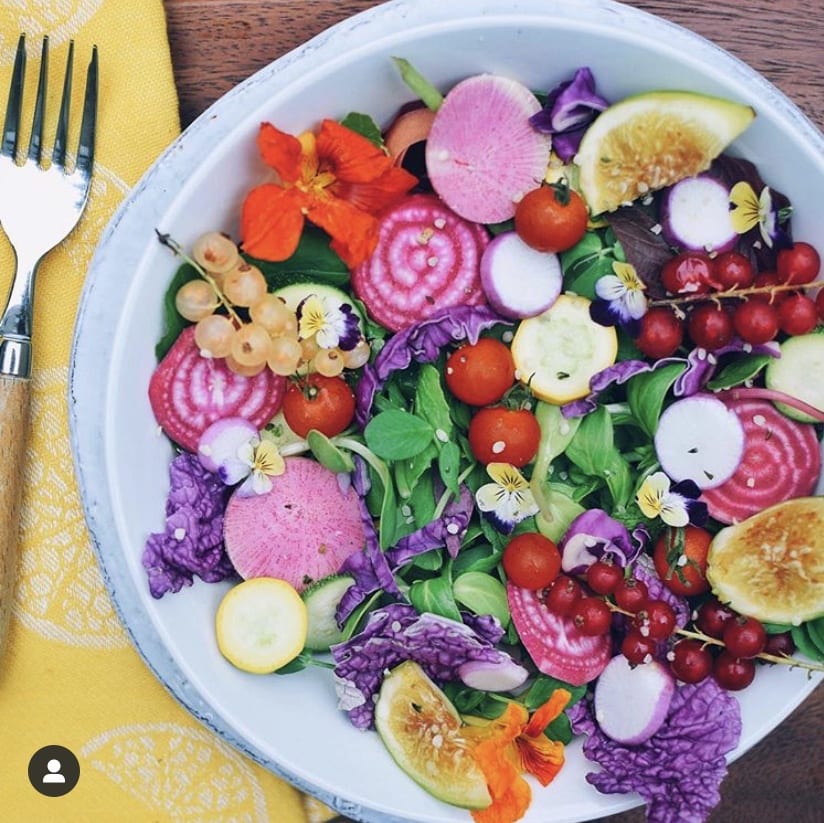
The reason I say “linen or textured” napkins is because ordinary dinner napkins usually look amateur in food photography. Trust me, I know! I took the below photo in 2016 towards the beginning of my photography journey. Aside from the random AF combination of foods in the bowl (who would actually eat these foods together??), there’s a really bright, weird table napkin underneath the bowl. Bright yellow napkins will almost never work + there isn’t much texture. Basically, the napkin serves no purpose and is a distraction.
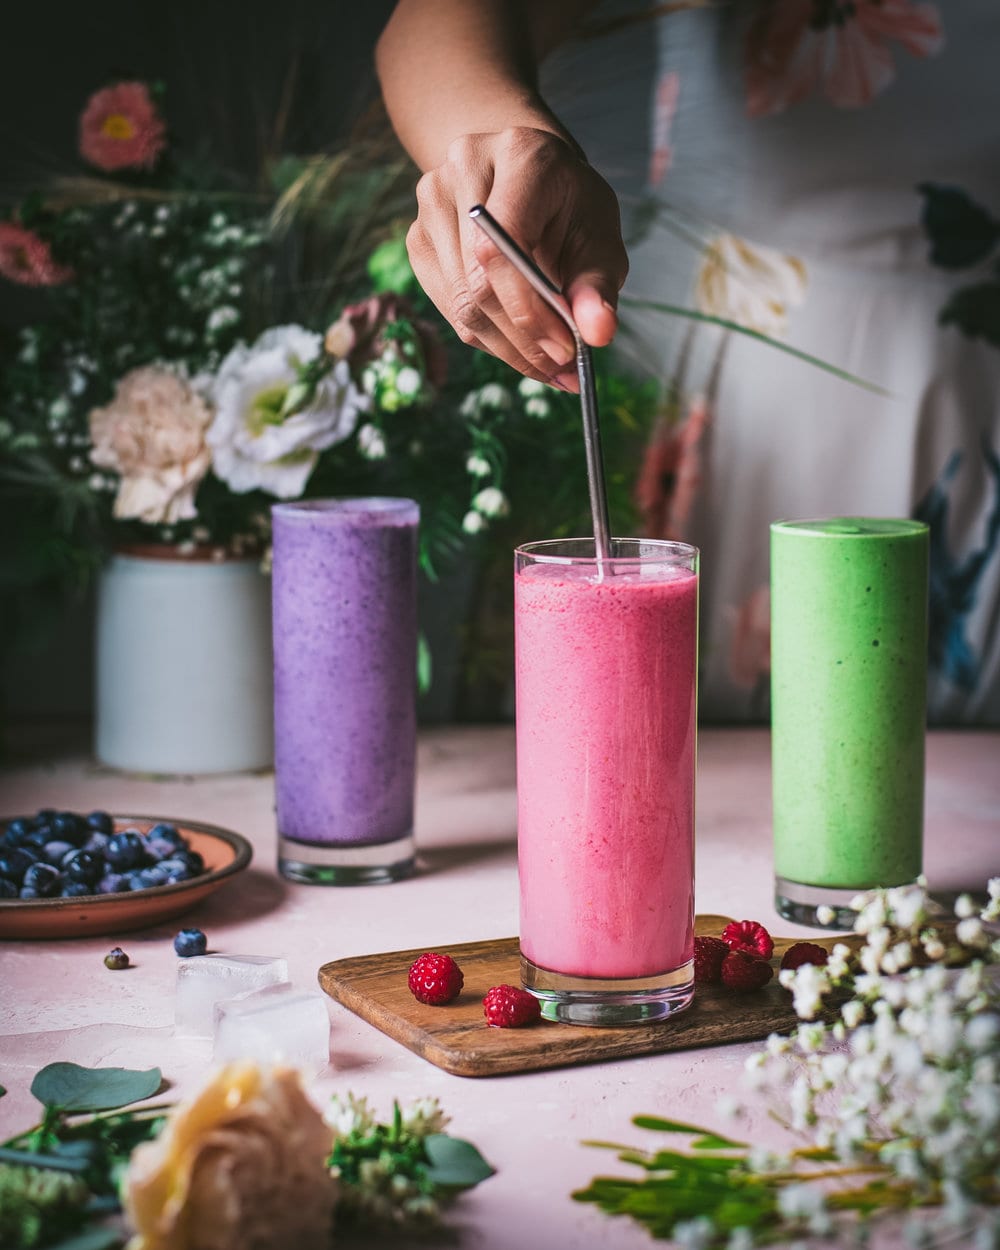
In contrast, the napkin in the below photo (taken earlier this year) serves a purpose – it emphasizes the girly pink vibes in the rest of the photo.
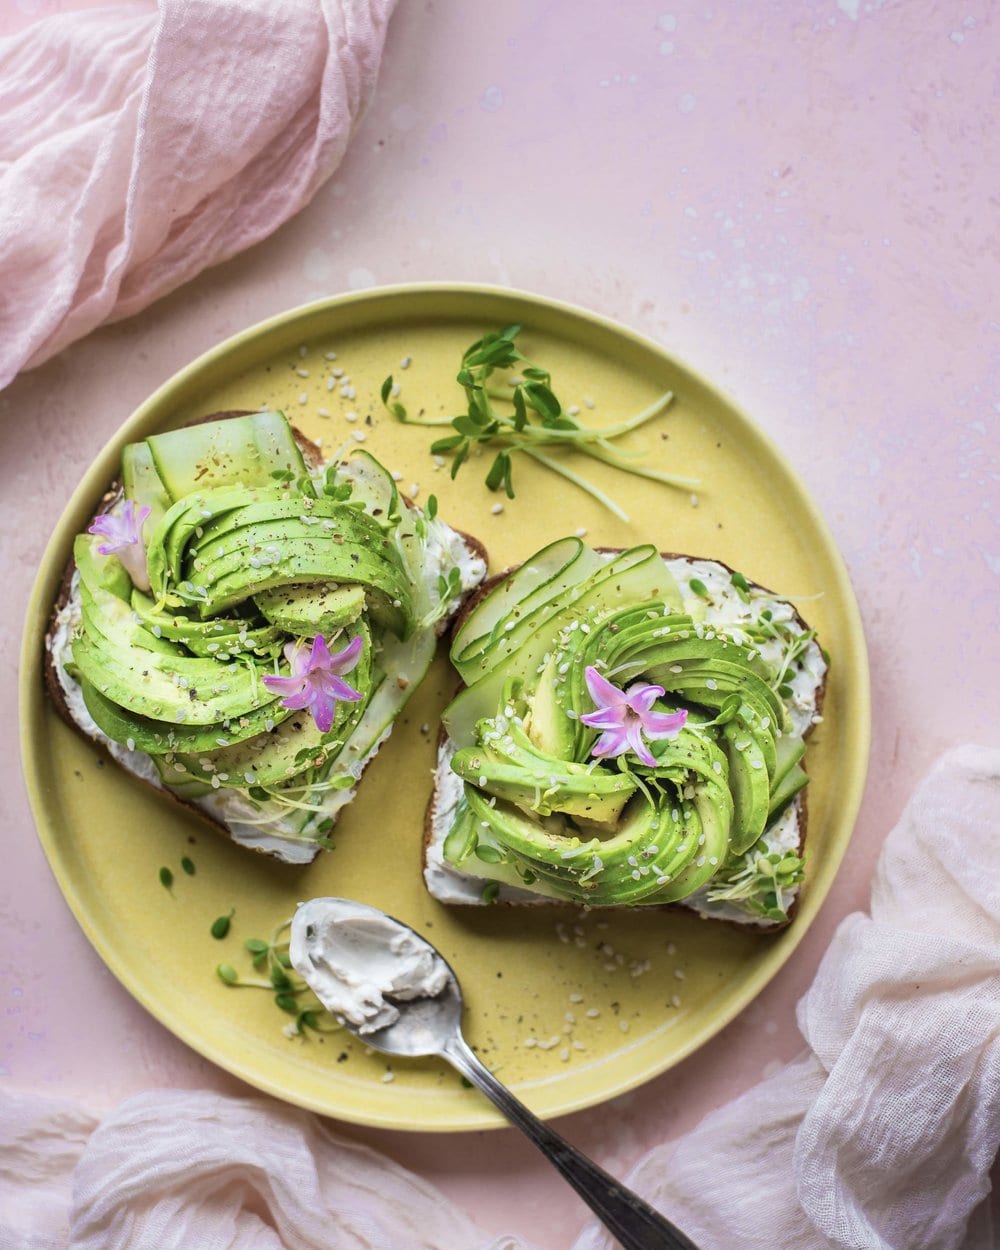
I like using linen napkins and handwoven cotton fabrics because the texture adds a layer to the scene. If your style is less rustic than mine, not to worry. I think linen napkins, used sparingly can still work with a more modern look and style.
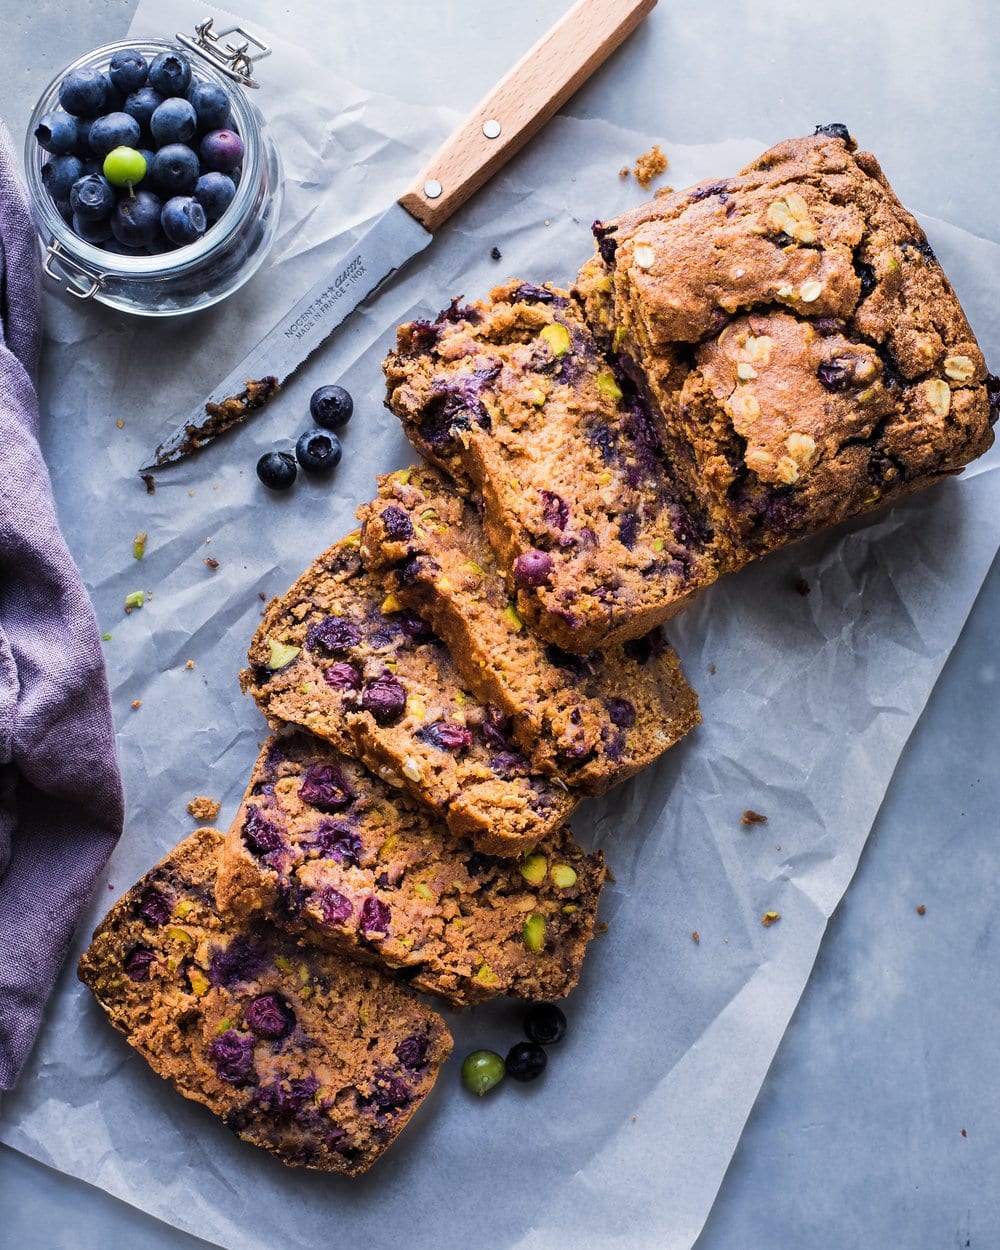
What you DON’T need: Napkins in every color. One or two neutral linens will go a long way. And while having a pretty pink or purple linen napkin can certainly make a photo pop (see above), you won’t be able to use these linens all that often, so save them for later in your photography journey.
4. Matte or Rustic Flatware
Flatware* seems pretty essential as a food photography prop (how can you convey that you’re about to dig into that bomb mac and cheese without a fork??), but again, not all flatware is created equally.
One of the mistakes I made when I first started food photography was thinking I could just use the spoons and forks I ate dinner with. WRONG. So so wrong. The utensils I use for eating dinner are shiny stainless steel, they are large, and they are well, sorta ugly. Plus, when you try to photograph them, they produce glaring, blown out reflections.
If you’ve looked at flatware prices, however, you might be a bit discouraged. “A rustic silver fork costs how much??” is a thought I’ve had on at least 16 occasions. But, then I think about how often I use that $14 fork and it’s been well worth it.
*Someone from New Zealand once told me that “flatware” is not a word. If you feel the same way, you can call it “cutlery.”
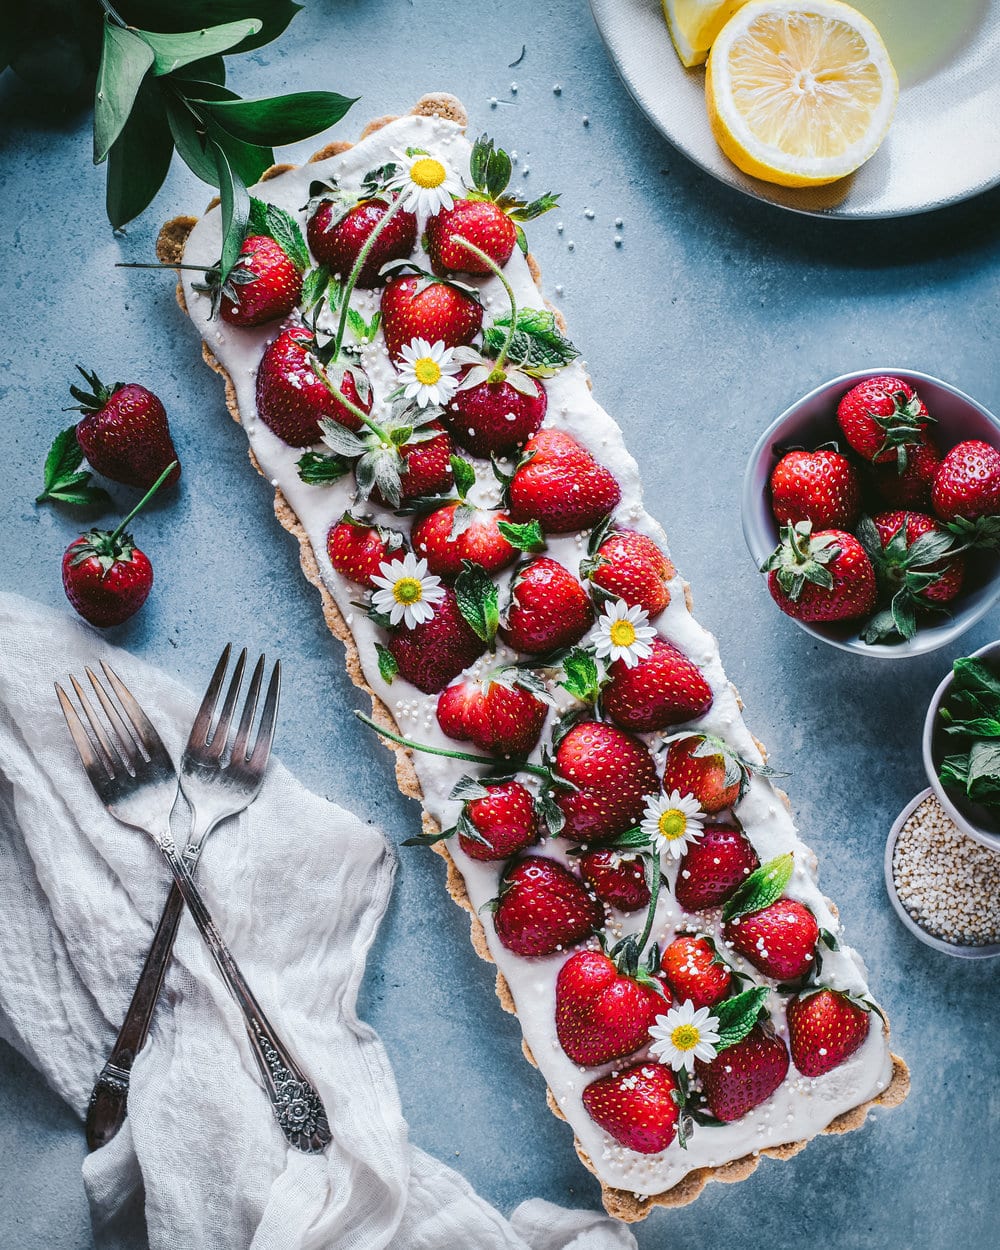
Plus, as long as you’re not regularly shooting large dinner spreads, all you really need is two or three forks, two or three spoons, and two or three knives (in the same style).
Gold matte flatware is a great option if your photography style is more modern; vintage or secondhand flatware with patterns is a better option if your photography style is more rustic.
What you DON’T need: Specialty utensils, like cheese knives, pizza cutters, or soup spoons. Unless you photograph a lot of cheese/a lot of pizza/a lot of soup, of course. I generally steer clear of specialty props that can only be used in a limited number of scenarios, because, well I don’t have unlimited amounts of money to throw around and unlimited space in my compact nyc kitchen.
5. A Beautiful Cutting Board
A beautiful wooden cutting board, a marble serving platter, or a rustic slab. All of these items bring dimension and layering to your photos (the latter is a composition tip I’ll talk about in a future post). Putting your food in a plate, which then sits on one of these surfaces, which in turn sits on of your shooting surface creates a complex layered look that keeps the viewer interested.
Plus, these surfaces can help you tell a story. For instance, if you want to take a process shot of your pasta dish in the making, you can place your tomatoes and basil on a wooden cutting board to the side of the finished bowl of pasta. And finally, since these surfaces take up space and bring weight to a photo, they can serve as a main anchor or focus point for your scene.
What you DON’T need: A huge wooden chopping block that’ll set you back $89. Even a small cutting board will bring weight and texture into your photos.
That’s my roundup of my 5 Essential Food Photography Props, but I’d love to hear from YOU – what’s a prop essential in your food photography toolkit?
And if you find this post helpful, leave me a comment below and share with any of your budding photographer friends!


This was super helpful and informative. Thanks for sharing!
So informative! And I’d love the article about "5 Non-Essential But Lovely Food Photography Props if You Can Afford Them” lol
Terrific, it seems the author is a real pro! I always liked creative works like these.
Lovely article on props! I am having a hard time finding pinch bowls that aren’t shiny and deep. Where do you normally find the tiny shallow bowls?
Very helpful. Where do you get the linens?
Dear Nisha, I am looking for vinyl backdrops.. Where did you find yours? Are they of vinyl or boards? I like the colors, especially the light pink one. Your answer would much be appreciated since I am looking for some for my work.
Hi Nicki, I don’t use vinyl backdrops. I’m sure you can find some good quality ones, but I only use stone/wooden surfaces. I get mine from either woodville backdrops or white canvas.
Thank you for this post! I really appreciated the “do not” portions so I don’t spend all my money on items that aren’t completely worth it. I bought some props after reading this and can’t wait to see my food photography taken to the next level!
As always, a brilliant post Nisha! I always learn so much from your photography post. Thank you for going into such detail and for sharing your knowledge! x
This is a great blog post Nisha – thanks for the practical tips! Your photos are simply beautiful!
Thank you so much. I am just starting out (and have been quite honestly putting it off because it seems so daunting!), but your tips make it seem much less overwhelming. I appreciate the practical, detailed yet easy to follow tips (something most other blogs are lacking)!
Where is the photo with „wrong” napkin and a bowl that you write about? I cant see in in the post 🤔
It looks like it got deleted, but I’ve added it back now! Thanks!
Honestly, food photography really intimidates me. But your photography series have been really helpful and this one especially! I have a very minimalist style and having too many props makes me a bit nervous if I will be able to still stay true to my style. However, these 5 are definitely essentials and some that I did not think about at all were pinch bowls and napkins!Thank you so much Nisha for all the work you put into posts like these to help us newbies! The information is so valuable in helping us grow! :)
Hi Reshma! I am so happy to hear that my series has been helpful for you! You can definitely stay a minimalist – no need to go overboard or use too many props (the food should be the focus). But a few selective props in your arsenal, used strategically (even if it’s just 1 or 2) can really elevate a photo!
This is so helpful! I love how you go into details about the props and not just list them with one sentence like a lot of other “guides” I’ve seen. I’ve been struggling to define my style and this will help me think more strategically about it!
Hi Shannon! So nice to hear that you found this guide informative. I wish I had something detailed when I first started, so I wanted to be sure to add lots of details and examples. Glad you are starting to think strategically!
Thank you for these tips Nisha!! They’re extremely helpful especially knowing the right linens to buy.
Thank you for stopping by, Helen! Getting the right linens was a game changer for me!
Such a great post!! You’ve inspired me to pick up some linen – love that idea! My food photography is definitely an area where I’d love to improve! Thanks so much for sharing!
-madi xo | http://www.everydaywithmadirae.com
Hi Madi! So nice to hear that this was a helpful blog post for you! Good linens can really enhance the mood of food photos!
Thanks for a marvellous posting! I enjoyed reading it; you might be a great author. I will be sure to bookmark your blog and will eventually come back later on; you have posted a trustworthy blog keep sharing, clipping path services provider company
Of course! Glad you found value in it!