Becoming a better, more confident cook is something that comes with time and practice, but you can get a good deal ahead by investing in the right kitchen equipment.
In this post, I’m sharing the kitchen equipment and gadgets I personally use and recommend (including the brands I like), with a focus on tools that have helped me become a faster, more efficient cook.
Some of these items are non-negotiable (e.g., sharp knives, mixing bowls, food processor), while some fall under the nice to have category. Many of these tools fall into the $10-20 range, while a few of them are bigger ticket items that are worth saving up for. I hope you find this post useful!
PS: this post contains some affiliate links.
Table of Contents
1. Prep and Cooking Tools
2. Appliances and Cookware
3. Kitchenware for Meal Planning
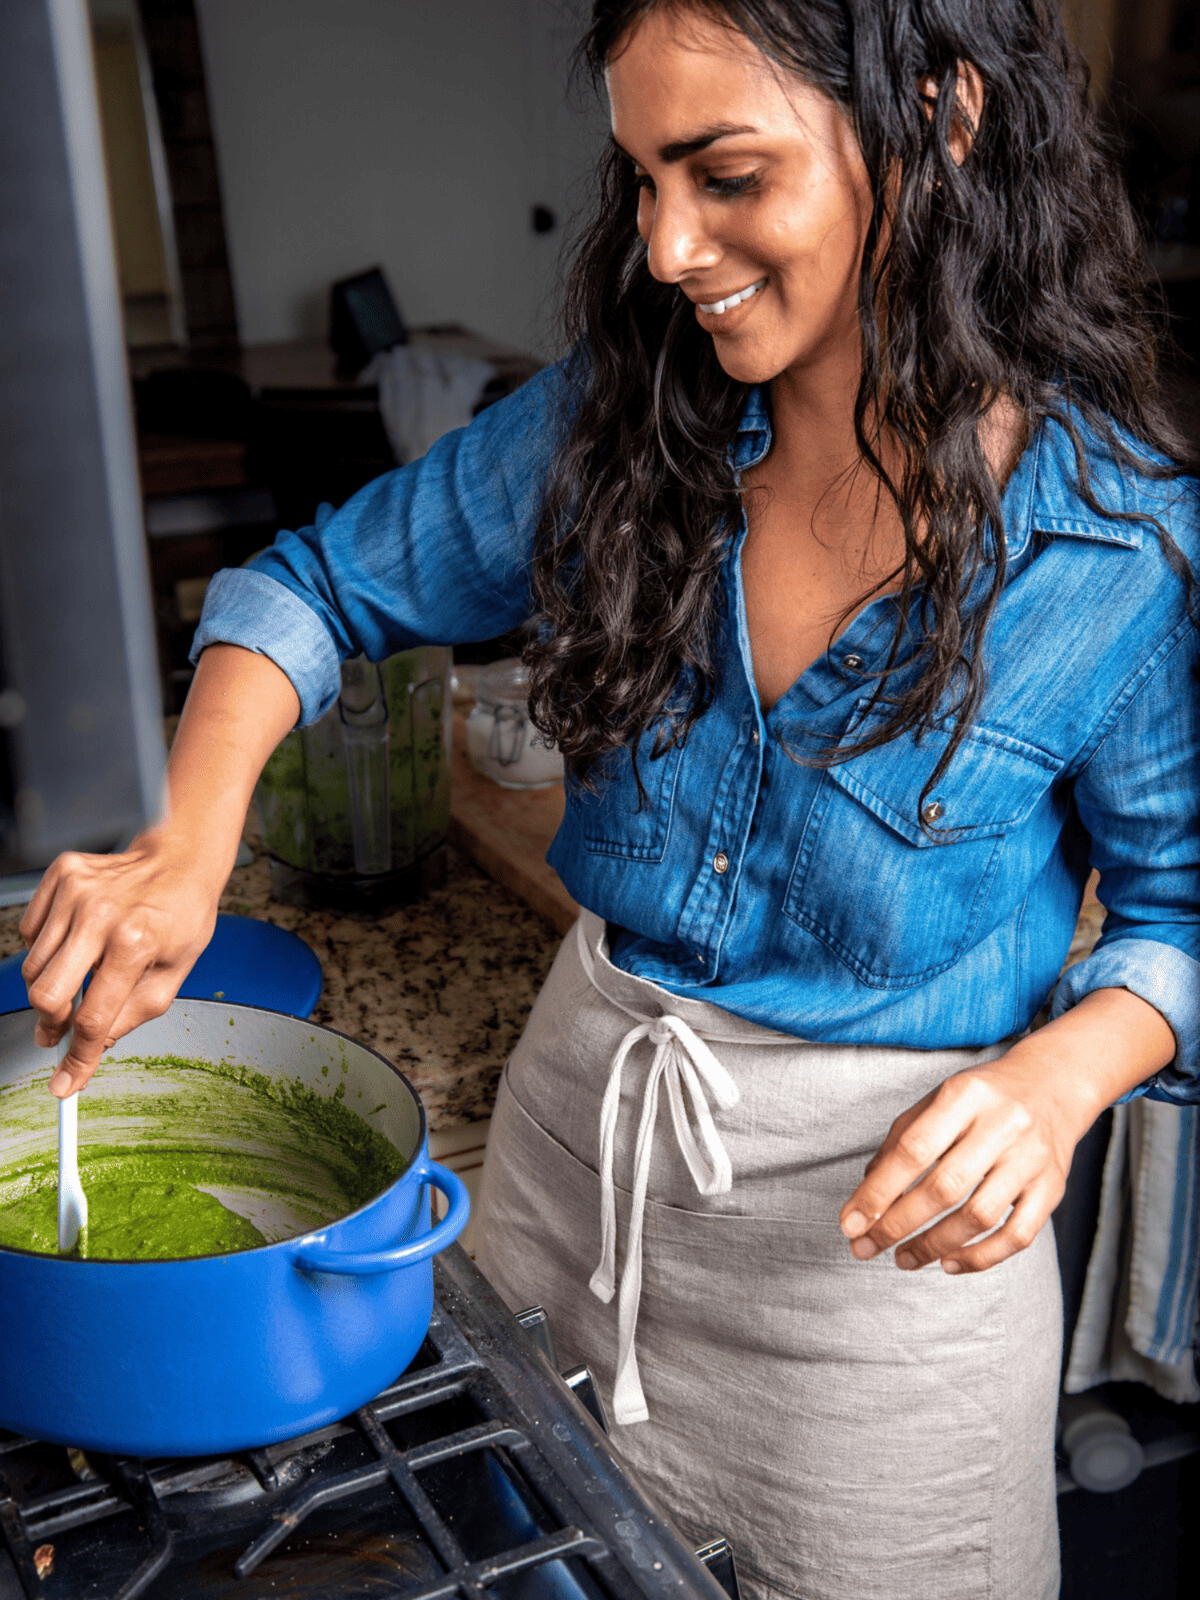
Prep and Cooking Tools
Mixing bowls of various sizes
Whenever I do any kind of prep or cooking, this set of glass mixing bowls comes in so very handy (you’ve probably seen them in every one of my YouTube videos!).
They nest within each other, so they take up minimal storage space. And they’re microwave-safe, so you can use them to reheat leftovers.
Large salad bowl
I love a good salad, and having a large bowl comes in handy (to properly toss a salad, always use a larger bowl than you think you need).
If you sign up for our brand new Meal Plans by Rainbow Plant Life, you’ll be making a tasty side salad every week, so having a large bowl will be especially useful.
Large cutting board
Having a nice big cutting board means you can chop lots of veggies and proteins at once without constantly clearing off your workspace.
I’ve been using a Boos Block for many years and love it (it’s pricey but will last a very long time). My recipe tester Callie loves her Treeboard (small business!).
Sharp knives 🔪
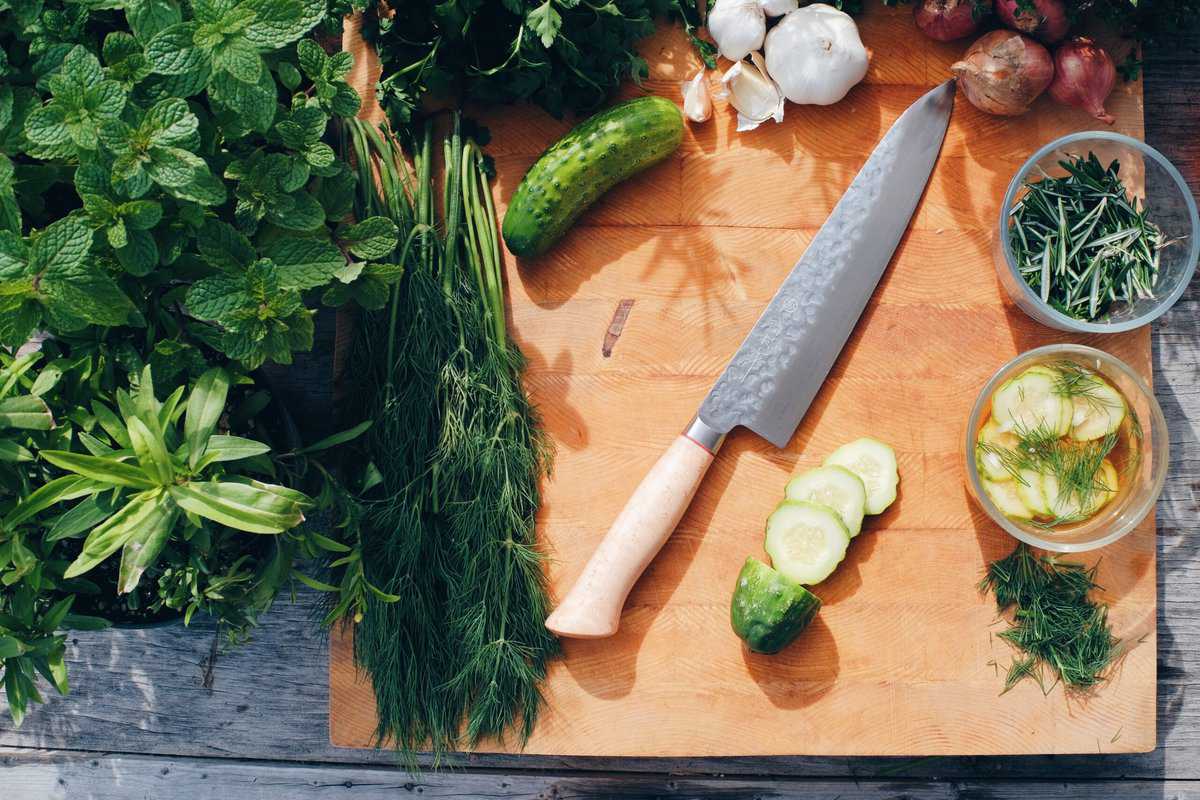
A sharp chef’s knife or santoku knife is key for any kind of cooking. If you have room in your budget, a bread knife (with serrated edges), a paring knife, and a utility knife are also great to have.
There are lots of great knife brands, but the ones I’ve used over the last few years and love are: Kan Knives (small business!), Hedley & Bennett, and Zwilling. My recipe tester Callie likes these knives from Global.
I specifically love using this utility knife for thinly slicing small ingredients, like garlic cloves (get $5 off your order of any items at Kan Knives using code nisha).
Digital scale
One of the best changes I made to my cooking workflow was to switch from measuring cups to a digital scale like this.
Using a digital scale not only gets you more precise results but also makes prep easier. When you weigh ingredients instead of using measuring cups, you end up with fewer dishes to wash. Plus, it can be tricky to know how to accurately measure certain ingredients in cups.
If you haven’t been convinced yet, don’t worry. When recipe testing, I measure ingredients using both a scale as well as dry measuring cups and liquid measuring cups (I aim to please!), so you’ll find both imperial and metric measurements in my recipes.
Measuring spoons
These are essential. For measurements less than ¼ cup, I include measurements in measuring tablespoons and teaspoons in my recipes.
I like these two-sided measuring spoons (the oval-shaped ones are thin enough to fit into spice jars). My recipe tester Callie loves the convenience of this two-sided measuring spoon with a 1-tablespoon and 2-tablespoon measure.
Pepper Grinder & Salt Cellar 🧂
Most of my recipes call for freshly cracked black pepper because freshly grinding whole peppercorns in a pepper grinder tastes infinitely better than pre-ground black pepper. And while you don’t need a salt cellar by any means, I like using this to keep my kosher salt handy since I cook with it in basically every recipe.
Mandoline
If you want to speed up the process of slicing vegetables, a mandoline is invaluable (especially when you need to thinly slice them).
If you have the storage space for a full-sized mandoline, all power to you, but I use this smaller (and cheaper) OXO handheld mandoline, and it does a great job on most things. Mandolines can be dangerous, so don’t forget to wear your cut-safe glove!
Bench scraper
Not essential, but a bench scraper is nice to have for cleanly scraping aside prepped ingredients to one side of your cutting board and for transferring them into prep bowls, storage containers, and directly into frying pans.
Spatulas
There are tons of spatulas out there. Here are my favorites:
Silicone spoonula. The curved edges and soft silicone texture make this the most flexible tool. I have this set from OXO for a variety of shapes/sizes.
A mini silicone flipper. Perfect for flipping delicate and small items like tofu.All-purpose wooden spoon. For stirring and general cooking.
Flat-end wooden turner. The best tool for deglazing browned bits from your pot.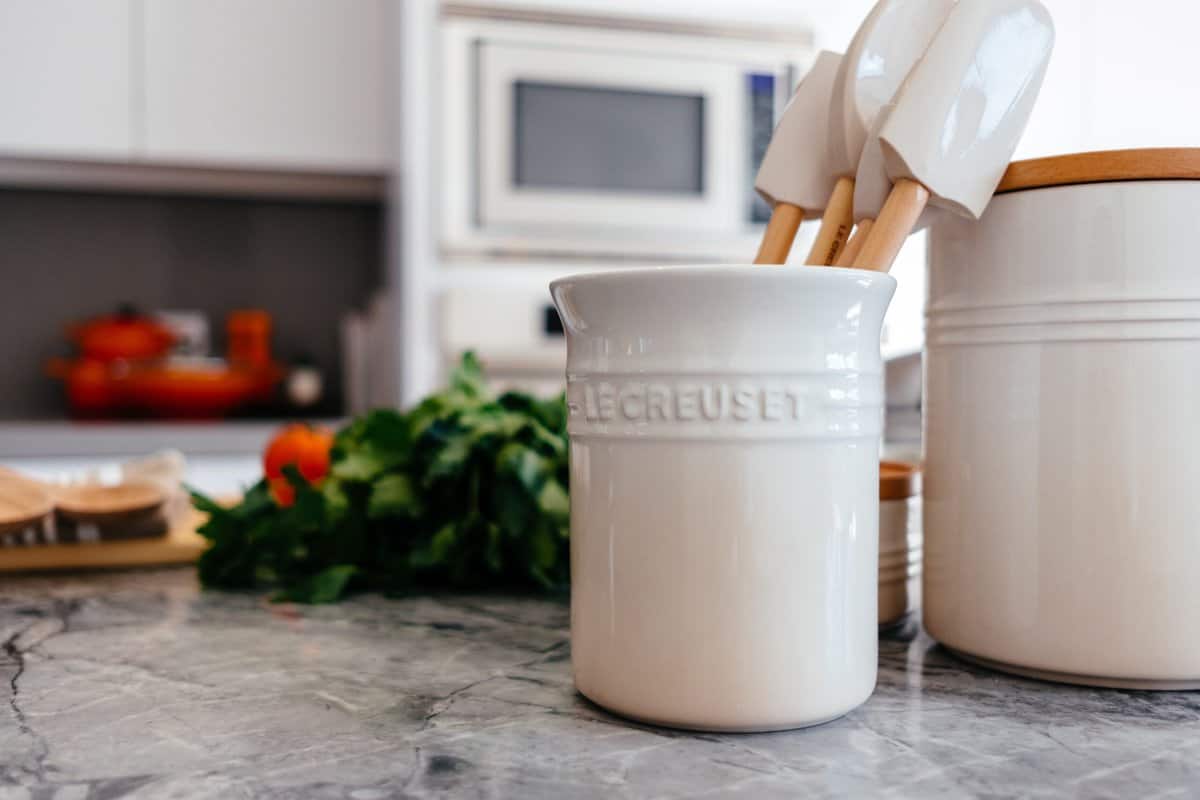
Microplane and Grater
I cook with a lot of citrus zest (it’s so vibrant and flavorful!), and the best tool for zesting lemon/lime peel is a microplane. Unlike a standard grater, it doesn’t grate too deeply, so you avoid grating the white pith underneath the peel, which is bitter.
While not necessary, I do like a medium-etched grater for grating garlic and ginger, as it’s quicker than mincing by hand.
Citrus squeezer
Another not-essential-but-makes-prep-quicker kind of tool. A citrus squeezer or a reamer makes it faster and easier to squeeze out all of the lemon or lime juice (which I use regularly in my recipes).
Salad spinner
An efficient and quick way to wash and dry salad greens, lettuces, fresh herbs, and unexpected foods like berries and canned beans. If you have the space for it, a large salad spinner will speed things up.
Tip: If you don’t have a salad spinner, the fastest hands-off alternative for drying greens, lettuces, and herbs is to spread them out on dish towels and place a rotating fan in front of them. It works really well!
Vegetable scrub brush
Not essential, but a scrub brush is a convenient way to scrub vegetables clean, particularly those with skins/peels you’ll be eating (e.g., carrots, potatoes, sweet potatoes).
Tongs
Tongs are basically an extension of your arm!. A useful tool for properly coating pasta in sauce, tossing salads, and grabbing hot things (or things on high shelves you can’t reach). When using nonstick pans, use tongs with silicone tips.
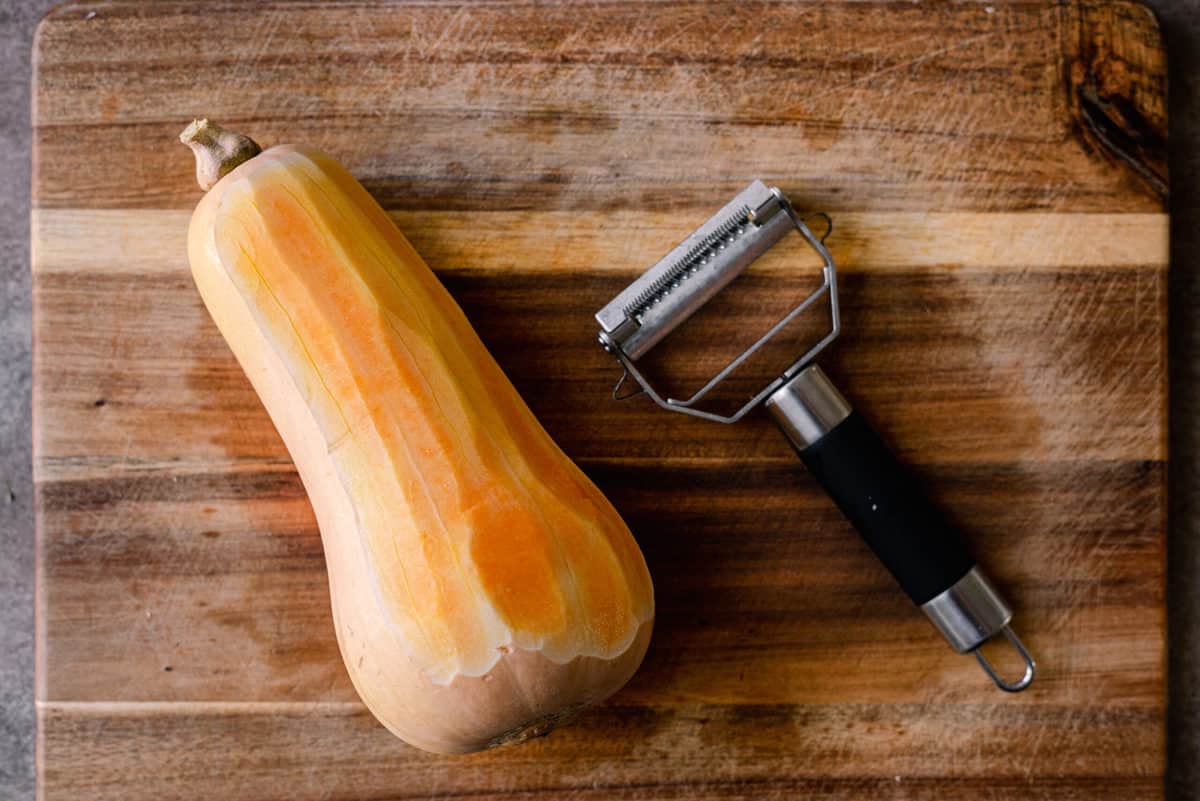
Julienne peeler
Another nice-to-have but not essential item. When I want to quickly shred carrots, cucumbers, or zucchini for a simple slaw, this peeler comes in super handy.
Colander and fine-mesh sieve
Colander: to drain larger items like pasta, blanched vegetables, etc.
Fine-mesh sieve: to drain and strain small items like rice, quinoa, lentils, and anything that would fall through the larger holes of a colander.Masking tape and sharpie marker
Any time I meal prep an item or batch cook a meal to stick in my freezer, I label it with the name and date made. That way, I never have to look at a jar and think “what the heck is in there?”
If you sign up for our brand new Meal Plans by Rainbow Plant Life, you’ll be prepping new delicious items every week, so having masking tape and a marker on hand will keep things organized.
Parchment paper
Useful for lining sheet pans when baking tofu and potatoes, as well as roasting vegetables if you want an easier cleanup.
Apron
Not essential, but if you like to keep your clothes clean, an apron is a nice thing to keep in your kitchen.
Appliances and Cookware
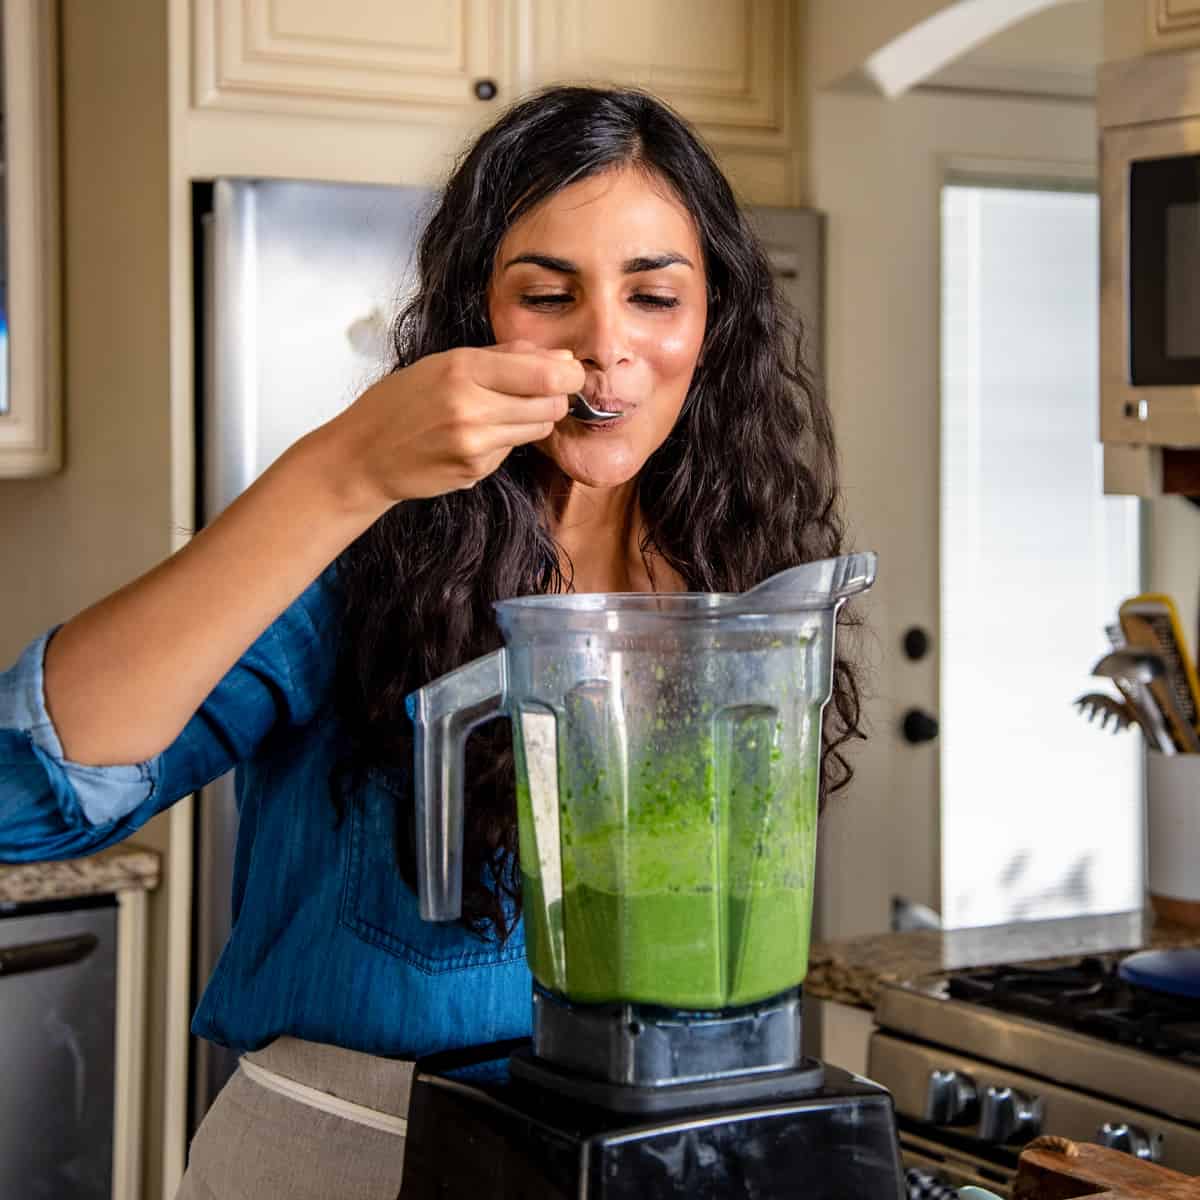
High-Powered Blender
My blender of choice for the past 10+ years has been a Vitamix. I know they’re pricey, but if you snag one during a holiday sale or Amazon Prime Day or “Vitamix Days” (usually in September, on Vitamix’s website), you can save up to $200! You can also buy a refurbished or reconditioned Vitamix for a discount.
Other high-powered blender models that come recommended include: the Oster Versa, BlendTec Designer Series or BlendTec Total Blender Classic, NutriBullet (for small quantities) and CleanBlend Professional Blender.
If you sign up for Meal Plans by Rainbow Plant Life, you’ll be using a blender on a somewhat regular basis for a few types of actions: making nut creams or sauces like cashew cream, pureeing soups, or blending sauces.
If you’re not working with a high-powered blender, make sure to read the instructions in my recipes carefully, as they might differ a bit (e.g., when making cashew cream, you’ll want to soak the cashews overnight, not just a quick soak).
Your blender may come with accessories, but I find a tamper to be enormously helpful when blending ingredients without too much liquid and a blender spatula to scrape every last bit from the blades.
If your budget has room, a small-capacity blender cup or personal-sized cup are very helpful for blending thick condiments that have minimal or little water (e.g., nut butters, curry pastes).
Food Processor
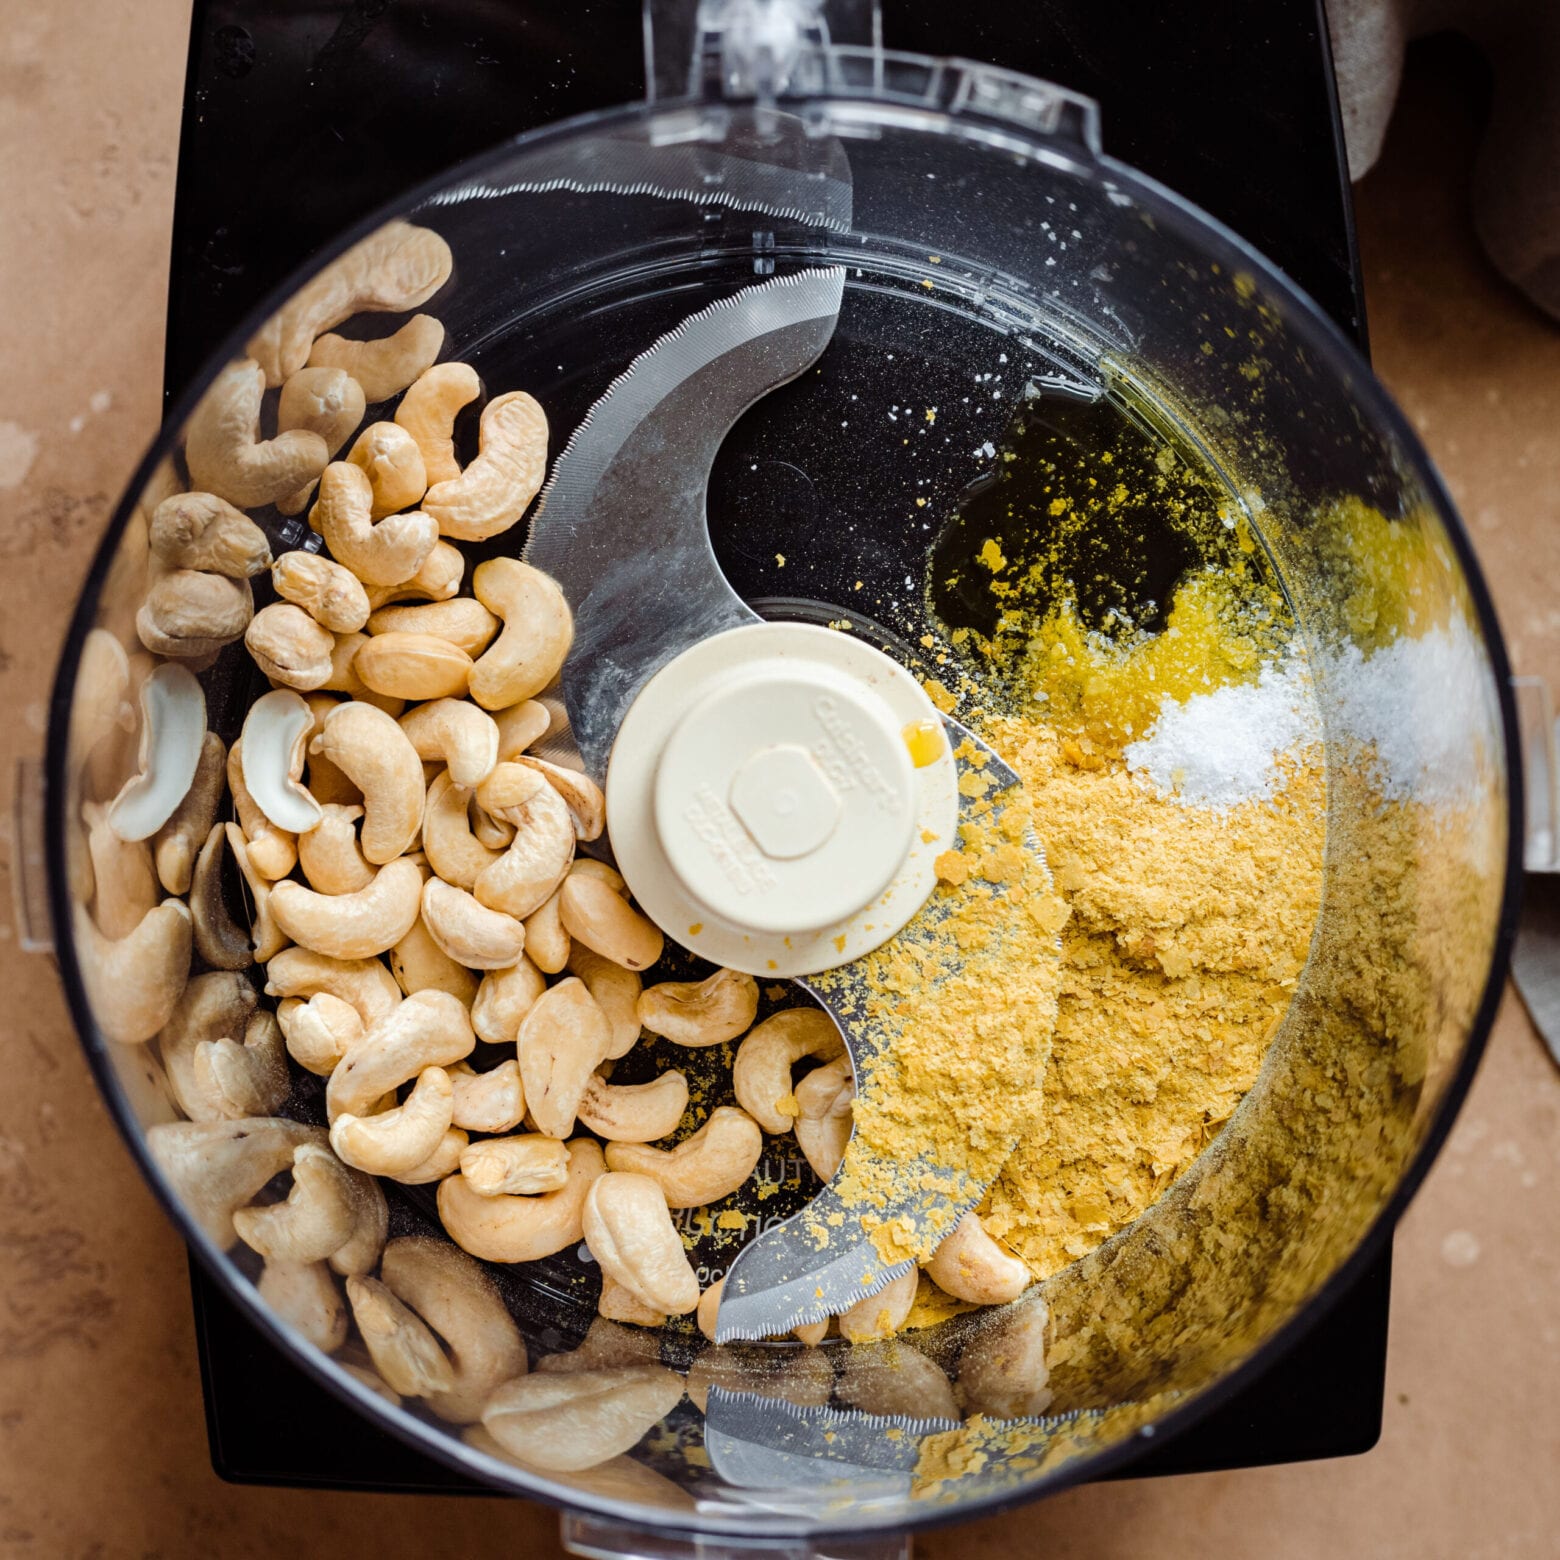
A food processor is essential for any kind of cooking, but I find it even more helpful with plant-based cooking. You can use it to effortlessly whip up so many sauces and condiments which bring your meals together and to quickly slice vegetables.
Unless you’re short on storage space, I recommend a 12-cup or larger food processor for most households (that way, you don’t have to split up everything in two batches). This Cuisinart 14-cup food processor is the one I’ve had for 5+ years, though there are several great models on the market. If you already have a Vitamix, the Vitamix food processor attachment is a great option since you get to use the same base for both.
If you sign up for Meal Plans by Rainbow Plant Life, you’ll use a food processor on a fairly regular basis for a few types of actions: blending condiments like vegan ricotta or pesto, quickly chopping a large amount of vegetables, or blitzing hard ingredients like nuts or seeds. The slicing disc is handy for thinly slicing vegetables.
Frying pans and sauté pans
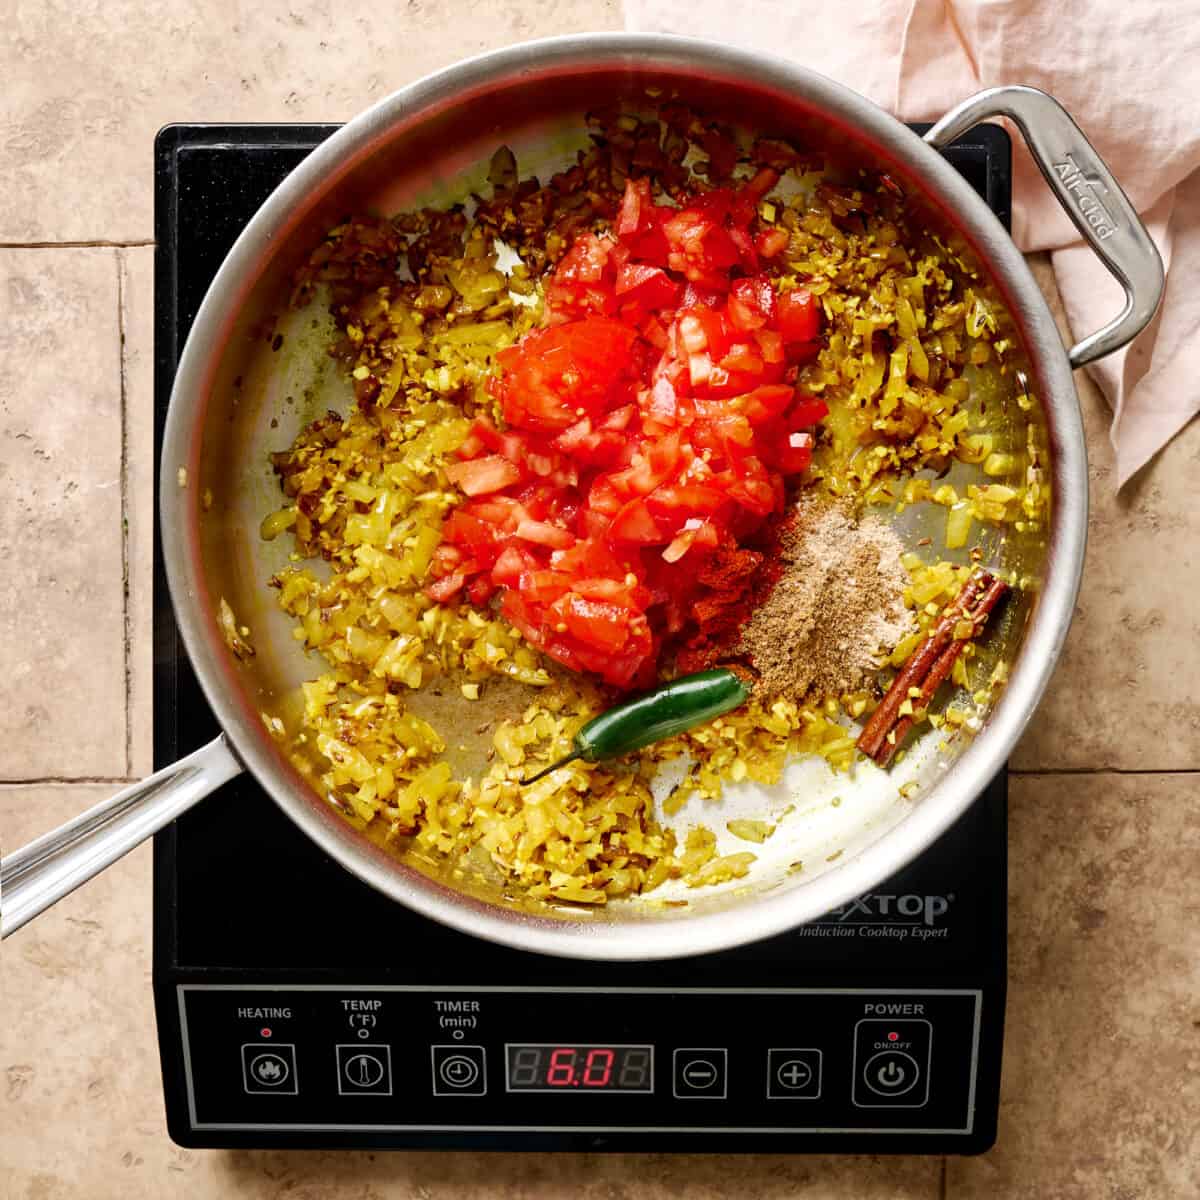
A sauté pan has a wide, flat bottom (e.g., large surface area) and taller sides. A frying pan (AKA a skillet) has sides that slant outward at an angle. You can generally use them interchangeably, but I call for a sauté pan when a decent amount of liquid is added, since it is less likely to splash over.
In terms of sizes, it’s helpful to have both a medium-sized (10-inch) and a large-sized (12-inch) frying pan or sauté pan. If you can choose just one, I’d always pick the latter, as they’re more versatile.
As for materials, I personally like stainless steel pans like this for everyday cooking, unless the item tends to stick. For the best crispy edges and browning, I turn to enameled cast iron pans like this or this. I tend to reserve nonstick pans when cooking foods that stick (e.g., tofu, tempeh, pancakes).
Saucepans
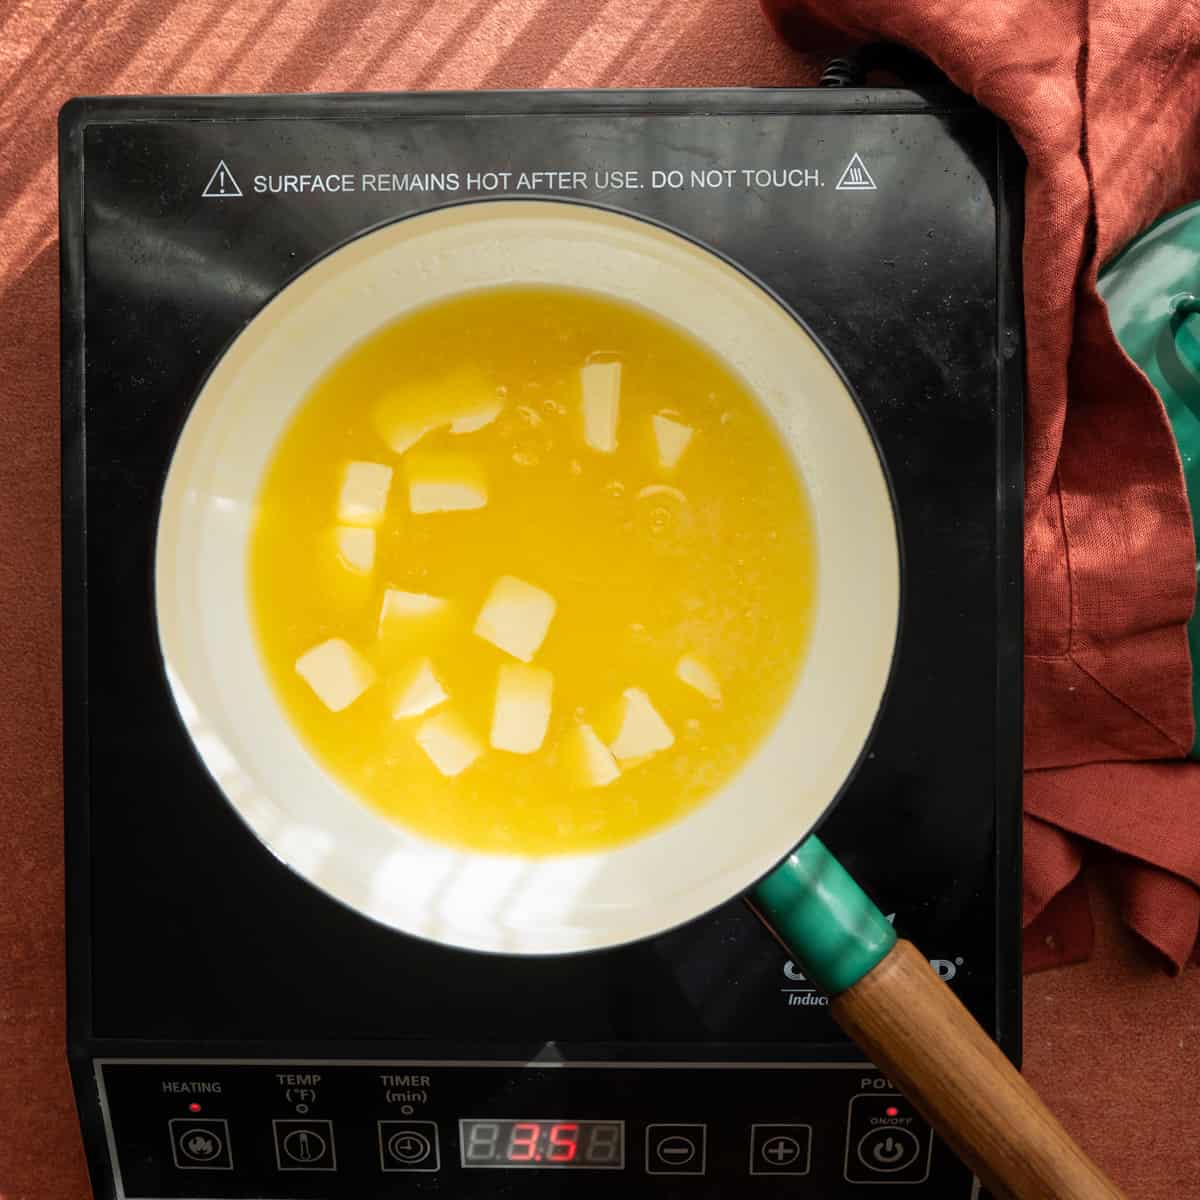
A medium (~3 quart / 3L) saucepan will be sufficient for most needs. I prefer stainless steel saucepans or enameled cast iron saucepans, but again, use the material you have at home.
Sheet pans
I use sheet pans fairly often in these meals, so I recommend getting a set of two half-sheet-sized sheet pans made from aluminum (the best conductor of heat). You’ll use them to roast vegetables, beans, potatoes, and more.
Dutch Oven (and/or Large Saucepan)
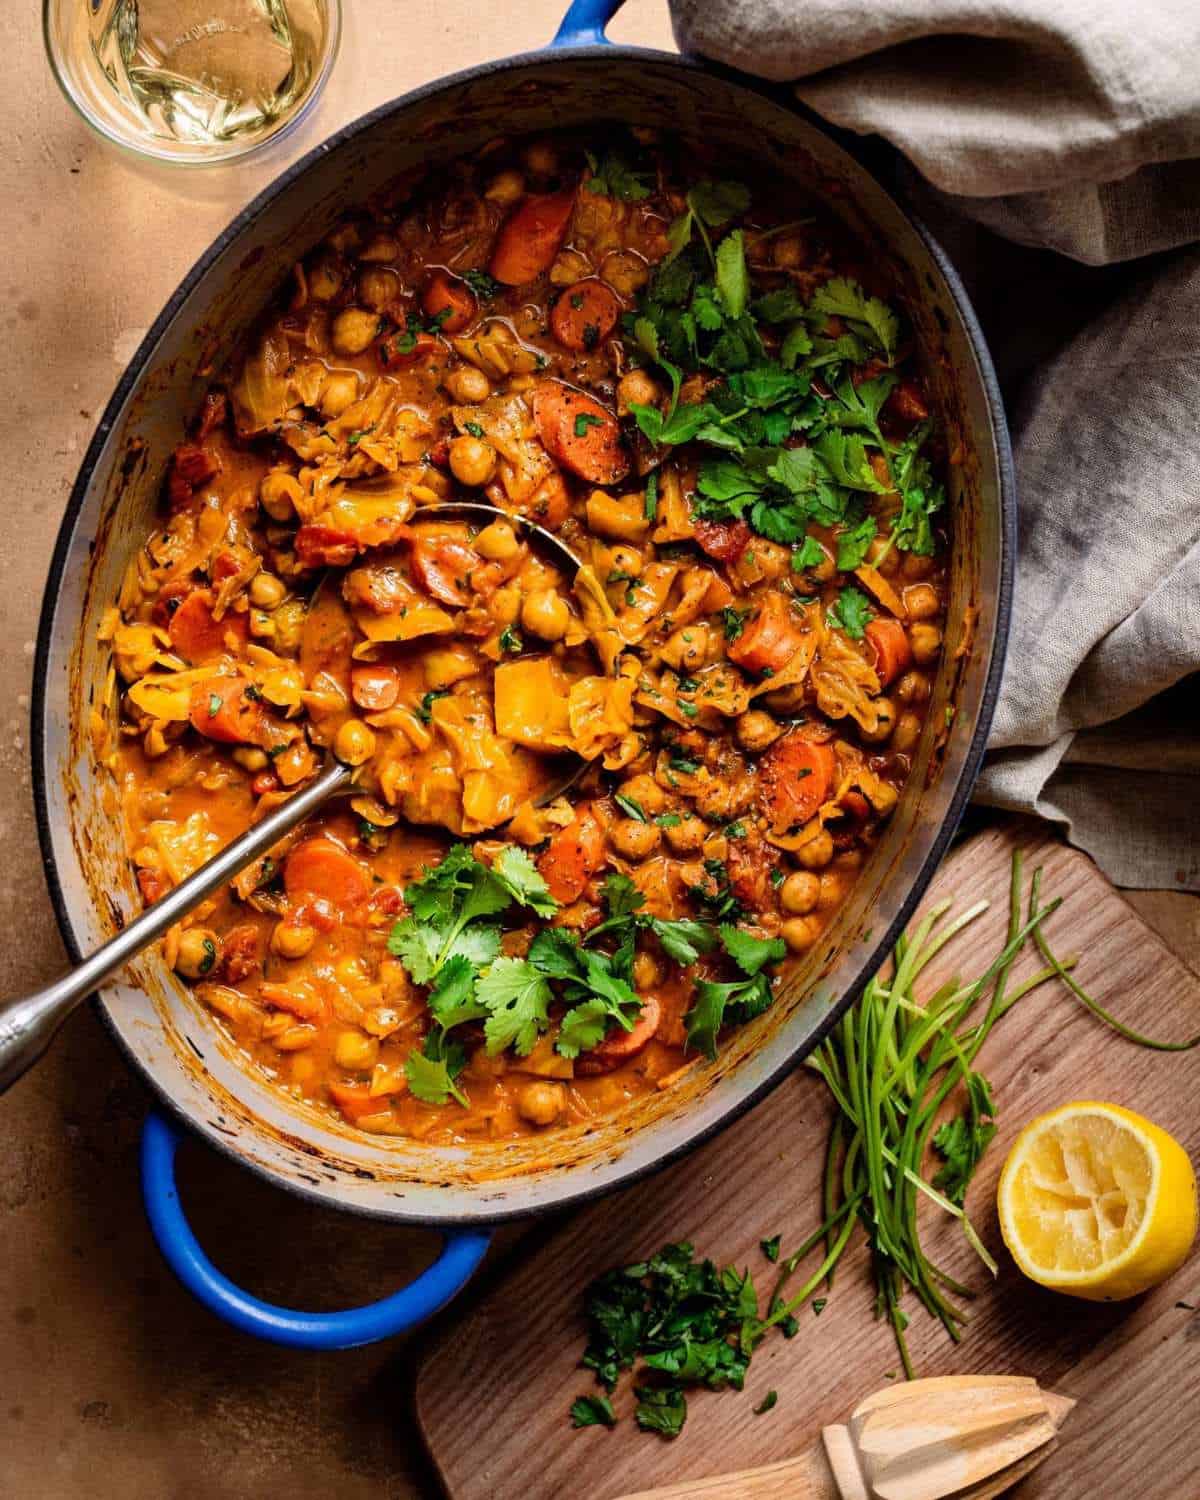
I prefer to cook stews, soups, braises, and similar recipes in a Dutch oven, as it retains steady heat for a long time and can be used on both the stove and in the oven. If you don’t have one, use a large saucepan or stockpot in recipes that call for a Dutch oven.
If you have the budget and want a Dutch oven that will last decades, Le Creuset is a great bet. For something slightly cheaper, Made In makes a nice Dutch oven. Or, I also like this affordable (and beautiful) Dutch oven from Great Jones.
Instant Pot
You might already know this, but I love my Instant Pot Duo Plus (I wrote The Vegan Instant Pot Cookbook, after all!). It’s so handy for cooking beans, lentils, and grains with minimal hands-on cooking.
If you sign up for Meal Plans by Rainbow Plant Life, don’t worry if you don’t have an Instant Pot, as none of the recipes require one. That said, please feel free to use your Instant Pot to cook the lentils, beans, and/or grains that pop up in the meals.
And as a Meal Plan subscriber, you’ll get free access to six bonus guides, including The Ultimate Guide to Cooking Beans & Lentils, which contains instructions and cook times for common varieties of beans and lentils, plus The Grains & Starches Handbook, which contains instructions and cook times for common varieties of grains.
Kitchenware for Meal Planning
I’m so thrilled with how many folks have signed up for our brand new service, Meal Plans by Rainbow Plant Life!
Each week, we send you a done-for-you meal plan guide that allows you to enjoy exciting and nourishing plant-based dinners without the stress. You’ll never have to worry about what to make, how much to buy, or what to prep. All you need to do is pick up the ingredients at the grocery store and have fun cooking.
I’ve received some questions about whether you need specific equipment and which kitchen tools you should invest in to make prep easier.
You can use the general recommendations in this post to guide you (e.g., a high-powered blender will make it easy and quick to whiz up sauces, a bench scraper will make prep tidier, etc.), as there are no kitchen gadgets other than the ones listed here that you’ll need to make the recipes in the Meal Plans.
The most important thing is to have plenty of food storage containers on hand so you can do the meal prep and store your prepped condiments and veggies in advance. On average, you’ll need 10 containers/jars/food storage bags in a given week, though you may need 12 to 14 for certain weeks.
If you’re short on storage containers, you can often use ziploc bags. Or, you can add ingredients to a bowl and cover it with plastic wrap. Whatever works!
Food storage containers
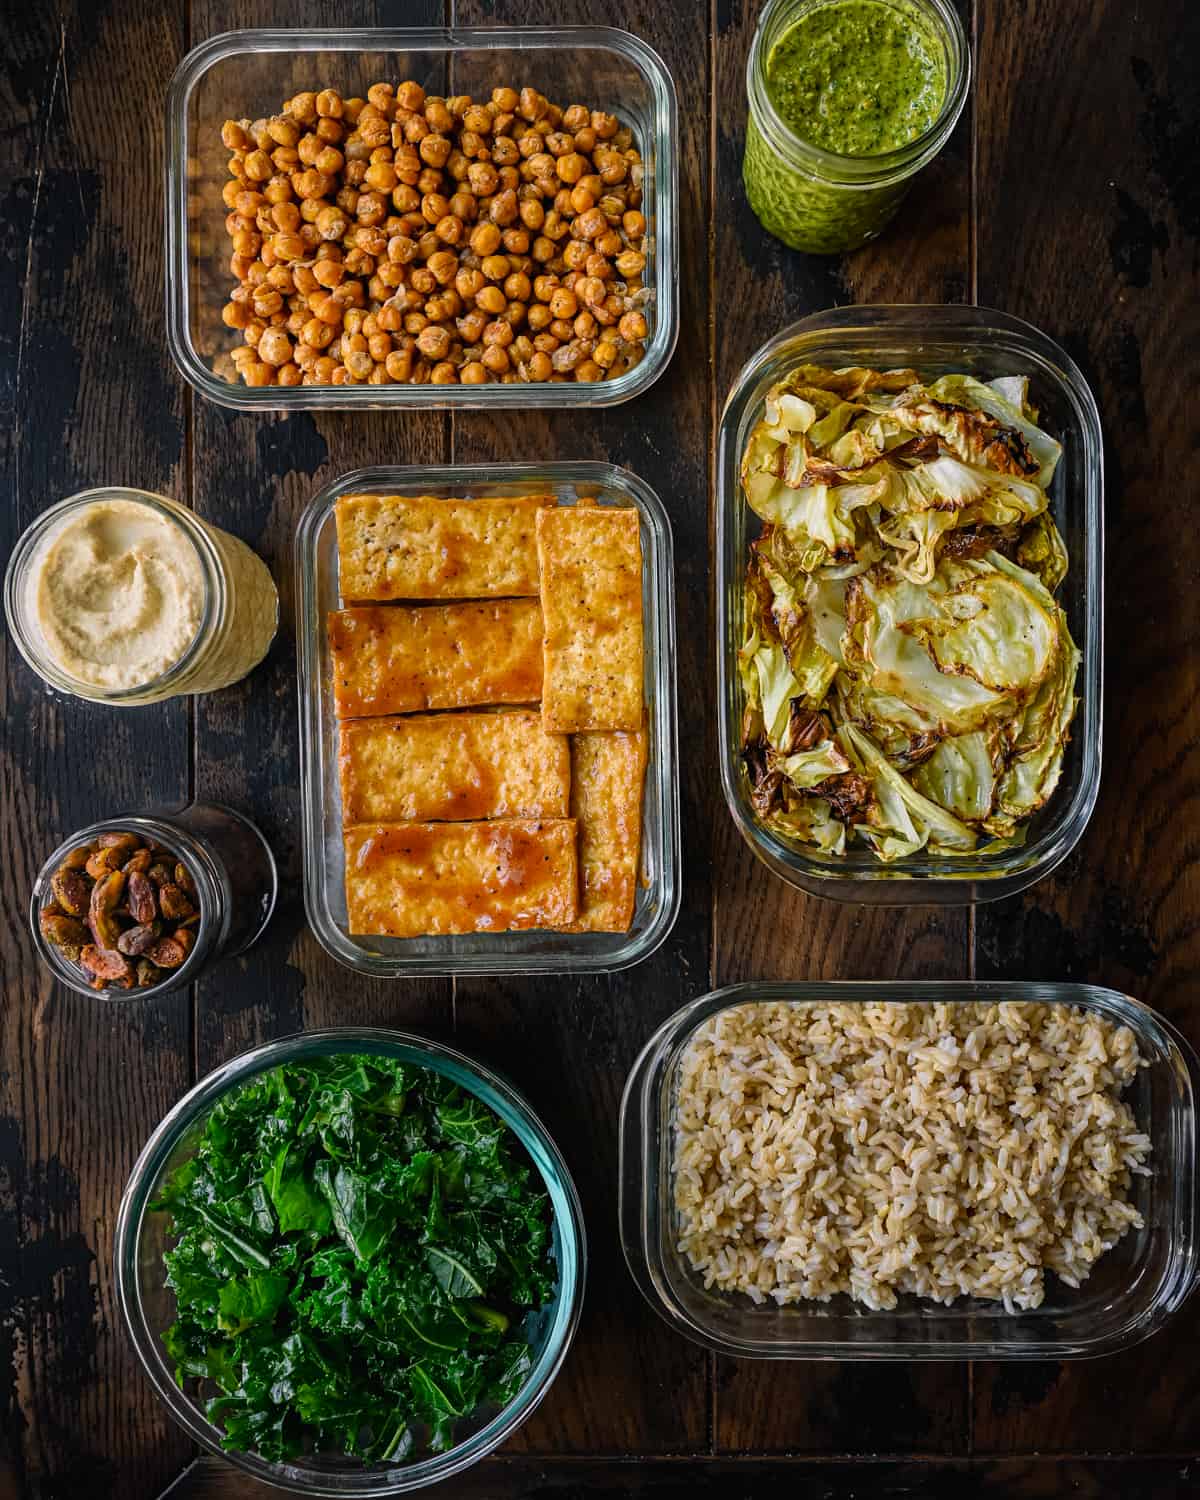
A major part of the weekly meal plans is the meal prep phase, where you take 60 to 90 minutes on a Sunday (or whatever day works for you) and prep the most high-impact components and vegetables that will make weeknight cooking faster and easier.
To do that, you’ll need airtight food storage containers in a variety of sizes.
Feel free to use any kind you like. I like these glass containers with snapping lids from Rubbermaid, or these 30-ounce glass containers. My recipe tester Callie likes these food containers from IKEA.
Glass jars
I like to use glass jars with lids or mason jars to store sauces and condiments that I make during the meal prep. Wide-mouth mason jars are useful for pickled vegetables and bulkier items.
You can use food storage containers instead of jars, but I like the convenience of jars, as you can often mix up dressings directly in the jar and you can more easily pour from them.
Reusable food storage bags
Food storage bags are generally not required (you can always use food storage containers), but they can be handy for the following: (1) using small-sized bags to store small quantities; (2) saving space in your fridge.
If you’d like to reduce your consumption of single-use plastic (e.g., ziploc bags), a set of reusable silicone bags in varying sizes is a good investment.
Stasher bags are the most well-known brand, but you can find other brands for cheaper like these ones. We have even seen these kinds of bags sold at Trader Joe’s! The stand-up mega Stasher bag is useful for storing large amounts of chopped veggies. And this pocket-sized bag is useful for storing small quantities of herbs (e.g., fennel fronds).Food huggers
These cute food huggers can be helpful for storing halved cucumbers, oranges, limes, lemons, tomatoes, etc.One final note: Please don’t feel obligated to buy anything just because it’s on this list. These are just the tools I use to make my cooking breezy, easy, and efficient. Before purchasing anything, take a moment to think about whether it would make your cooking easier.


What about the gas burner i’ve seen you use in lieu of your electric stovetop?
what brand of wok were you using when making the tofu stir fry? was it carbon steel? flat bottom? thanks!
Hi Babu, the wok Nisha has was given to her as a gift, but it’s similar to this one. Our recipe tester has this wok and also likes it!
thanks!
Wondering what that large ice tray you had to freeze one meal size stews and so on. It appears to be silicon but I have never seen one before. Am interested where to buy.
Hi Virginia, what you’re referring to are souper cubes! :) They’re a game changer, enjoy!
We have much of what is on this list already as we love to cook (missing the food processor and working with a small bullet blender and hand mixer, so certain things are difficult). I’d say the best appliance purchase we’ve made in the last few years was a rice cooker. Got a Cuckoo Micom rice cooker on sale at Costco and we use it multiple times per week and the rice comes out way better than anything I’ve made on the stove. Even much cheaper rice cookers are great and durable.
Hi Lauren, thanks, we appreciate your feedback! :)
Hello RPL Team ! 🌺
What Masala Dani Dabba or Box do you use ?
Thank you,
Best,
Rashmi
Hi Rashmi, I bought mine years and years ago so I can’t remember. This one looks similar to the one I have though. https://amzn.to/44MuX2O
THANK U Sis 🌺🙏🏽 KEEP SHINING BRIGHT ✨️✨️
What oven thermometer do you recommend? Do you have a link?
Hi Stacey, great timing! Nisha just posted about her favorite thermometer on her new cupcakes blog post :)
I am glad you introduced me to the reusable bags. I have been washing ziplock bags for ages, and they are hard to clean and dry!
Hi Christie-Claire, I agree, reusable ziploc bags are the best! :)
Hi, Thanks for these suggestions regarding kitchen ware, utensils, & storage. I’m still curious about one thing. In recent videos you talked about being sober-curious and finding good tasting beverages that were fun for festive occasions. Could you please provide details on this?
From Nisha:
“You’re welcome, Beverly! Sure, I have several suggestions.
As for non-alcoholic wines, I generally have had more success with whites and rosés than reds (all the reds I’ve had tasted like less sweet grape juice). My local Whole Foods sells a bottle called Good Twin organic non-alc sparkling wine that’s pretty good. I also really like the canned non-alc sparkling wines from Lyre’s (available on their website). For other options, if you have a local wine shop, my experience is that most well-stocked or curious wine shops now sell at least a few non-alc options.
My favorite current combo is a sparkling white non-alc wine with a splash of a fruity vinegar (the strawberry rosé vinegar from Acid League is fantastic). The vinegar just gives it a tart kick that can be missing from some alcohol-removed wines.
As for other beverages, I’ve tried the Ghia “Le Spritz Variety Pack” which are fun mocktails that come in a can.
Or, sometimes, I’ll just do sparkling water, mixed with a few splashes of fruit juice (blueberry, cranberry, cherry), lime juice, and fresh mint sprigs, mixed together and served over ice.
Or, a kombucha mocktail can be fun! You can try mixing kombucha with sparkling water or a Spindrift can, fresh citrus juice, fresh mint, and ice. Or I’m sure you can google some options online.
Hope that helps!”
This is such a great idea! Meal Plans by Rainbow Plant Life sounds like a fantastic service for anyone looking to simplify their plant-based meal prep. I love how you’re making it easier for people to enjoy nourishing meals without the stress of planning and shopping. The tip about food storage containers is spot on, too! Having the right containers really does make a huge difference when it comes to prepping and organizing for the week. I especially appreciate the recommendation for glass jars – they’re so versatile and easy to use for sauces and condiments. Can’t wait to try it out! Keep up the amazing work!
Happy to hear you found the blog post useful! :)
This article is a perfect read for anyone wanting to make their cooking process less cumbersome and becoming more efficient in the kitchen. The recommendations from the author for various tools in the kitchen, ranging from inevitable sharp knives and mixing bowls to handy items like the digital scale and mandoline, are very practical suggestions toward improving meal prep. I love the idea of quality and durability emphasis, as that would make investing in good equipment make all the difference in terms of speed and accuracy. The breakdown of each tool’s purpose and how it can be used in everyday cooking will be super helpful for anybody looking to take their game to the next level in the kitchen.
Hi! Weed love to know what kind of tea pot you have! ;) you’re awesome
Hi Nicole, thanks for the kind words :) Nisha uses and loves this fellow kettle! If you’re a pourover coffee type of person, they have a pourover kettle as well!
Love this so much! Thank you for sharing this. It is most helpful
Can you share a link for the spice tin?
Hi Sally, we’re glad you like it! Nisha loves this Masala Dabba from Diaspora co, but you can also find cheaper versions on amazon if need be!
Love your videos and cookbook (can’t wait to love your new one too!). What are the food storage containers I’ve seen in some recent videos, glass with silicone bottoms and wood tops? They’re lovely.
From Nisha:
“Thank you! I have a few varieties. Here are some that I have purchased in varying sizes:
link 1
link 2
link 3
Based on a suggestion of yours (I think from a video, I don’t see it listed here) I have become absolutely obsessed with Souper Cubes and regularly have a giant batch of your cauliflower soup sitting in my freezer, single serve, waiting for a quick and easy meal!
Woohoo, we are huge fans of souper cubes over here at RPL! Glad you found the suggestion useful :)
Which electric kettle do you use for hot watwr?
Hi Robin, Nisha loves the Stagg brand. They have a tea kettle and a pourover kettle, both of which she has owned!
Would the Vitamix 5200 Blender, Professional-Grade that you recommended work well for nut butters? I’ve been wanting to get a nice blender to make nut butters often and I want to make sure I buy one that will work well and last for years. I trust your recommendation and just wanted some clarity.
Thank you, Nisha.
Just joined the RPL meal planning and love it so far. A tip that helps me with the prep is using deli containers (8, 16, and 32 oz). They stack nicely in the fridge and the cupboard and, best of all, only one size lid! You can also freeze leftovers in lunch sized servings.
That’s a great tip, Kelli! Thanks for sharing!
I’m glad I read through this. I found a couple of things that I didn’t even know existed! Like the food huggers…..Amazing! Thank you for this, your amazingly delicious meals and your meal planning subscription. Your recipes are my go-to as I went vegan last year. Thanks again 😀
Hi Terri, thanks for the lovely comment! We’re so happy you found value in the blog post. Congrats on going vegan and we’re happy to hear you’ve also been enjoying the meal plans :)
Helpful list with practical descriptions. Nisha, absolutely love your no-pressure writing style for your follow along at home cooks. Your website is welcome and warm, thanks to you and your team! Looking forward to trying the meal plan!
Thank you for the lovely comment, H.C.! :) We’re so happy you found value in this blog post and we cannot wait for you to try the meal plans!