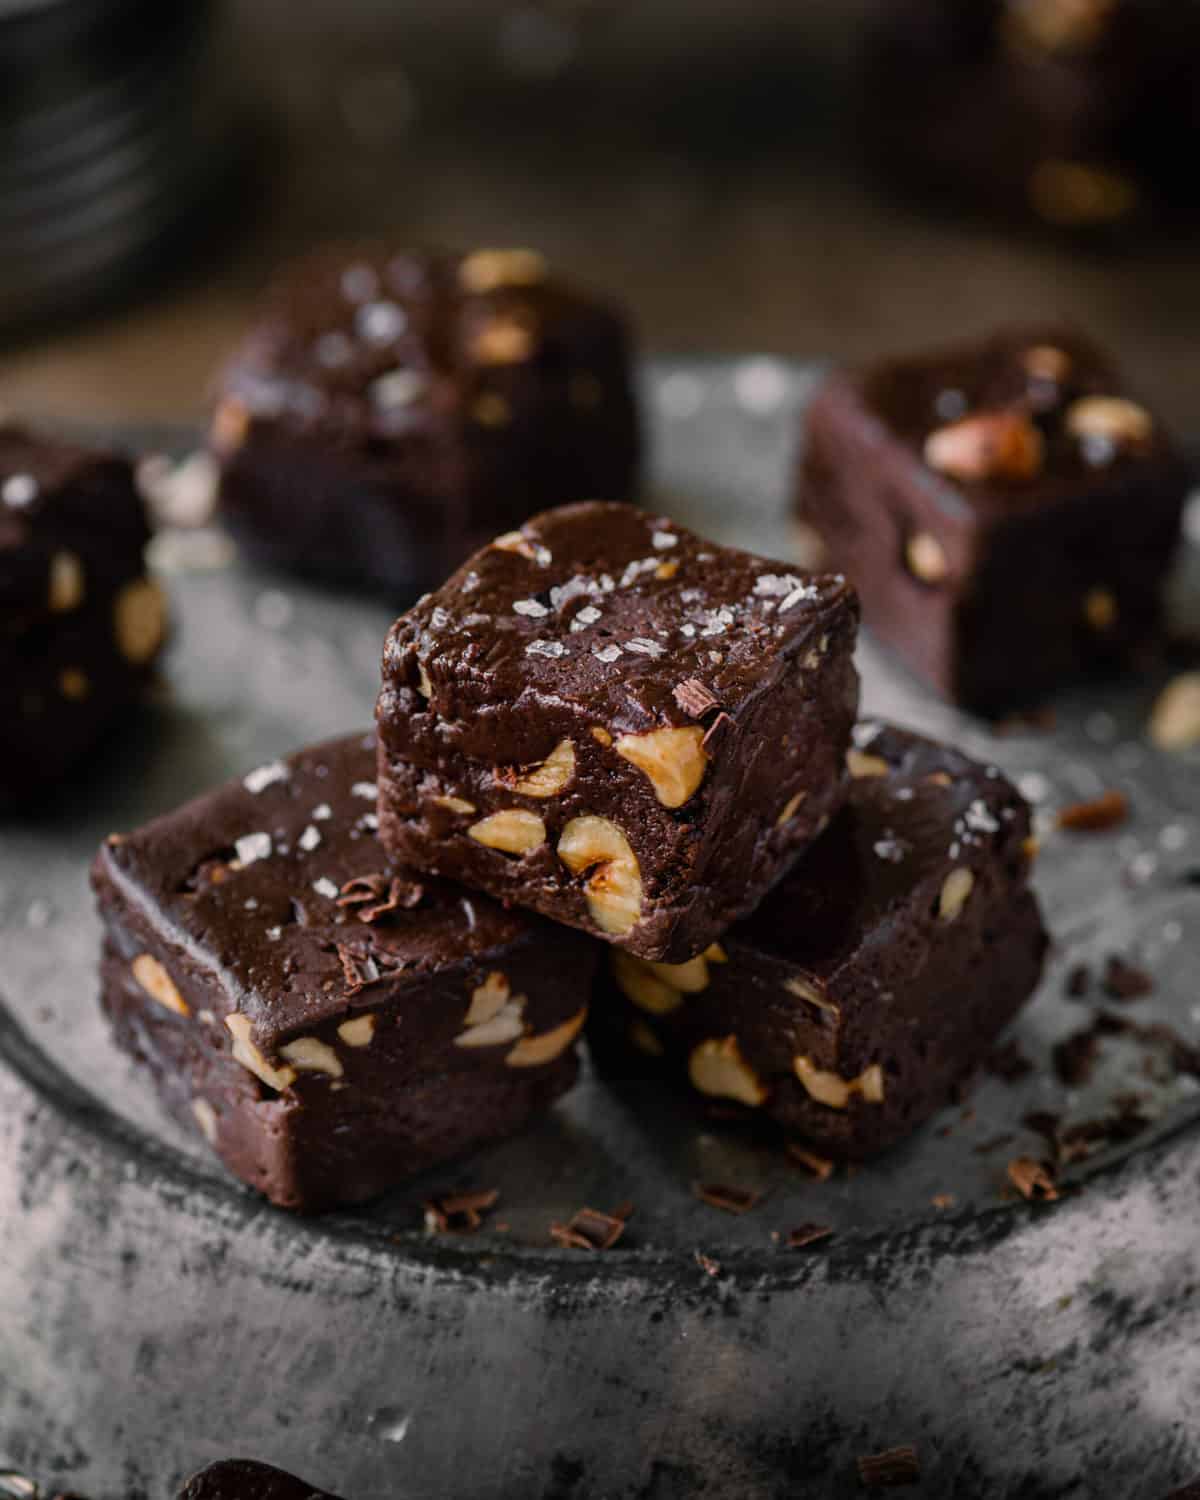
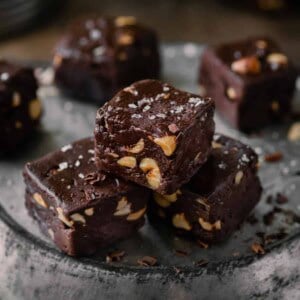
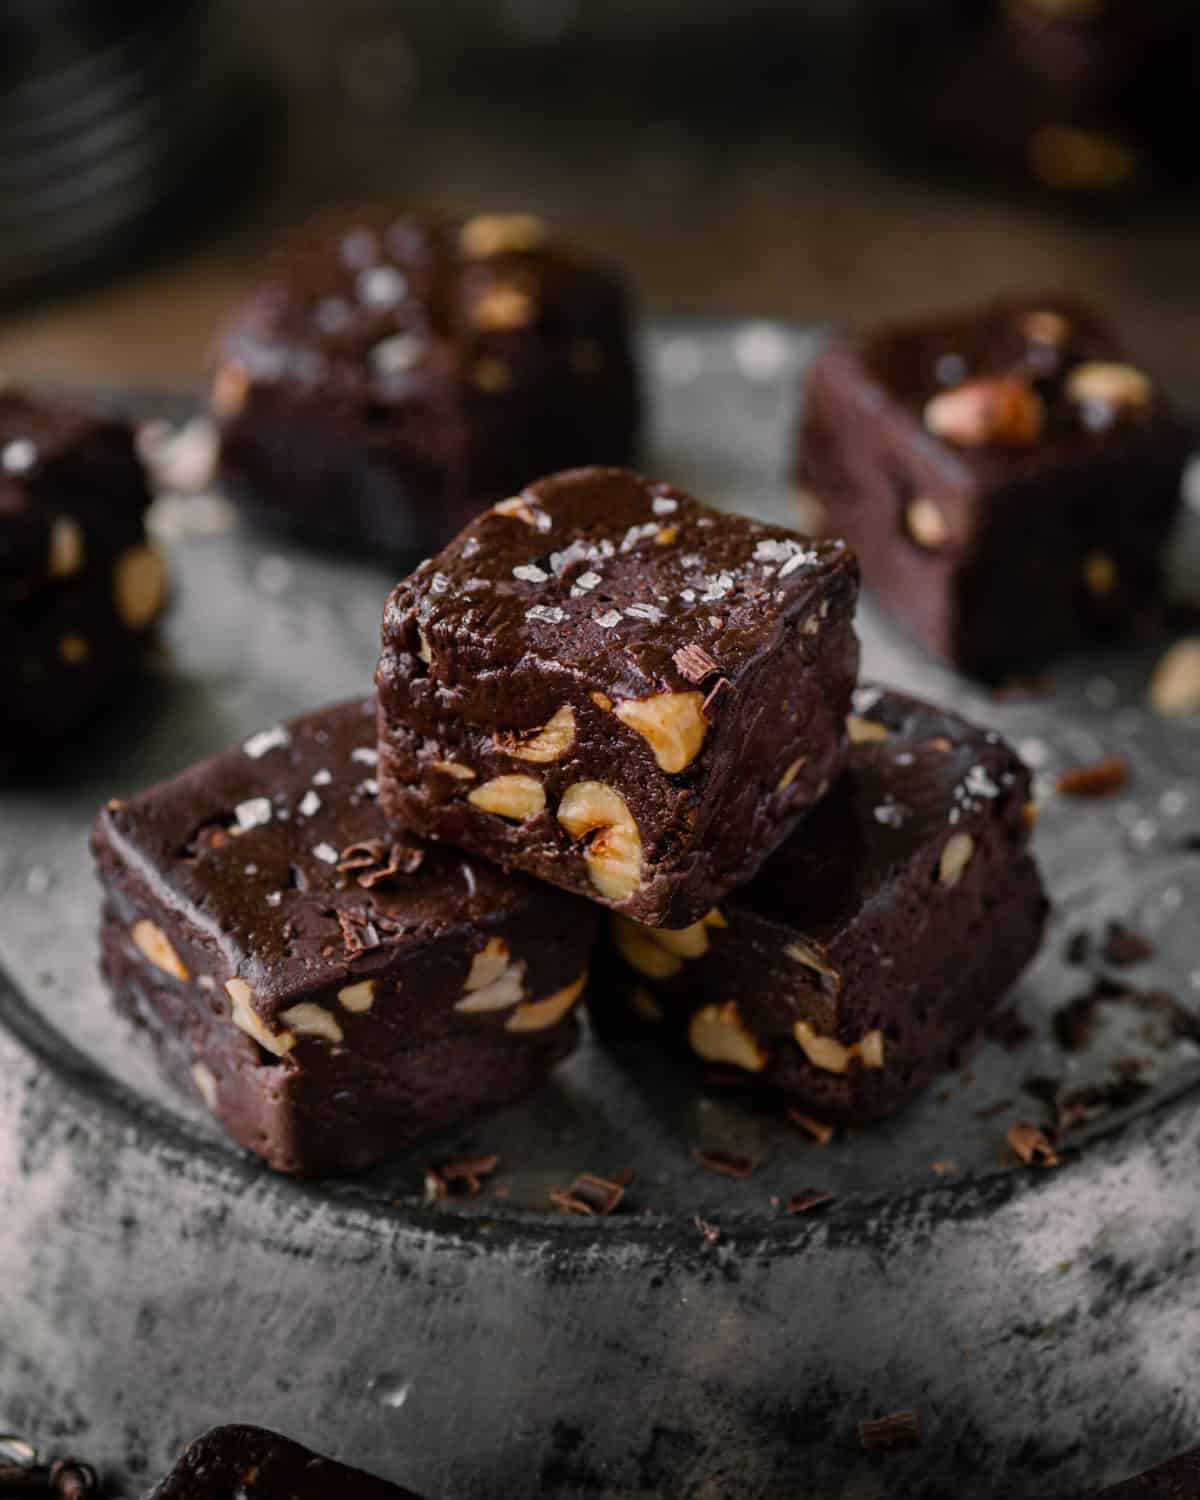
One of my favorite pre-vegan holiday treats was fudge, so I’m super excited to share this wildly delicious vegan fudge recipe! This fudge legitimately tastes like a Ferrero Rocher (those delightful chocolate hazelnut candies that are sadly not vegan)! It’s pure decadence, just like fudge should be around the holidays (it makes an excellent edible gift!).
That said, this vegan fudge is a little more grownup than the classic. First, it uses dark chocolate to avoid being too sweet. Fudge is already so rich that too much sweetness makes it cloying and inedible IMO. Second, it adds toasted hazelnuts. The crunch adds a nice contrast to the rich creamy fudge texture, and of course chocolate + toasted hazelnuts = heavenly Ferrero Rocher flavor.
This fudge recipe is also ridiculously easy and quick to make. If you’re a fan of quick, no-bake chocolate treats, be sure to also check out my Salted Chocolate Cream Tart. For something on the healthier side, my No-Bake Cookie Dough Bars are a great choice.
How to make vegan fudge (step-by-step photos)
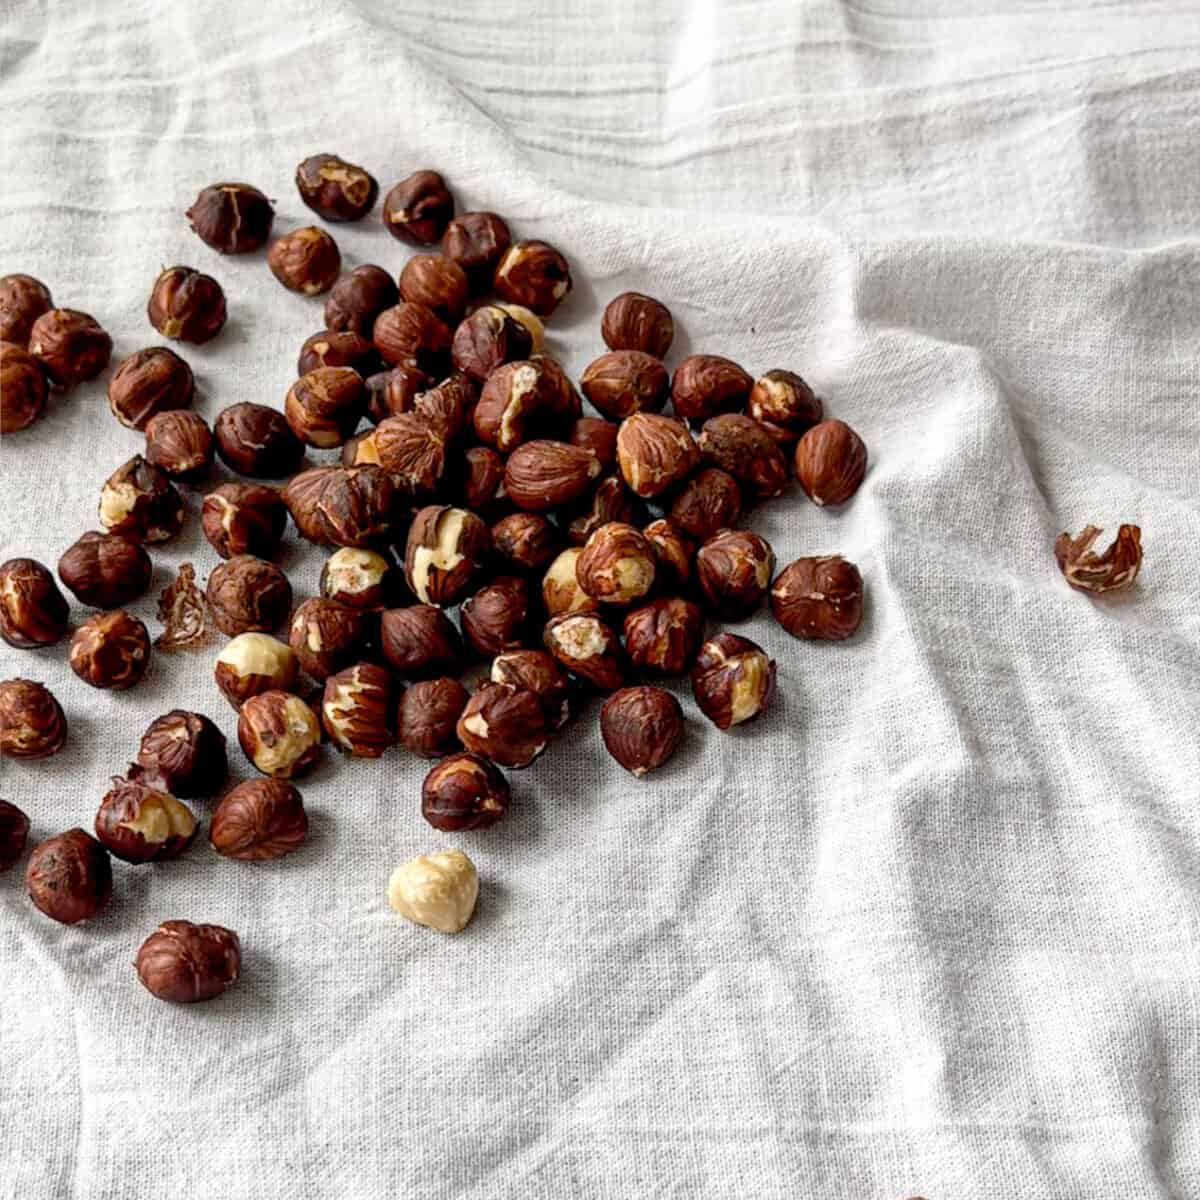
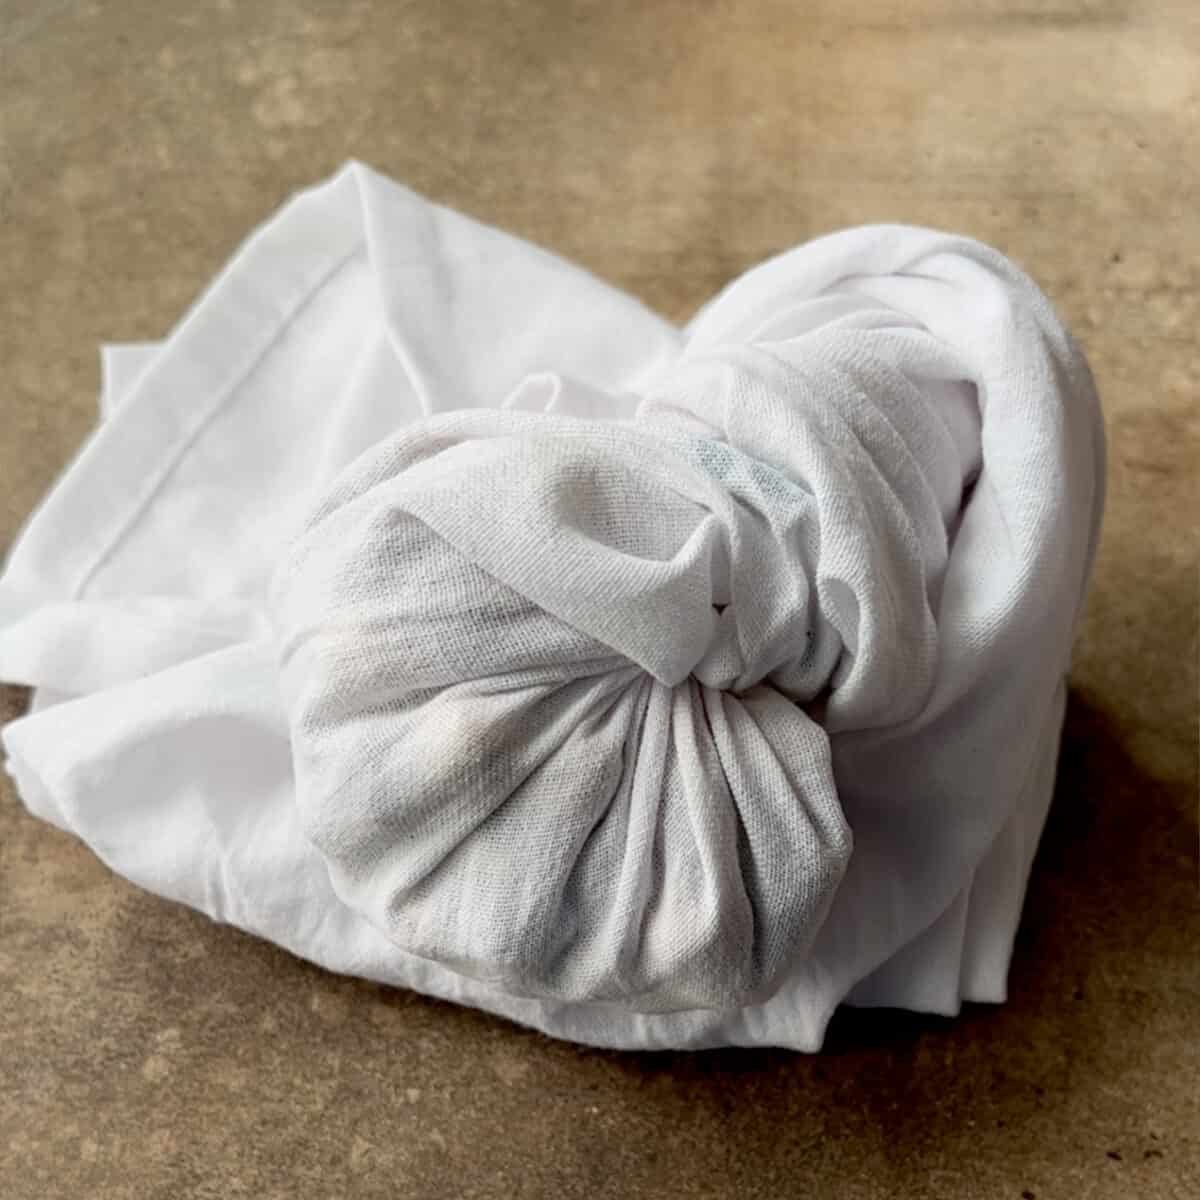
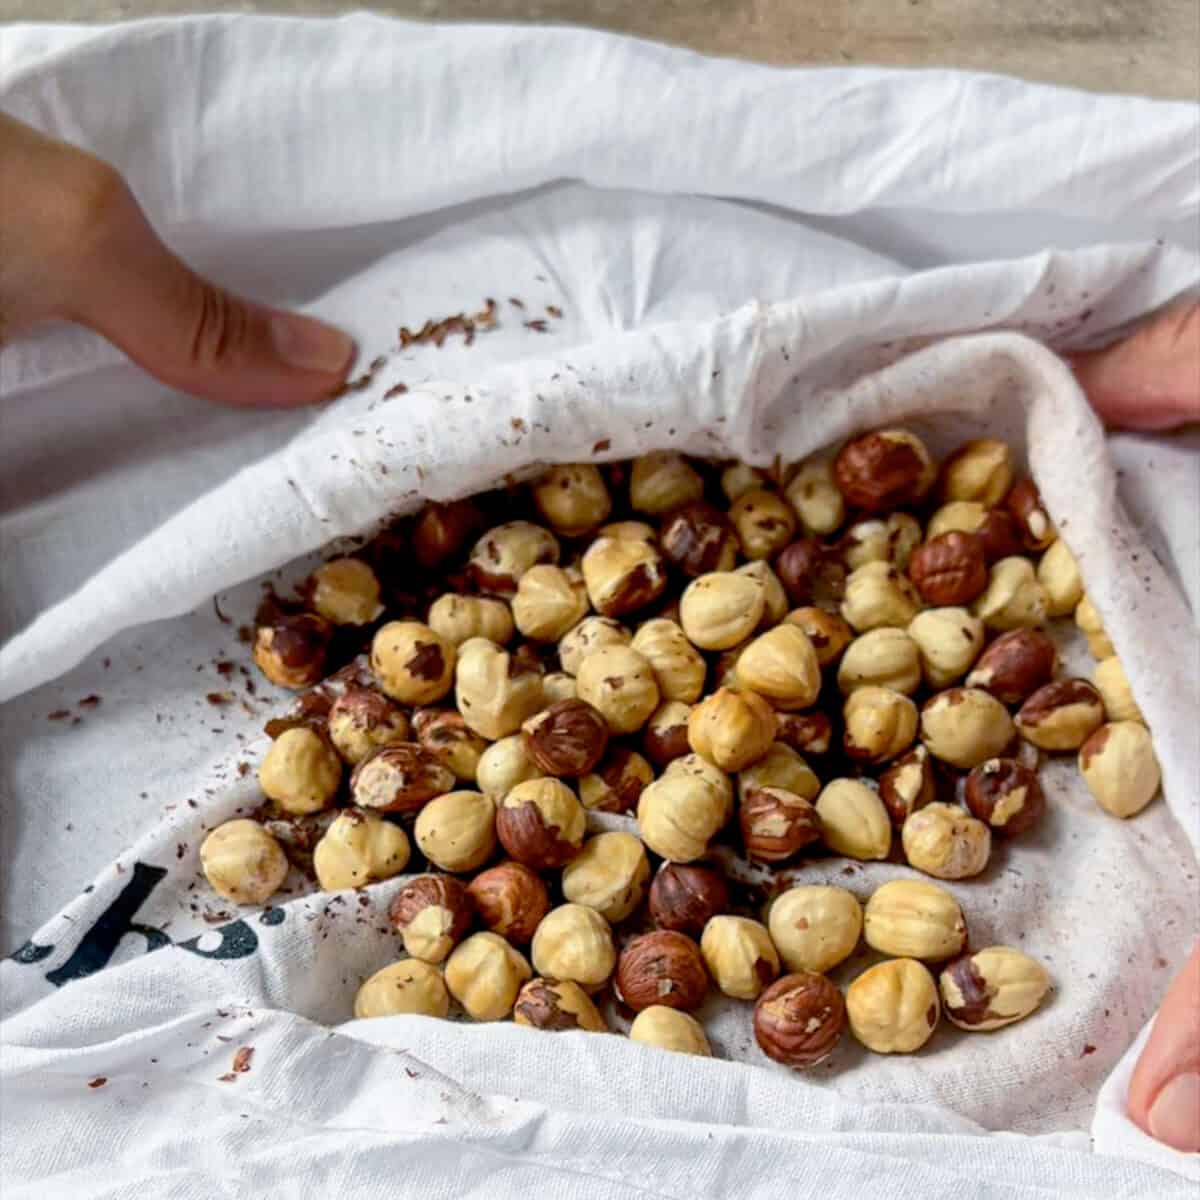
Toast the hazelnuts on a sheet pan in the oven (350ºF for 10 to 13 minutes). Transfer the hot hazelnuts to a thin dish towel and wrap it up in a tight ball. Allow to steam for 2 minutes. Use your hands to vigorously rub the hazelnuts to help remove the skins. Roughly chop the hazelnuts (no need to finely chop).
Add the chocolate chips and condensed coconut milk to a medium-sized heat-proof bowl. Microwave on high for 90 seconds. Allow to sit undisturbed for 1 minutes, then whisk until chocolate is melted and mixture is thick and well-combined.
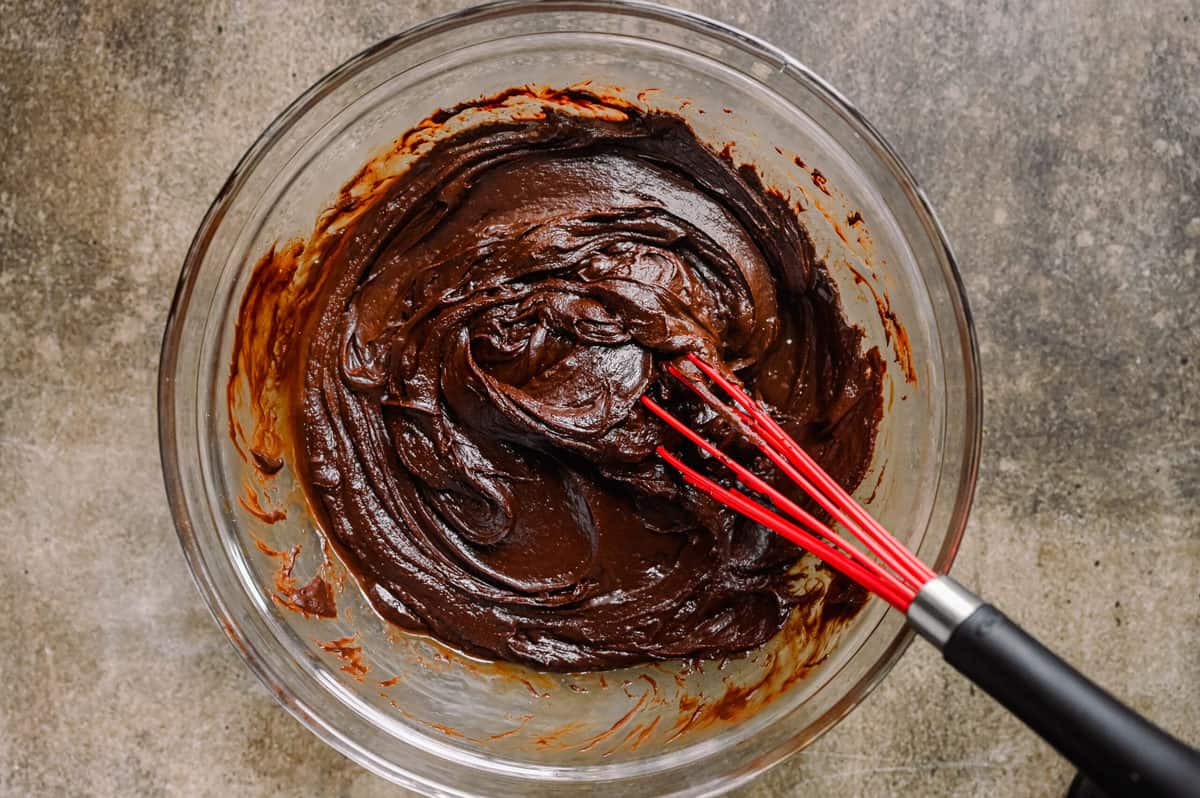
Working quickly so that the chocolate stays warm, add the almond butter, vanilla, and a pinch of salt.
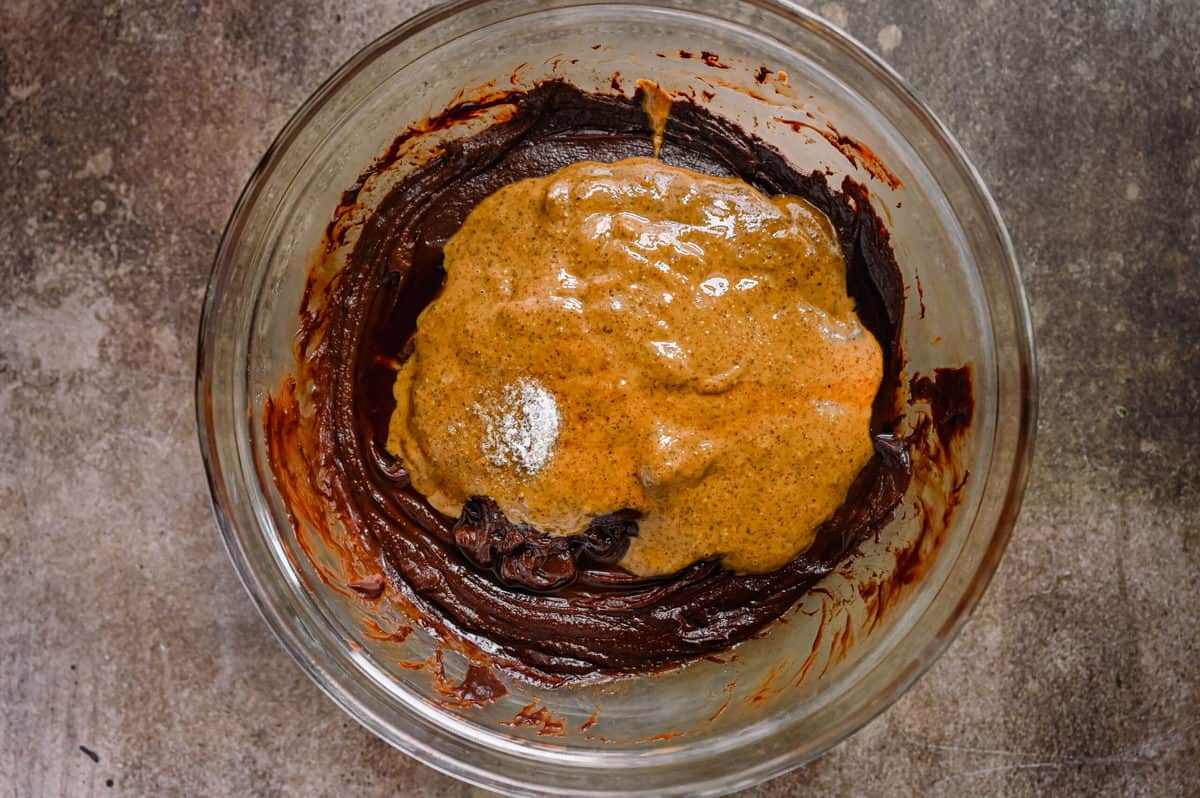
Whisk until well-combined and thick. Fold in the chopped toasted hazelnuts with a silicone spatula.
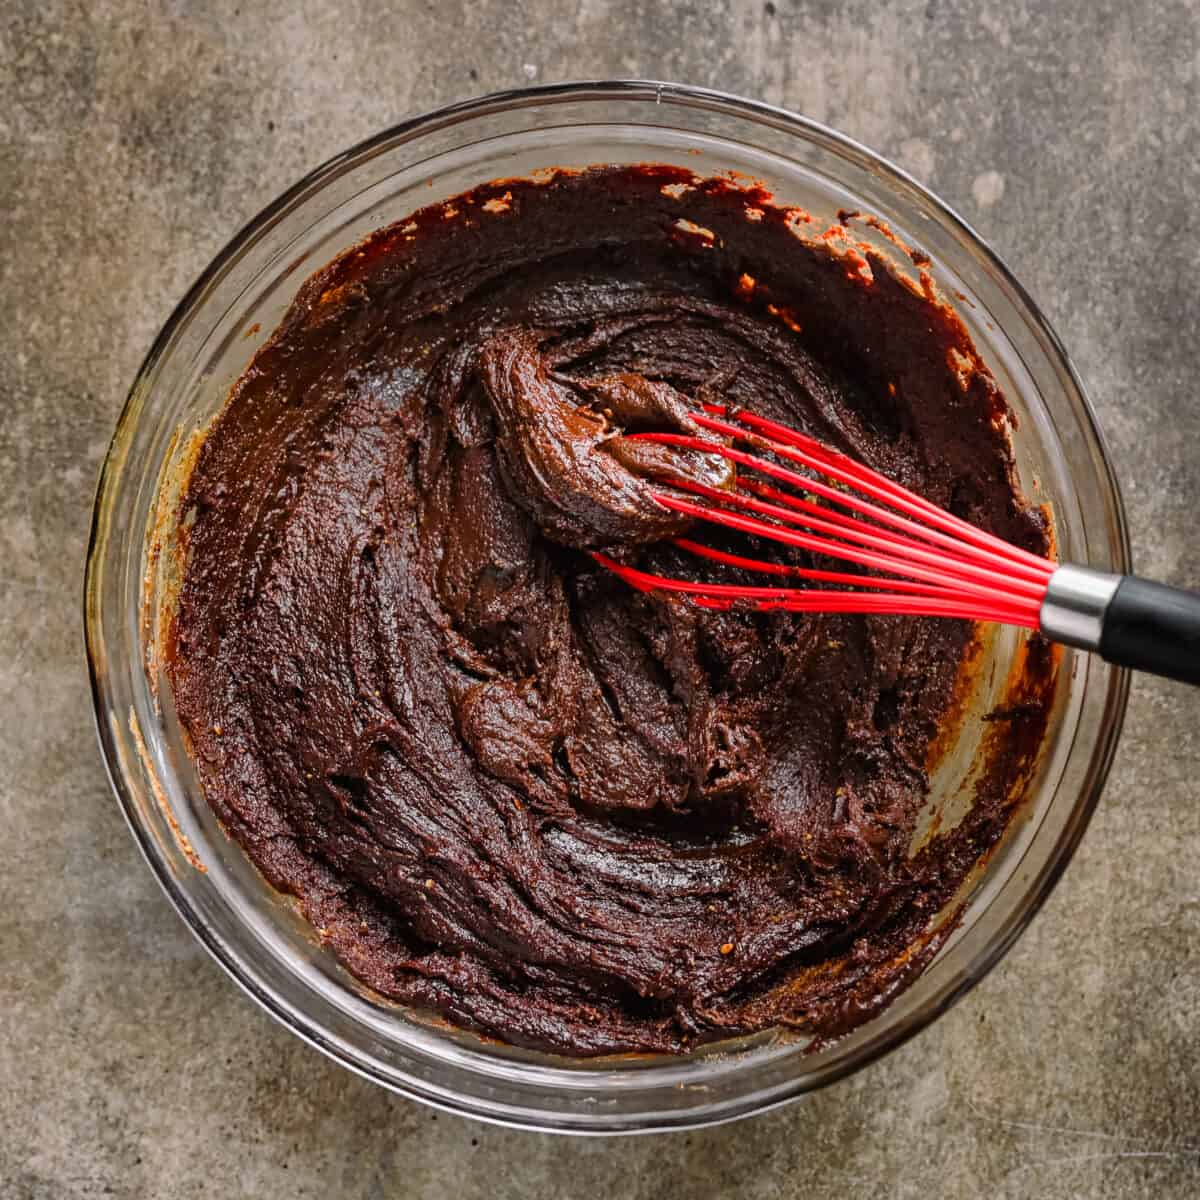
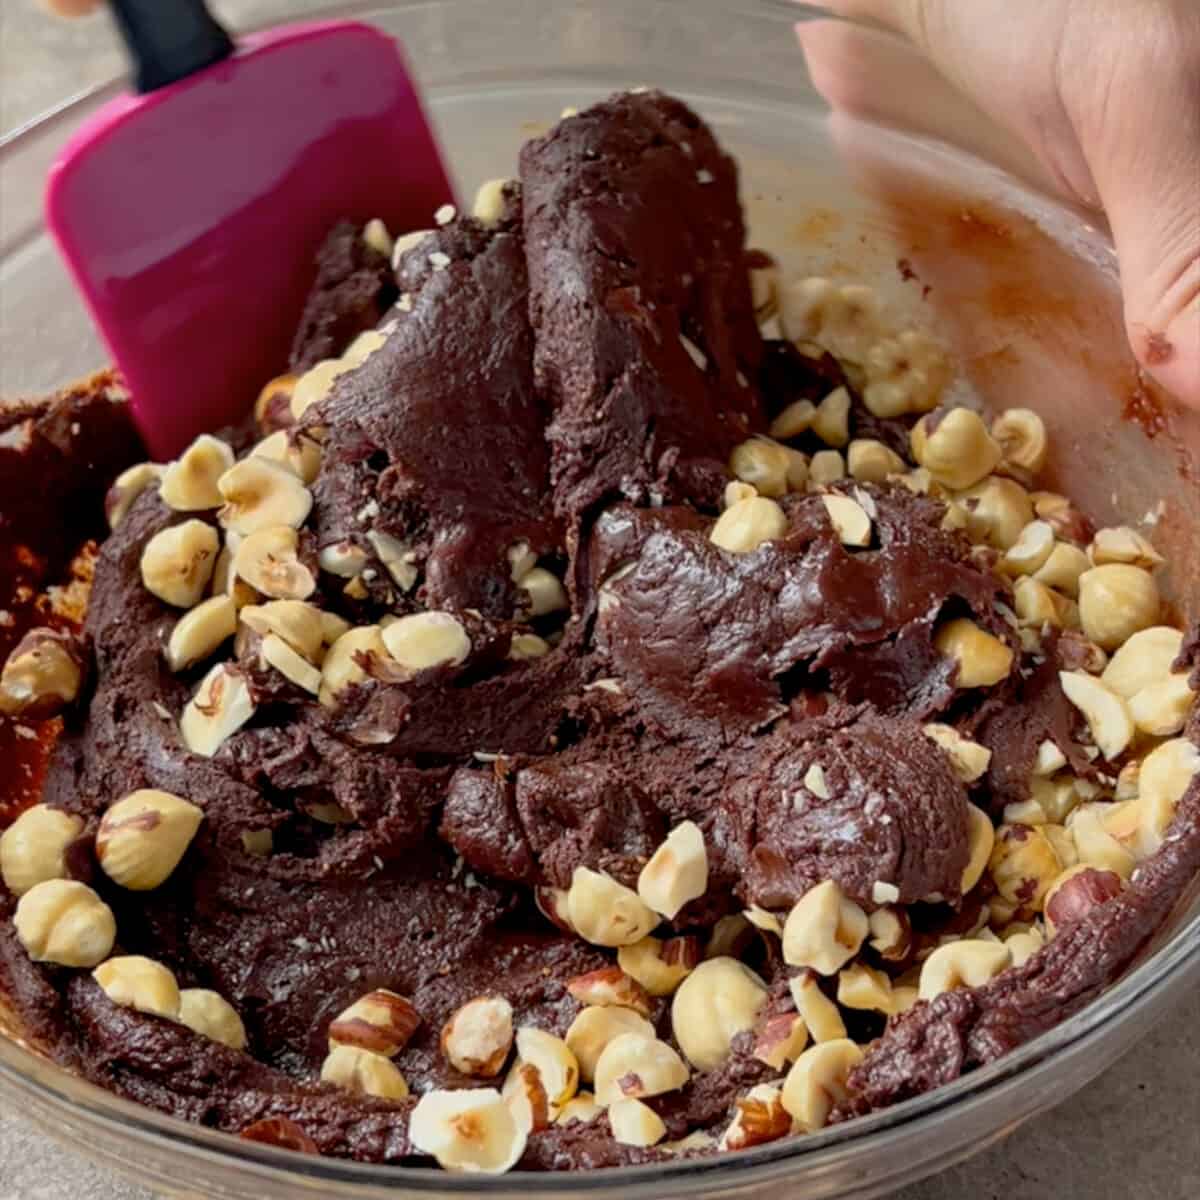
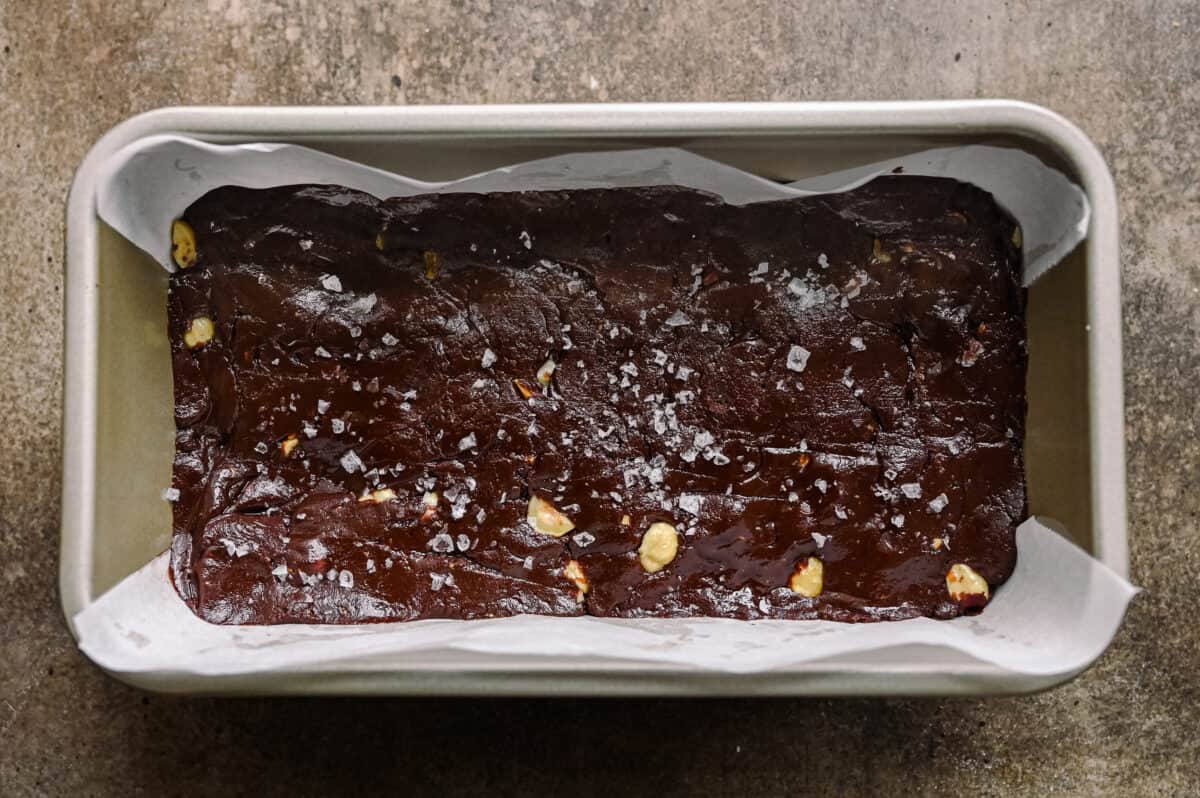
Line a loaf pan or a square 8×8″ baking pan with parchment paper. Transfer the fudge into the pan, spreading it out with a silicone spatula.
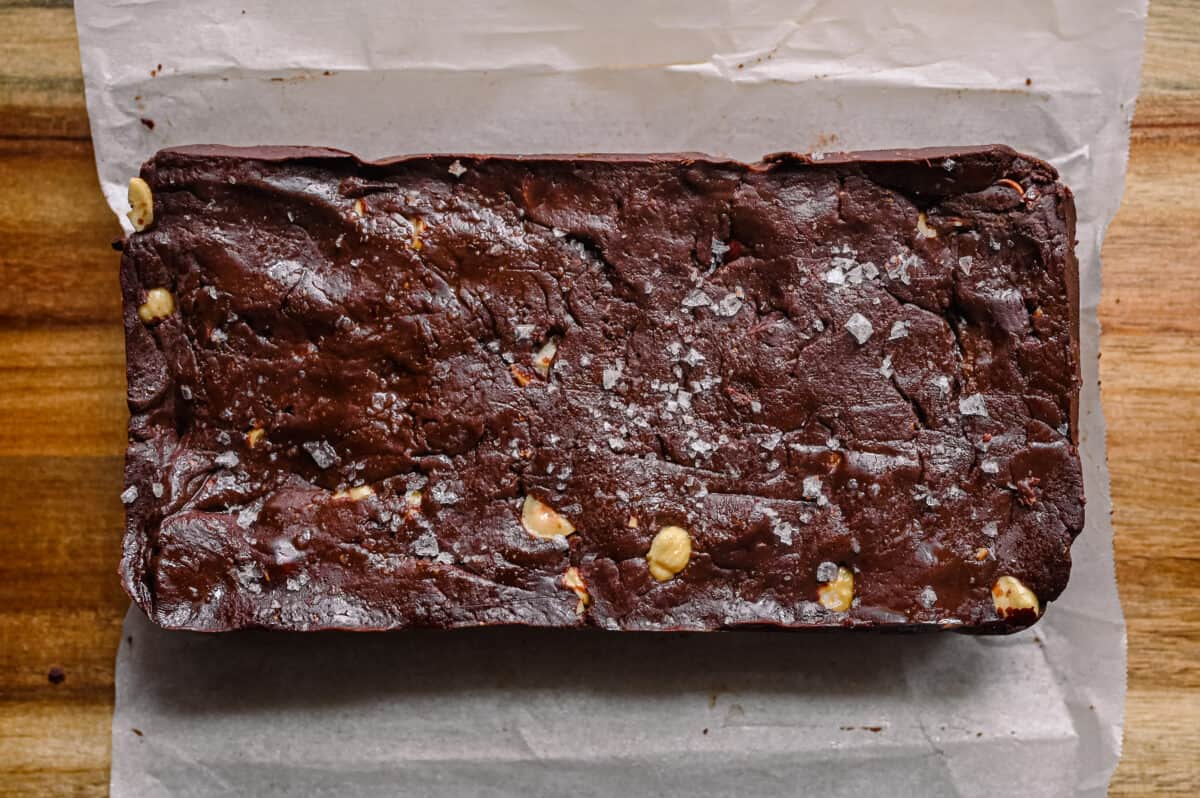
Refrigerate the fudge for 1 to 2 hours until set. Use the parchment paper to remove the fudge from the pan. Allow to come to room temperature, then slice and serve.
Tips for making this recipe
Work quickly. You want to mix the ingredients while the chocolate and milk are still warm. Luckily, it takes less than 5 minutes to whisk everything together, so it’s not hard. Just don’t pause to take a hundred photos and videos like I did 😉
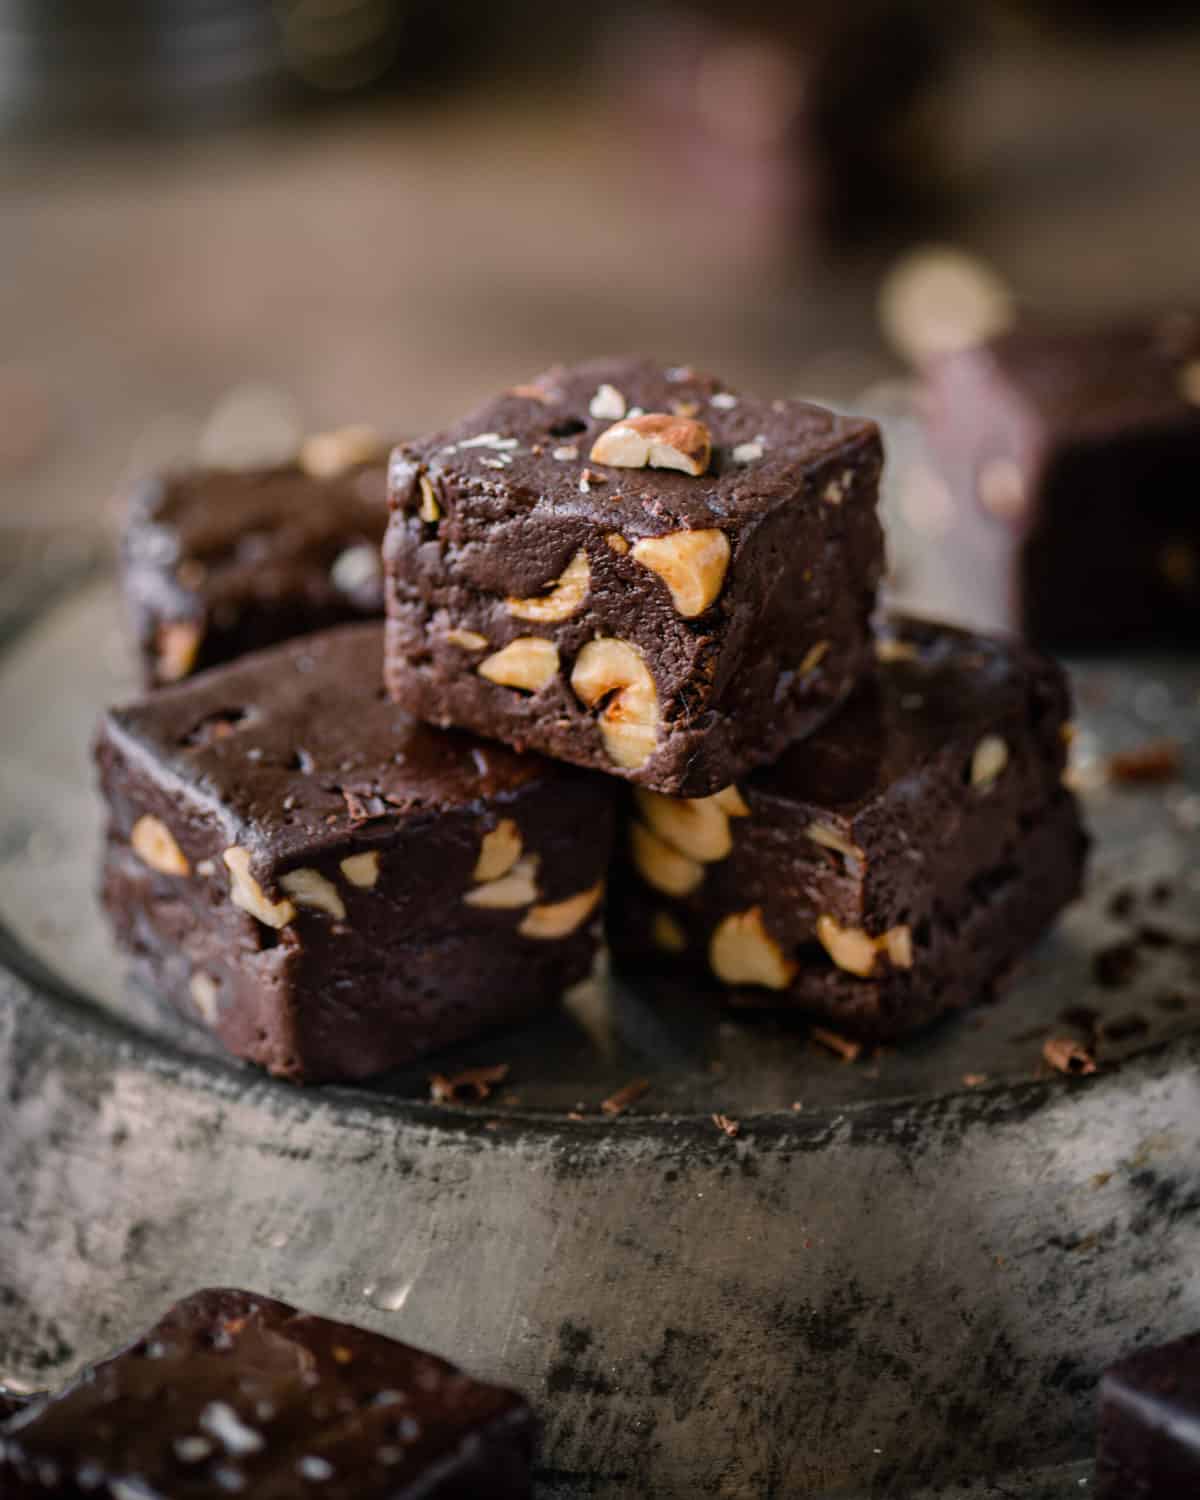
Pick the right pan for your desired thickness. For thick/tall fudge pieces (as you see in the photos), you have two options. One, you can use a 8×4-inch or 9×5-inch loaf pan (as you can see in the step-by-step photos above).
Or, you can use an 8×8-inch baking dish, but don’t spread out the fudge evenly across the pan surface. Instead push the fudge into one-half or two-thirds of the baking pan, leaving the other part of the pan empty. Essentially, you are layering the fudge on top of itself to make it thicker. The fudge is pretty malleable, so you should be able to do this easily with your hands.
For thinner fudge pieces (it is very rich, after all): use an 8×8 square baking pan and spread it out across the whole surface of the pan. You could also use a glass storage container/tupperware.
Use condensed coconut milk for the most classic fudge texture. In my tests, sweetened condensed coconut milk (affiliate link) made for the most traditional fudge texture: smooth, moist and soft. This makes sense since traditional fudge is typically made with condensed cow’s milk.
Sweetened condensed oat milk also worked, but produced a stiffer texture. It’s still a great option if you have a coconut allergy.
Note: If you can’t find sweetened condensed coconut milk, full-fat coconut milk does work, but you need to do a few things differently. I’ve included instructions in the FAQ section below.
Use the appropriate cacao content for your fudge. If you like your fudge very sweet, feel free to use a cacao percentage as low as 55%. If you like it less sweet, feel free to use a cacao percentage as high as 75%. I typically use dark chocolate in the 63-67% range.
Frequently Asked Questions
You can find sweetened condensed coconut milk (or oat milk) at specialty grocery stores like Whole Foods, or online. If all you can find is a 7.4-ounce can instead of an 8-ounce can, that’s also fine.
Nature’s Charm is the brand I use for condensed coconut milk (they also carry condensed oat milk). Let’s Do Organic and Nature’s Greatest Foods also sell condensed coconut milk. (affiliate links).
Yes, you can use full-fat coconut milk, though the texture will be softer. Pour the milk into a bowl and stir well before measuring out the 8 ounces. Since there’s no added sugar in the coconut milk, you’ll want to add some sifted organic powdered sugar along with the almond butter. I’d start with 1/4 cup, taste and add more as needed to your taste. If you use chocolate with a lower cacao percentage or sweeter chocolate, like Enjoy Life vegan chocolate chips, you may not need to add sugar.
The texture will be on the softer side, so I like transfer it to the freezer for 90 minutes to set up. And store leftovers in the fridge (or freezer). It will get melty on the countertop!
You could probably also use a good-quality, thick vegan coffee creamer in lieu of the condensed milk, but I haven’t tried it myself.
Wrap the fudge tightly in plastic wrap (or in an airtight container) and store on your counter or in the pantry – it will stay good for at least one week.
You can also store it longer by refrigerating it or even freezing it (though freezing it does change the texture a bit). Just let it come to room temperature before eating.
You can use dark chocolate bars or a bittersweet baking chocolate bar. Just chop them up pretty finely before adding to the microwave with the milk.
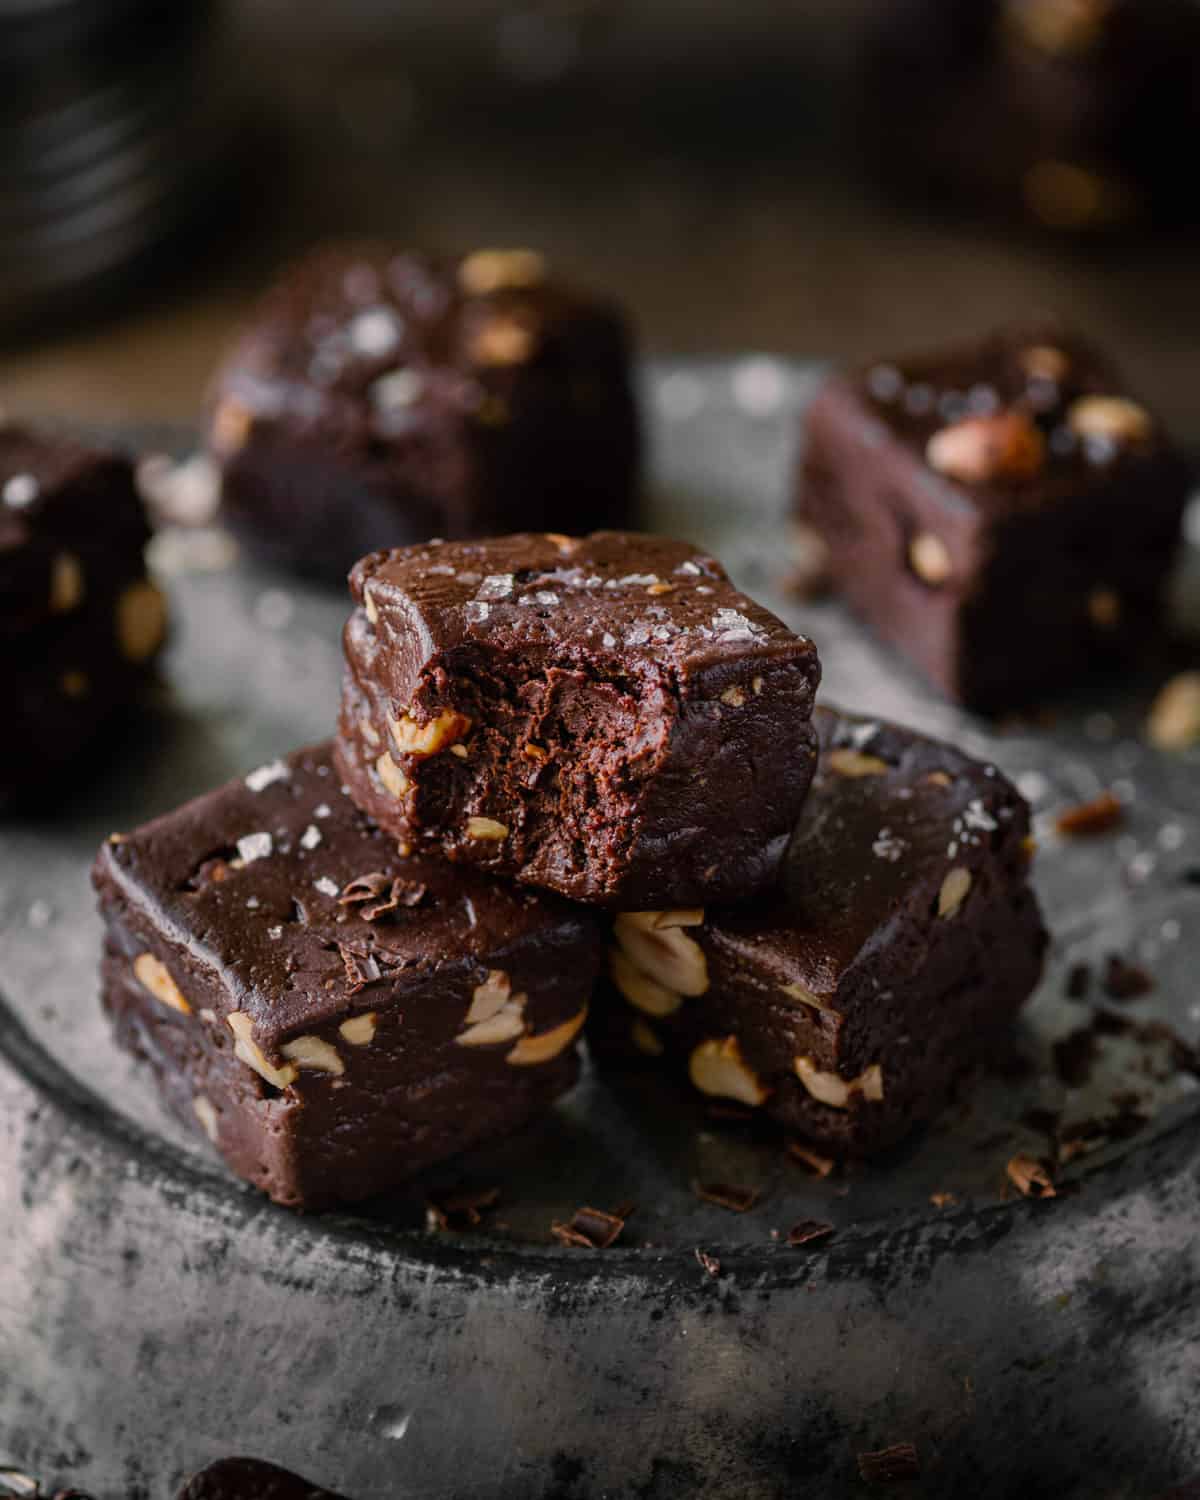
I hope you enjoy this vegan fudge as much as we do! If you love the recipe, please be sure to rate and review it below 🙂
PS: this fudge makes a great edible present for the holidays!

Introducing
Big Vegan Flavor
Techniques and 150 recipes to master vegan cooking.
Vegan Fudge
Ingredients
- ⅔ cup (90-100g) hazelnuts
- 8 ounces (227g) sweetened condensed coconut milk*
- 12 ounces (340g) dark chocolate chips or chunks (60%-70%)**
- 1/2 cup (125g) unsweetened, creamy almond butter
- 1 teaspoon pure vanilla extract (not artificial)***
- Sea salt
Instructions
- Preheat the oven to 350ºF/175ºC. Spread the hazelnuts out on a rimmed baking sheet. Roast in the middle rack of the oven for 10-13 minutes, until very fragrant and toasty (smaller-sized hazelnuts need just 10 minutes).
- Immediately transfer the hazelnuts to a clean, thin dish towel and wrap tightly. Steam in the towel for 2 minutes, then vigorously rub the enclosed towel using your hands – the friction will help loosen the skins. It’s okay if not all the skins come up. Roughly chop the hazelnuts once cool enough to handle (no need to chop finely).
- Lightly oil an 8×4-inch or 9×5-inch loaf pan or a square 8×8-inch baking pan and line it with parchment paper (the oil helps the paper stick to the pan, but doesn't go into the actual fudge).****
- Add the condensed coconut milk and chocolate to a heat-safe bowl. Microwave on high for 90 seconds.*Remove from the microwave and allow to rest without touching for 1 minute, then stir with a silicone whisk until smooth and completely melted. While the chocolate mixture is still warm, add the almond butter, vanilla, and a pinch or two of sea salt. Whisk until well combined – it will be quite thick. Fold in the chopped hazelnuts with a silicone spatula.*Note: If your microwave is low wattage, you might need to microwave an extra 15 seconds until melted.
- Transfer the fudge into the lined pan, and pat down with a silicone spatula or your fingers to spread it out evenly. Very lightly sprinkle with sea salt, about a scant ¼ teaspoon.
- Transfer the fudge to the fridge for 1 to 2 hours until set. Allow to come to room temperature before slicing. For a more pronounced sweet-salty taste, sprinkle a pinch of flaky sea salt on the fudge before serving. Store leftovers tightly wrapped in plastic (or in an airtight container) at room temperature for 1 to 2 weeks, or in the fridge for longer. You can also freeze the fudge for up to 3 months.
Video
Notes
Nutrition
Nutrition information is automatically calculated, so should only be used as an approximation.



Do you think this would work with tahini instead of almond butter?
This fudge is ridiculously easy to make and super yummy. Which is problematic if you’re watching your weight. 😝
It’s great to hear you’re a fan of the recipe, Amber!
Made this as a DIY Christmas present and it went down an absolute treat! Fudge was absolutely delicious and super simple to put together. Definitely will be making this for others as gifts throughout the year as it looks absolutely fabulous – I packaged it up in a windowed cupcake box and wrapped in a ribbon, looked very professional! Thanks Nisha for the great gift idea & yummy recipe! 🙂
So cute, I love that you did that, Anna! I need to copy you on that packaging idea. Thanks for the great review!