

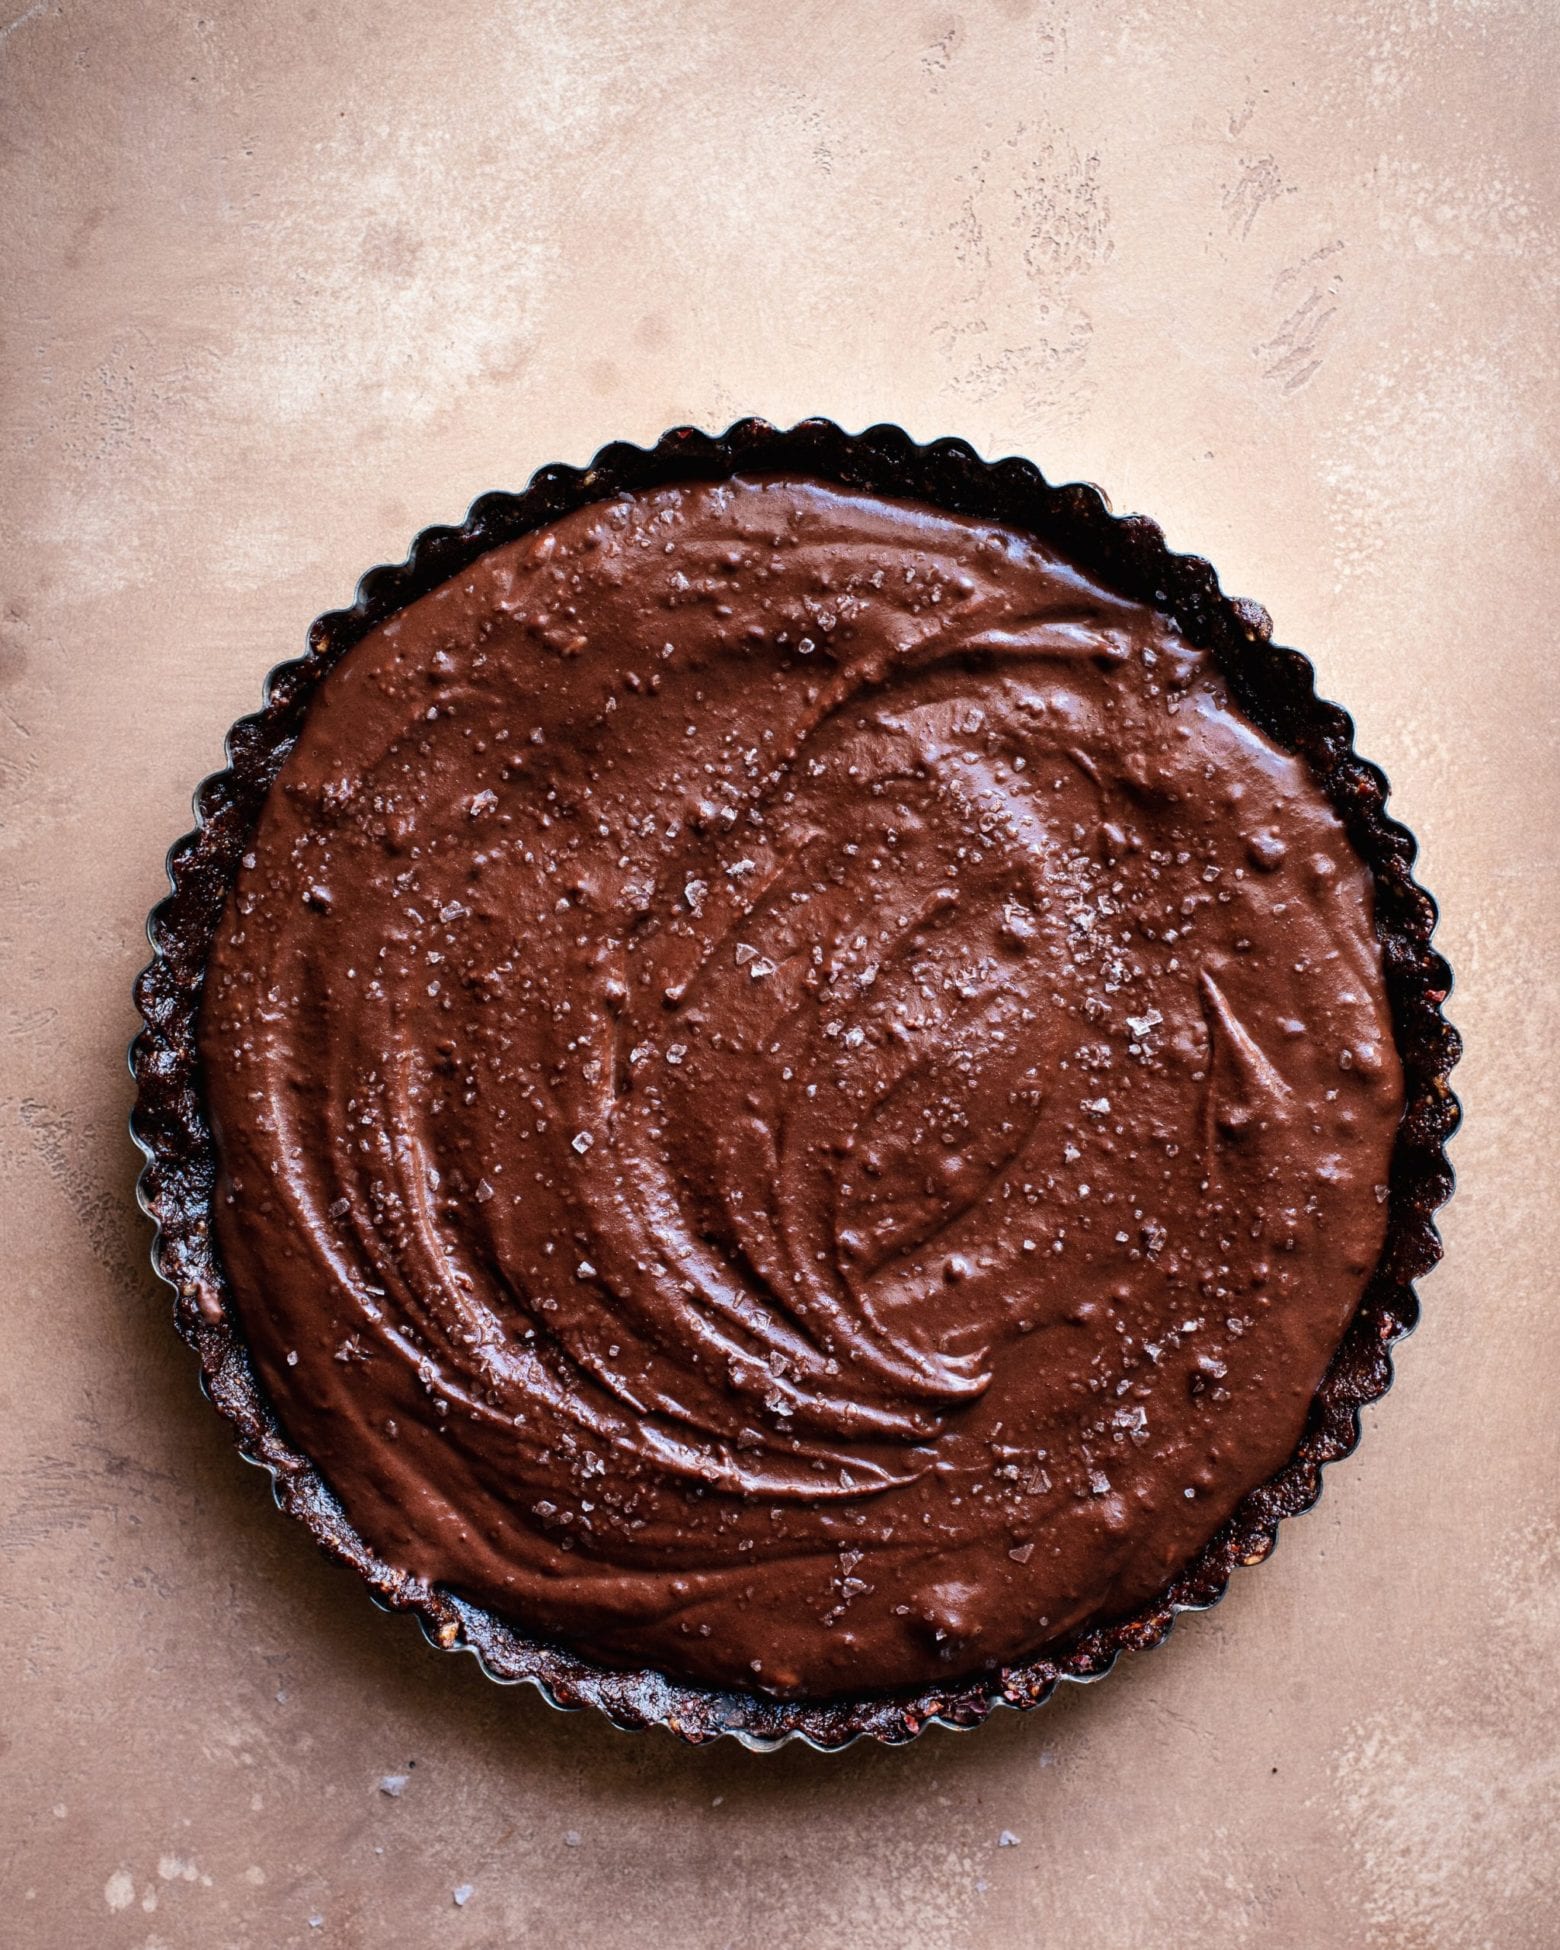
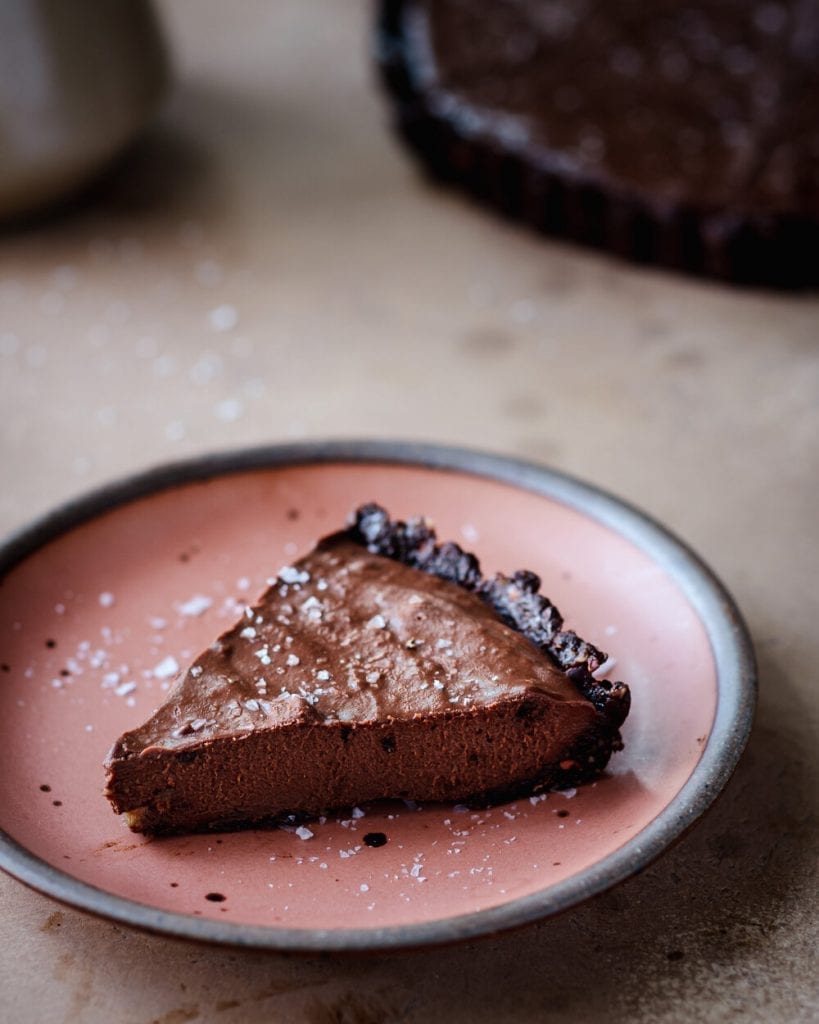
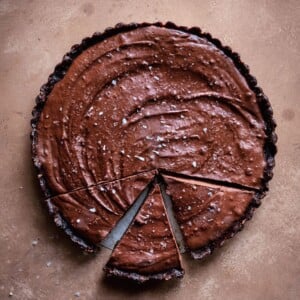
We have to talk about this Vegan Salted Chocolate Cream Tart. I made it last week and you have try it. I served it to my partner, who declared that it was possibly the best dessert I’ve ever made. Not the best chocolate dessert, not the best vegan dessert, just the best dessert period.
I also served it to a dozen of my coworkers, and their responses were either, “OMG SO GOOD, PLEASE MAKE THIS EVERY WEEK!” or pure shock/silent tears of joy.
Have I sold you yet? If you are a dessert lover, then I imagine I have. But for the health conscious crowd who might think this dessert is simply too unhealthy, don’t be dissuaded. This tart is gluten-free and mostly refined sugar free. Plus, it’s so creamy and rich that even a tiny slice will satisfy all of your cravings.
Did I mention it’s super easy to make and requires zero actual baking and comes together in less than 45 minutes?
In the time since I first made this tart over two years ago, it’s become my go-to easy yet impressive dessert for dinner parties, holiday meals, and more.
Why you’ll love this Vegan Salted Chocolate Tart
Too easy to make. This is a truly foolproof dessert because it is SO easy to make. No baking required and you really don’t need to know anything about baking to pull this off. The food processor does most of the work for you and it’s easy enough that your kids can help.
Wholesome but Decadent. The crust is made primarily with nuts, dates, and cacao powder; the filling with dark chocolate, dates, and coconut cream. In terms of holiday desserts, it’s quite wholesome. But you’d never know that from how decadent it tastes.
Make ahead and stores well. You can make this tart several days in advance and store it covered in the fridge, which makes it a great candidate for busy holiday seasons. You can even freeze it in advance if you want to make it well in advance. Leftovers stay good in the fridge for up to a week, or for a few months in the freezer.
Chocolate Fudge. The filling is SO creamy and lush, it basically tastes like (salted) chocolate fudge. And there’s only four main ingredients in the filling.
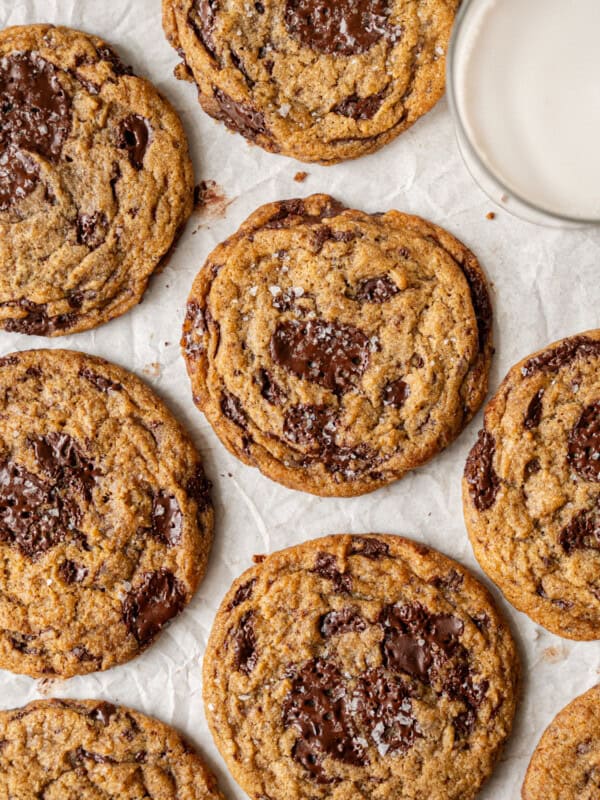
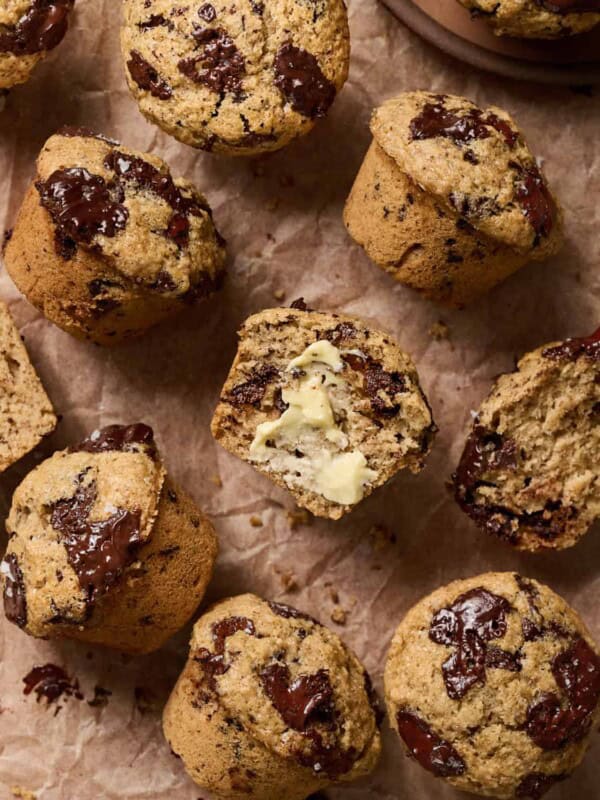
PS: If you’re looking for more scrumptious chocolate desserts, I highly recommend my Bakery-Style Vegan Chocolate Chip Muffins, my decadent but wholesome Vegan Chocolate Mousse, my five-ingredient Vegan Fudge and this luxurious Vegan Hot Chocolate.
Ingredient Rundown: Crust
Medjool dates. These sweet and sticky gems are going to help sweeten the tart crust and bring it together. I recommend using soft Medjool dates for the best texture. The smaller, drier deglet dates will not work as well, and your dough will be tougher and less sticky (you’ll likely need to add some coconut oil or maple syrup to get the right texture).
If your Medjool dates aren’t soft, soak them in hot water for 5 to 10 minutes, then drain well.
If you can’t find Medjool dates in your local grocery store, you can find them on Amazon.
Raw Walnuts and Pecans. The high fat content in nuts, when blended up, is going to help bring this dough together without having to use oil. You can substitute the walnuts or pecans with raw almonds. I don’t recommend using almonds alone because they are much tougher than walnuts or pecans, so the crust will not be as smooth.
Almond Butter. Brings an extra nutty taste and richness to this crust. If you don’t have any, you can substitute coconut oil, but I’d start slowly with just half the amount (2 tablespoons).
Raw Cacao Powder. This is a chocolatey brownie-like base, so of course we need some cacao! I like using raw cacao powder in unbaked desserts since you get all the nutrition benefits from unprocessed cacao powder, but you can easily substitute with unsweetened cocoa powder.
Raw Cacao Nibs. These are optional, but if you like your crust with a little crunch, fold a few spoons of raw cacao nibs into the dough.
Ingredient Rundown: Filling
As previously mentioned, there are only four main ingredients in this filling and it tastes like salted fudge, so you can’t go wrong.
Dark Chocolate. This is a sophisticated, grown up tart, so I recommend using a good-quality dark chocolate. My preference is in the 72%-75% range, but many people have made this with 60-65% and I’ve also made it with 85%. It just depends on how comfortable you and your guests are with dark chocolate.
You can use chocolate bars and roughly chop them up, or chocolate chips/chunks.
Coconut Cream. This is the first ingredient that helps bring the luscious fudge-like texture to this tart. Coconut cream is the thick, solid white cream-like substance you’ll find in a can of full-fat coconut milk. You can also buy canned coconut cream.
The most difficult part of this recipe is to remember to refrigerate your cans of coconut cream or coconut milk 24 hours (or more) in advance. When refrigerated, the cream separates from the liquid part, so it’s easier to scoop out for the recipe. When at room temperature, many brands of coconut milk or cream mix together, so you can’t scoop out the cream.
Using the cream alone is what helps make this filling extra rich and creamy.
Coconut Oil. The coconut oil brings a glossy smoothness to this tart filling. Be sure to use refined coconut oil, as unrefined or virgin coconut oil will impart a coconutty taste.
Medjool dates. These superstar babies get used in the crust and the filling and help thicken up the filling and make it even more fudge-like.
Sea salt and flaky salt. Since this is a salted chocolate cream tart, we gotta add some salt! Add a little fine sea salt to the filling, then before refrigerating the tart, add some good flaky sea salt on top. The salt really helps to both balance the rich sweetness and enhance the chocolate flavors in this tart.
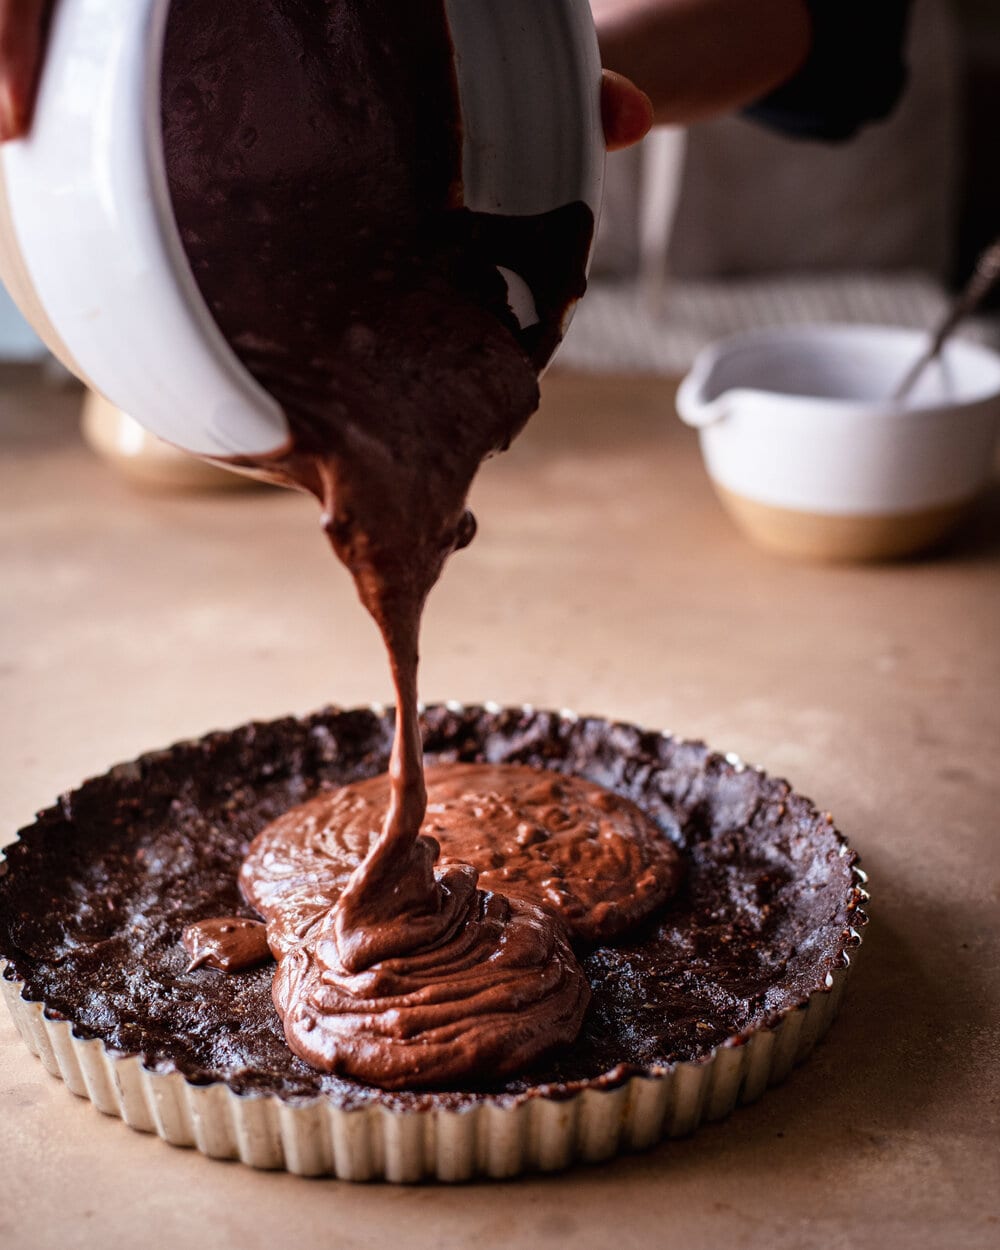
How to Make this Vegan Salted Chocolate Cream Tart
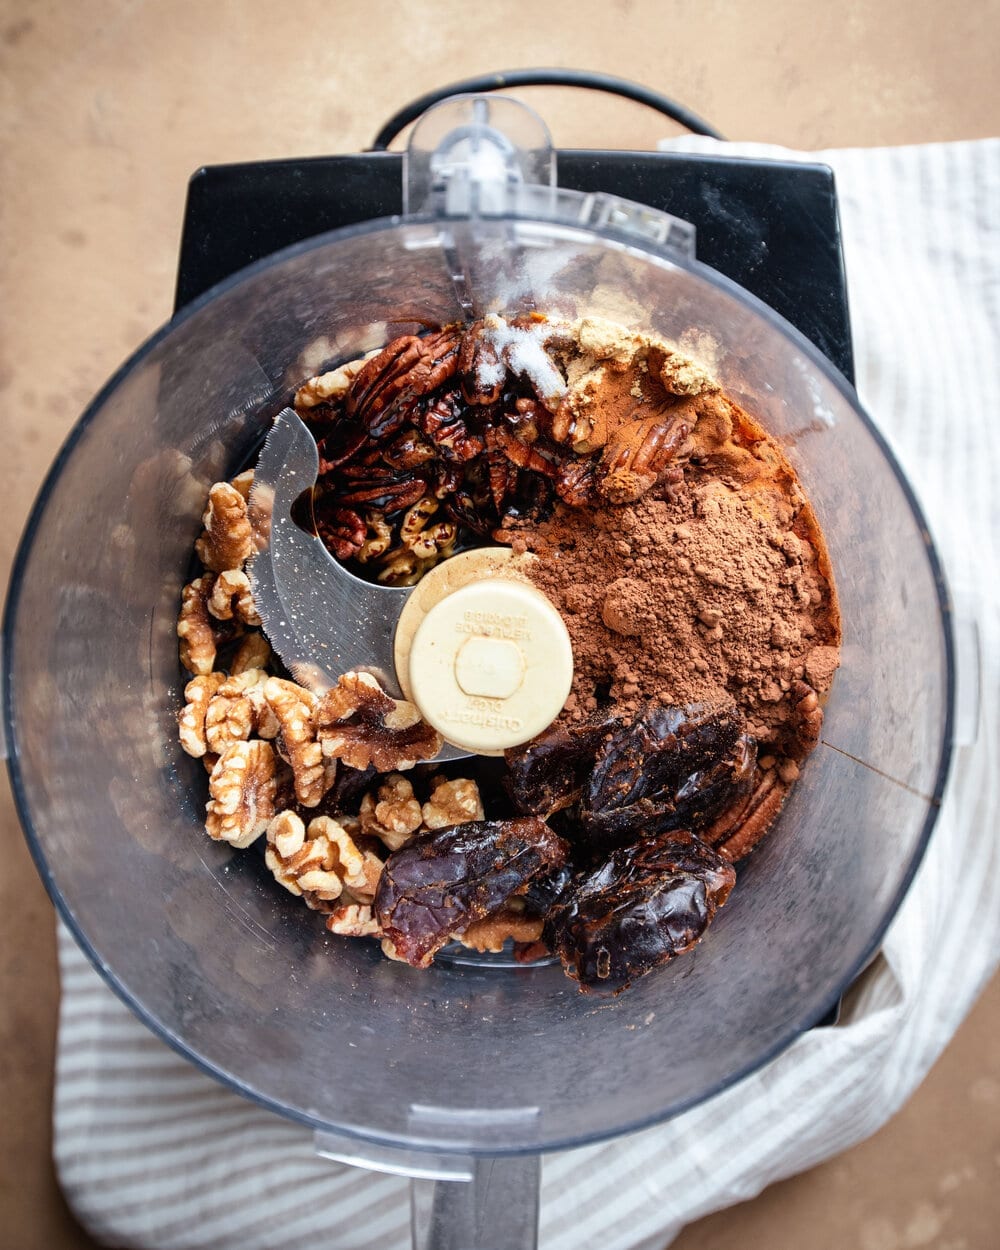
First, make the crust. Add the dates, nuts, almond butter, cacao powder, salt, and cinnamon in a food processor. Blend until you have a slightly sticky dough that comes together.
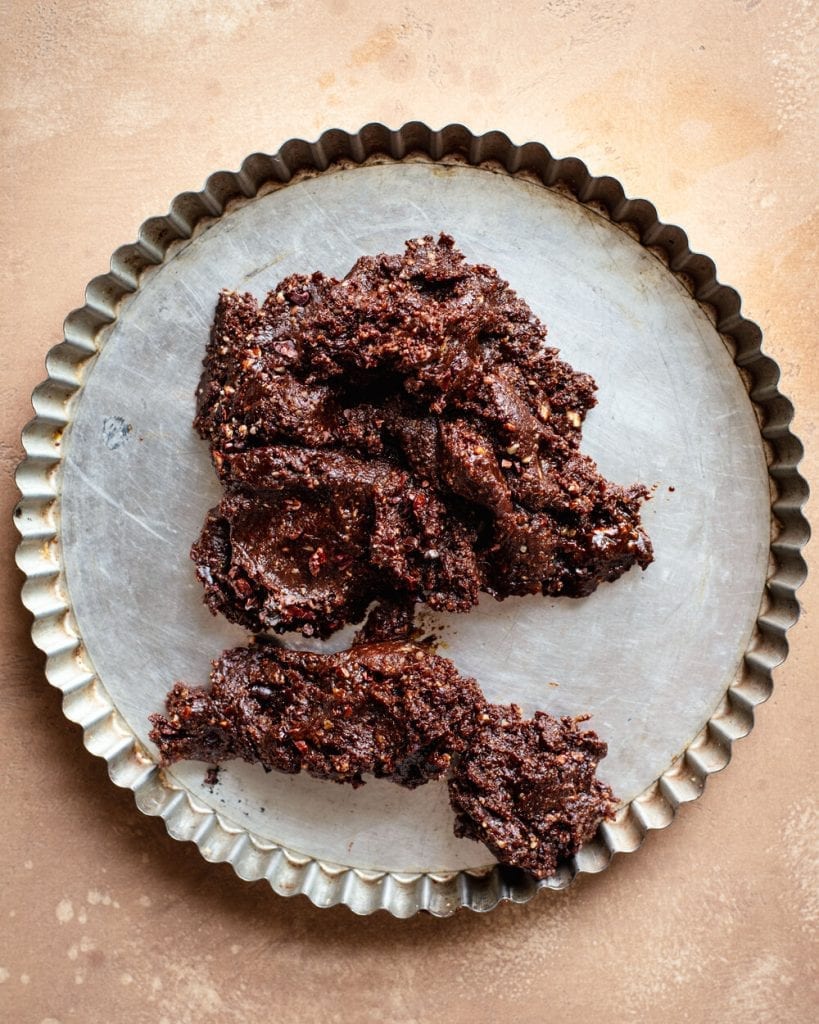
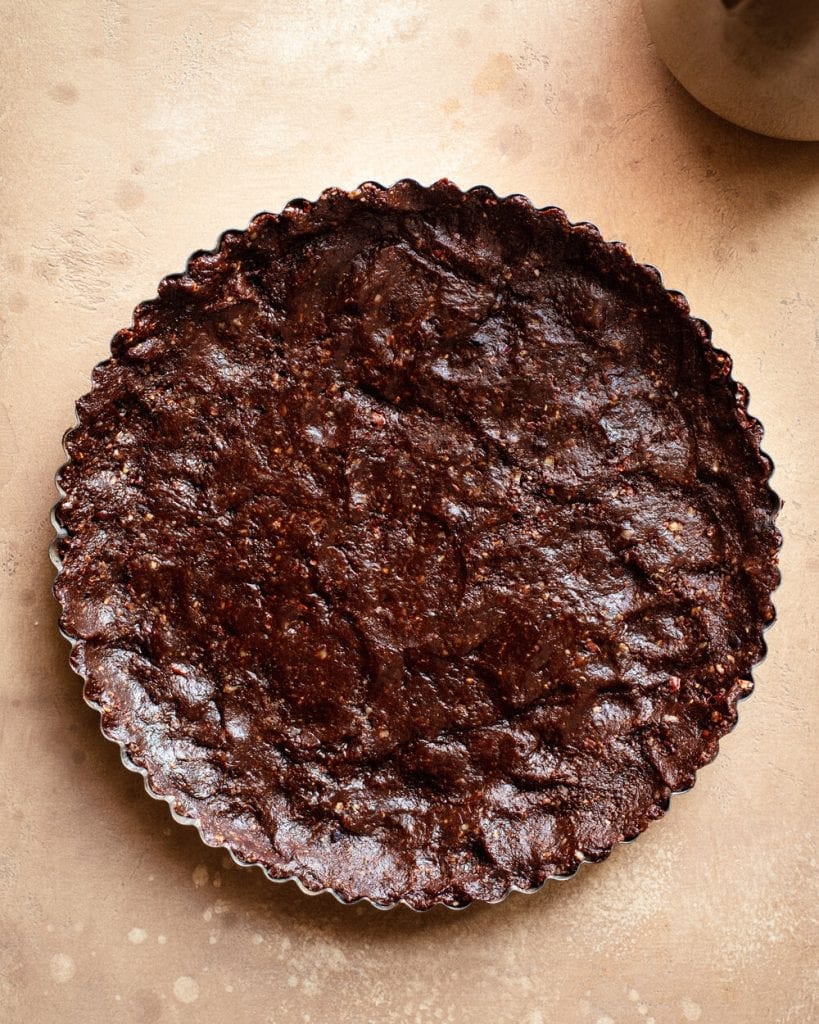
Add the crust mixture into the bottom and sides of a 9-inch tart pan with a removable bottom. Use a flat-bottomed cup and your hands to smooth out the surface of the tart. Pop it in the freezer for 20 minutes to firm up.
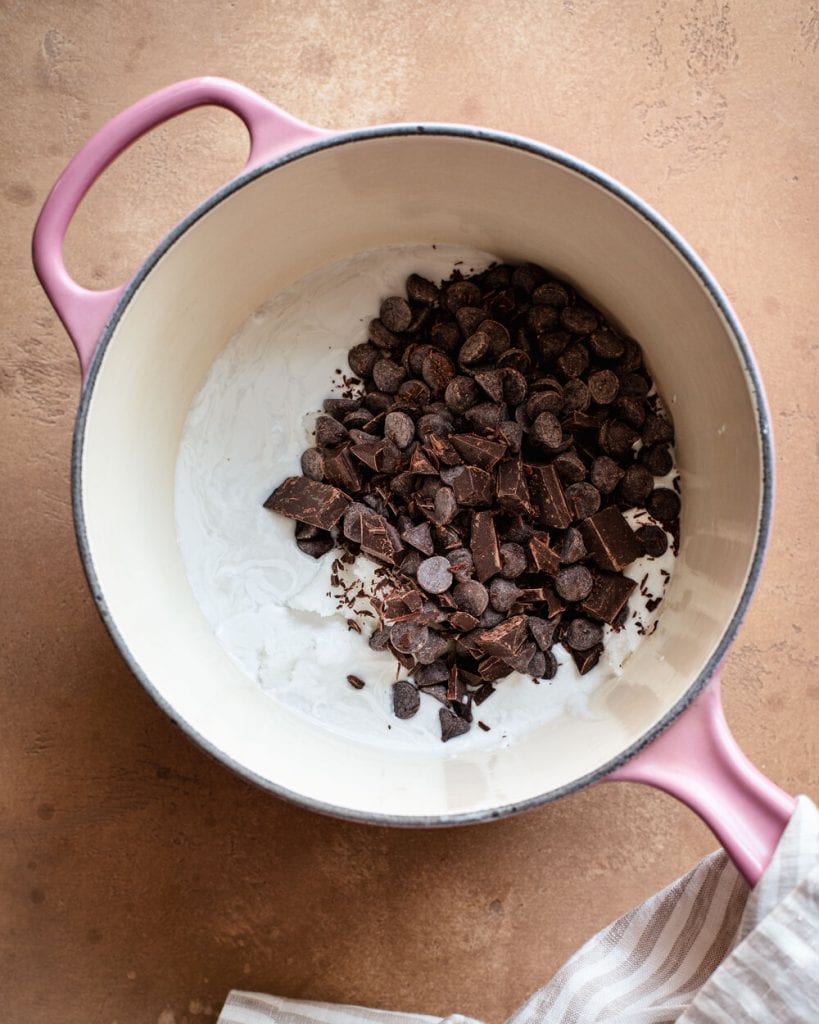
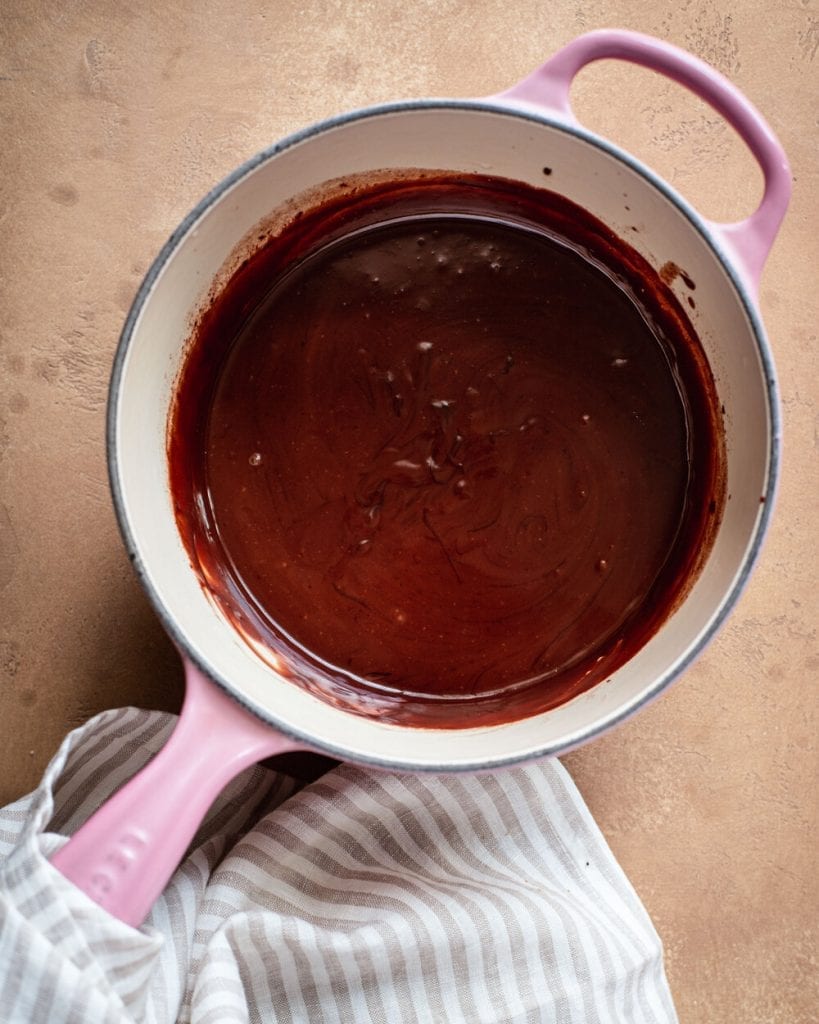
Meanwhile, make the salted chocolate filling. Scoop the coconut cream into a saucepan, and add the chopped dark chocolate and coconut oil. Whisk over medium-low heat until melted and smooth, whisking frequently.
Watch! How to make Salted Chocolate Tart!
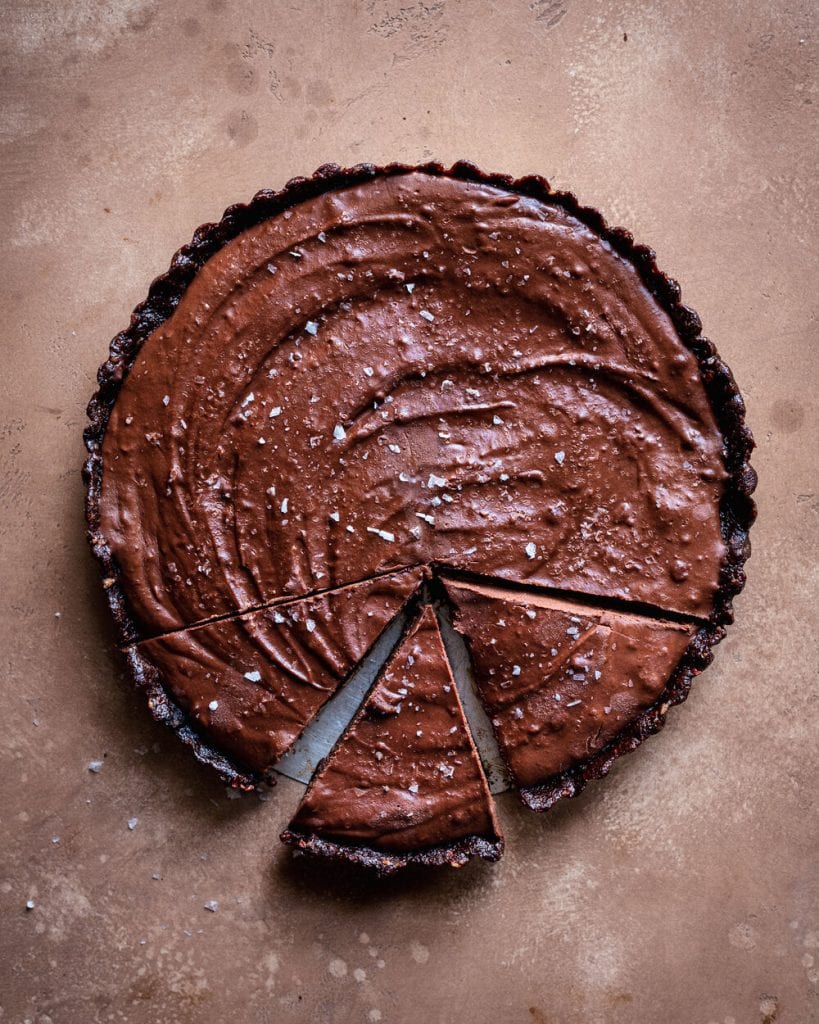
Before slicing into the tart, I recommend giving it a taste to see if you need to add any extra flaky salt before serving.
Since the tart is SO chocolatey, I recommend garnishing it with fresh raspberries or something tart and zesty to counterbalance the richness. You could also use fresh strawberries or blackberries.
To make this tart ahead, just store it in the fridge, covered, for a few days. Or freeze for a longer period of time.

If you give this Vegan Salted Chocolate Cream Tart recipe a try, be sure to tag me on Instagram with your recreations and please comment with your feedback below!

Introducing
Big Vegan Flavor
Techniques and 150 recipes to master vegan cooking.
Vegan Salted Chocolate Cream Tart
Ingredients
Crust
- 9 to 10 large Medjool dates (~ 7 oz / 200g) (see Note 1)
- 1/2 cup (56g) raw walnuts
- 3/4 cup (85-90g) raw pecans (or almonds)
- 4 tablespoons (64g) smooth almond butter
- 1/2 teaspoon fine sea salt
- 1/2 teaspoon ground cinnamon
- 5 tablespoons (30g) unsweetened cocoa powder or raw cacao powder
- 2 tablespoons raw cacao nibs (optional)
Filling
- 10.5 oz (300g) coconut cream from a can of full-fat coconut milk or coconut cream (~ 1 1/3 cups) (see Note 2)
- 4 oz (114g) 60%-85% dark chocolate, roughly chopped (I like using 72%)
- 1/3 cup refined coconut oil (65g when in semi-solid form) (see Note 3)
- 6 to 7 large Medjool dates (see Note 1)
- 1 teaspoon pure vanilla extract
- A large pinch of sea salt
Garnishes
- A few sprinkles of flaky sea salt for topping
- Fresh raspberries or other berries
Instructions
Make the Crust
- Remove the pits from the dates. If the dates aren’t soft, soak them in hot water for 5 minutes, then drain well.
- Add the dates, walnuts, pecans, almond butter, salt, cinnamon, and cacao powder to a food processor. Blend until you have a slightly sticky dough that comes together when you press it with your fingers. If using, fold the cacao nibs into the dough with a rubber spatula or your hands.
- Press the dough onto the bottom and up the sides of a 9-inch tart pan with a removable bottom. Place in the freezer to firm up for 20 minutes and clean out the food processor.
Make the Filling
- While the crust is chilling, heat a saucepan over medium-low heat and add the coconut cream, chopped dark chocolate, and coconut oil. Whisk frequently until melted and smooth. Allow the chocolate to cool slightly.
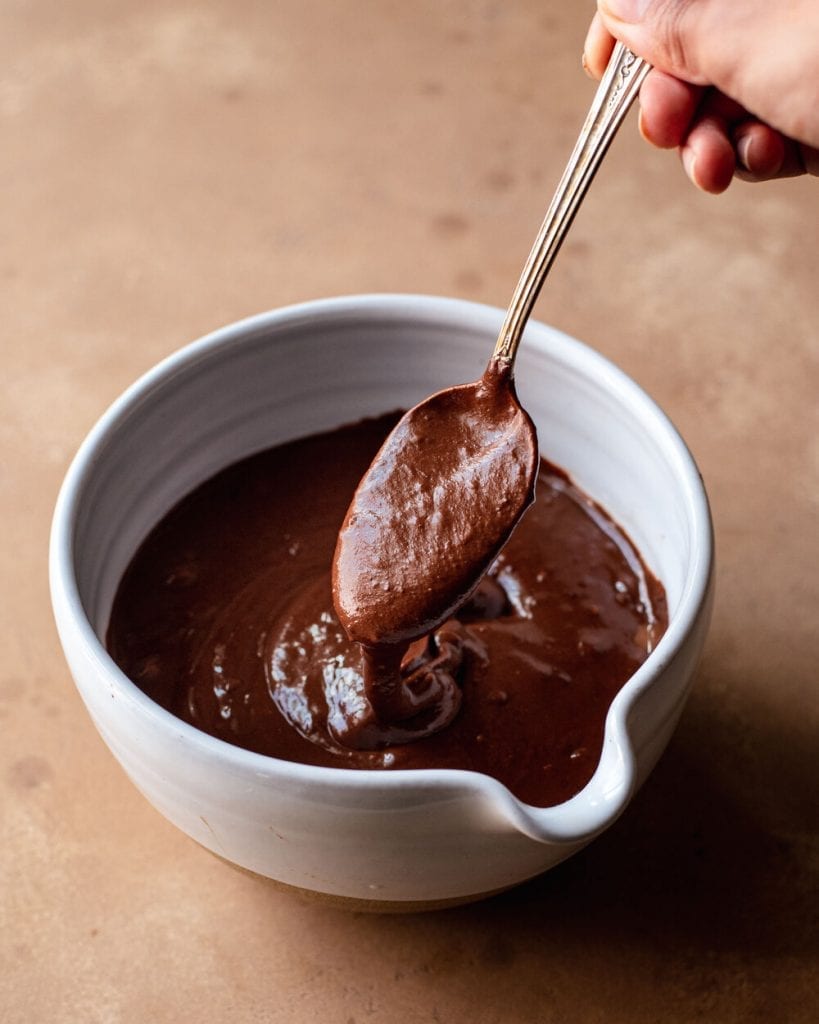
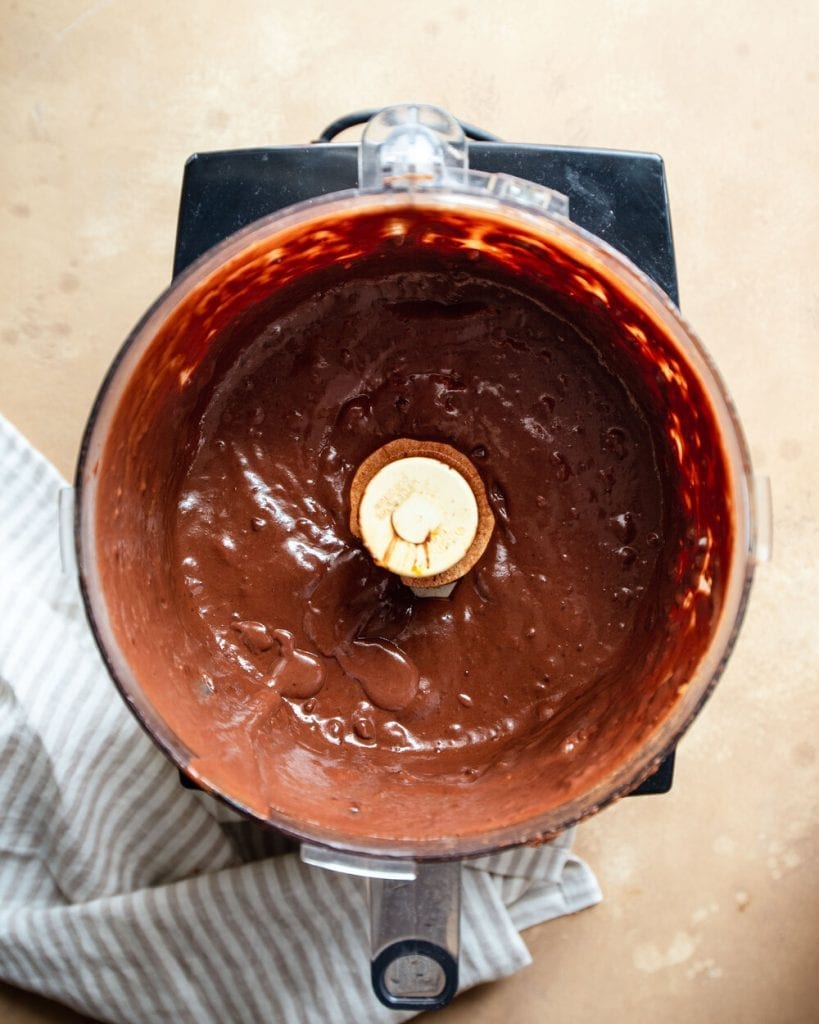
- Remove the pits from the dates and tear into pieces. Add them to the food processor, along with the vanilla, sea salt, and and the melted chocolate mixture. Blend until everything is combined and completely smooth, scraping down the sides as needed. The filling should be smooth, silky, and rich. Taste for seasonings, add more salt as needed.
Assemble the tart
- Pour the chocolate filling into the chilled tart crust. Garnish with flaky sea salt. Chill the tart in the freezer for 2 hours or until set and firm. Garnish with fresh raspberries and allow to sit at room temperature for 10 to 15 minutes before serving.
Video
Notes
Nutrition
Nutrition information is automatically calculated, so should only be used as an approximation.


OMG, Nisha, I love this chocolate tart!! I cannot count how many times I have made it so far!! I’m making it again for Thanksgiving this year.
Thanks for the lovely feedback, Paula! We are so happy you’ve been loving the tart!
Is the dark chocolate sweet or unsweetened?
Hi Grethel, sweetened! Just look for a 4oz chocolate bar that’s anywhere from 60%-85% dark chocolate. (Nisha likes using 72%)
I’m planning to make this for Thanksgiving next week. But is any 70% dark chocolate bar vegan? No specifics offered there. Please advise if possible.
Hi, yes you should be able to find vegan bars! If you have any health food stores like Whole Foods or Sprouts nearby they should have multiple options. We have been able to find vegan dark chocolate at places like Target and Vons too, just check the ingredients list to make sure it doesn’t contain milk!
SO GOOD! Made this last year for thanksgiving and definitely making again this year. Perfect chocolate dessert, so rich and decadent!
Yay, we are so happy to hear that Kel! Thanks for trying it!
This is the best. We love it so much . Easy to make and so delicious and healthy. Thank you !
Annie, So glad to hear you loved this recipe!
This is a MUST MAKE recipe. I make it for all fancy occasions because it is so decadent and a crowd favorite. Definitely recommend.
Awesome, Molly. Thanks for your comment and for taking the time to review!
LOVE this recipe! I make it all the time and it’s always a hit.
Any idea what the nutritional content would be? I’m adding it in my BiteSnap app to track calories but I’m not sure what to put…
Thanks!
Hi Jenny, so glad you love the recipe! We don’t include nutrition facts on our recipes for a few reasons. If you’d like to read more as to why, you can do so at this link: https://rainbowplantlife.com/welcome/.
Many of our readers use apps like MyFitnessPal to calculate nutrition facts for their own purposes. Hope that helped!
WOW!
What an incredible dessert! So crazily yummy!!
I’ve been vegan for 20 years and am in need of a recharge/inspiration and I’ve found it with your recipes, fantastic videos, and cooking hints. This old bird has learned a whole bunch of new tricks from you! Thanks so much Nisha!
Thank you so much for your comment, Lynn! We are so happy to be of help!
My wife and I are 4 weeks into our vegan diet journey and I was specifically seeking a recipe to satisfy her chocolate craving… WOW, this was incredible. I’m talking mind boggling incredible, make you want to eat as much as your body will allow… may be more. This is a must try. Also, THANK YOU for your amazing recipes, this has made being a vegan approachable and fun!
We love to hear that, Micah! Thanks for trying it!
I’ve made this recipe twice now. It’s so good! It’s very decadent and satisfying. I was having major sweet tooth problems — I like chocolate a lot — problem solved. The hardest part was sourcing fair trade vegan chocolate but I found some. Had almond bits in it but didn’t have a negative impact. Very happy with this goodie and I’ll make sure I have the ingredients on hand!
Thanks for sharing, Becca!