

When I started recipe testing for my cookbook, The Vegan Instant Pot Cookbook, I became obsessed with Instant Pot cheesecakes. I loved how easy and foolproof they turned out.
The Cookies ‘n Cream Cheesecake in my cookbook is probably one of my favorite cakes of all time (and I highly recommend trying it out), but this recipe is for a more classic cheesecake! While it’s rich and creamy just like traditional cheesecake, it’s a bit lighter and won’t weigh you down.
To see how I make a vegan cheesecake in the Instant Pot, check out the video below or on Youtube! And scroll down for step-by-step instructions.

Why Bake a Cheesecake in the Instant Pot?
First, let’s talk about the why. Why would you want to make a cheesecake in the Instant Pot? For one, you can bake a cheesecake in the summer without having to turn on your oven for 1-2 hours. In other words, less sweat, more cake!
Second, the reason the Instant Pot is perfect for making cheesecakes is that it acts as a huge water bath. If you’ve ever made a traditional cheesecake, you might have baked the cheesecake in a water bath (you wrap the bottom of the cheesecake pan in foil, then place the cheesecake pan inside of a large roasting pan filled with hot water, then bake that inside the oven). This helps the cheesecake stay moist and helps prevent it from cracking and drying out, but even with a water bath, the perfect cheesecake can be hard to nail. In my pre-vegan days, I tasted many a cheesecakes that were too dry and too thick and not moist enough.
But when you bake a cake inside the Instant Pot, you’re using the pot-in-pot method (PIP, for short), and this turns the Instant Pot into its own water bath (more on that in the next section). The Instant Pot essentially steams the cake throughout, resulting in a cake that is tender, moist, and light. No dry or cracked cheesecakes here!
Equipment for Baking a Cheesecake in the Instant Pot
Next, let’s talk about the equipment you need to make a cheesecake in the Instant Pot. (Affiliate links below)
- A 6-quart Instant Pot (or an 8-quart Instant Pot)
- A 7-inch springform pan (for the 6-quart model). If you have an 8 quart model, you can use the 7-inch pan or a 8-inch springform pan.
- A steamer rack or trivet with handles
- A sling to lift the pan in and out of the Instant Pot
- A food processor
As with any cheesecake recipe, you’ll need to use a springform pan. But a standard 9-inch springform pan is too large to fit in the Instant Pot and you’ll need a smaller pan. I’ve had the same 7-inch springform pan for over a year and have used it dozens and dozens of times to bake cakes and casseroles in the Instant Pot. In fact, I used this same pan throughout all of the recipe testing for my cookbook and it still works beautifully and doesn’t leak, so I’d say it’s a great investment.
If you have an 8-quart Instant Pot, you can use an 8-inch springform pan, but if you don’t increase the volume of the ingredients in the recipe, your cheesecake will be rather skinny and not very thick, as there is more surface area to cover in the larger pan.
For the steamer rack (a/k/a the trivet), the Instant Pot comes with one, though older models come with a steamer rack that doesn’t have handles. I recommend purchasing a steamer rack that has handles, as the handles make it much easier to lift up pots when doing pot-in-pot cooking or when steaming vegetables. I prefer this one I purchased on Amazon.
For the sling, I simply use a long sheet of aluminum foil to make a sling. You can see how I make it at 05:33 in the video or on page 21 of my cookbook. You can also purchase a sling-type contraption such as this one.

How to Assemble the Cheesecake
- First, pour some water into the inner pot.
- Cover the cheesecake pan with a piece of aluminum foil.
- Arrange the cheesecake pan on top of the steamer rack. Place the foil sling underneath the steamer rack.
- Using the foil sling handles and/or steamer rack handles, lower the covered cheesecake pan into the inner pot.
- Seal the Instant Pot lid and pressure cook the cheesecake using the Pressure Cook setting (or Manual setting on older models). When the timer is done, allow a natural pressure release.
Vegan Cheesecake Ingredients
And, of course, we have to talk about the ingredients that make this cheesecake taste just like a classic cheesecake!
Raw Cashews: Soaked cashews, once pulverized and blended with some liquid ingredients, add a rich creaminess and luxurious mouthfeel that won’t make you miss the dairy and eggs. You will need to soak the cashews in water overnight or for 8 hours to help soften them up. In the event you forget to soak them (it happens), you can pour boiling water over them and soak them for just 1 hour.
Coconut Cream: While coconut cream and coconut milk are made from the same ingredients, coconut cream has more coconut + less water and therefore a higher fat content and thicker texture.
You can get coconut cream from one of two places. First, you can buy canned coconut cream (affiliate link). This is probably your easiest option, but if you can’t find coconut cream in your grocery store, you can also buy a can of full-fat coconut milk. The cream that rises to the top of the can of coconut milk is the cream. And if you’re wondering Can I use lite coconut milk to save on calories? The answer is no! First, light coconut milk doesn’t have enough fat content to create the cream. Secondly, this is a cheesecake, so we are not counting calories!
You will need to refrigerate the can of coconut milk for at least 24 hours to help get that solidified texture. Occasionally, you’ll end up with a dud of a can, and the cream won’t fully solidify. This actually happened to me in this recipe – as you can see in the video at 4:19, the coconut cream wasn’t super solidified, but this recipe still turned out great so don’t worry too much about whether your cream is 100% solidified. If you’re curious what the consistency of refrigerated coconut cream should really look like, you can check out my video for a baked pumpkin cheesecake at the 3:42 mark.
Vegan Cream Cheese: The last principal ingredient that makes up the cheesecake filling is vegan cream cheese. For vegan cream cheese, my recommend brand of cream cheese is Tofutti. I recognize that I haven’t had dairy cream cheese in a few years, but I honestly cannot tell the difference between this stuff and regular cream cheese (I actually like Tofutti more than I used to like regular cream cheese).
I also recognize that this isn’t the cleanest of ingredients, but again, we’re making a cheesecake! But if you are looking for a healthier alternative, you have two options. You can use Kite Hill Foods vegan cream cheese, which is made with almond milk and a few other ingredients. Or, you can omit the cream cheese entirely and use just cashews and coconut cream. You will need to increase the amount of each of those ingredients: use 1 1/4 cups raw cashews (instead of 3/4 cup) and use 3/4 cup coconut cream (instead of 2/3 cup).
I’ve done a lot of cheesecake recipe testing over the past year, and this triple threat combination works the best for achieving the rich creaminess and tangy taste of traditional cheesecake.
And one more note about the ingredients! The recipe calls for three tablespoons of lemon juice. Please do not skimp on the amount of lemon juice and please use freshly squeezed lemon juice only! Fresh lemon juice is essential for (a) masking the taste of cashews (you want to taste a cheesecake, not a cashew cake) and (b) adding that characteristic tart flavor that you want in a cheesecake.
How to Finish the Cheesecake
Once the cheesecake is done cooking in the Instant Pot, remove it to a wire rack and allow it to cool to room temperature (or at least somewhere near room temperature). Then wrap the cake in some plastic wrap (you can skip this step if you are plastic-free) and pop it in the fridge to cool for at least 4 hours. I accidentally popped this in the freezer instead of the fridge and it was perfect after 3 hours, so you can do it either way.
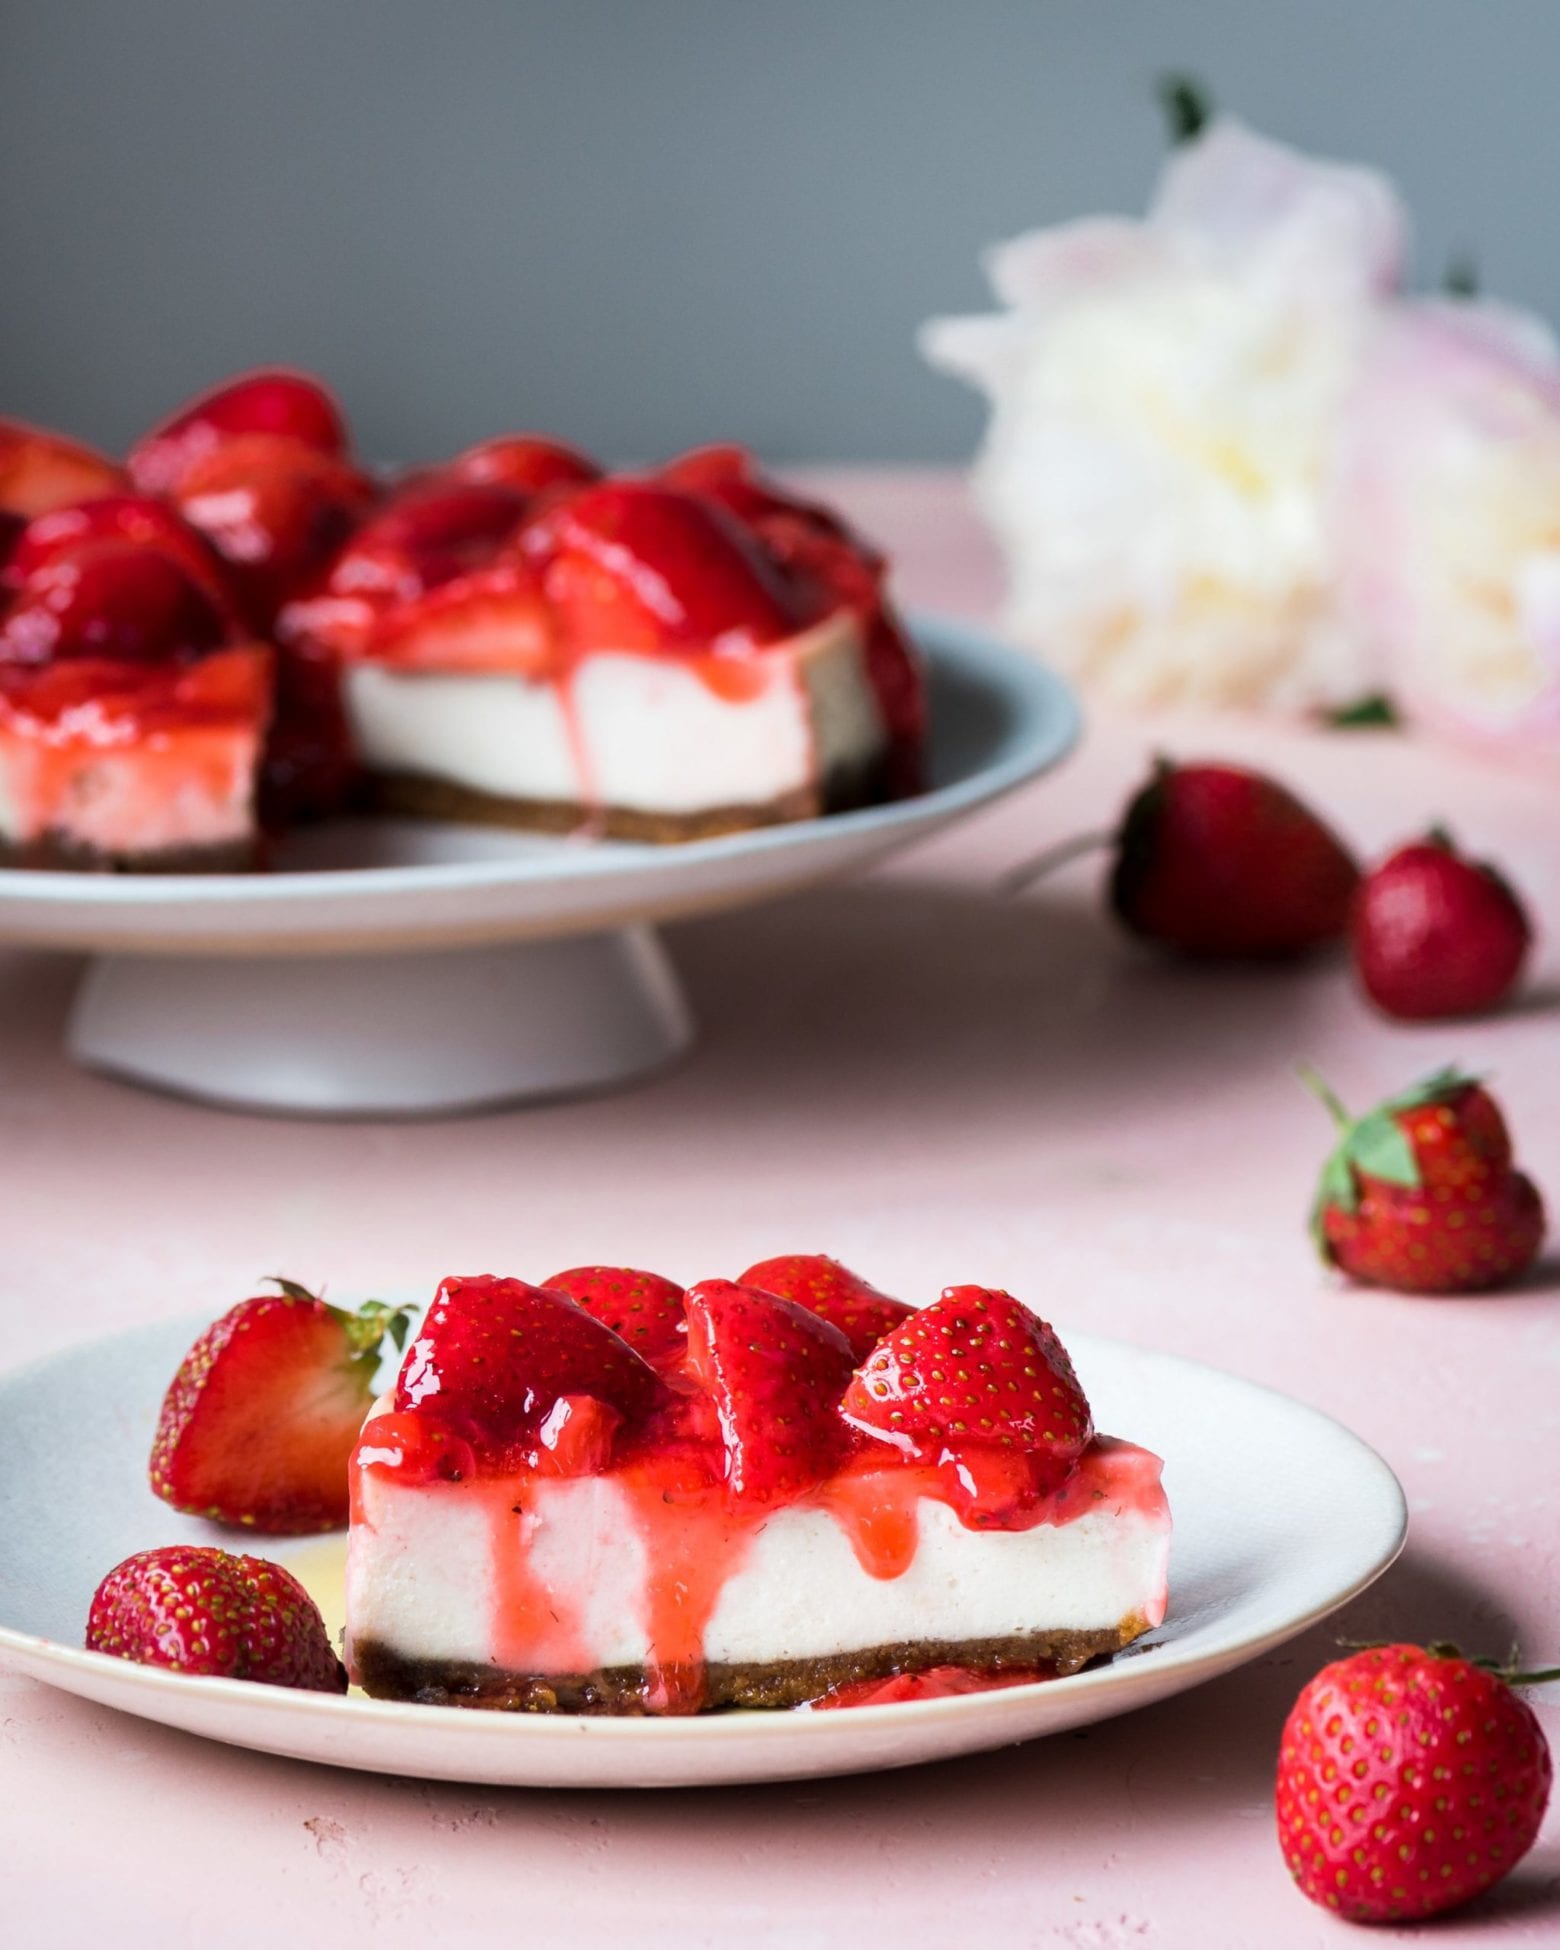
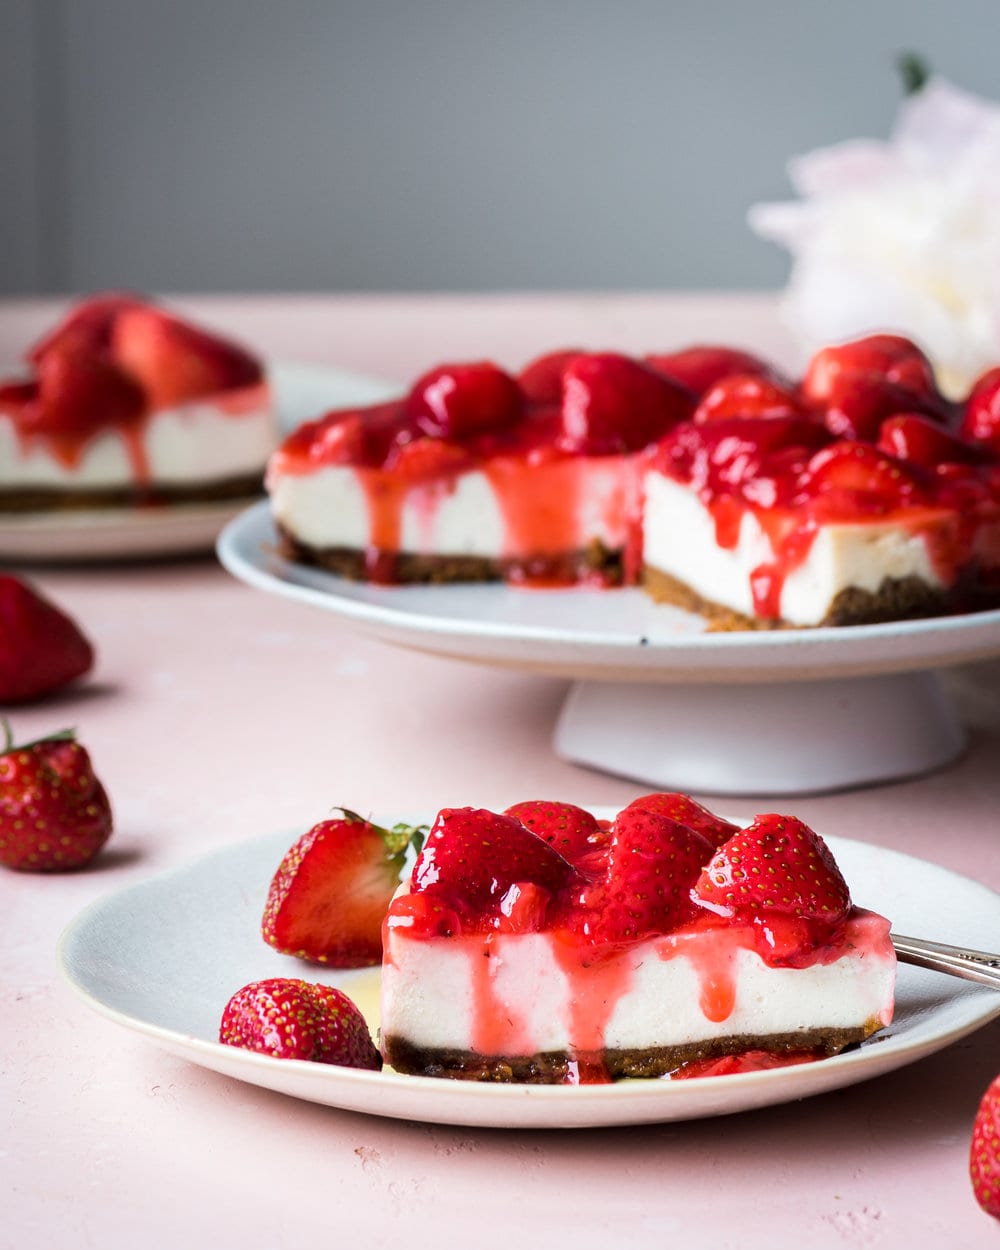
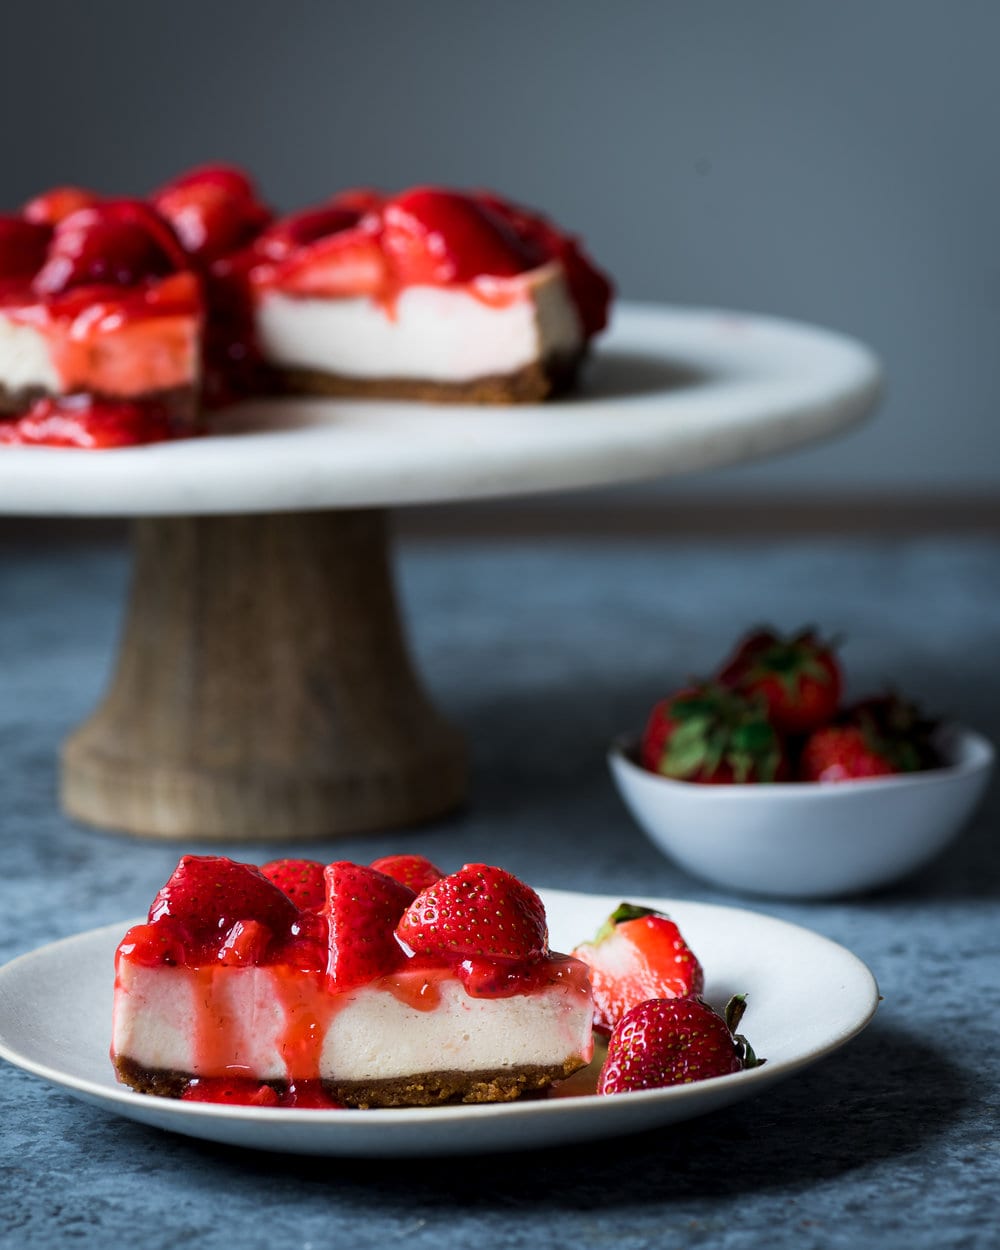
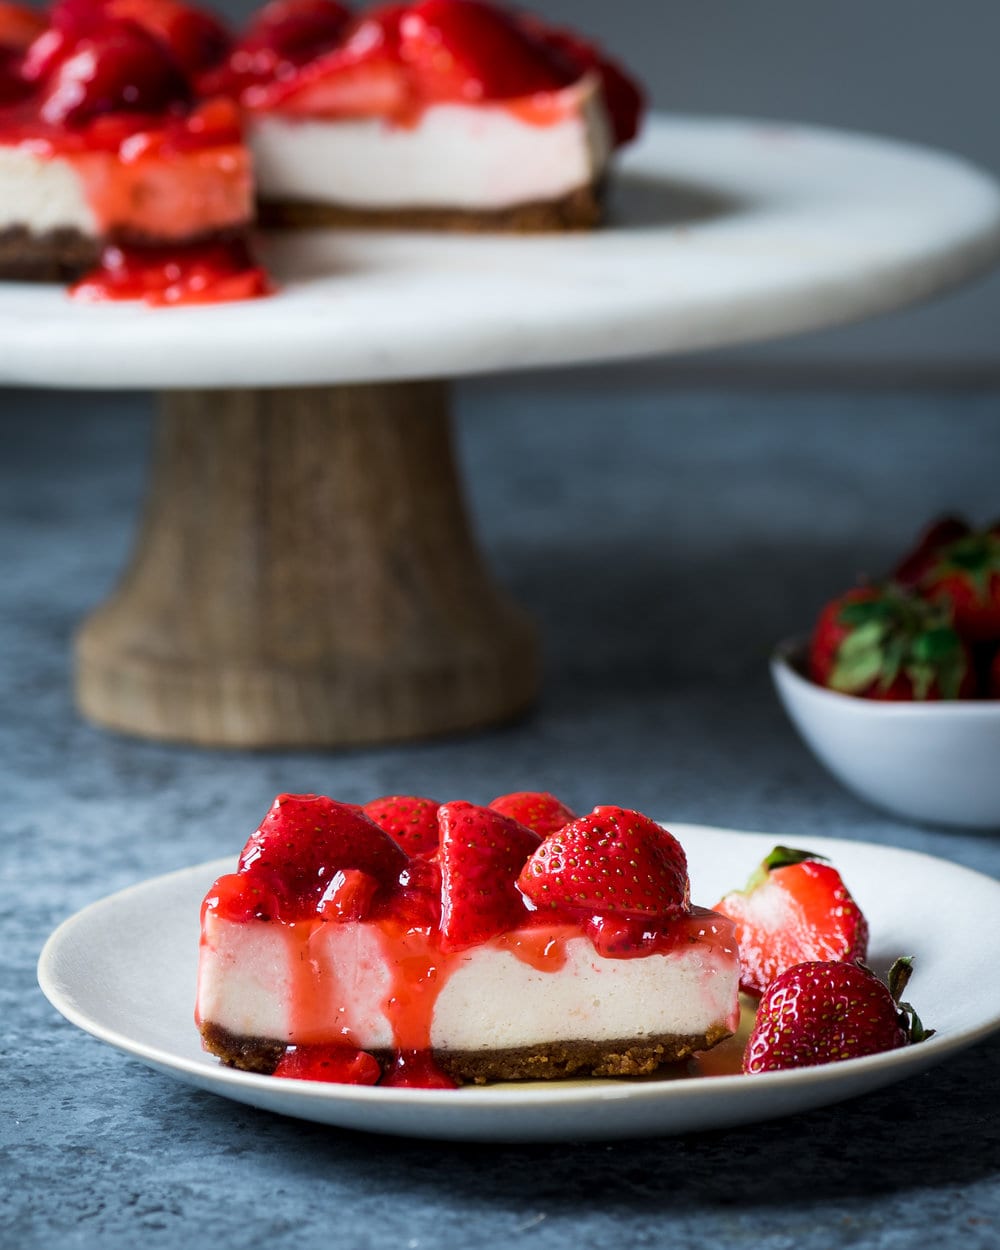
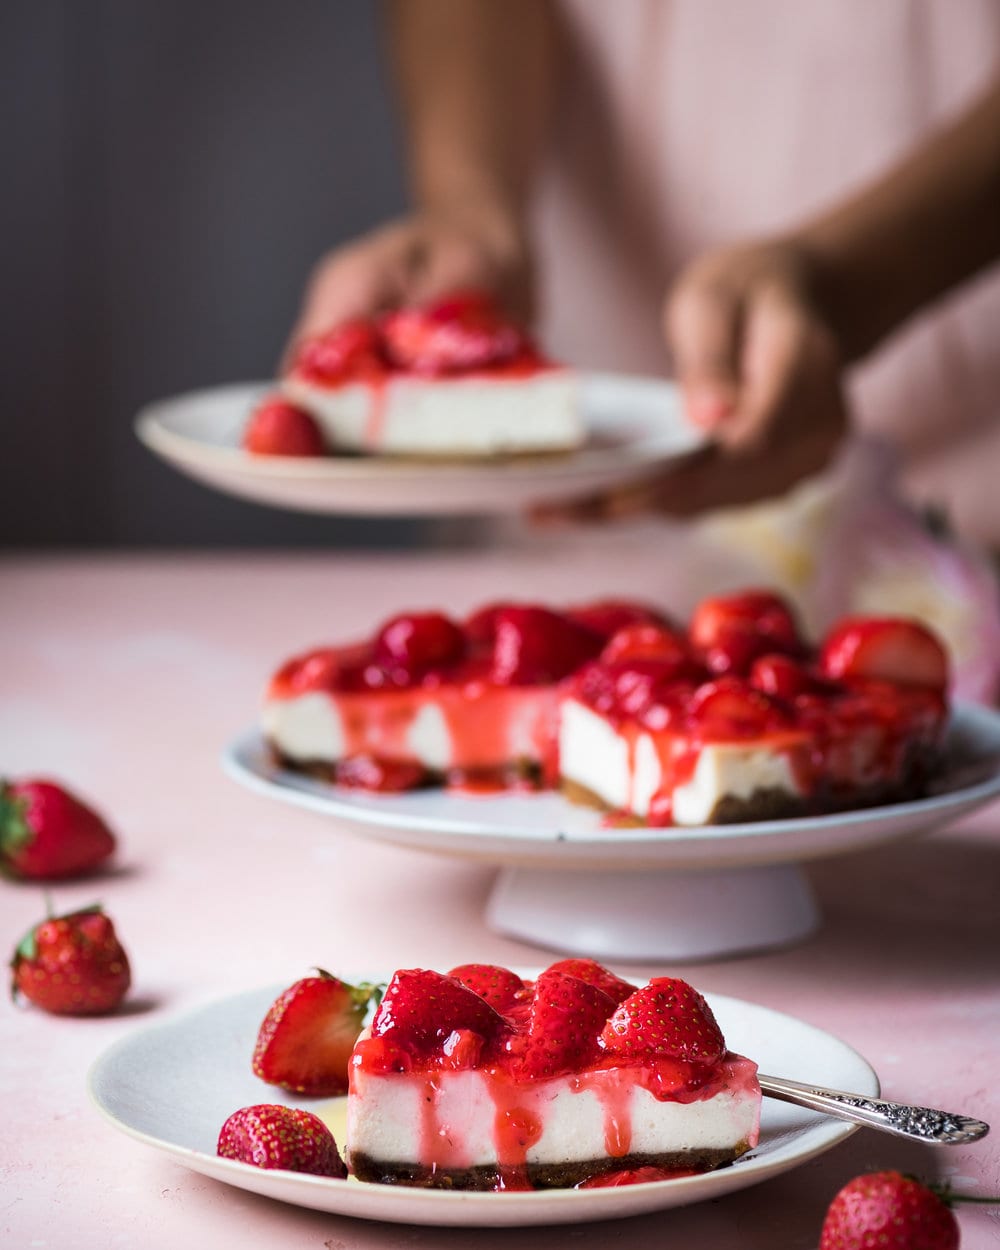
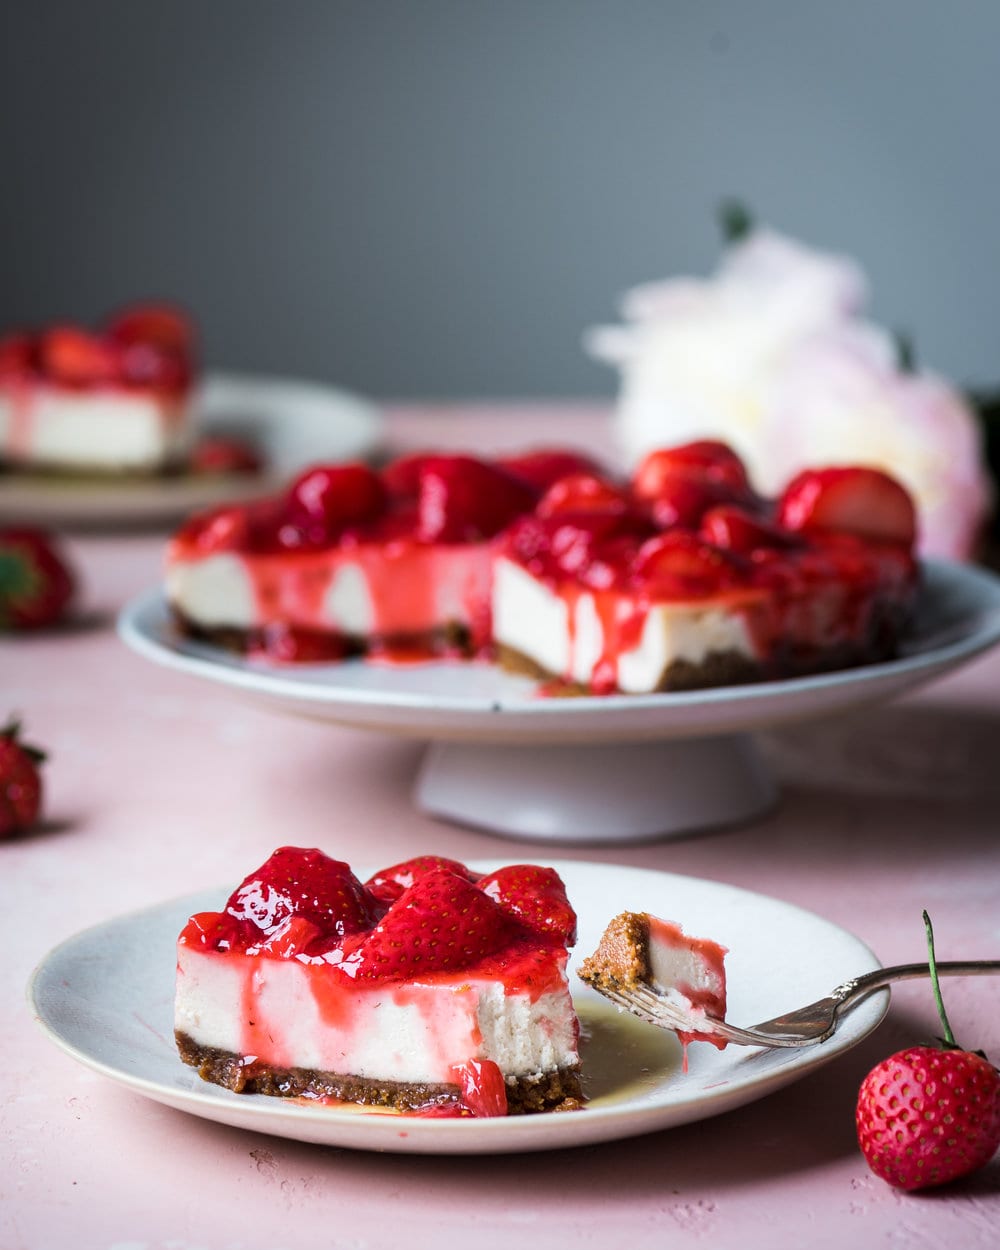
And you can serve the cheesecake as is, but if you really want to take it over the top (taste- and presentation-wise), then make this easy strawberry sauce! It takes 15 minutes to make, has just four ingredients, and is so delicious (especially right now since we’re in strawberry season).
I hope you enjoyed this post on How to Bake a Cheesecake in the Instant Pot! If you make the recipe, be sure to leave me a comment on Youtube or down below!
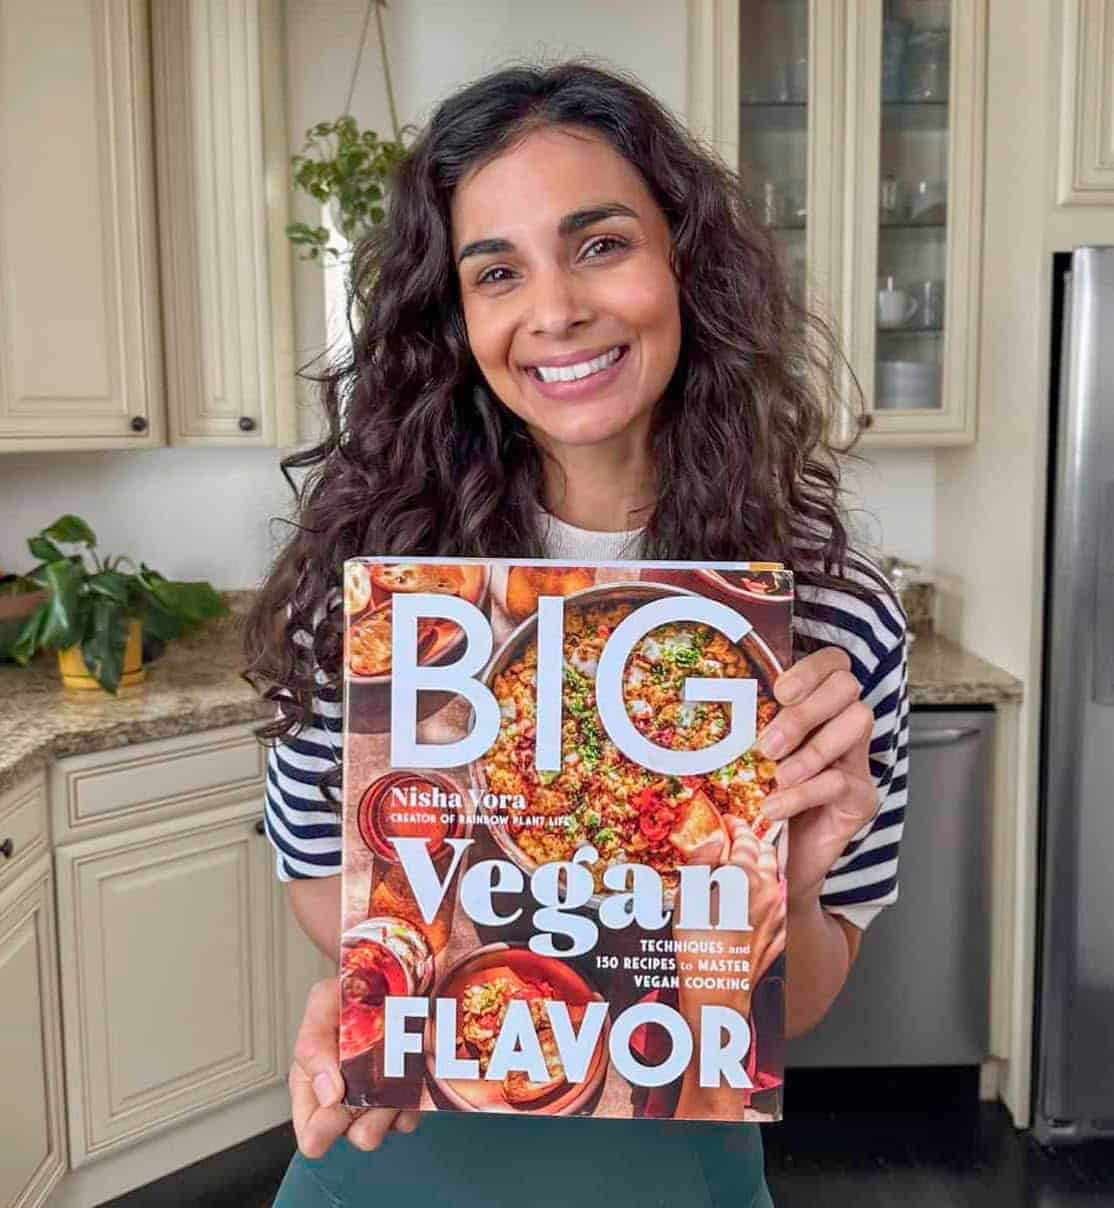
Introducing
Big Vegan Flavor
Techniques and 150 recipes to master vegan cooking.
Vegan Instant Pot Cheesecake

Ingredients
Crust
- Nonstick cooking spray or oil, for the pan
- 20 gingersnap cookies
- 1/2 cup pecans (can substitute walnuts)
- A pinch of sea salt
- 2 tablespoons coconut oil, melted + more as needed
Cheesecake Filling
- 3/4 cup raw cashews, soaked for 8 hours or overnight, and drained well*
- 2/3 cup coconut cream, refrigerated for at least 24 hours to solidify
- 2/3 cup vegan cream cheese**
- 2 tablespoons coconut oil, melted
- 3 tablespoons fresh lemon juice
- 1/3 cup organic cane sugar (or sweetener of choice)
- 1 tablespoon arrowroot powder or cornstarch
- 1 teaspoon pure vanilla extract
- 1/8 teaspoon fine sea salt
Strawberry Sauce
- 3/4 pound (12 ounces) fresh strawberries
- 1 1/2 tablespoons fresh lemon juice
- 1/4 cup organic cane sugar
- 1 tablespoon cornstarch (or arrowroot powder)
- 2 tablespoons water
Instructions
- Use the bottom of a 7-inch springform pan to trace a circle on a piece of parchment paper and cut the paper into a round. Line the bottom of the pan with the parchment round for easy removal (or generously grease with cooking spray). Lightly grease the sides of the cake pan with cooking spray or oil.
- Make the crust: combine the gingersnaps, pecans, and salt and blend until the nuts and cookies are mostly pulverized. With the machine running, pour in the melted coconut oil, scraping down the sides with a silicone spatula as needed. You’re looking for a slightly sticky crust that you can press together with your fingers. If it doesn’t stick together, add a tiny bit more oil. Press the crust into the bottom of the prepared springform pan. Freeze the crust while you prepare the filling.
- Note: if you want a very crispy crust, you can pre-bake the crust at 350°F for 10-12 minutes instead of freezing it.
- Make the cheesecake filling: Add the soaked and drained cashews and solid coconut cream to the food processor and blend until the mixture resembles ricotta cheese. Add the remaining ingredients and blend until smooth and creamy, scraping down the sides as needed. Pour the cheesecake batter on top of the crust. Smooth out the top with a silicone spatula, and cover the pan tightly with foil.
- On the counter, place the springform pan on top of the steamer rack (with the handles facing up) and arrange the foil sling (if using) underneath the steamer rack. Instructions on how to make a foil sling can be found on page 21 of my cookbook or at 05:33 in the video.
- Pour 1 1/2 cups water into the inner pot of the Instant Pot. Carefully lower the steamer rack and pan into the inner pot using the foil sling or steamer rack handles.
- Secure the lid and set the Pressure Release to Sealing. Select the Pressure Cook setting and set to high pressure for 35 minutes. Once the 35-minute timer has completed and beeps, allow a natural pressure release.
- Open the pot and, using oven mitts, grasp the foil sling or steamer rack handles and lift the pan out of the Instant Pot. Carefully remove the foil cover, taking care to not drip any condensation on the cake. Use the corner of a paper towel to soak up any water on the cake’s surface.
- Allow the cake to cool to room temperature on a wire rack. The cover the cake with plastic wrap and refrigerate for at least 4 hours (I accidentally put mine in the freezer instead of the fridge and it was great after 3 hours. When ready to serve, top with the Strawberry Sauce.
- Make the Strawberry Sauce: Cut half of the strawberries into a dice and cut the remaining strawberries in half. Place the diced strawberries only, sugar, and lemon juice in a small saucepan and bring to a simmer over medium heat. Simmer for 10 minutes until the strawberries break down. Meanwhile, mix together the cornstarch and water to form a slurry. Add the slurry and stir until the sauce is thickened and syrupy. Then add the halved strawberries and gently toss to coat in the sauce. Remove from the heat and allow to cool before serving over the cheesecake.
Video
Notes
Nutrition
Nutrition information is automatically calculated, so should only be used as an approximation.


Is it possible to do it without an instant pot?
Hi Tania, we haven’t tested this recipe out without the Instant Pot, so we can’t say what exactly the changes necessary would be; however, we do have a baked chocolate cheesecake on our website that you may want to try out: https://rainbowplantlife.com/baked-vegan-chocolate-cheesecake/
Goodness gracious this looks incredible!! 🤤🤤
Thanks, Swan! We hope you get the chance to try it asap!
Hi Nisha! I don’t have an instant pot so I’ll bake the cake in a water bath in the oven.
I wanted to ask for how long do you think I should bake it ? and on what degrees (celsius) ?
Thank you! (:
And another thing I forgot to ask, should I bake the crust first for a couple of minutes and then put the filling and bake the whole cake again ? or shuold I bake it all togather at once ?
From Nisha: “Hi Eden! These are the instructions I use for another cheesecake recipe I have. Should work well. Bake the crust at 350 for 10-15 minutes to firm it up. Then bake the cheesecake in a water bath for 50-55 minutes or until it looks a bit dry on the edges and jiggly but not wiggly in the middle. Turn off the oven and leave the cheesecake in the oven for 30-60 minutes or until it’s come down to room temperature. Allow to cool slightly and then refrigerate the cheesecake for at least 4 hours before serving.”
Made it, and my family loved it!!! Thanks for sharing☺️
Awesome! Thanks for trying this recipe, Lori 🙂
This is THE BEST cheesecake ever!!! My neighbors agree. Love your cookbook too!