

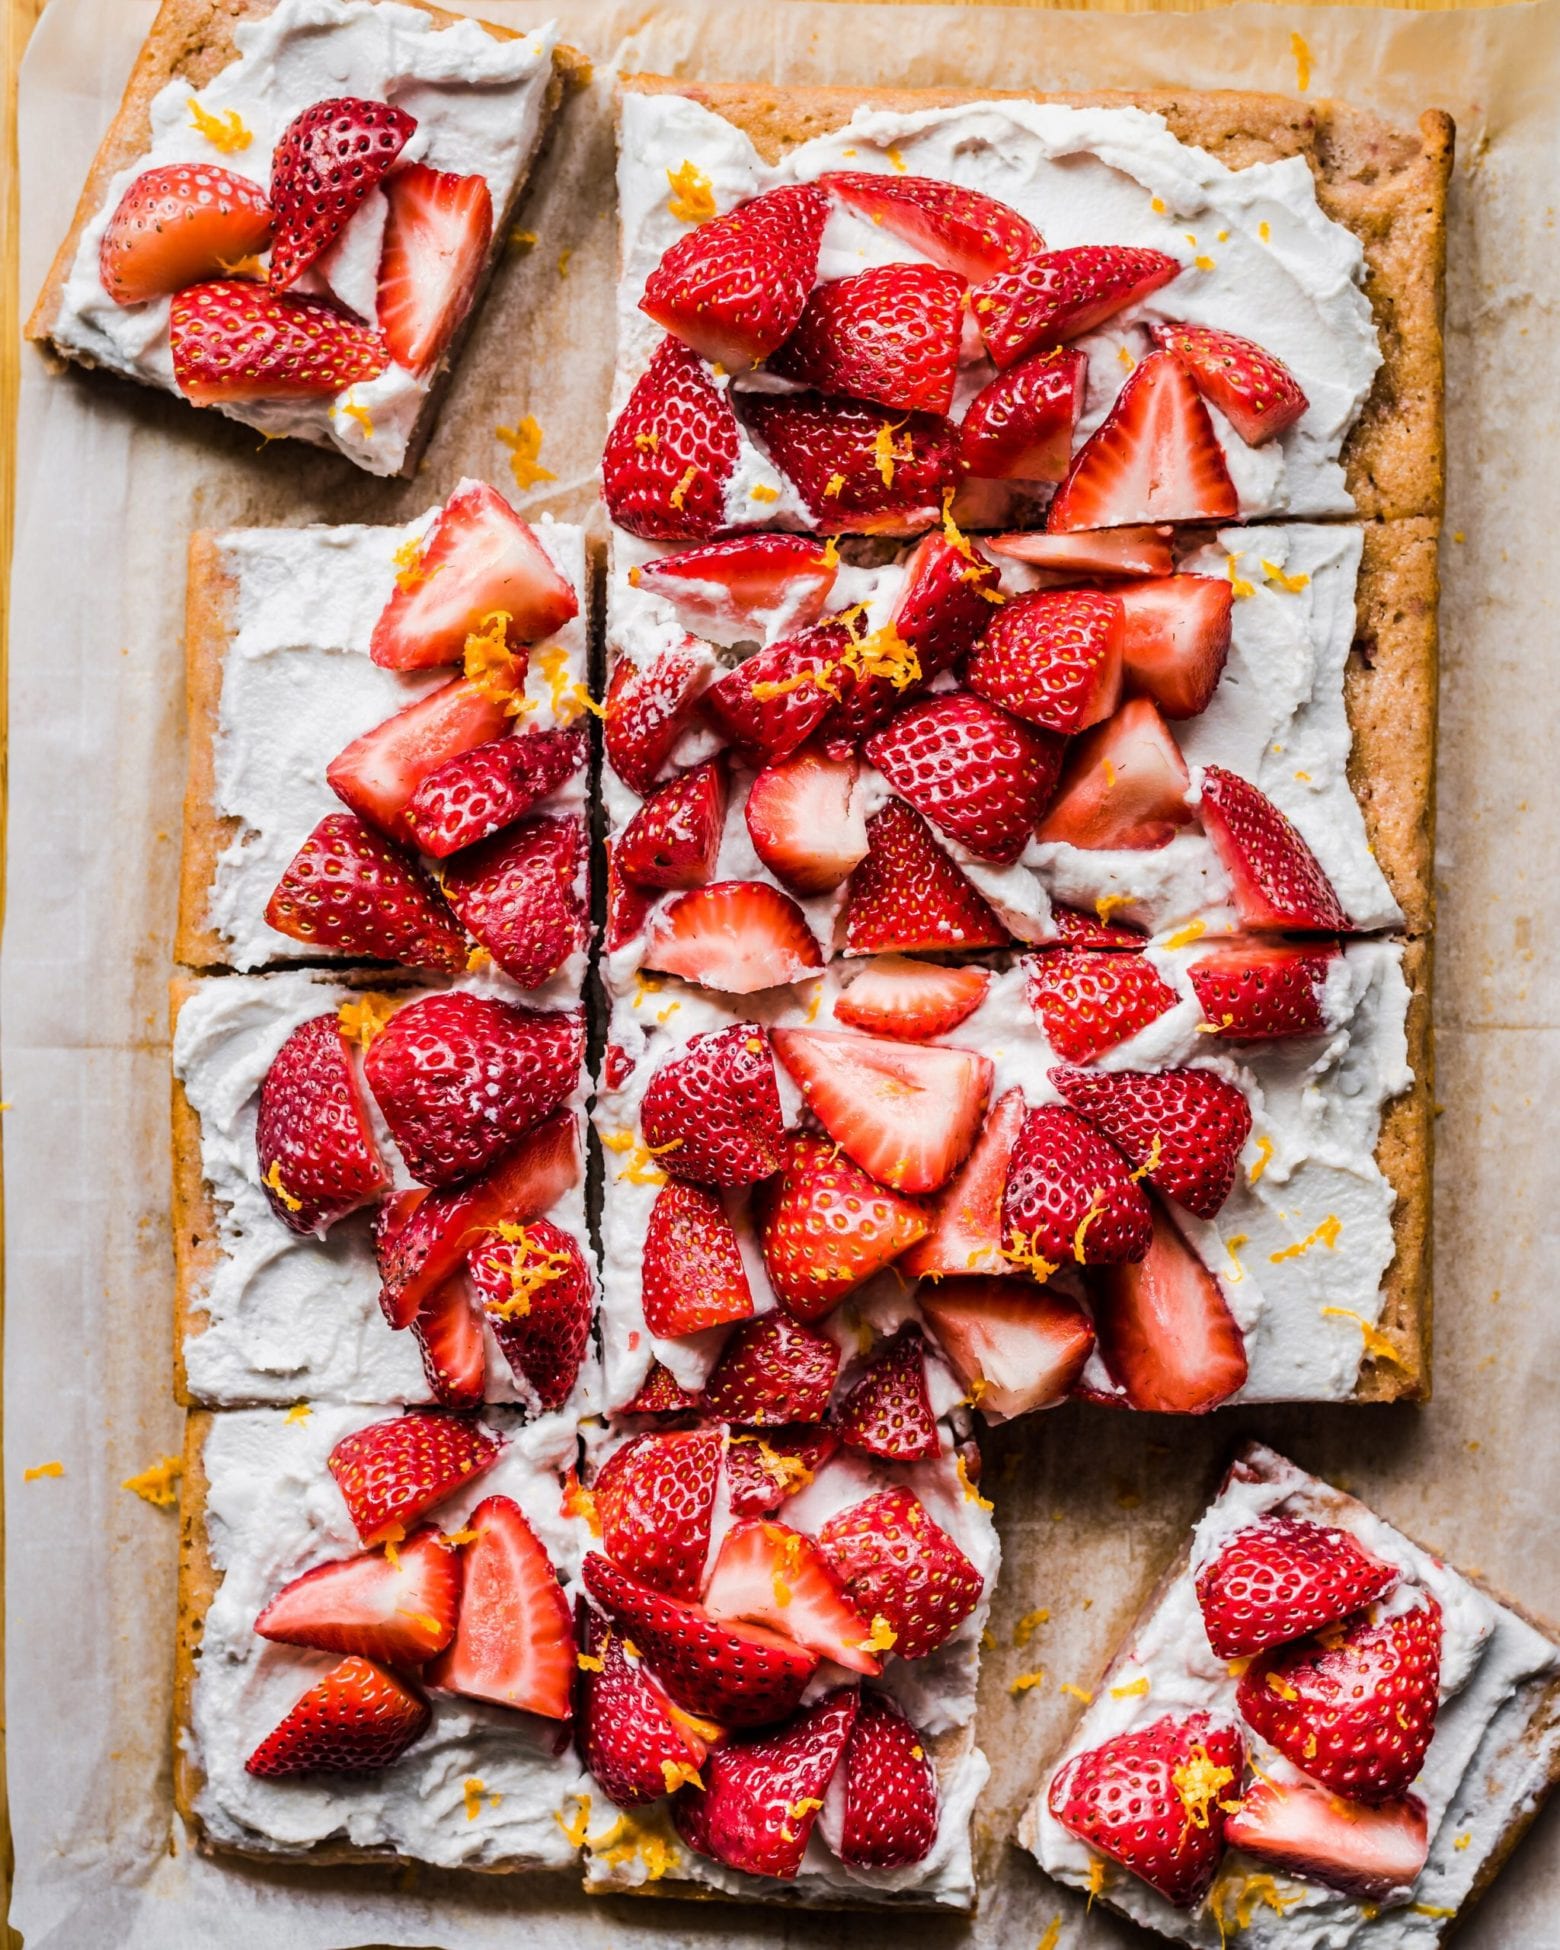
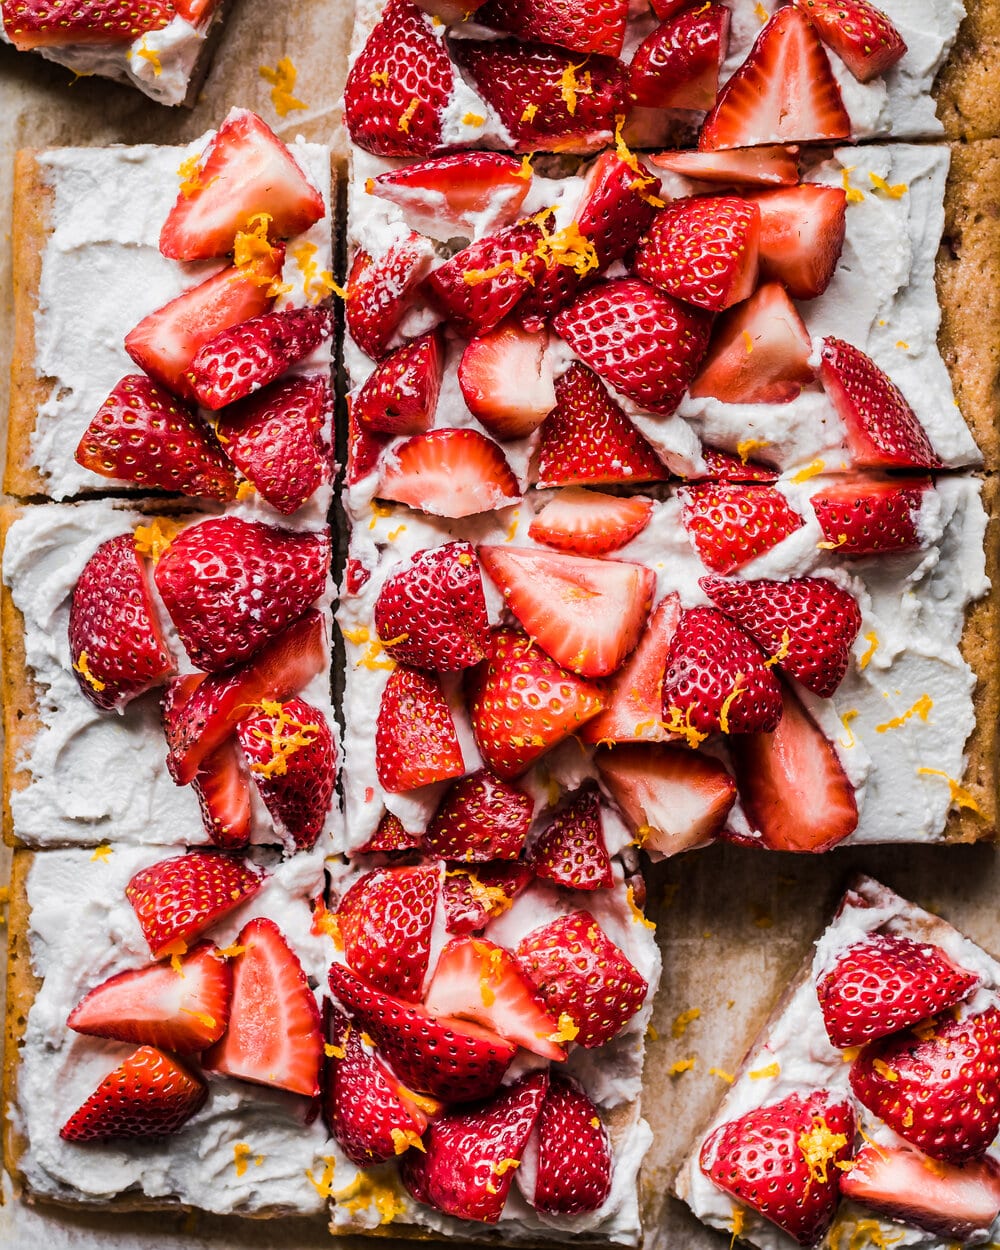
It’s officially strawberry season, so let’s celebrate with this Vegan Strawberries and Cream Sheet Cake! It’s full of real strawberry flavor, it’s refreshing and light yet indulgent, and it’s the perfect cake for strawberry season! Plus, it’s made in a sheet-style cake pan, so it’s an easy recipe that’ll feed the whole family.
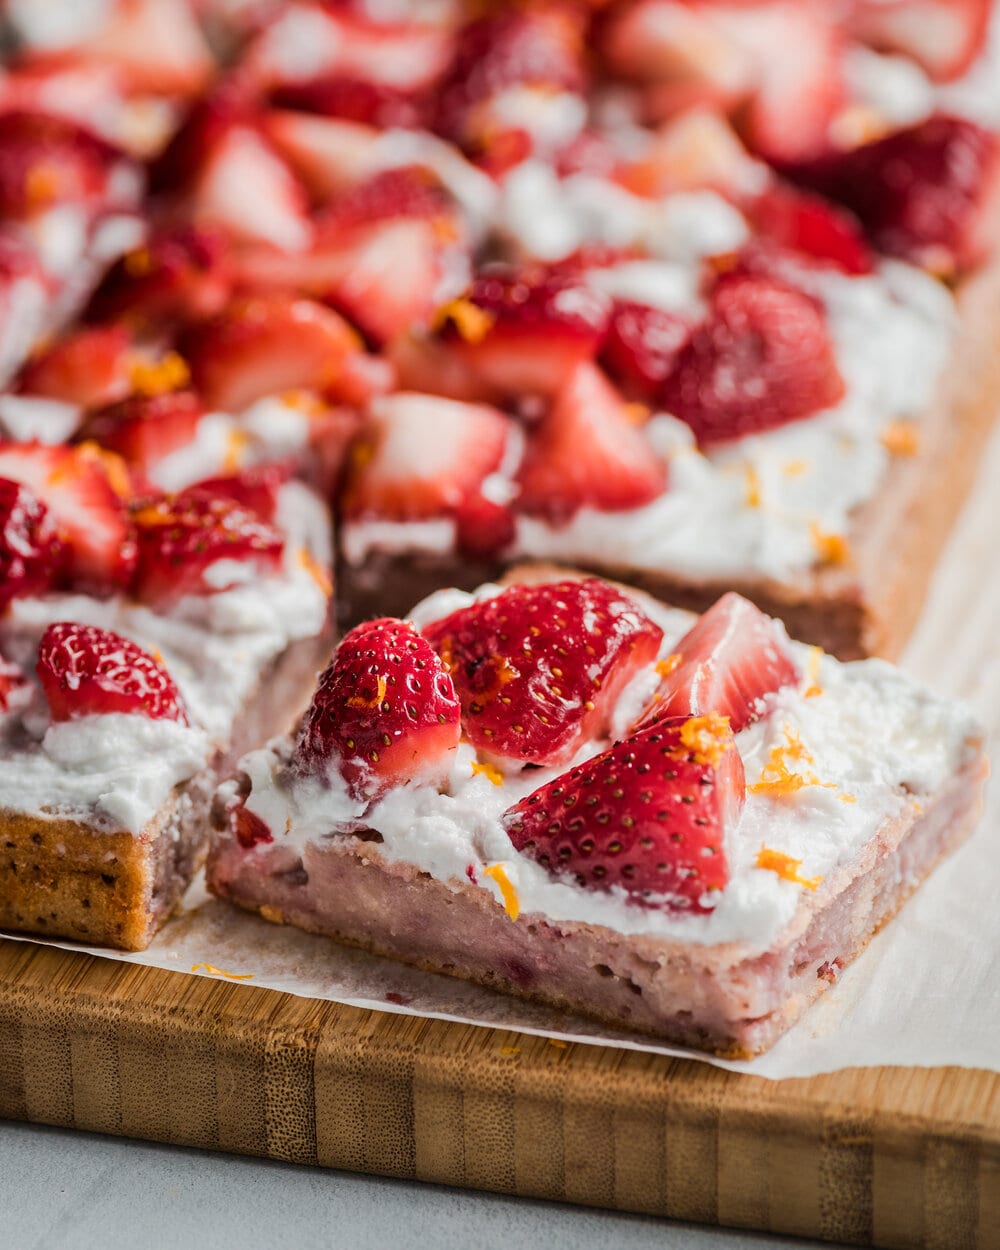
The cake batter is made with fresh strawberry puree, and then the cake gets topped with a 2-ingredient, 2-minute Coconut Whipped Cream Frosting and fresh strawberries. It’s like a strawberry shortcake but made easier in sheet cake form!
Table of Contents:
1. Why you’re going to like this recipe
2. Ingredient notes
3. Tips for making this recipe
4. How to make Coconut Whipped Cream Frosting
5. Frequently Asked Questions
6. Recipe card with notes
Why you’re going to like this recipe
Easy to make. Using a sheet pan makes this cake very easy and fuss-free. No need to flip a cake out of a pan and hope that it doesn’t collapse. No need to slice a cake in half. No need to frost layers of cake or use a bench scraper. It’s a very simple and easy-to-follow recipe.
Real strawberry flavor. If you Google “strawberry cake,” a lot of the results you’ll see are bright pink cakes. That’s because they’re made with artificial ingredients or food coloring. This cake might not be bright pink, but it is made with fresh strawberries and it’s full of that real strawberry flavor you associate with freshly picked berries. Imagine the flavor of strawberry ice cream made with real strawberries. That’s the flavor of this cake!
Strawberries and cream. Who doesn’t love the classic strawberries and whipped cream combo? The elegant combo is turned into cake form here, and it does not disappoint. Of course, instead of using dairy-based whipped cream, we’re making coconut whipped cream. It requires just 2 ingredients and takes just 2 minutes to make!
Light yet indulgent. This cake is light enough that it feels perfect for spring, but it’s still an indulgent cake that’ll satisfy all of your dessert cravings.
Low-effort, high reward. This is a cake that’ll impress your family and friends, presentation-wise and taste-wise. But as I mentioned earlier, it’s a very easy and simple cake to make!
Before we get to the recipe, here’s a cute little video of this cake coming together. I find it very relaxing and soothing. I hope you do too 🙂
Ingredient notes
Strawberry Puree. To give this cake the best strawberry flavor, we’re using real fresh strawberries! And since it’s strawberry season, using fresh strawberries is going to make this cake even sweeter and tastier.
To puree strawberries, all you need to do is de-stem the berries and add them to a food processor. Blend until the strawberries are mostly pureed but a few small chunks remain. The puree should be thin enough to blend into the batter but not completely liquified.
All-Purpose Flour and Almond Flour. For the dry ingredients, I use a mixture of all-purpose flour and blanched almond flour (affiliate link). I like using almond flour in some cakes and desserts because it brings a nice tender texture and a little richness to the cake. If you don’t have it, feel free to substitute with more all-purpose flour.
If you are avoiding gluten, you can substitute with an all-purpose gluten-free flour blend (the texture will be a bit denser). Please do not try using any gluten-free flour you like (I’m looking at you, oat flour). I recommend something like Bob’s Red Mill Gluten-Free 1:1 Baking Flour.
Extra Virgin Olive Oil. I recommend using a good-quality, fruity extra virgin olive oil. The light but buttery, slightly fruity flavor of a good extra virgin olive oil works magically with the strawberries and lemon juice. Of course, if you don’t want to use extra virgin olive oil here, you can substitute with another oil such as sunflower oil, regular olive oil, grapeseed oil, etc.

Aquafaba. The type of vegan egg substitute you use should depend on the type of baked good you’re making and your desired texture. I have a whole blog post on the topic of vegan egg substitutes in baking (including a handy dandy infographic) if you’d like to learn more!
With a cake, I want the texture to be tender and light, so I like to rely on aquafaba, which is simply the liquid leftover from cooked chickpeas. When you lightly whip aquafaba, as is done in this recipe, it turns foamy and light, which then helps to create a light and fluffy texture and gives a nice lift to cakes.
Almond Extract. I love using almond extract (affiliate link) in this cake, as the concentrated aroma of almonds complements the almond flour and highlights the strawberry flavor.

Tips for making this recipe
Spoon and level your flour (or weigh it).
As you might have seen in my fan-favorite Banana Bread recipe and Youtube video, I am a strong proponent of using a digital scale (affiliate link) for all baking purposes, as it yields the most exact results.
If you don’t have a digital scale, please spoon and level your flour – do not scoop it out of the bag!
Don’t overmix.
When mixing the dry and wet ingredients, be sure to not overmix. Mix until the batter is just combined, as overmixing can cause the gluten to overdevelop, resulting in dry, dense, or chewy cakes.
I use an electric mixer to combine the wet ingredients, but I switch to a wooden spoon when I combine the dry and wet ingredients.
Use an oven thermometer.
Every oven is different, and if your oven hasn’t been calibrated, it could be totally off. For instance, my oven temperature runs low, so even if it says 350°F on the display, inside the oven, it’s usually closer to 300°F.
Using an oven thermometer like this (affiliate link) ensures better baking results because you can adjust your oven temperature to be accurate.
Check the oven a bit early.
As with most baked goods, I recommend checking the oven 5 minutes before you think the cake will be done, as every oven is different.
How to remove a sheet cake from a cake pan
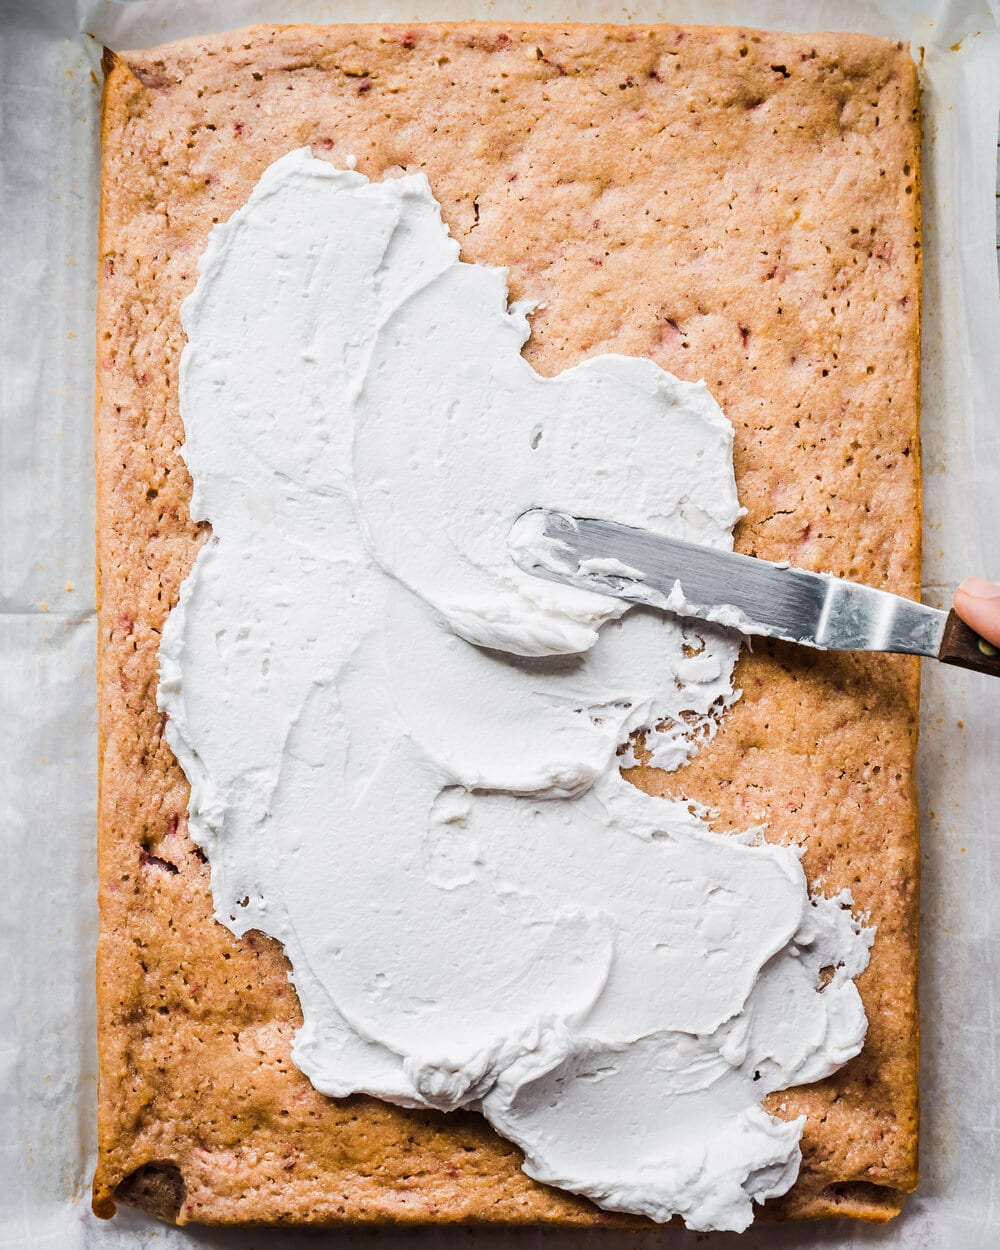
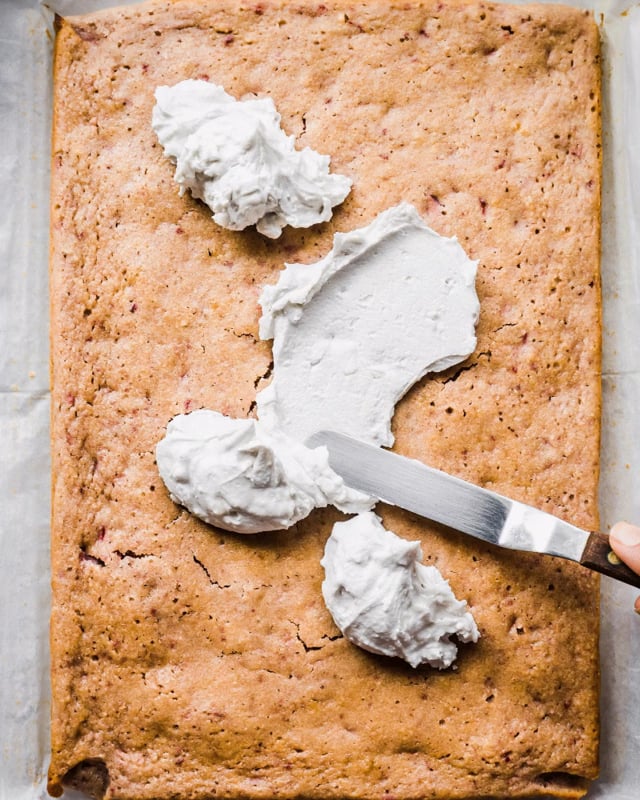
To keep things simple, you can just keep the cake in the baking pan. After the cake has cooled on a wire rack, frost the cake directly in the pan.
If you want to serve this cake a bit more elegantly, though, you’ll need to remove the cake from the pan. First, before adding the cake batter, you’ll need to use a large sheet of parchment paper to line the baking pan, with enough parchment paper hanging over the sides as handles.
Once the cake has cooled on a wire rack for at least 20 minutes, transfer the cake pan to the fridge for at least 45-60 minutes. Then, remove it from the fridge, and use the parchment paper handles to lift the cake out of the pan. The refrigeration step is necessary because it helps to set the cake – if you try to lift the cake out of the pan while it’s at room temperature, it might break in half or split in cracks. Once you’ve removed the cake, frost and decorate your cake.
If you’re feeling adventurous, you could instead flip your cake onto a wire rack (it must be completely cooled), but that feels a bit risky to me!
How to make Coconut Whipped Cream Frosting
Making your own coconut whipped cream might sound intimidating, but it couldn’t be simpler! All you need are two ingredients and two minutes of actual work.
Start off by refrigerating a can of full-fat coconut milk (affiliate link) for at least 24 hours. I usually keep at least one can in my fridge for this purpose (or for making desserts like vegan cheesecake). Alternatively, you can use canned coconut cream (affiliate link).
Please keep in mind that “lite” coconut milk will not work – it doesn’t have a high enough fat content to turn into whipped cream.
The next prep step is to chill a mixing bowl and your electric beaters in the freezer for 30 minutes. You can start this while the cake is baking or cooling. This freezing step helps retain the cold temperature of the coconut cream, ensuring it doesn’t melt while you are mixing it.
When your bowl and beaters are sufficiently cold, flip the refrigerated can of coconut milk upside down and open it. The liquid part of the coconut milk should be on top. Pour it out and save for another use (it’s good in smoothies or in curry-style soups). Then scoop out the solidified white portion of the cream into your chilled mixing bowl.
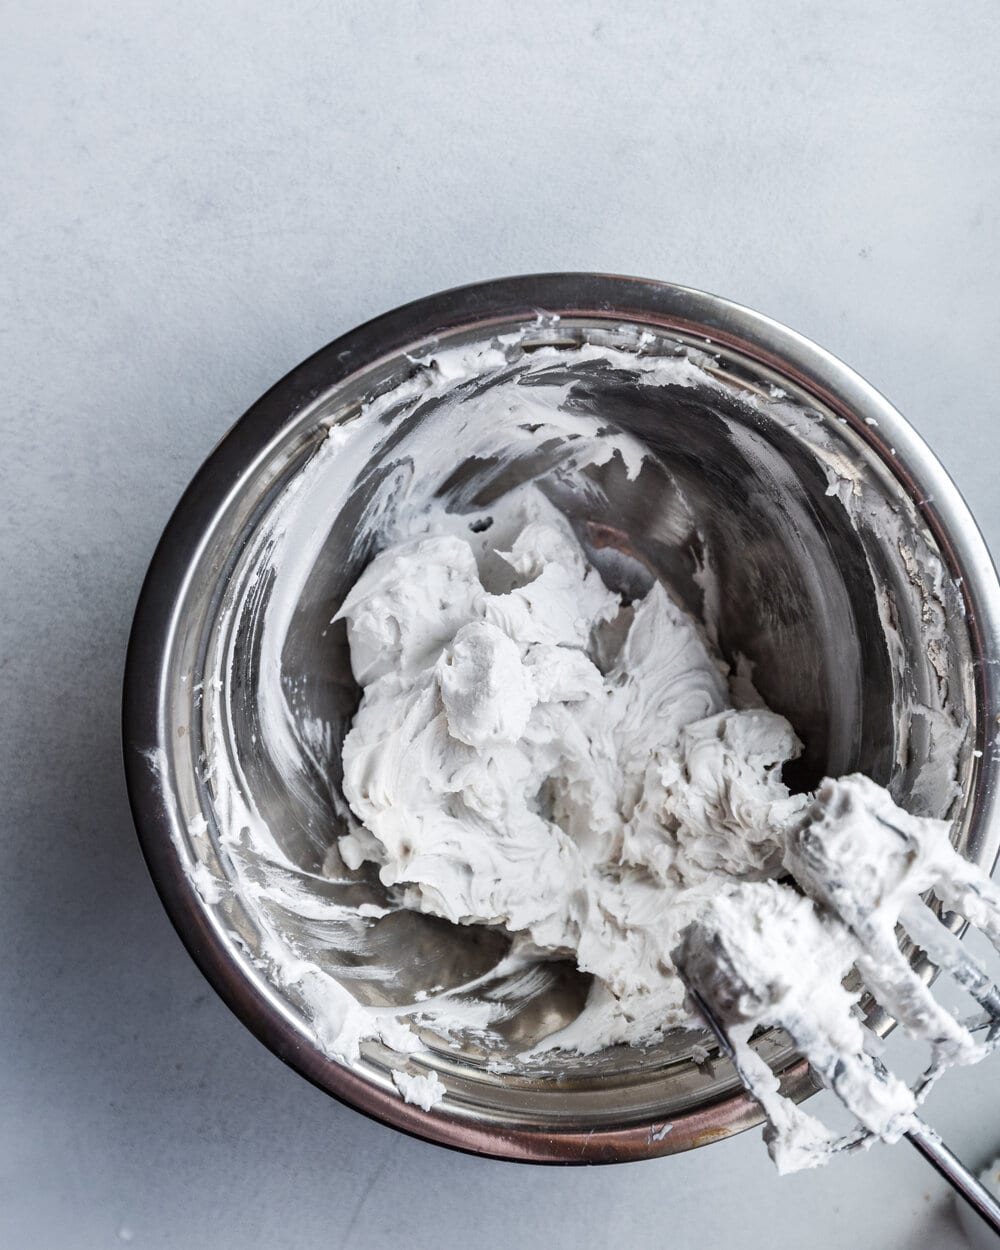
Using an electric mixer, beat the coconut cream on low or medium speed until it’s creamy and whipped. It should take only 30-60 seconds. Then add the powdered sugar and vanilla extract (if using) and beat again until incorporated, adding more sugar to taste. That’s it!
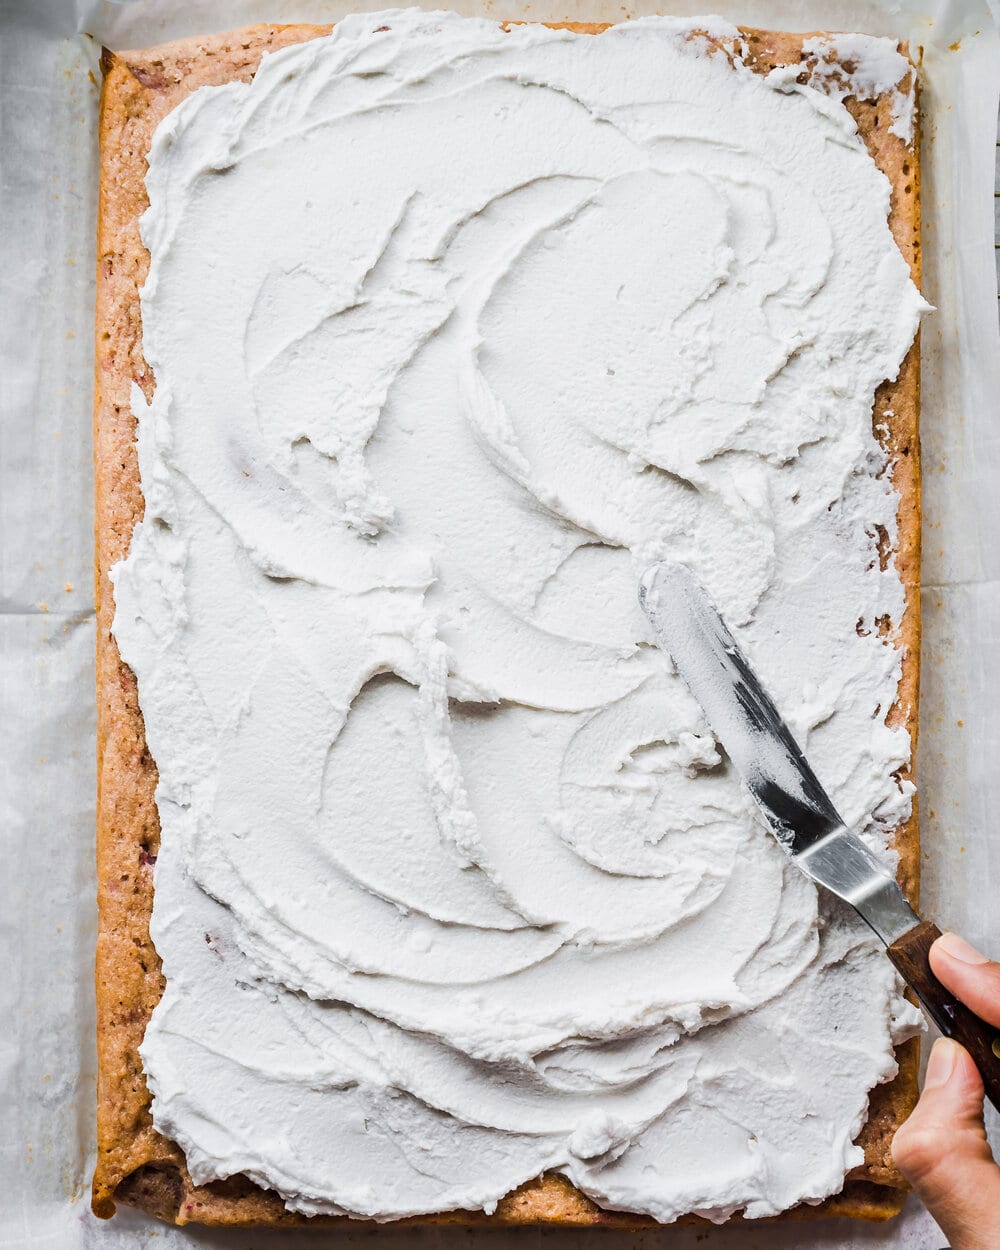
Frost the cake with the coconut whipped cream frosting immediately, or transfer it to an airtight container and refrigerate it.
If you prefer an unsweetened whipped cream (coconut cream is has a natural subtle sweetness), you can omit the sugar; or you can substitute with a tablespoon of maple syrup if you don’t have powdered sugar.
This cake is intended to be light-ish, so you don’t need too much frosting. But, if you’d like a generous amount frosting, use 1 1/2 cans or 2 cans of coconut milk instead of just 1 can (and add more sugar as needed). For reference I used 1 1/2 cans to frost this cake (but I used a bit more frosting than needed for aesthetic purposes).
Frequently Asked Questions
If you don’t have almond extract, substitute with pure vanilla extract, but double the amount (the flavor of almond extract is more potent than vanilla extract).
I think it’s easiest to slice the cake into pieces, transfer to tupperware, and store in the fridge. But, if you have space for the whole cake pan in your fridge, you can store it that way, but be sure to cover the pan to prevent it from drying out. If you have a cake pan with a lid, use that; if not, use plastic wrap.
The leftovers will stay fresh for 3 days in the fridge, but here’s how to extend the shelf life of this cake to 5-6 days: Add only as much frosting and fresh strawberry topping to the cake that you’re planning to eat that day; store the remaining frosting in a separate container in the fridge and keep your strawberries unsliced in the fridge. Then, add the frosting and decorate with sliced strawberries when you’re ready to serve the cake again.
The coconut whipped cream will last in the fridge at least 1 week, likely up to 2 weeks. Keep in mind that the whipped cream will set and harden in the fridge. You can soften it by leaving it at room temperature before serving it.
If you give this Vegan Strawberries and Cream Sheet Cake recipe a try, be sure to tag me on Instagram with your recreations and please comment with your feedback below!

Introducing
Big Vegan Flavor
Techniques and 150 recipes to master vegan cooking.
Vegan Strawberries and Cream Sheet Cake

Ingredients
- 14 ounces (400g) fresh strawberries, plus more for the topping
- 1 cup (230 ml) plant-based milk (I used oat milk)
- 1 1/2 tablespoons (23 mL) fresh lemon juice
- 6 tablespoons (90 mL) aquafaba (the liquid from a can of chickpeas)
- 1/4 cup (60 mL) extra virgin olive oil
- 1 1/4 cups (240g) organic cane sugar
- 3/4 teaspoon almond extract (or 1 1/2 teaspoons vanilla extract)
- 2 cups (240g) all-purpose flour
- 1 cup (90g) blanched almond flour (can sub with more all-purpose flour)
- 2 teaspoons baking powder
- 1/2 teaspoon fine sea salt
Toppings
- Coconut Whipped Cream Frosting, recipe below
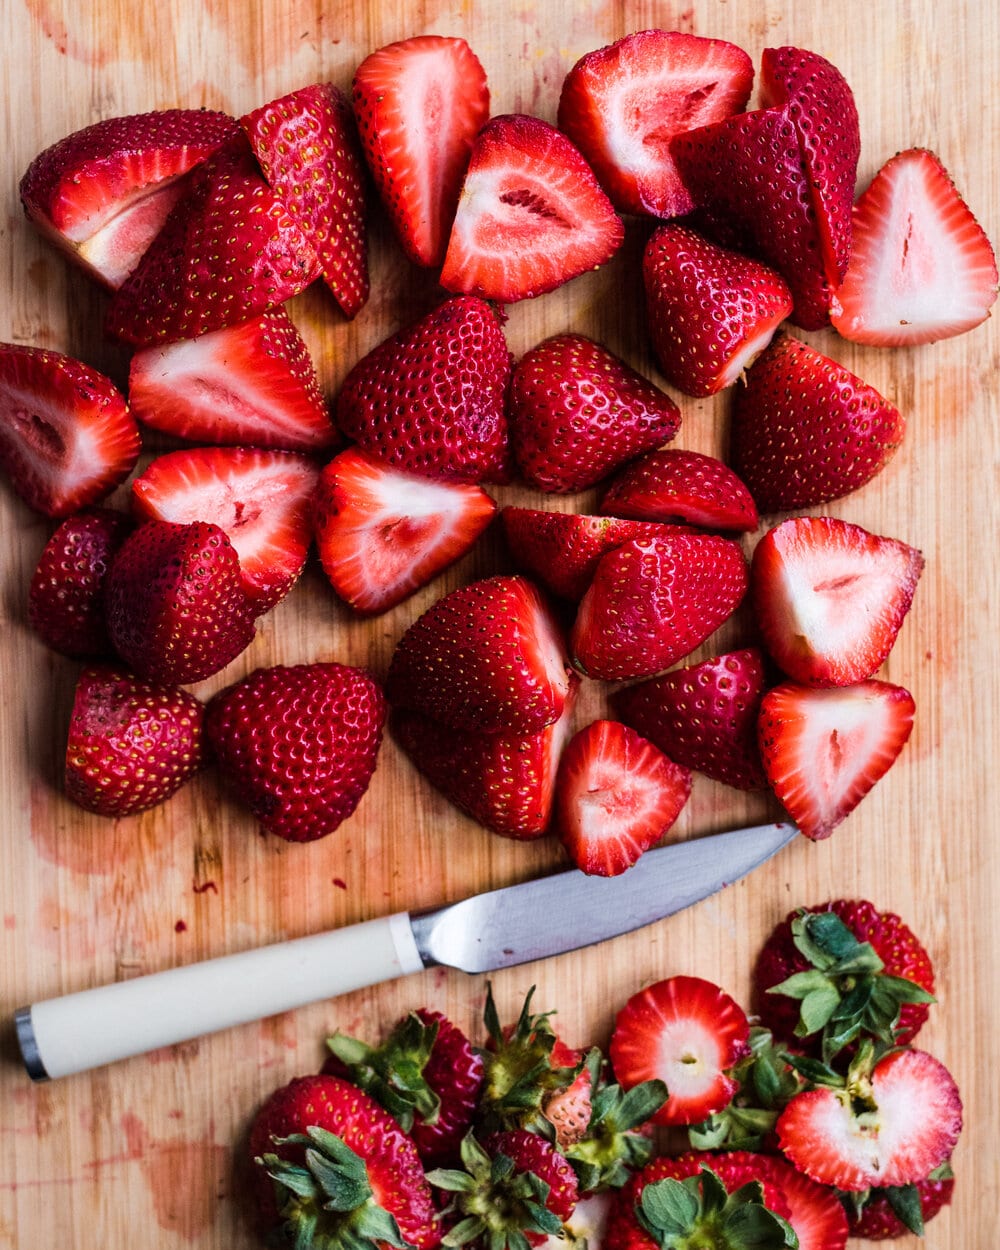
- Fresh strawberries, de-stemmed and sliced in half or quarters
- 1 small orange, zested
Instructions
- Preheat the oven to 350°F/175°C. Line a 13x9x2-inch (33x23x5-cm) rectangular baking pan with parchment paper, letting it hanging over both sides.
- Make the strawberry puree. Wash the strawberries and slice off the stems. Add the strawberries to a food processor and pulse until the strawberries are mostly pureed but have a few small chunks remaining.
- Make the vegan buttermilk. Combine the plant-based milk and lemon juice and stir. Set aside to curdle.
- Prepare the aquafaba. Pour 6 tablespoons of the liquid from a can of chickpeas into a small bowl. With a handheld electric mixer (or stand mixer), beat the aquafaba on medium speed until it‘s foamy throughout, 45-60 seconds.
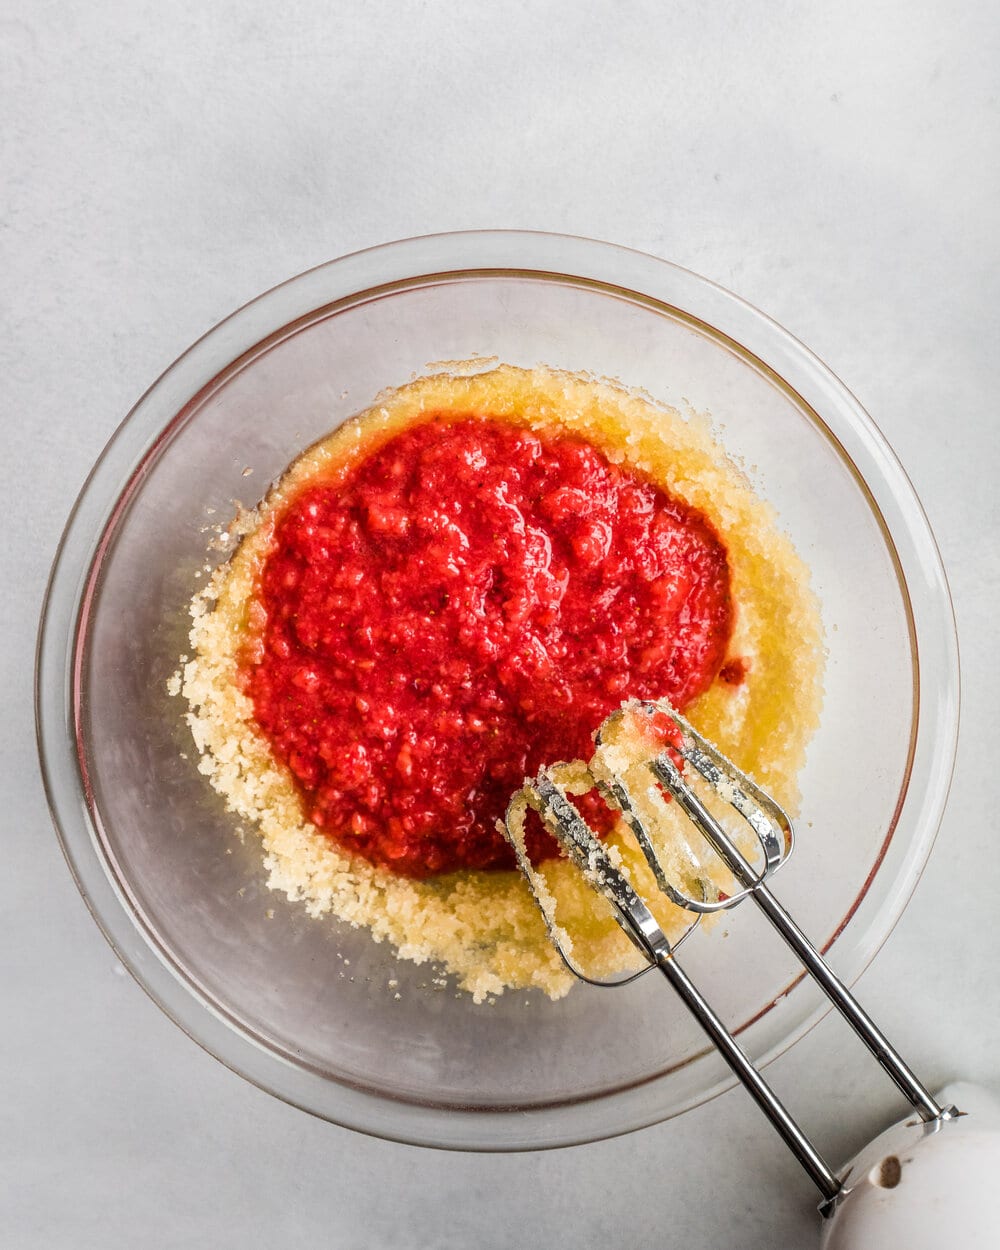
- Mix the wet ingredients. In a large bowl, mix together the extra virgin olive oil and sugar – use the electric mixer on low speed or use a whisk. Then add in the strawberry puree, whipped aquafaba, vegan buttermilk, and the almond extract or vanilla extract.
- Mix the dry ingredients. In a medium bowl, mix together the all-purpose flour, almond flour, baking powder, and salt.
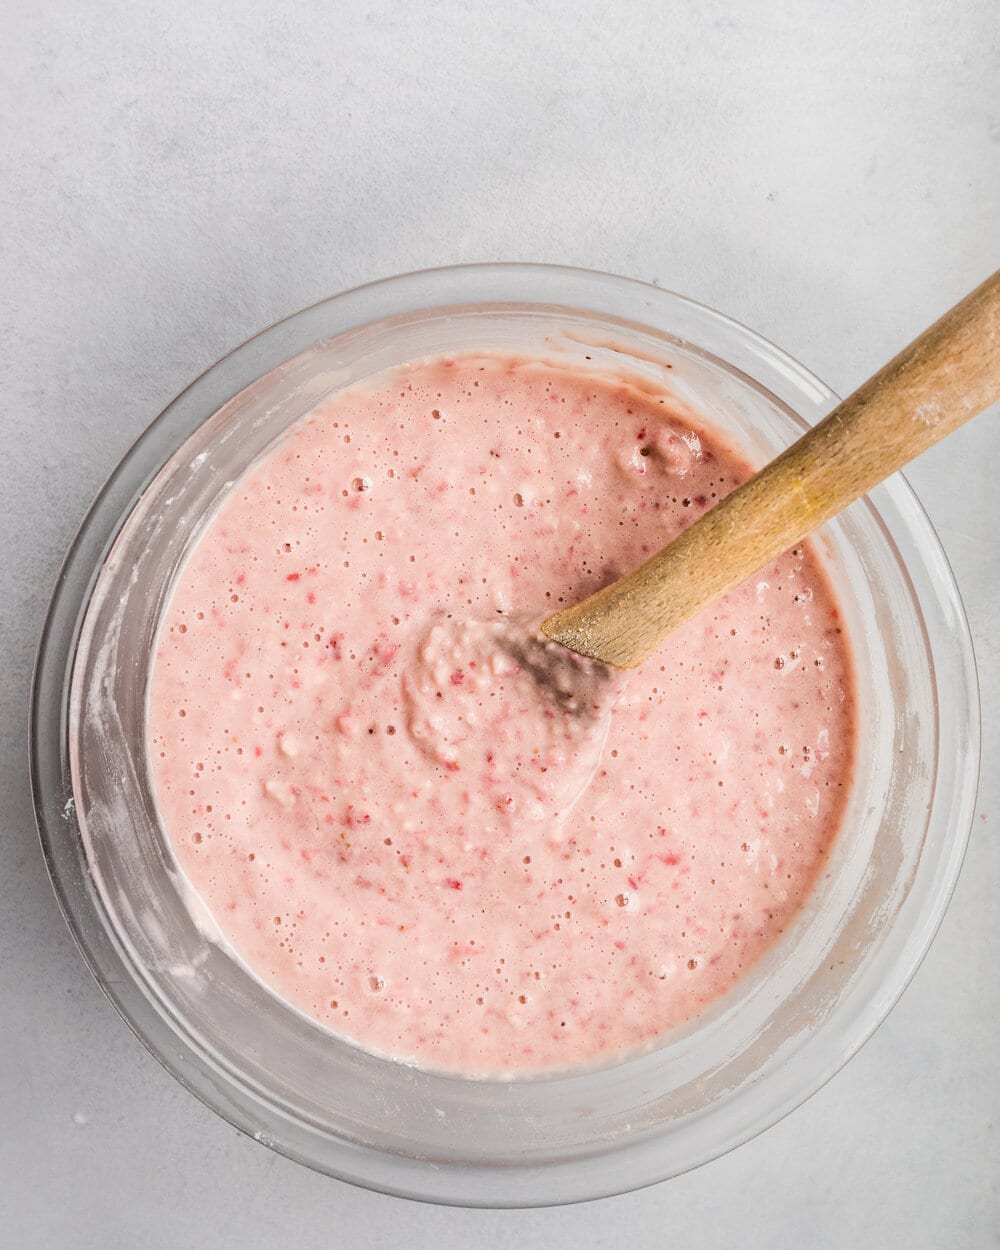
- Combine the wet and dry. Switch to a wooden spoon and fold the dry ingredients into the wet ingredients. Once the cake batter is comes together, stop mixing! Overmixing can cause the cake to become dense or dry. (Note 1)
- Pour the batter into the prepared pan and spread it out evenly. Bake for 35 minutes, or until a toothpick in the center comes out clean with a few moist crumbs. Transfer the cake to a wire rack to cool.
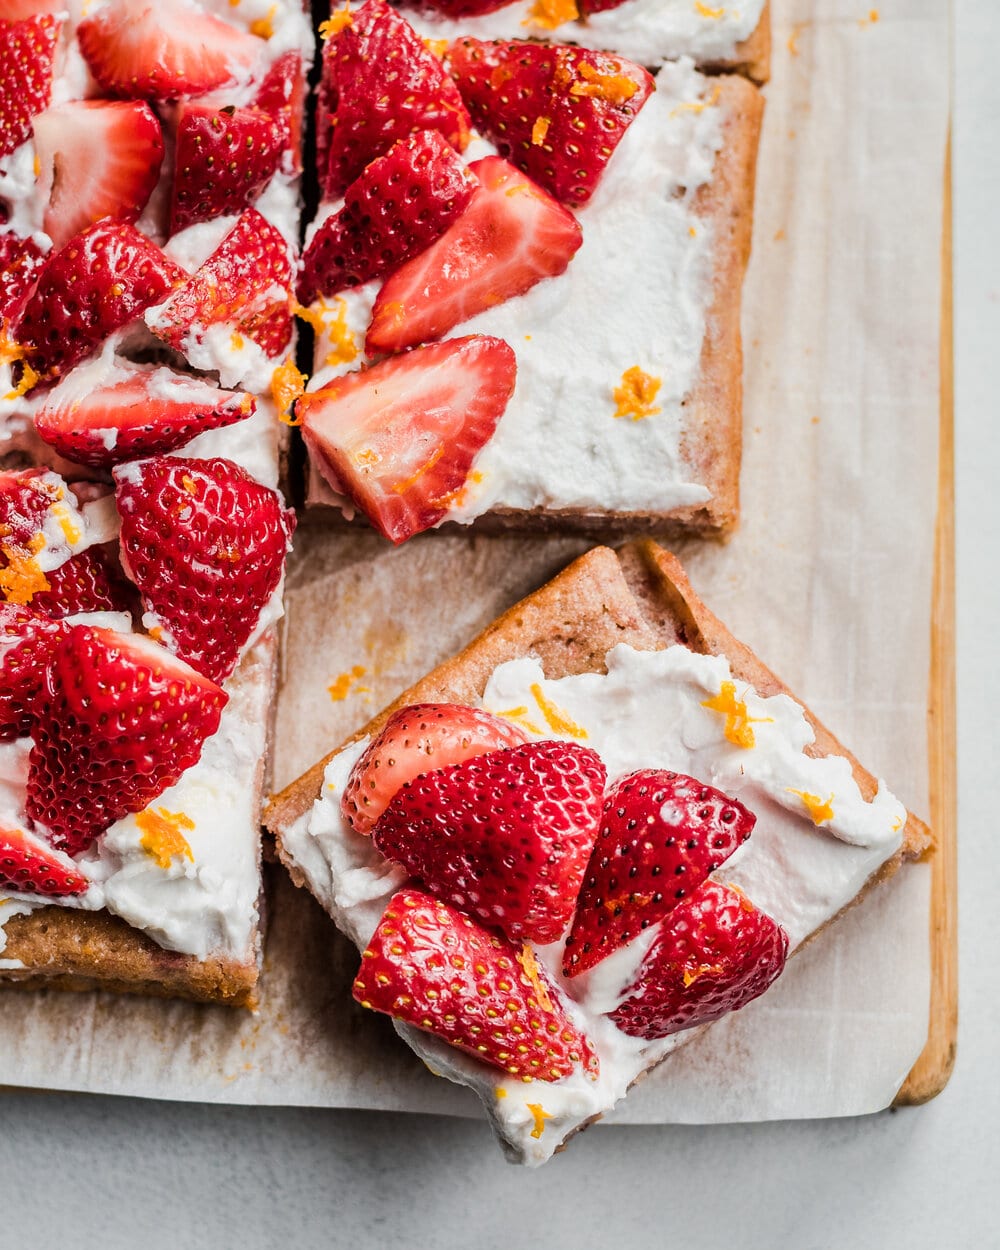
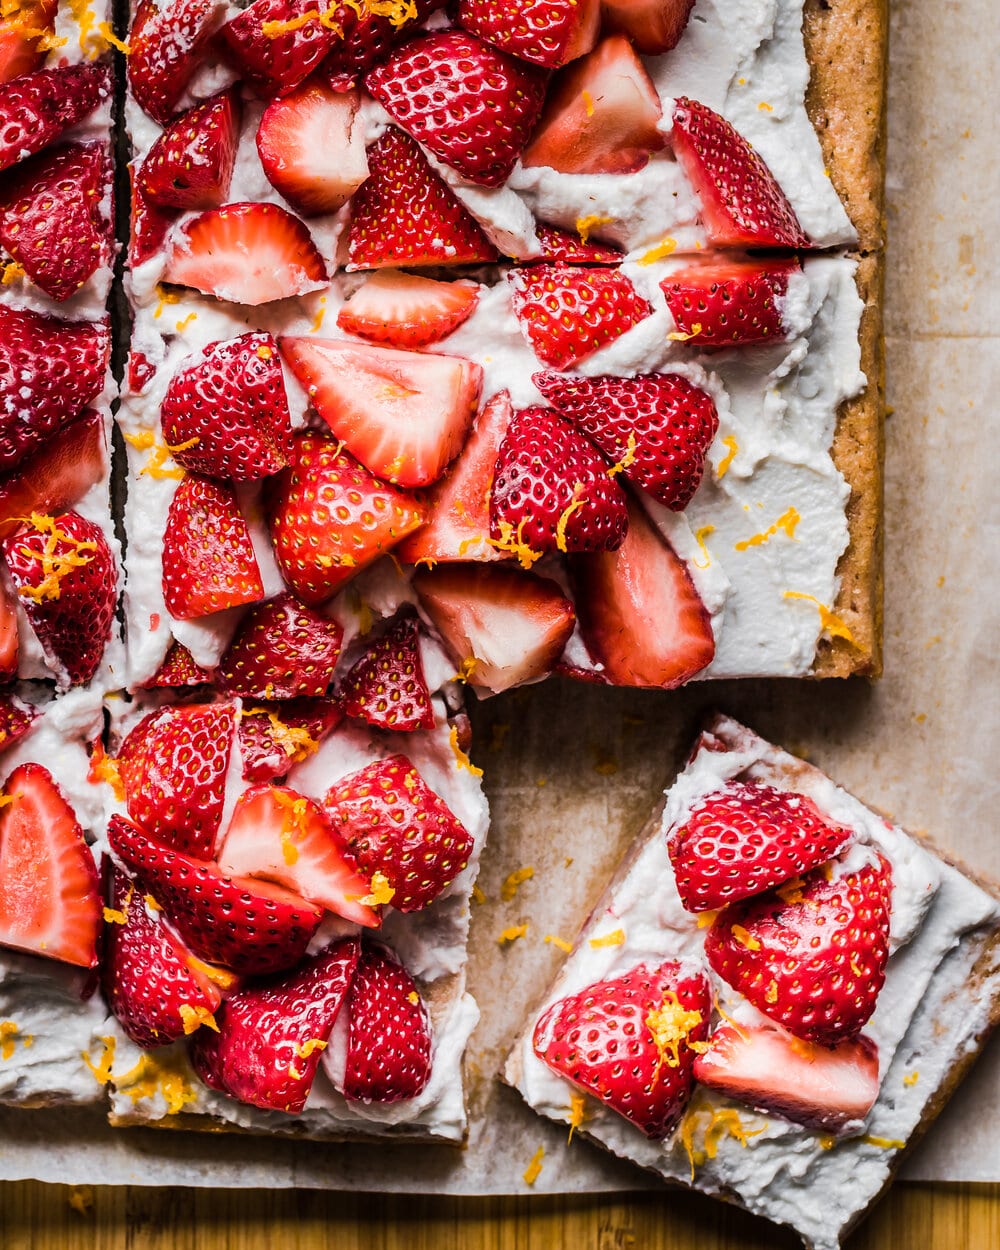
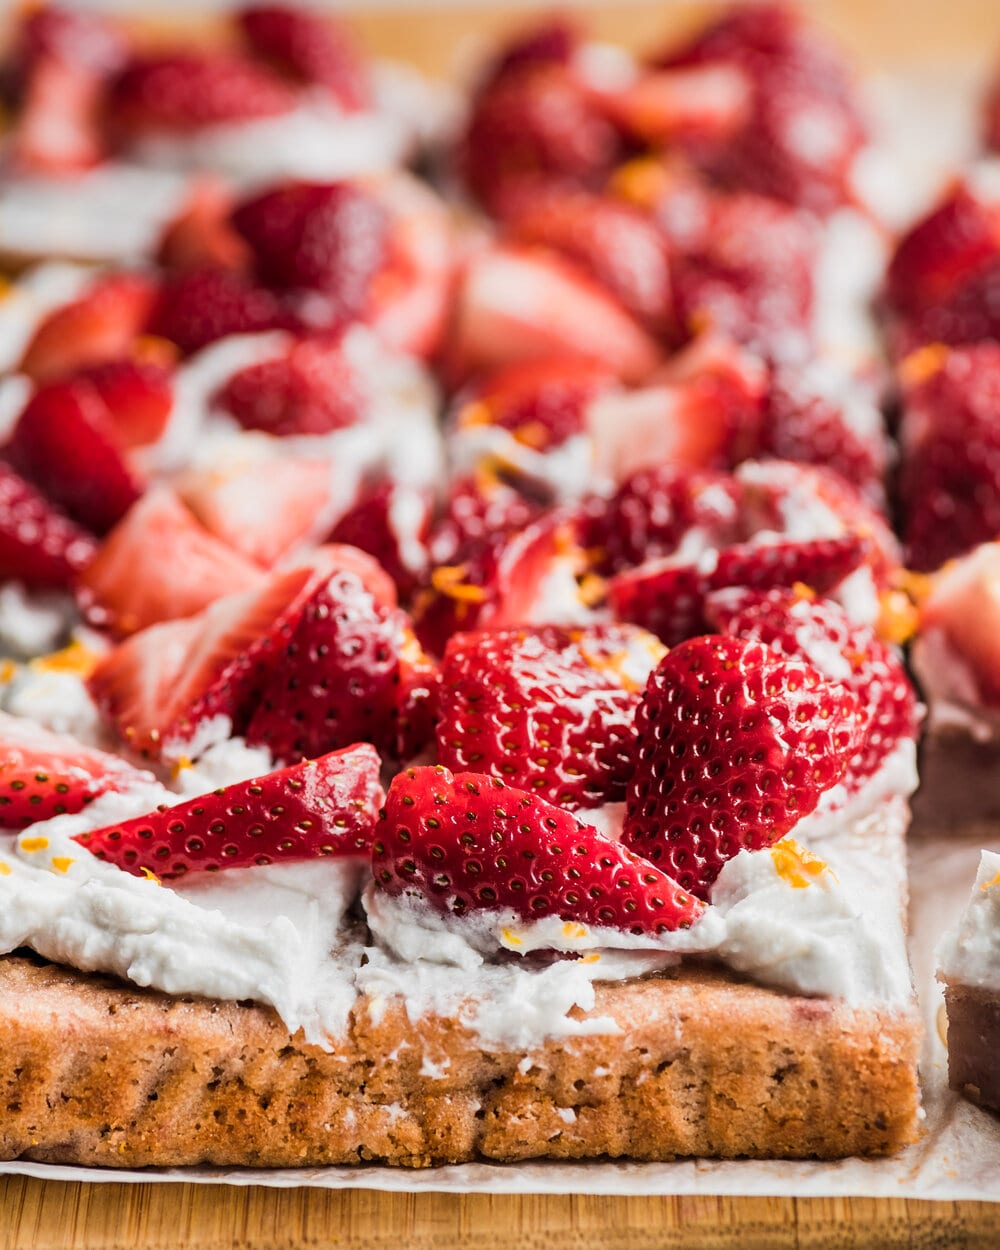
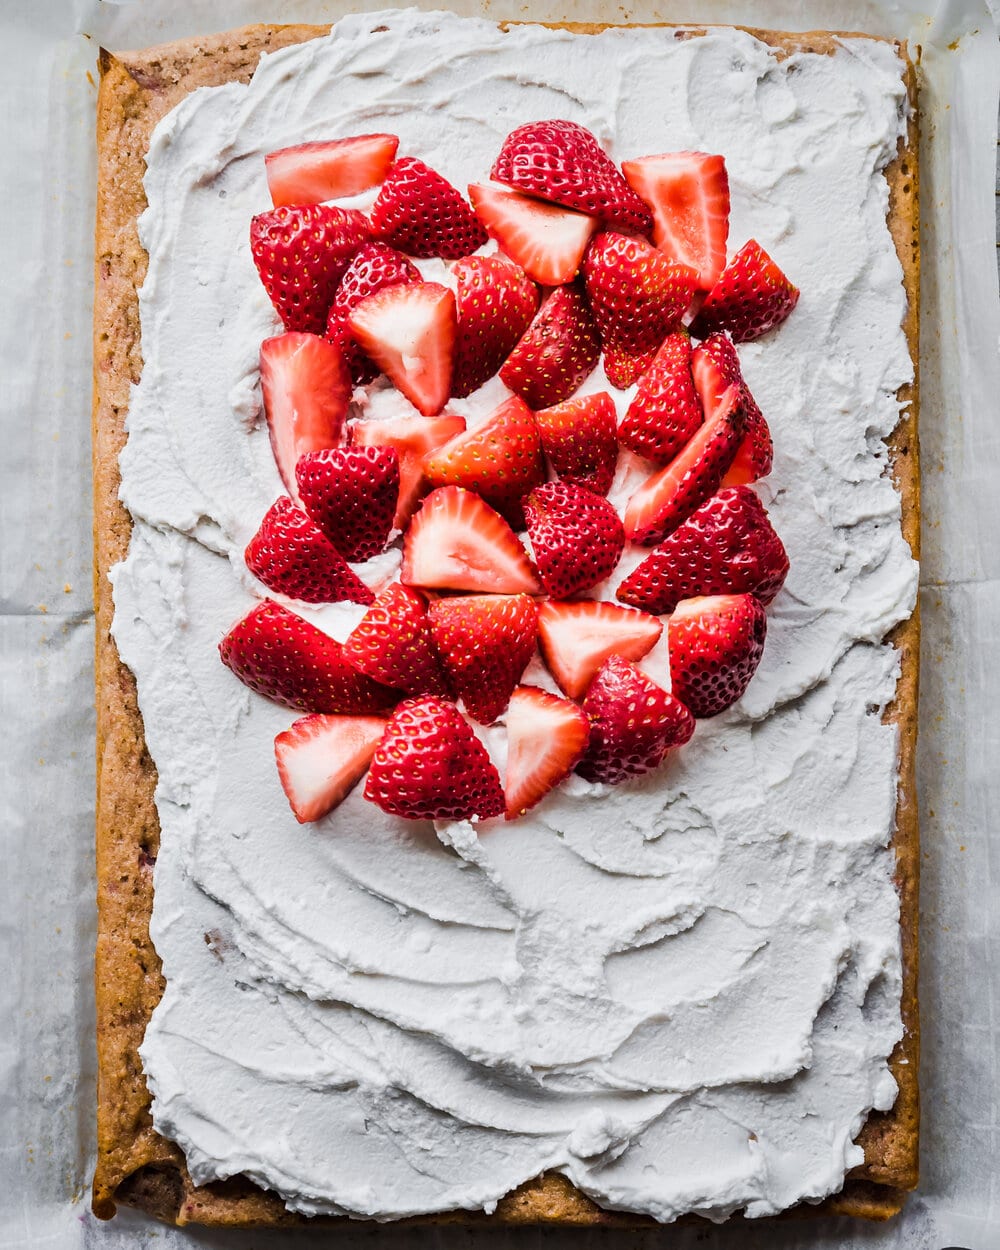
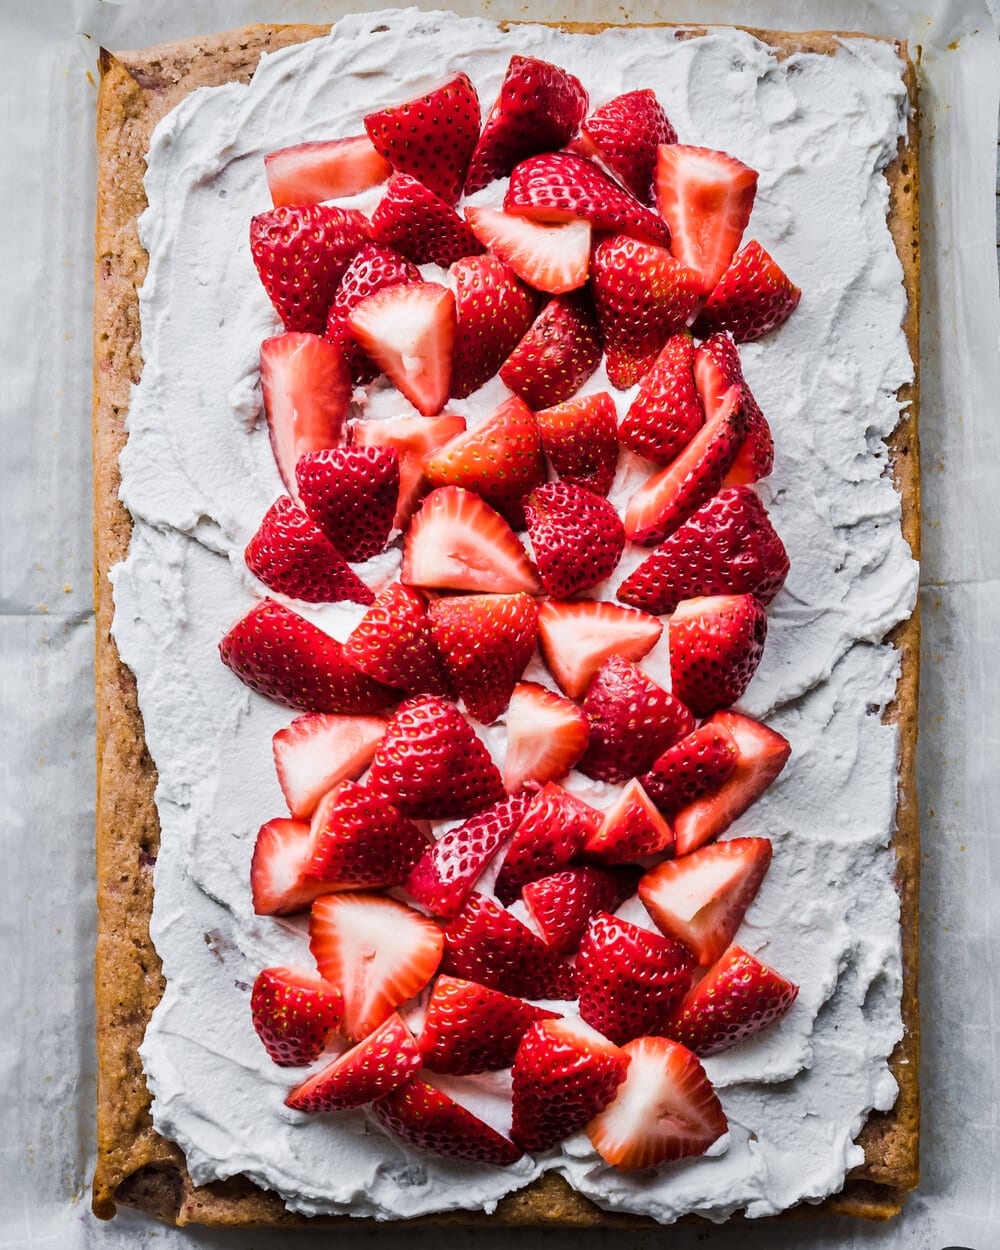
- When the cake is cooled, frost it with the Coconut Whipped Cream Frosting and garnish with the fresh strawberries and orange zest.
Video
Notes
Nutrition
Nutrition information is automatically calculated, so should only be used as an approximation.
Coconut Whipped Cream Frosting

Ingredients
- 1 (13.5-ounce / 400 mL) can of full-fat coconut milk, chilled in the fridge for at least 24 hours
- 1-2 tablespoons organic powdered/confectioner’s sugar, plus more to taste
- 1/2 teaspoon vanilla extract, optional
Instructions
- Chill a mixing bowl and electric mixer beaters in the freezer for 30 minutes before making the whipped cream.
- Flip the chilled can of coconut milk upside down and open it. Discard the liquid (save for another use, such as smoothies) and scoop out the solid white portion of coconut cream from the can.
- Add the coconut cream to your chilled mixing bowl and mix with an electric mixer on low or medium speed until it’s creamy and whipped, about 30-60 seconds. Then add the powdered sugar and vanilla (if using) and beat again until incorporated, adding more sugar to taste.
Nutrition
Nutrition information is automatically calculated, so should only be used as an approximation.


Hi Nisha,
Can I make these as cupcakes?
Hi Najwa, we haven’t tried making this recipe into cupcakes and aren’t sure how it’d turn out, that being said you can totally make these cupcakes and top with the whipped cream topping and strawberries from this recipe!