

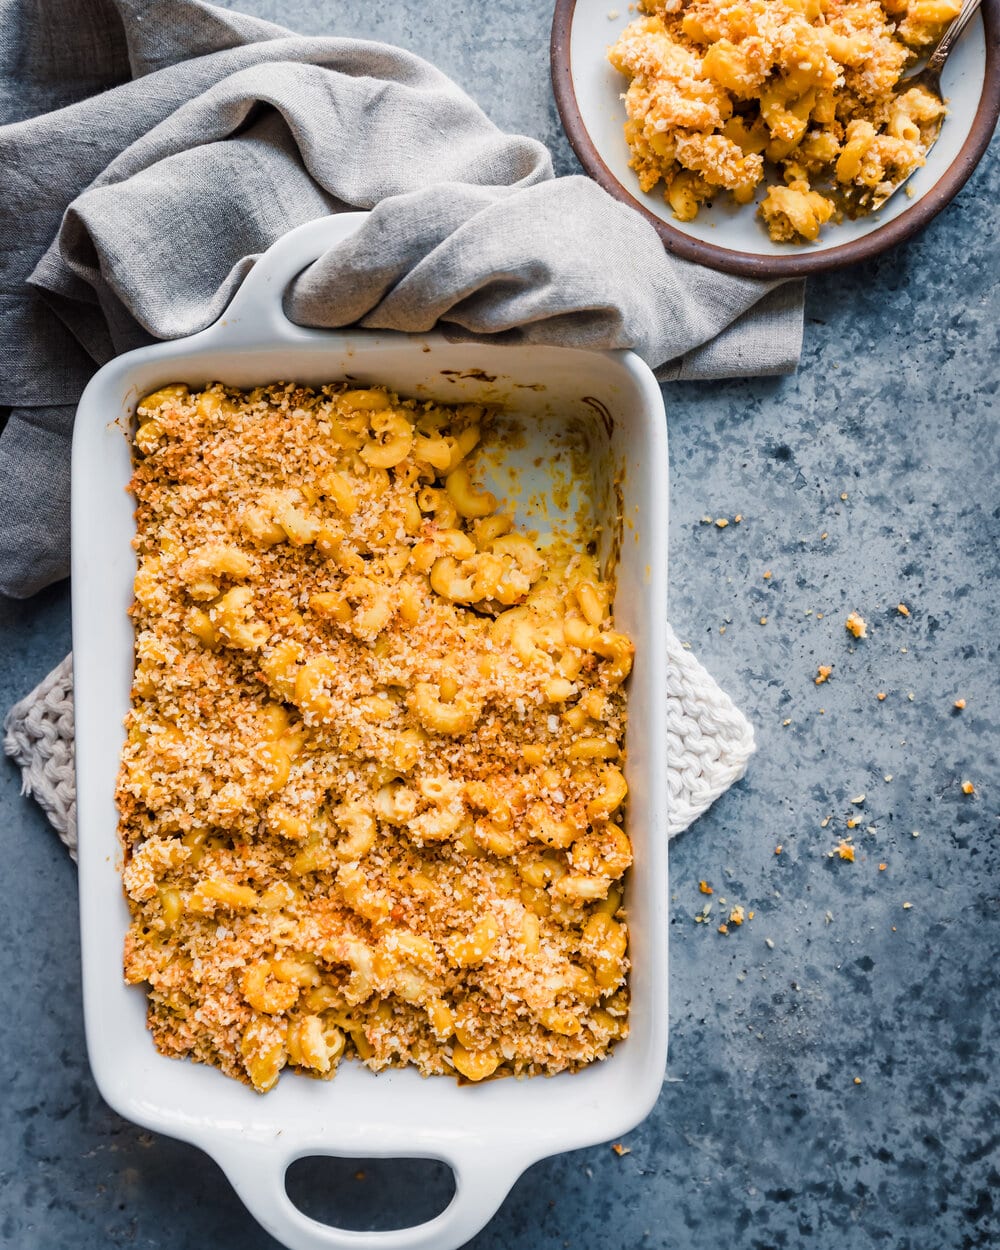
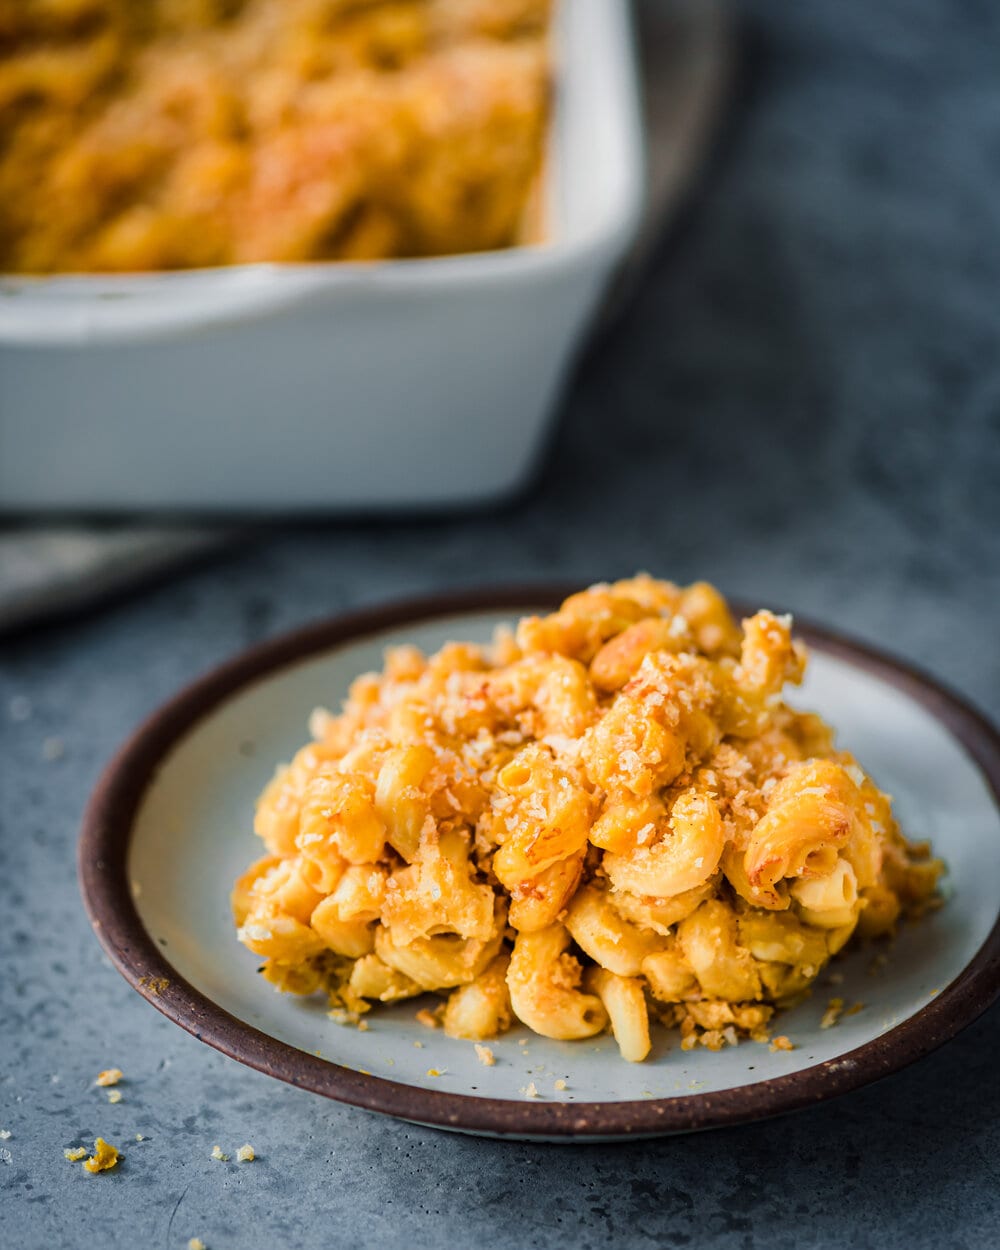
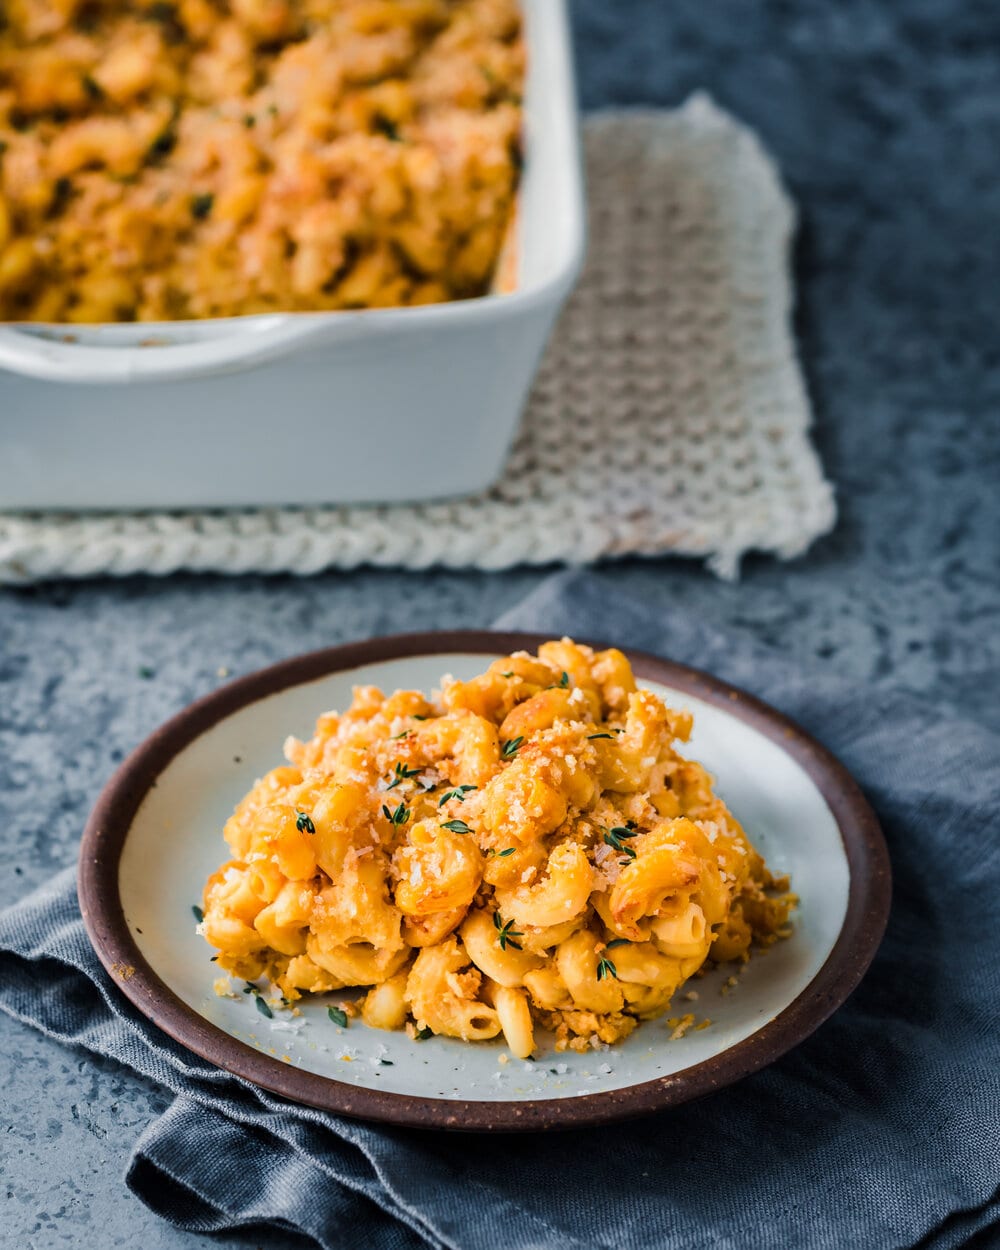
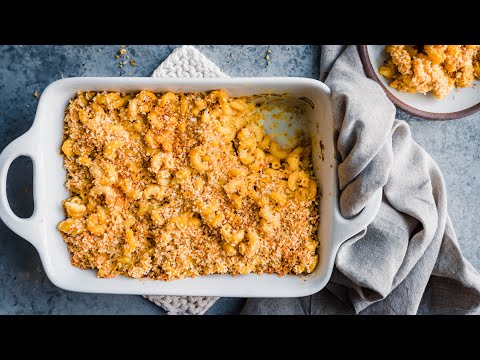
Today, I’m sharing my vegan spin on the ultimate comfort food: Crispy Baked Vegan Mac and Cheese!
This recipe features an easy cheese sauce that is ridiculously creamy and cheesy (and even secretly wholesome…hi, butternut squash!). Once mixed with elbow macaroni, it gets topped with a buttery bread crumb topping and baked until crunchy and browned. The textural contrast of creamy and crispy is irresistible and every bite is packed with flavor, indulgence, and nostalgia.
Looking for more classic holiday side dishes? Try my Ultimate Crispy Roasted Potatoes, Mushroom Gravy, and Vegan Cornbread!
What you need to make the best Vegan Mac and Cheese
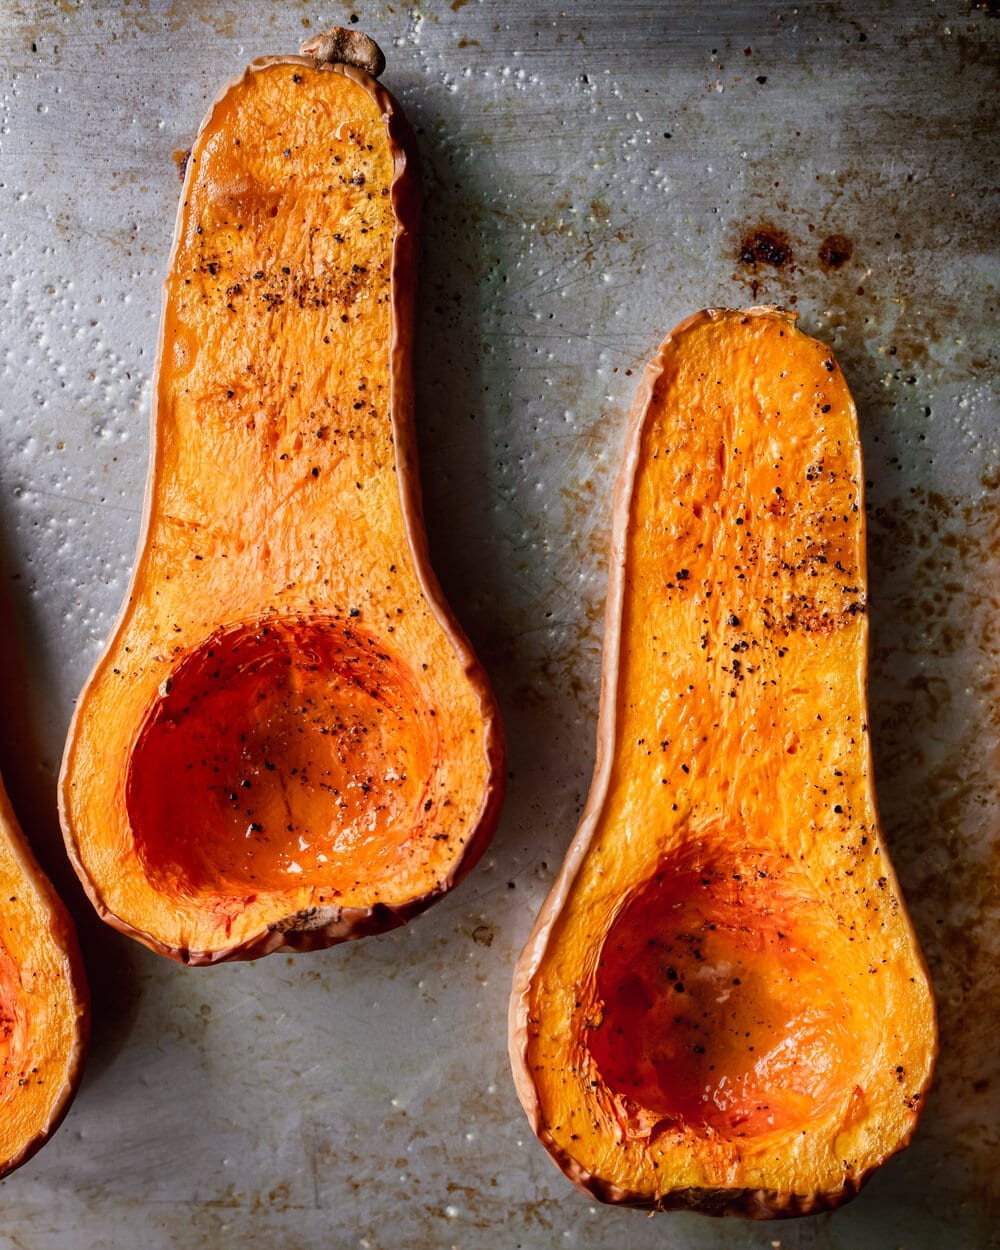
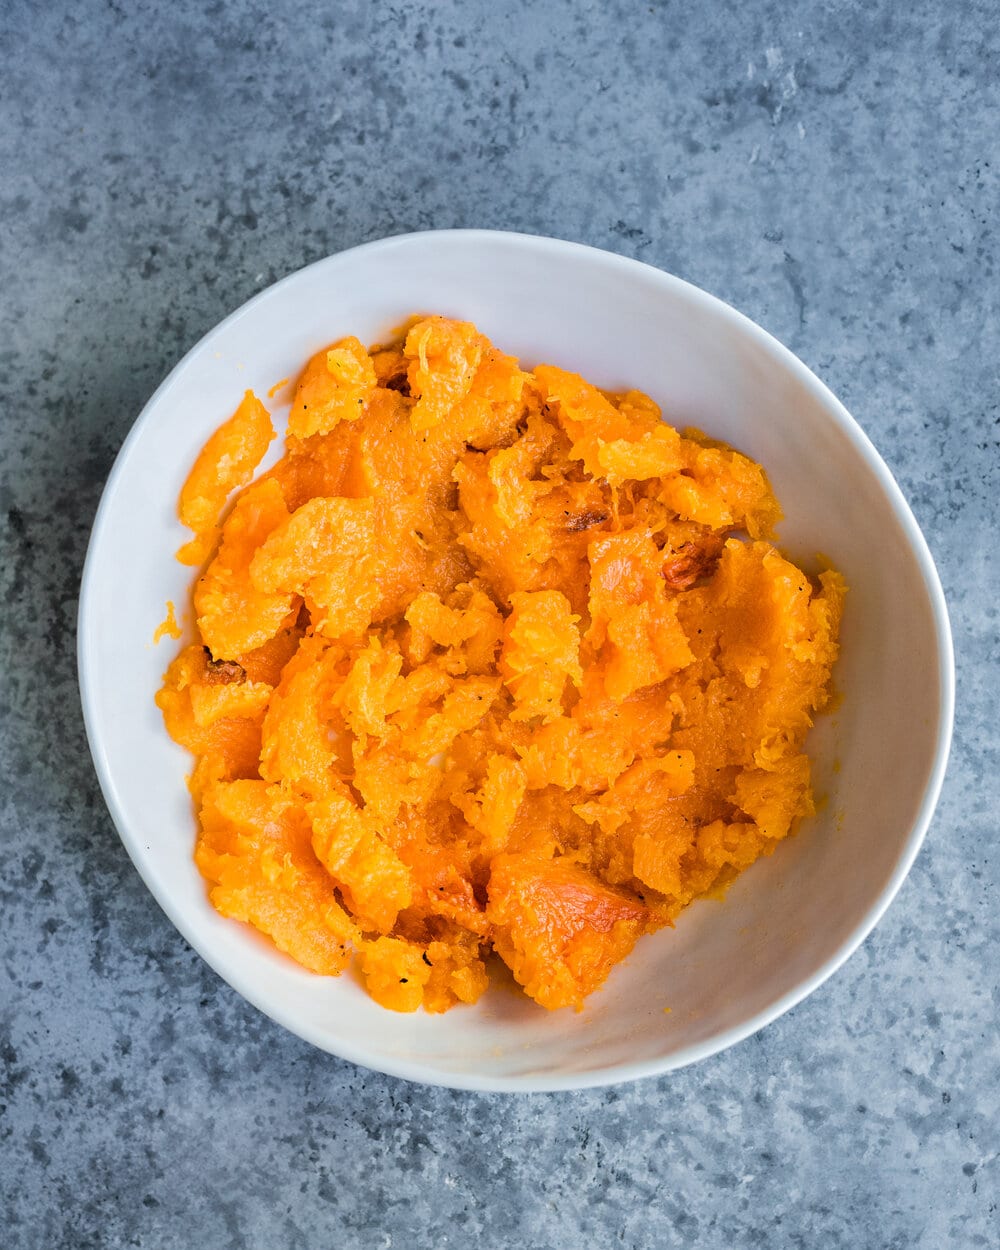
Butternut Squash. Butternut squash adds a velvety body to the cheese sauce and (2) it brings that nostalgic orange-yellow color you associate with mac and cheese.
Cashews. Soaked raw cashews, when blended up, rival the creamiest of dairy sauces. I’ve tried vegan cheese sauces without them and they never compare.
Nutritional Yeast. A potent source of savory flavor and helps mimic the taste of cheese. In order to get this to really taste cheesy, I use a generous ½ cup of nutritional yeast.
Miso Paste. One of the reasons people love cheese is that it naturally umami. To bring in more umami without using dairy, I add a bit of white miso paste.
Lite Coconut Milk. Mac and cheese is meant to be indulgent, so to amp up the creaminess, I add in some “lite” coconut milk. It has a high enough fat content to bring the creaminess, but it’s not too heavy.
Tapioca Flour. This ingredient helps thicken the cheese sauce and give it the texture you associate with a mac and cheese sauce.
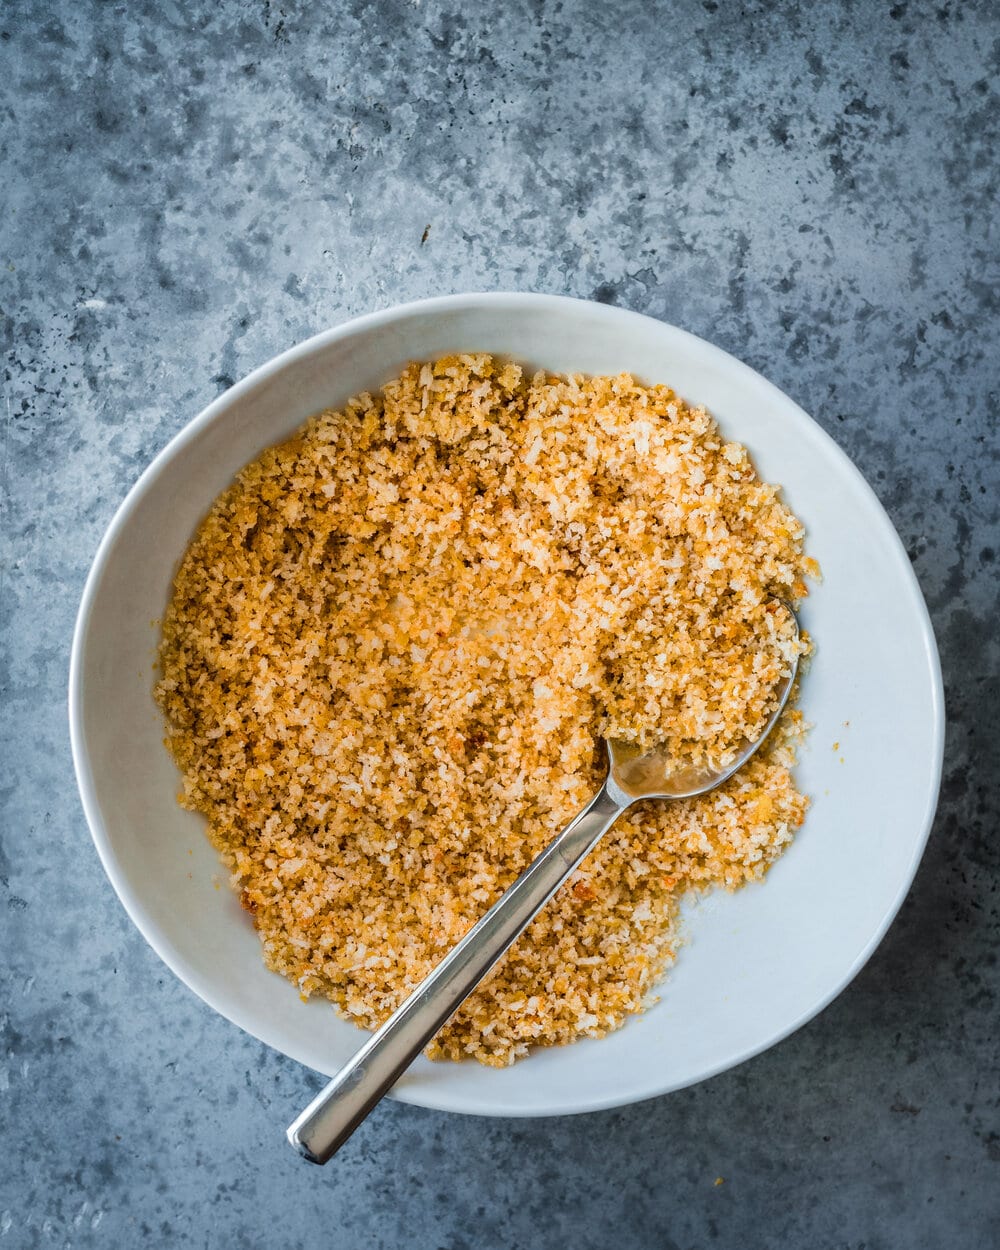
Panko. The light, flaky texture brings an irresistible snappy crunch to the topping and works much better than standard breadcrumbs.
How to make Crispy Baked Vegan Mac and Cheese
Coat the butternut squash halves with olive oil, salt and pepper. Roast at 425ºF for 45-55 minutes, or until completely fork tender and lightly browned. Scoop out 1 ½ cups of butternut squash flesh.
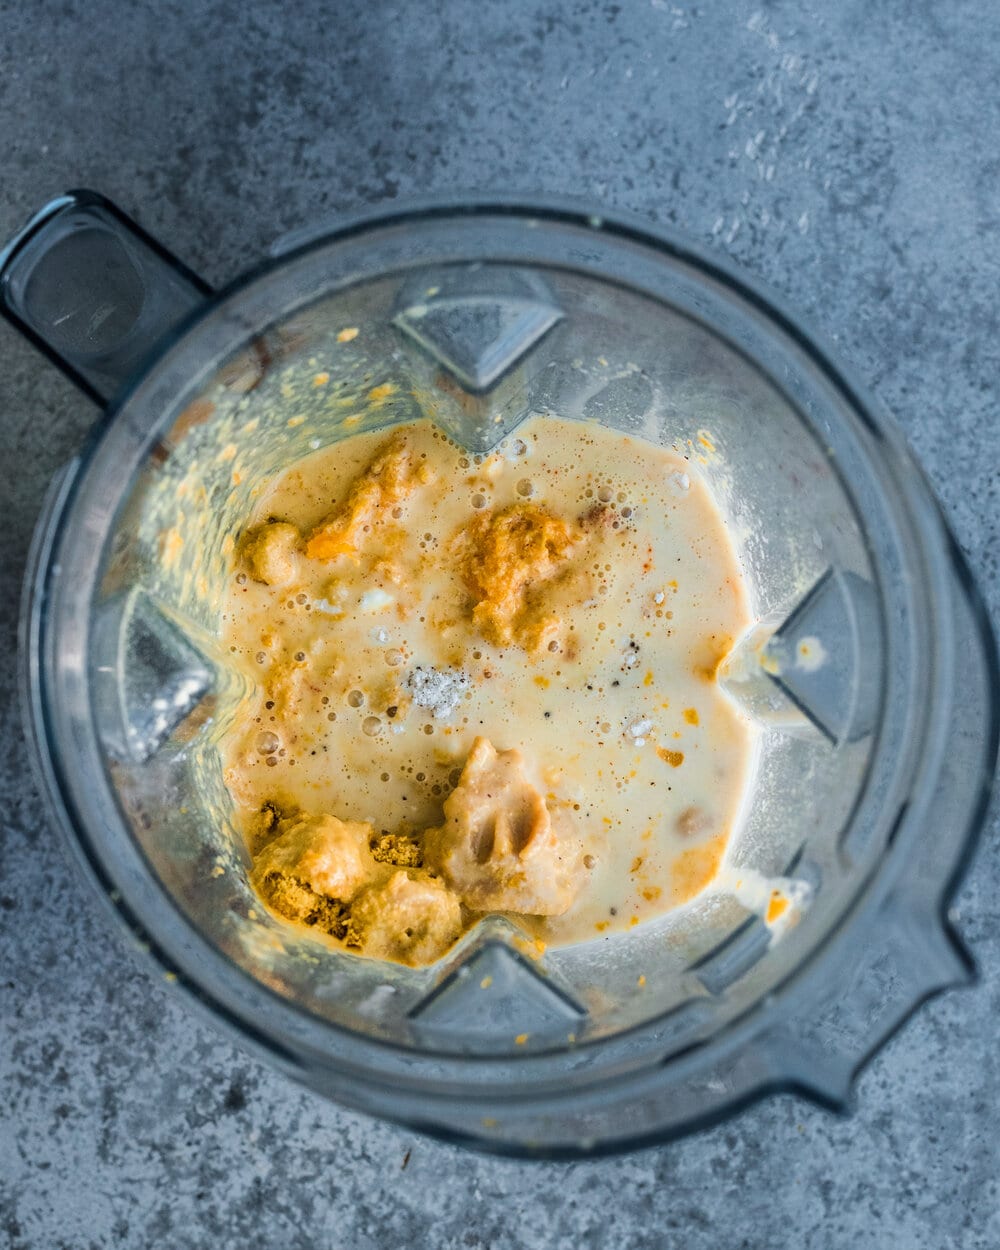
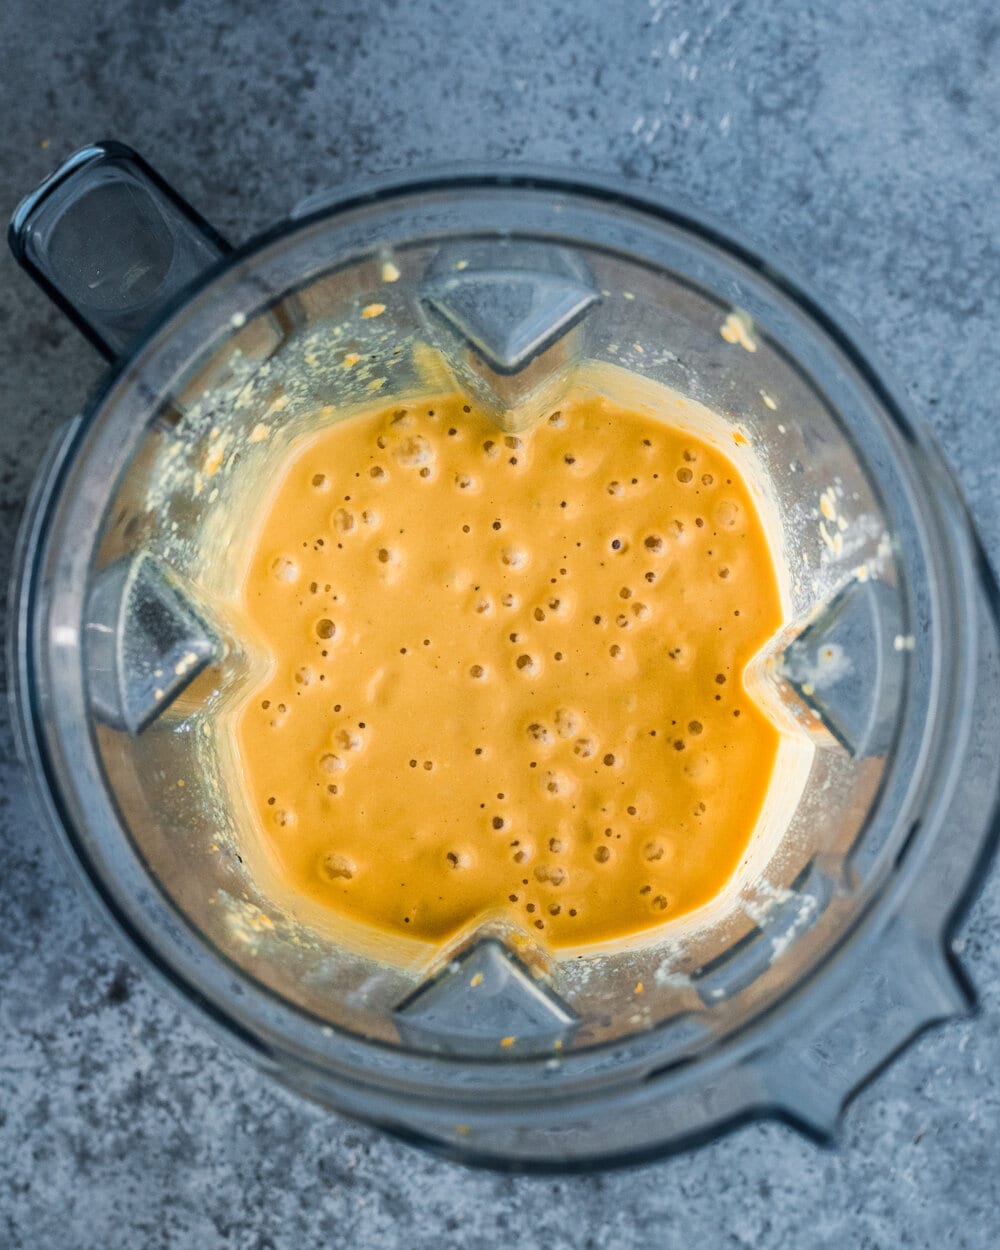
Add the butternut squash flesh to a blender with the soaked cashews, miso, nutritional yeast, spices, coconut milk, and tapioca flour. Blend until thick, creamy, and smooth.
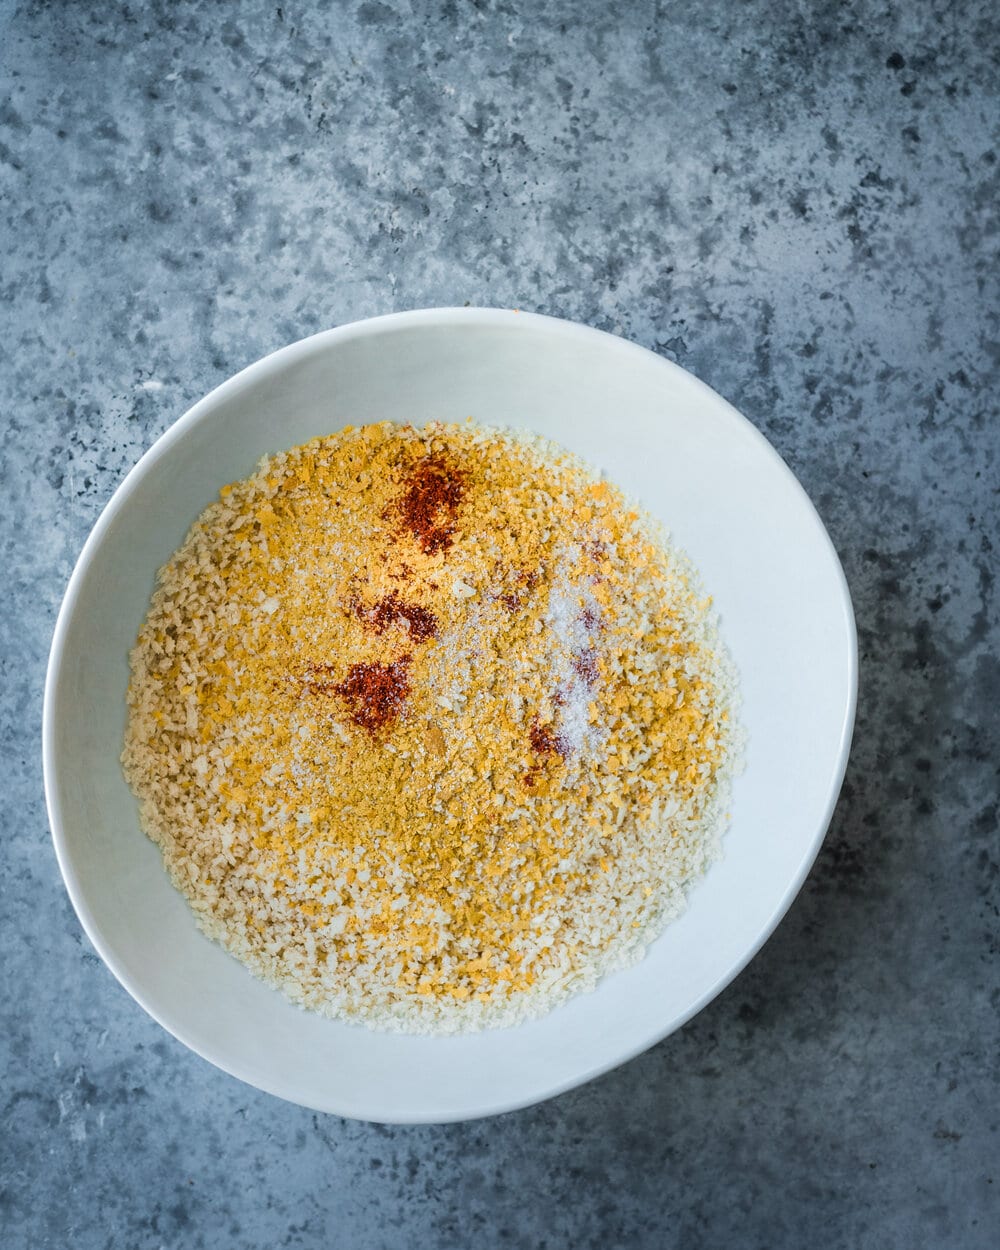
For the topping, mix together the panko, nutritional yeast, salt, paprika, and melted vegan butter.
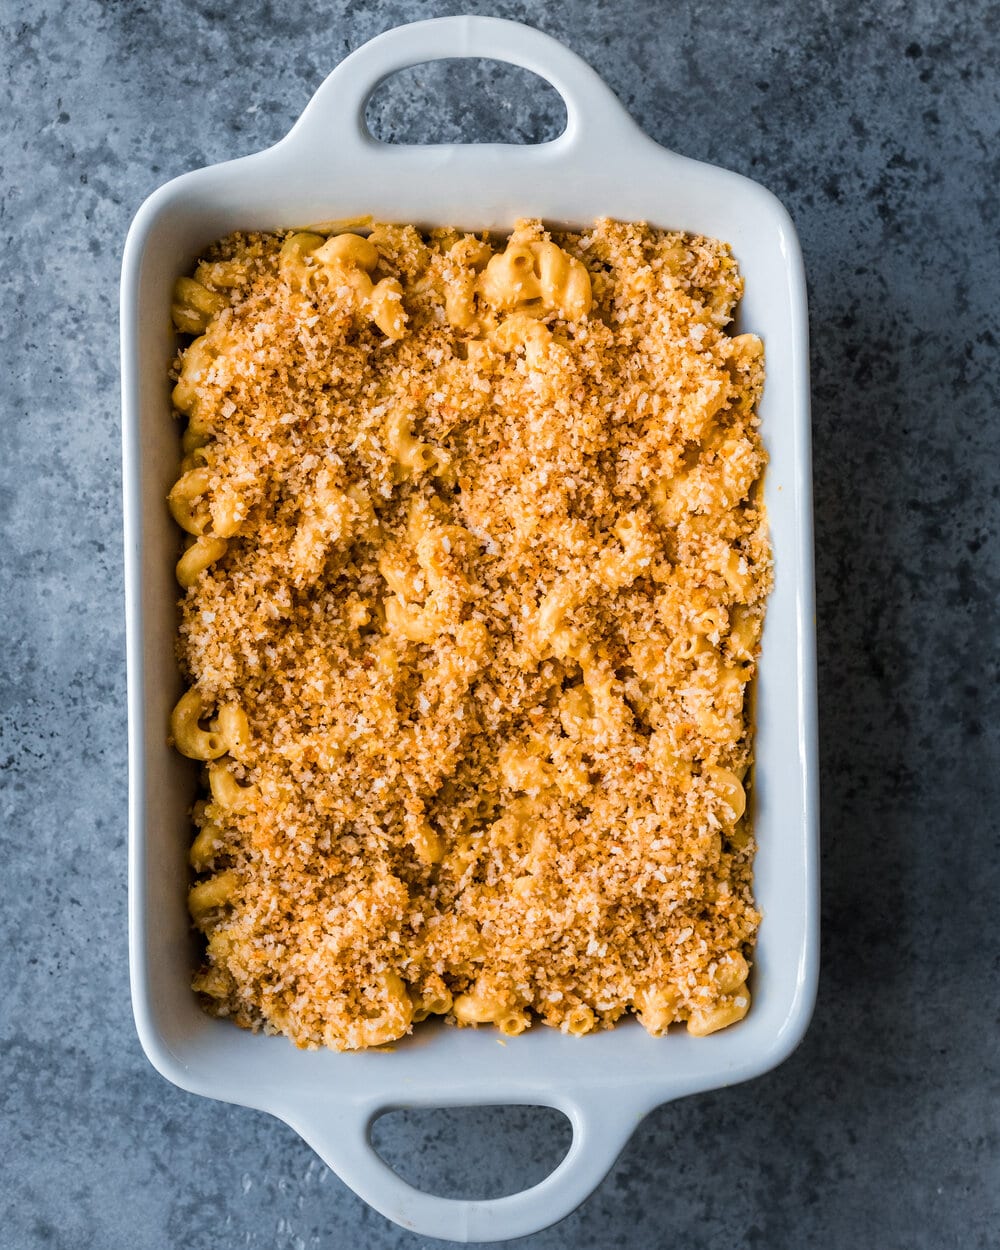
Sprinkle the breadcrumb topping over the mac and cheese. Bake at 400ºF for 15-20 minutes until the topping is crispy and golden brown.
Tips for making this recipe
How to easily slice butternut squash
If you find it difficult to slice your butternut squash in half, pop it in the microwave for 1-2 minutes to help soften and make it easy to slice.
How to soak cashews
If you have a high-powered blender, you can soak your cashews in boiling water for just 30 minutes. But if you have a standard blender, soak them in cool water for 8 hours or overnight so the sauce is smooth and not gritty.
Taste the cheese sauce
Taste the cheese sauce before you pour it onto the macaroni. Add more salt, nutritional yeast, lemon juice, mustard powder, or miso paste as needed. If you’re planning to use this cheese sauce to make regular mac and cheese (i.e., not baking it), omit the tapioca starch. It’ll taste chalky if not cooked.
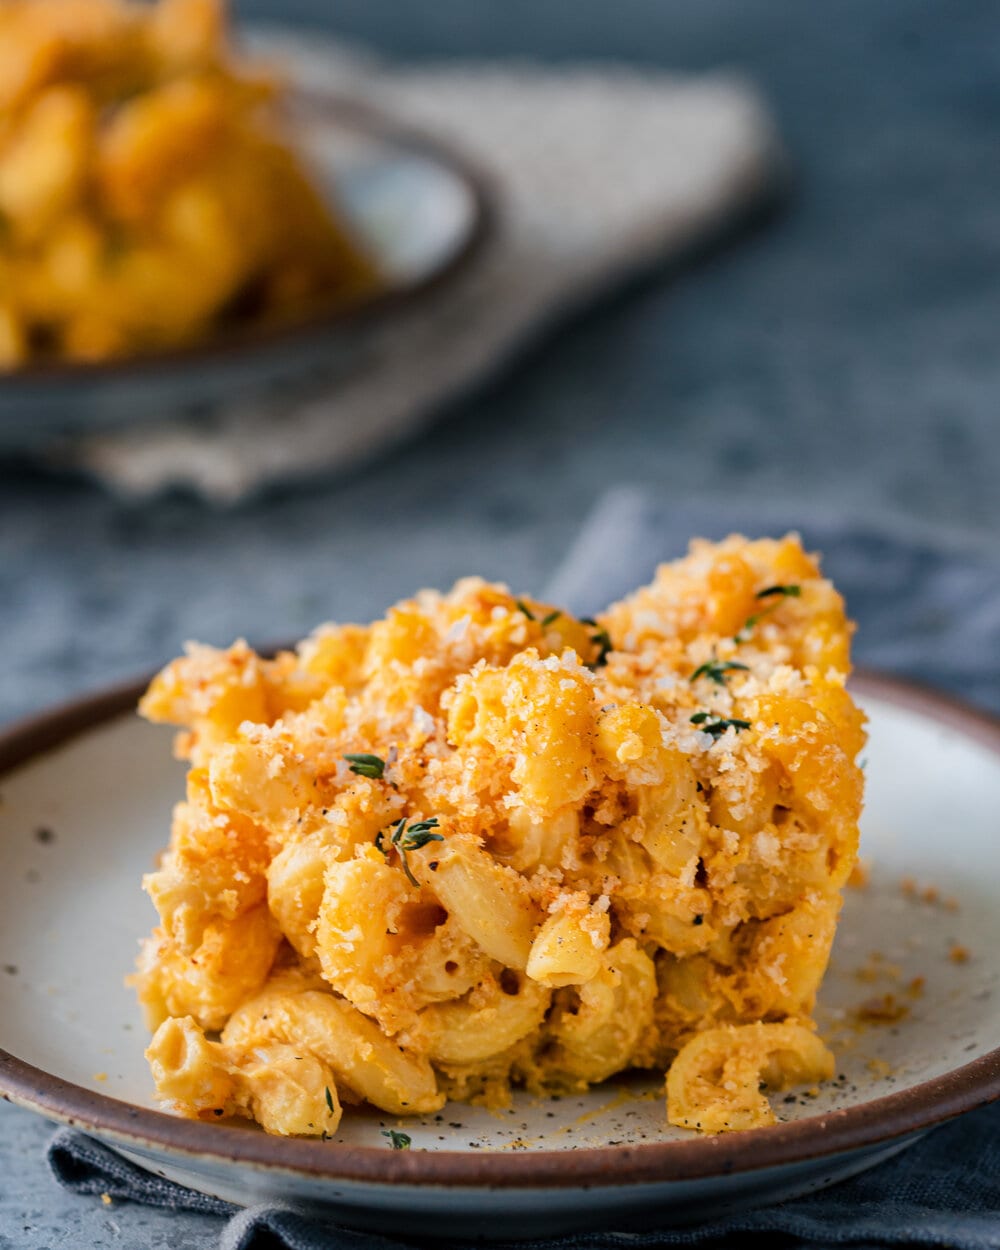
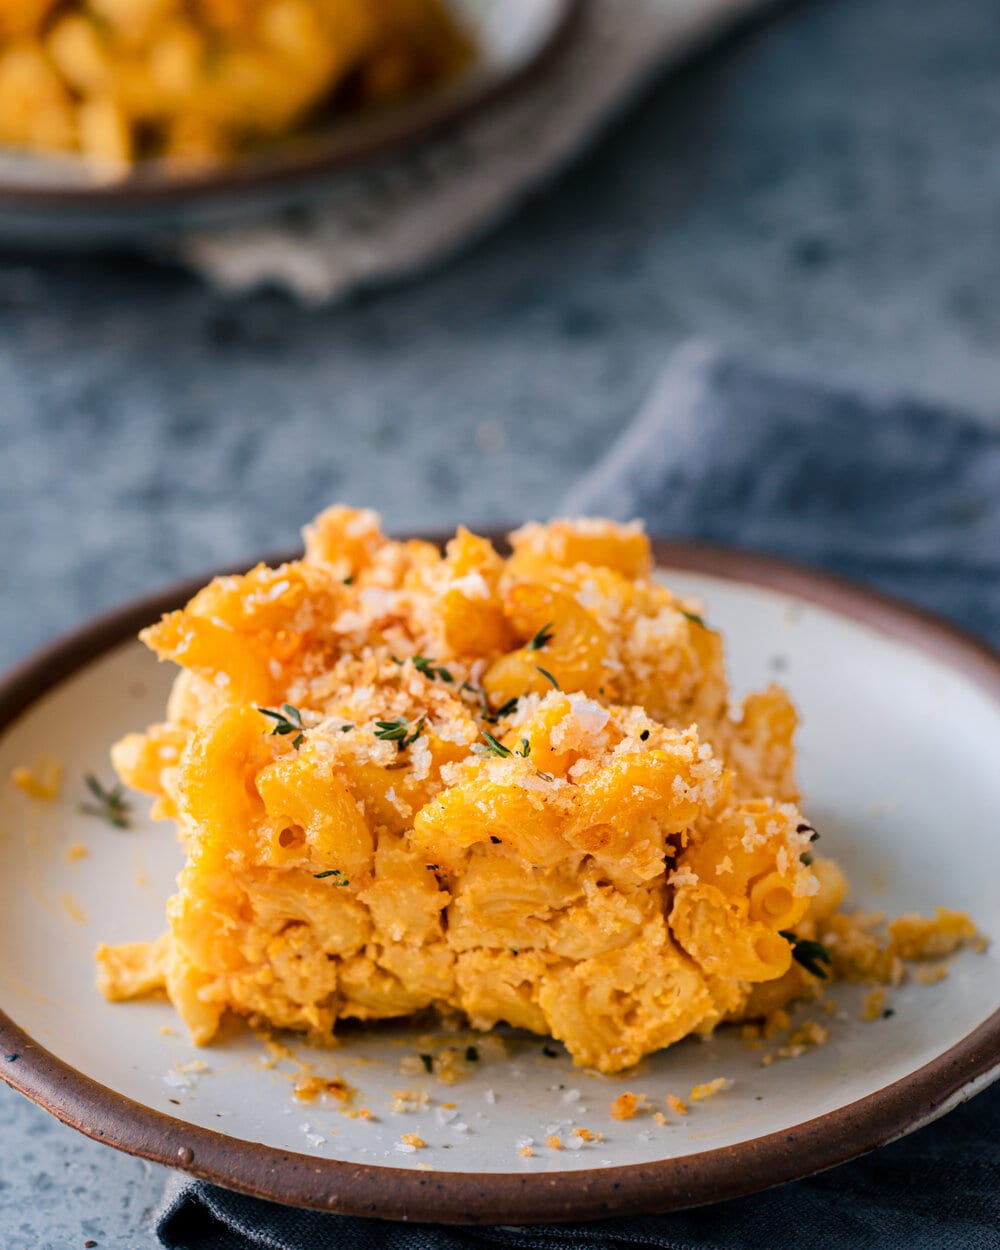
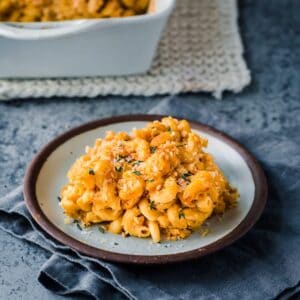
Let the mac and cheese rest
If you want your mac and cheese to almost solidify into a mass (see photo below), allow it to cool for 15-20 minutes before slicing into it.
Frequently Asked Questions
You can sub in cornstarch (or arrowroot powder) with fairly similar results, but I find that tapioca flour works best.
If you want to save time, you can make the cheese sauce and macaroni 1-2 days in advance, and toss them together in the baking dish; cover and refrigerate. On the day of serving, take it out of the fridge so it’s not super cold and make the topping (takes 2 minutes). Sprinkle the topping on and bake it off.
Or, you can just make the cheese sauce 2-3 day ahead of time and store it in an airtight container. Or even just roast the butternut squash 2-3 days in advance and store the flesh in the fridge.
Once baked, allow to cool and store in an airtight container in the fridge for up to 4 days. To reheat, add your mac and cheese to an oven-safe dish. If very thick, add a spoon or two of plant milk and toss to combine. Cover the dish with foil and bake at 375ºF for 15-20 minutes, or until warmed through. If desired, take off the foil and bake for another 5 minutes.
For me, mac and cheese is an indulgent treat, not a health food, which is why I use coconut milk. But, if you’re allergic to coconut, substitute with full-fat oat milk or cashew milk. Almond milk is too thin IMO and soy milk (even unsweetened varieties) leaves a subtle but strange sweet aftertaste.
You can use (1) canned pumpkin puree or (2) canned butternut squash puree if you’re in a rush. That said, using whole butternut squash adds more flavor, as it’s fresher and gets more flavor baked into it with the roasting and the salt and pepper.
My answer would be no, as it brings a significant amount of the cheesy flavor. Otherwise, it’ll be more of a creamy pasta bake (delicious but won’t have the mac and cheese flavor).
Watch! How to make Crispy Baked Vegan Mac and Cheese
If you give this Crispy Baked Vegan Mac and Cheese recipe a try, be sure to tag me on Instagram with your recreations and please comment with your feedback below.
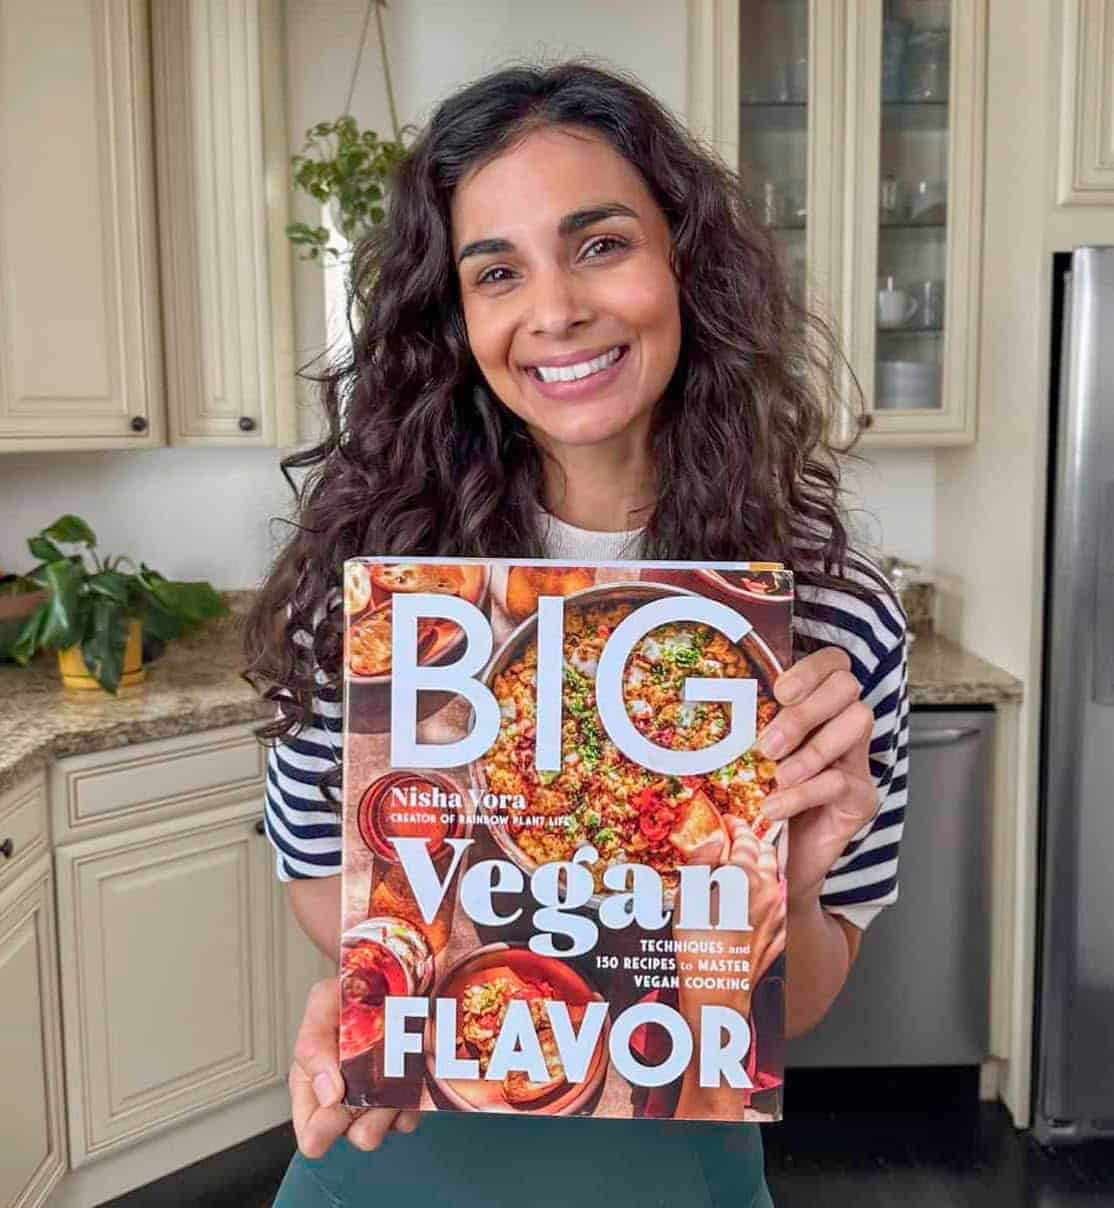
Introducing
Big Vegan Flavor
Techniques and 150 recipes to master vegan cooking.
Crispy Baked Vegan Mac and Cheese
Ingredients
- 1 small-medium butternut squash (about 2 1/4 pounds or 1 kg)
- Olive oil or avocado oil, for roasting and tossing pasta
- 1/2 cup (~70g) raw cashews, soaked in cool water overnight or in boiling water for 1 hour and then drained*
- 3/4 cup (60g) nutritional yeast (makes for an extra cheesy flavor, but you can use 1/2 cup or 40g and it will still be good)
- 1 teaspoon garlic powder
- 1/2 teaspoon onion powder
- 1/2 teaspoon smoked paprika
- 1/2 teaspoon dry mustard powder (optional but adds a nice sharp tangy flavor)
- 1 tablespoon mellow white or yellow miso paste
- 1 (13.5 ounce/ 400 mL) can “lite” coconut milk
- 1 1/2 tablespoons fresh lemon juice
- 1 tablespoon tapioca flour (see the “frequently asked questions” section for substitutes)
- 12 ounces (340g) elbow macaroni (see the “frequently asked questions” section for notes on how to make this recipe gluten-free)
- 1 ½ teaspoons kosher salt + more to taste
- Freshly cracked black pepper to taste
Crispy Topping
- 3/4 cup + 2 tbsp (60-65g) panko bread crumbs
- 1 tablespoon nutritional yeast
- Scant 1/4 teaspoon kosher salt
- 1/8 teaspoon smoked paprika
- 2 1/2 tablespoons vegan butter, melted
Instructions
- Preheat the oven to 425°F (218°C). Use a very sharp knife to slice the butternut squash in half, then scoop out the seeds using a spoon.
- Bake the squash. Place each squash half, cut side up, on a baking sheet and rub each with a bit of the olive oil or avocado oil and season well with salt and pepper. Bake for 45-55 minutes, or until the flesh is completely fork tender and lightly browned.
- Meanwhile, make the crispy breadcrumb topping. In a small bowl, combine the panko bread crumbs, nutritional yeast, salt, paprika, and melted vegan butter until well combined.
- Meanwhile, cook the elbow macaroni. Bring a large saucepan of water to a boil and salt generously. Cook the pasta according to the box directions until al dente and drain in a colander. Toss with a little bit of olive oil to prevent sticking.
- Once the squash is done roasting and cool enough to handle, scoop out the flesh and discard the skin. Measure out 1 1/2 cups (310-330g) of the flesh. Reserve the rest for another use, such as a curry, soup, or side dish.
- Reduce the oven temperature to 400°F (205°C). Lightly grease a 3-quart/3-liter baking dish with oil or melted vegan butter.
- Make the cheese sauce. In a high-powered blender, add the 1 1/2 cups (310-330g) of the squash flesh. Add in the soaked and drained cashews, nutritional yeast, mustard powder, garlic powder, onion powder, paprika, miso paste, tapioca flour or cornstarch, lemon juice, lite coconut milk, 1 1/2 teaspoons kosher salt, and black pepper to taste. Blend until the sauce is completely smooth and creamy, about 1-2 minutes, scraping down the sides as you go. Taste for seasonings and adjust accordingly, adding more salt as needed, more miso paste for more umami, more nutritional yeast for more cheesiness, or more lemon juice for more acidity.
- Return the cooked and drained pasta back to its saucepan and pour in the cheese sauce. Toss until well combined. Transfer the mac and cheese to the prepared baking dish. Sprinkle the crispy breadcrumb topping evenly over the top.
- Transfer to the oven and bake for 18-20 minutes, until the topping is crispy and brown. Allow to cool for 10-20 minutes to help set up, then slice into it and serve.
Video
Nutrition
Nutrition information is automatically calculated, so should only be used as an approximation.


Amazing! Made a gluten free version with Tinkyada brown rice elbows and so good to have an allergy friendly recipe that’s almost as good if not better!
Thank you for your lovely comment, Abby! It makes us happy to know that you enjoyed the recipe.
So, so, so delicious! The crunchy topping just perfects this recipe. I haven’t had mac and cheese since I went plant-based back in 2015. Eating this last night made me feel incredibly comforted. My husband said he thought it was “cute” that I tried to make a vegan mac and cheese, but he went back for seconds and said he’d eat it again if I make it some time. That’s a win!
Hi Jenni, it’s great to hear you had success with the recipe. We’re happy both you and your husband are huge fans! Thanks for the review!
This is our new go to Mac n’ Cheese recipe! Love that it’s a lot healthier than a lot of other vegan mac recipes out there.
We love adding bits of seared field roast franks to this. Very nostalgic tasting <3
Also if your blender is high powered enough I'd recommend adding the squash skin as well as the guts/seeds (all roasted). Ive tried this several times and the texture is still perfectly creamy. I don't think our old Ninja could've handled it, but our Vitamix makes quick work of the tough bits.
Oh and it's super delicious wether you bake it or not.
Yum! Thanks for sharing your tips and experience, Garrett!
I made this recipe for my Friendsgiving 2022 & it was great! All of my non vegan friends loved it too & were impressed. Definitely will be making this again for gatherings especially around the holidays.
Awesome! Thanks for sharing, Emily!
So i’m a vegetarian that has decided to go vegan at least for January and I came across this awesome website and Youtube channel. The vegan mac and cheese was my first go to as I love cheesey pasta and this was going to be the main challenge of veganism. This recipe was amazing! It’s has more flavour than mac and cheese or any cheesy/ creamy pasta. As I ate the whole thing over a few days, I mixed it up and added some saute’d mushrooms and Kale (OMG- it was incredible!). This is beyond amazing!
This will be our new go-to recipe for mac & cheese. It was a hit Christmas Day (along with your Vegan Wellington with Mushroom Gravy). I made the cheese sauce a couple days in advance; made the elbow macaroni the day before. Then, Christmas Day, combined it, added the panko topping and . . .yum!!! So easy and delicious. I was surprised that we enjoyed it more the following day and even more so the day after that. It just firmed up, without the pasta getting mushy.
Thanks again for another winning recipe!
Angela, So glad to hear you loved this recipe! 🙂
It’s so creamy and easy to make, just don’t forget to be generous with salt while cooking the pasta
Hi Agata, we’re thrilled to hear you enjoyed this recipe! Next time, would you mind leaving a rating alongside your review? Star ratings are big help to readers who are thinking of making the recipe. Thanks!
Hello! Love your recipes. Can this recipe be made without panko bread crumbs? (without bread crumbs in general)
Hi Samantha, we’re happy you enjoy the recipes! And yes it can, it just won’t be crispy!
Would using a can of regular coconut milk change the flavor or just the creaminess? I can’t find light coconut milk at my store. Thanks.
Hi Theresa, it will be higher in fat content and extra creamy but you can definitely use it instead! You may want to scale back on the cashews at that point, depending on your preference.
Hi Nisha,
Thank you for all your recipes, I make many of yours for my meal prep clients.
I made this one last week and they loved it!
It was actually hard to decide between this recipe and your mac and cheese from your InstaPot cookbook.
Anyways, I’m curious, does this recipe freeze well?
Perhaps just the sauce and then give instructions to make the pasta, assemble and bake later?
Thanks so much <3
Kami, thank you so much! So lovely. We always recommend cooking pasta fresh, as the older it gets the more the quality declines. You also will need to cook the pasta quite al dente before freezing it for it to hold up while reheating. But you can definitely make the sauce ahead of time- I did that for Thanksgiving with great results!
Just to clarify, you froze the sauce and it reheated well? Thanks in advance:)
Hi Jane, yes you can freeze then thaw at room temperature. Throw it back in the blender with a little plant milk to make it silky smooth again! You’re welcome!