

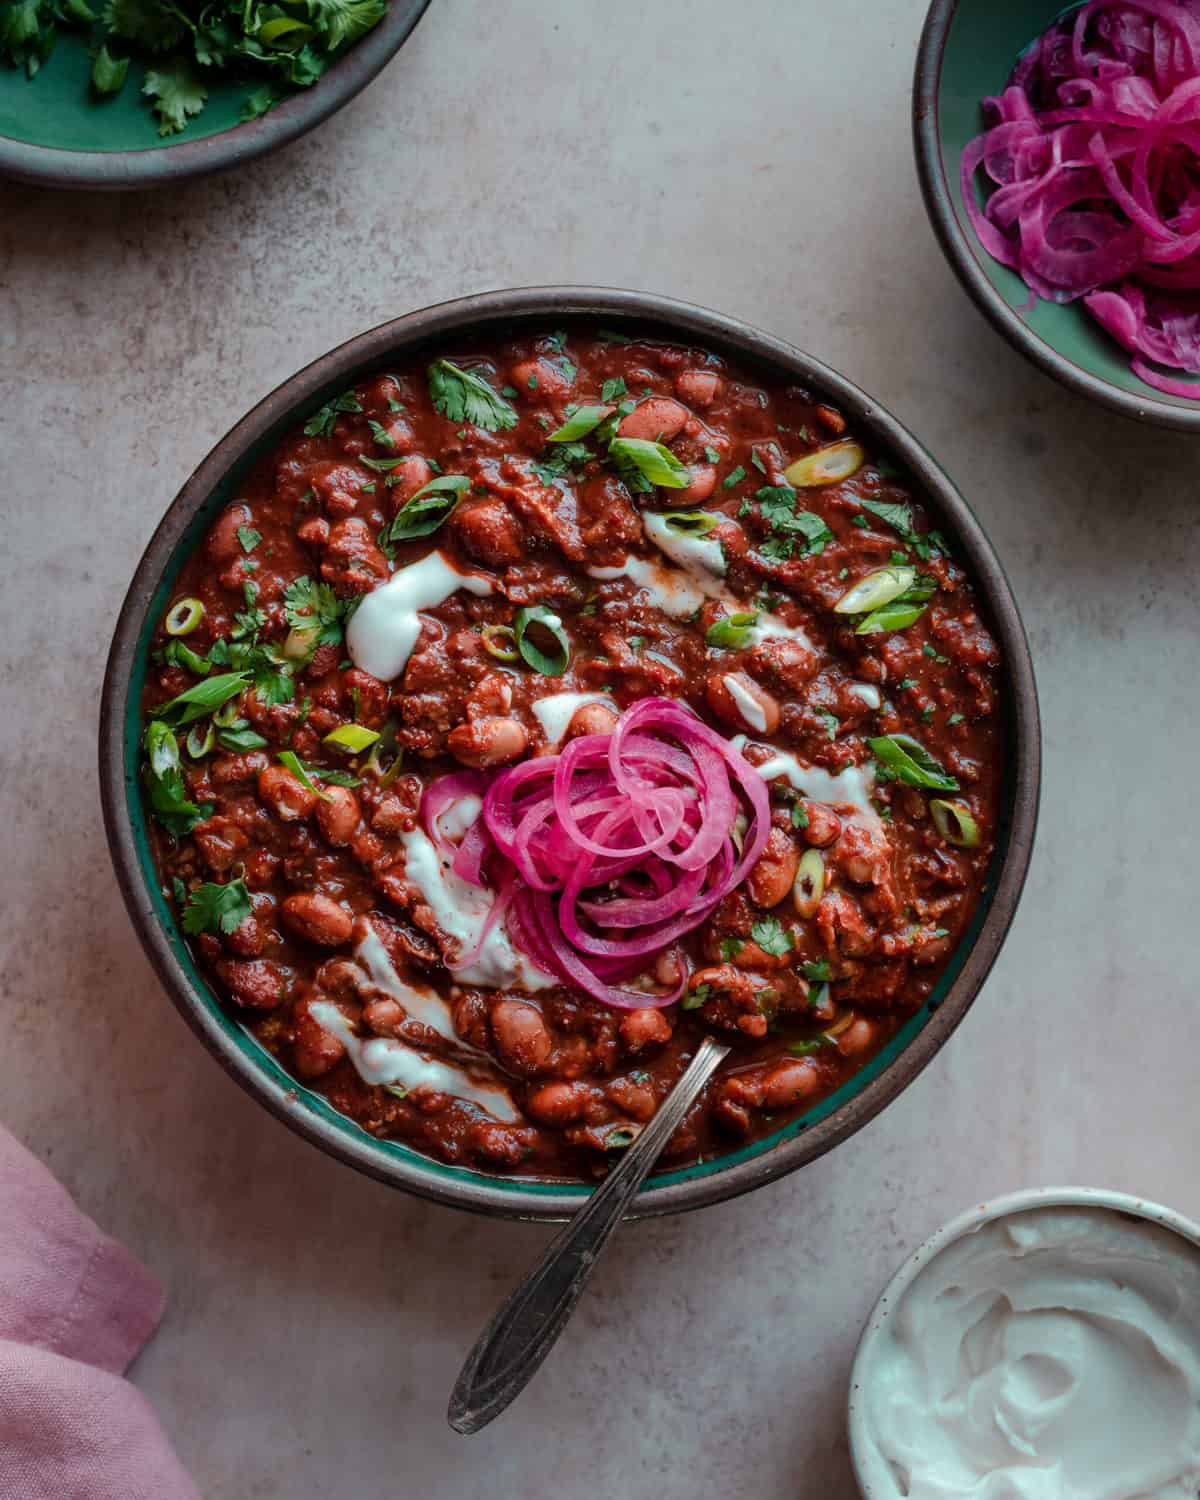
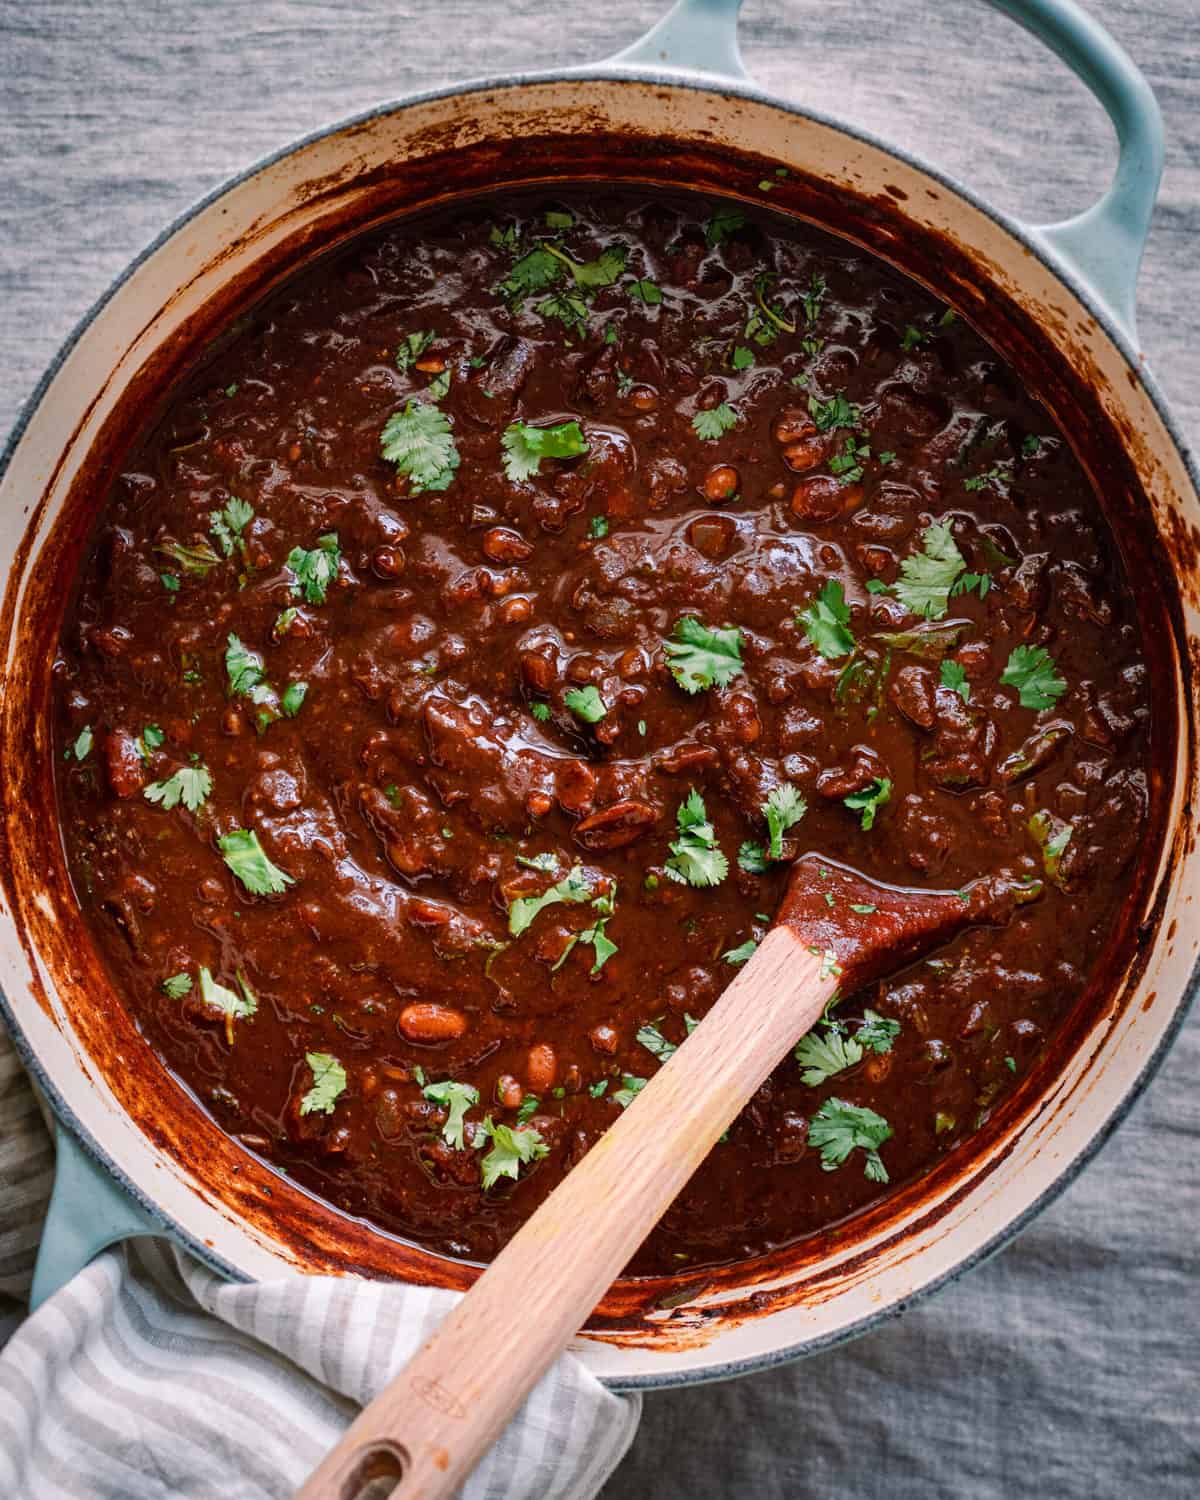
No exaggeration, this is the best vegan or vegetarian chili you will ever try. Thanks to a few key techniques, this baby has layers of complex flavors and an incredible velvety texture.
Most vegan chili recipes have you take so many shortcuts that you end up with a bowl of bean soup dressed up with some chili powder. But if you’re willing to follow the steps in this recipe, you’ll be rewarded with an authentic bean chili unlike any other.
In this post:
🎥 Watch me make life-changing chili

With over 950K views and 25K likes, my YouTube video on how to make chili was a huge hit with my community. I hope you love it just as much!
5 Secrets to Incredible Vegan Chili
1. Start with real chile peppers.
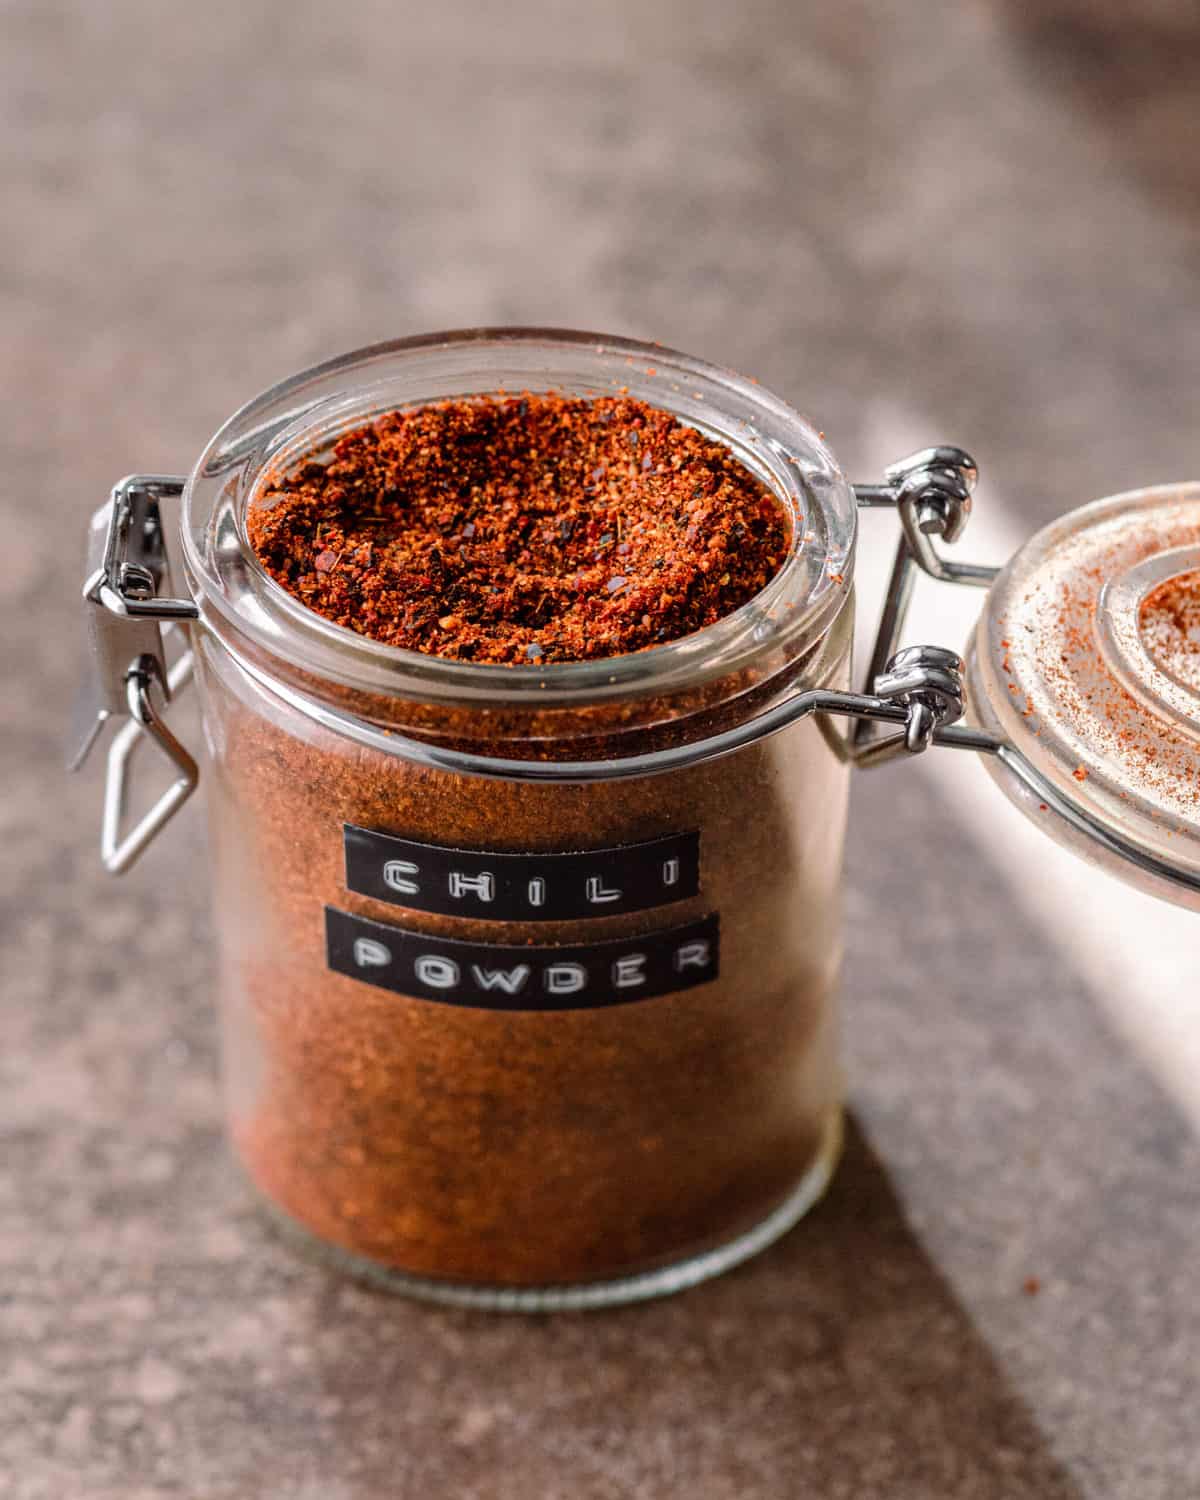
If you want the best chili with a serious depth of flavor, it’s time to make your own chili powder from whole dried chile peppers. Store-bought chili powders are a nice convenience, but they simply cannot hold a candle to the flavor complexity of the stuff made from scratch.
Many dried chile peppers carry notes of fruit, berries, chocolate, coffee, and/or raisins, adding layers of rich flavors. And when you combine homemade chili powder with fresh jalapeños and canned chipotle peppers, you get layer upon layer of complementary warming flavors: smoky, fruity, grassy, all in one bowl of chili.
Need more convincing? Check out what these professional chefs have to say:
“A bowl of chili starts with chiles.” – Texas-born chef Ben Berryhill for Fine Cooking
“The best thing you can do to up your chili game is to leave those jars of pre-ground chili powder on the shelf.” – J. Kenji López-Alt for Serious Eats
“[Using dried chile peppers] is a much better way to make this dish than with chili powder.” – Rick Martinez for Bon Appetit
It only takes 10-15 minutes to make chili powder, and it stays fresh for 6 months (meaning you can make a killer chili whenever the mood strikes). You can find my homemade chili powder in the second recipe card at the bottom of this post.
Substitute: While I think it’s worth making your own chili powder, I have tested this particular recipe with store-bought chili powder and it’s still great (because this recipe uses many other “secrets”/techniques to amp up the flavors).
If using pre-made chili powder, I recommend ancho chili powder (made from just ground ancho chile peppers). It’s more flavorful than the standard chili powder, which is a blend of seasonings.
2. Toast the spices
There are two reasons you should always toast your spices rather than just plopping them into liquid:
- Many spices are bitter when uncooked (taste a pinch of ground cumin or oregano and you’ll see what I mean). As a result, your final dish ends up with bitter notes.
- When you toast spices first (in some oil, usually after or along with the aromatics), you draw out their essential oils. This heightens the spice’s true flavor, so that you actually taste a hint of cumin or oregano in your final dish.
Takeaway: Always toast your ground spices (e.g., chili powder, cumin, oregano) before adding the liquid (e.g., vegetable broth) to draw out their flavor. The toasting will happen quickly, in about 30 seconds.
3. Boost the umami
Traditional chili has a ton of natural rich savory flavor from meat. To add savory notes to vegan chili, it’s necessary to add in a little extra umami. In this chili recipe, you’ll do that in three ways:
- Cook the tomato paste for a few minutes. This caramelizes it and unleashes the natural umami found in tomatoes.
- Use whole peeled canned tomatoes and crush them by hand (they have more pure tomato flavor and no additives, compared to pre-diced or pre-crushed tomatoes).
- Add soy sauce. Sounds unusual in chili, but it lends a potent form of plant-based umami and saltiness that salt alone can’t bring. Note: If you have vegan Worcestershire sauce on hand, it’s a great sub for the soy sauce.
4. Add some richness and body
Classic chili recipes are very rich, but many of the vegetarian chili recipes I tried online were more loose, like soup.
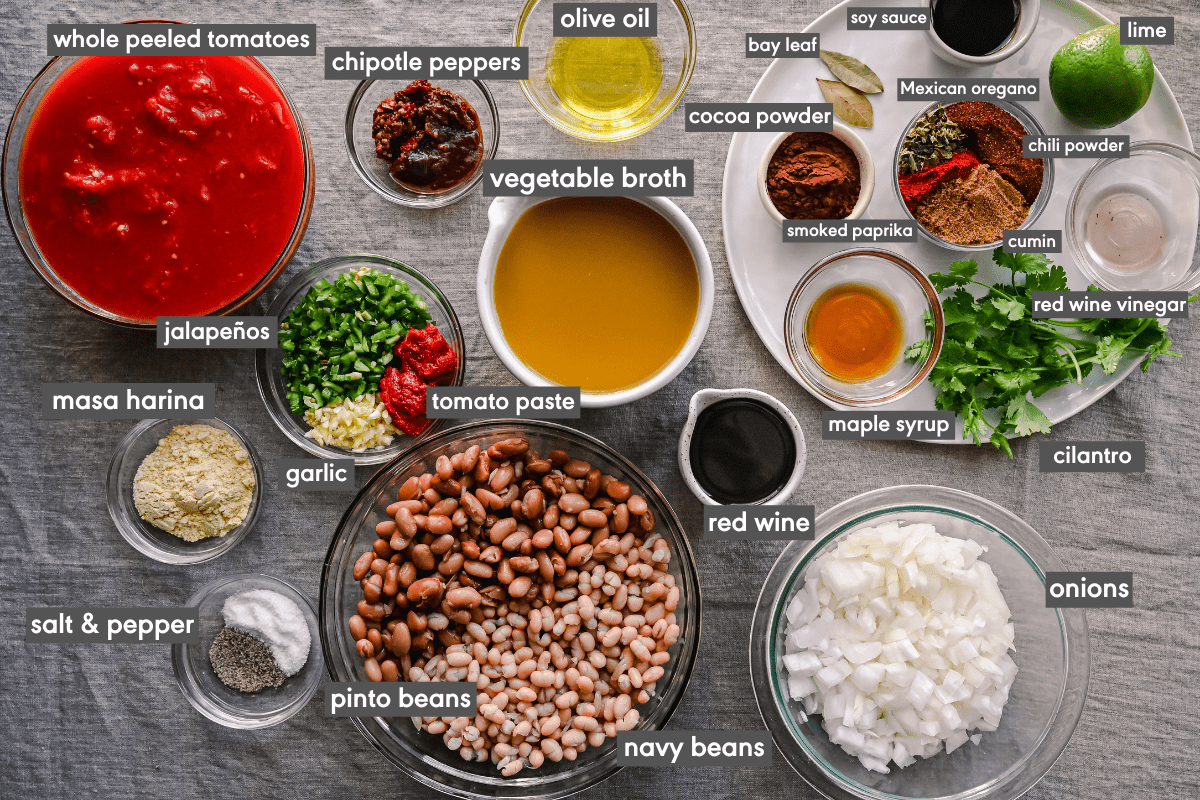
To ensure my chili is very rich, I rely on a few all-star ingredients:
- Red wine: This intensifies all the aromatics, spices, and chili peppers in a way that vegetable broth alone cannot. It also adds to the rich body of the chili (you’ll notice as the wine deglazes, the mixture becomes SO jammy). While beer is more traditional in chili, every time I’ve made chili with beer, it ends up too bitter for my taste.
- Cocoa powder: It may sound strange, but lots of chili recipes actually add a small amount of dark chocolate or cocoa powder. Cocoa not only adds depth of flavor but also accentuates the fruity notes of the dried chili peppers.
- An additional bean: Instead of using only pinto beans, I add in one can of navy beans. Since they’re so small, they partially disintegrate during simmering, which naturally thickens the chili.
- Masa harina, AKA Mexican corn flour: When stirred in at the end, it thickens the chili even more, gives it a velvety texture, and a nice subtle corn flavor. This chili recipe is already quite thick, so you can skip this ingredient if you don’t have it.
Takeaway: Chili should be rich both in taste and texture. Red wine, cocoa powder, and masa harina all contribute to that.
5. Slow simmering is key for texture and flavor
Many chili recipes tell you to simmer for just 30 minutes. You can get a decent chili this way (if the other tips are followed), but chili is designed to be a slow-simmered dish.
This is because the flavors of chili always improve with a long, slow simmer. Slow simmering also contributes to a thicker, more unctuous consistency, so that every bite has the same flavor and texture (check out that velvety texture in the photo below!).
Takeaway: Gently simmer this chili for 1 1/2 hours (or up to 2 hours) for maximal flavor and the most luxurious texture.
Step-by-step instructions
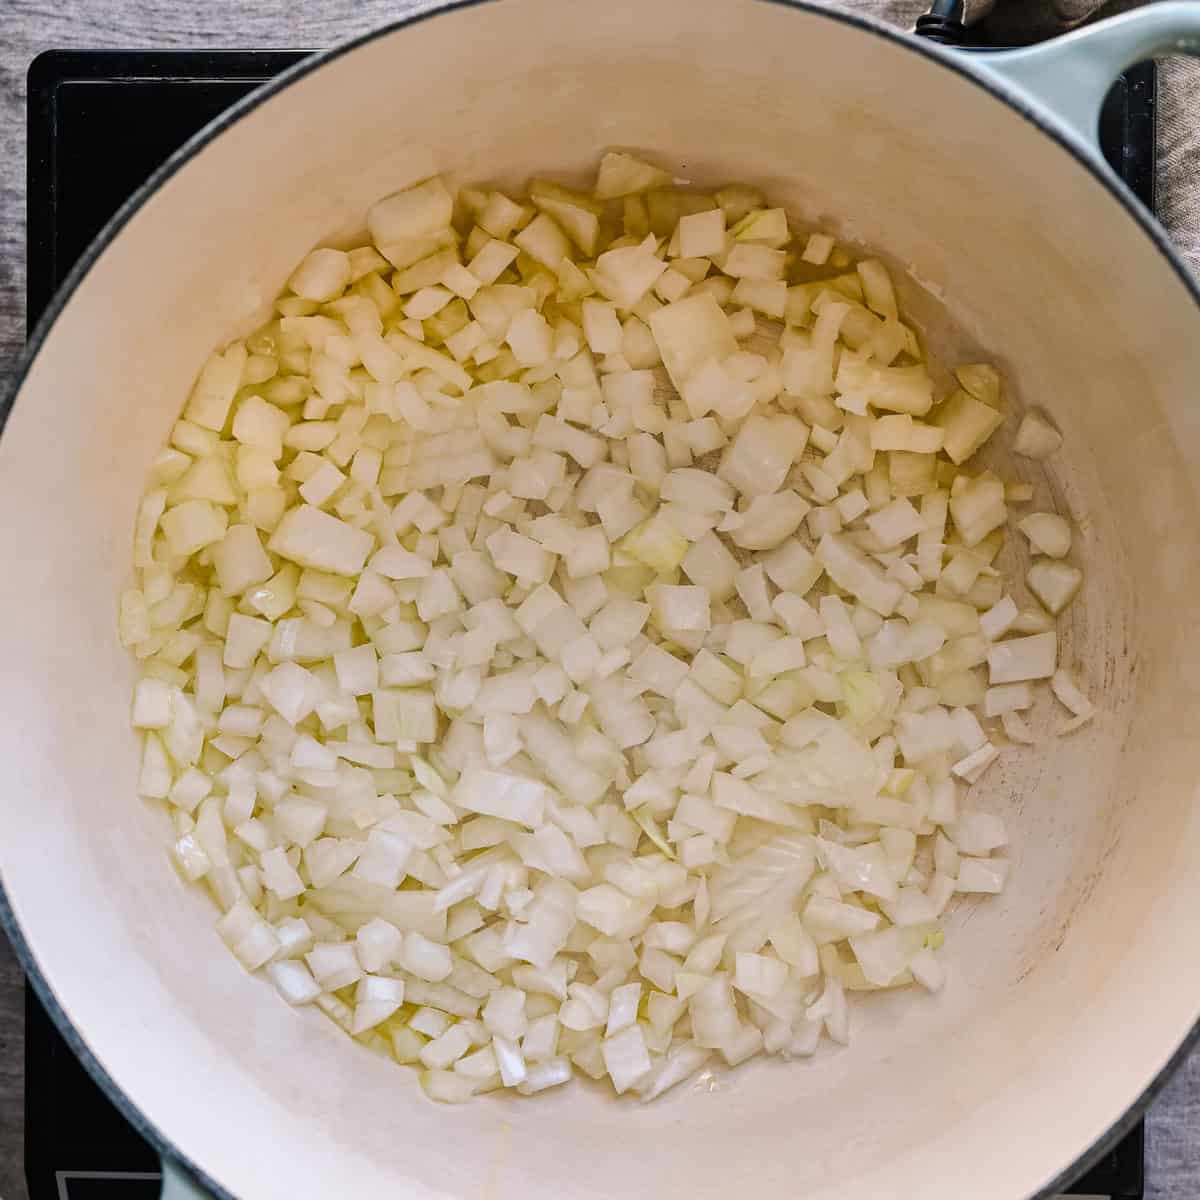
- Heat the olive oil in a Dutch oven or large soup pot over medium-high heat. Add the onions with a pinch of salt.
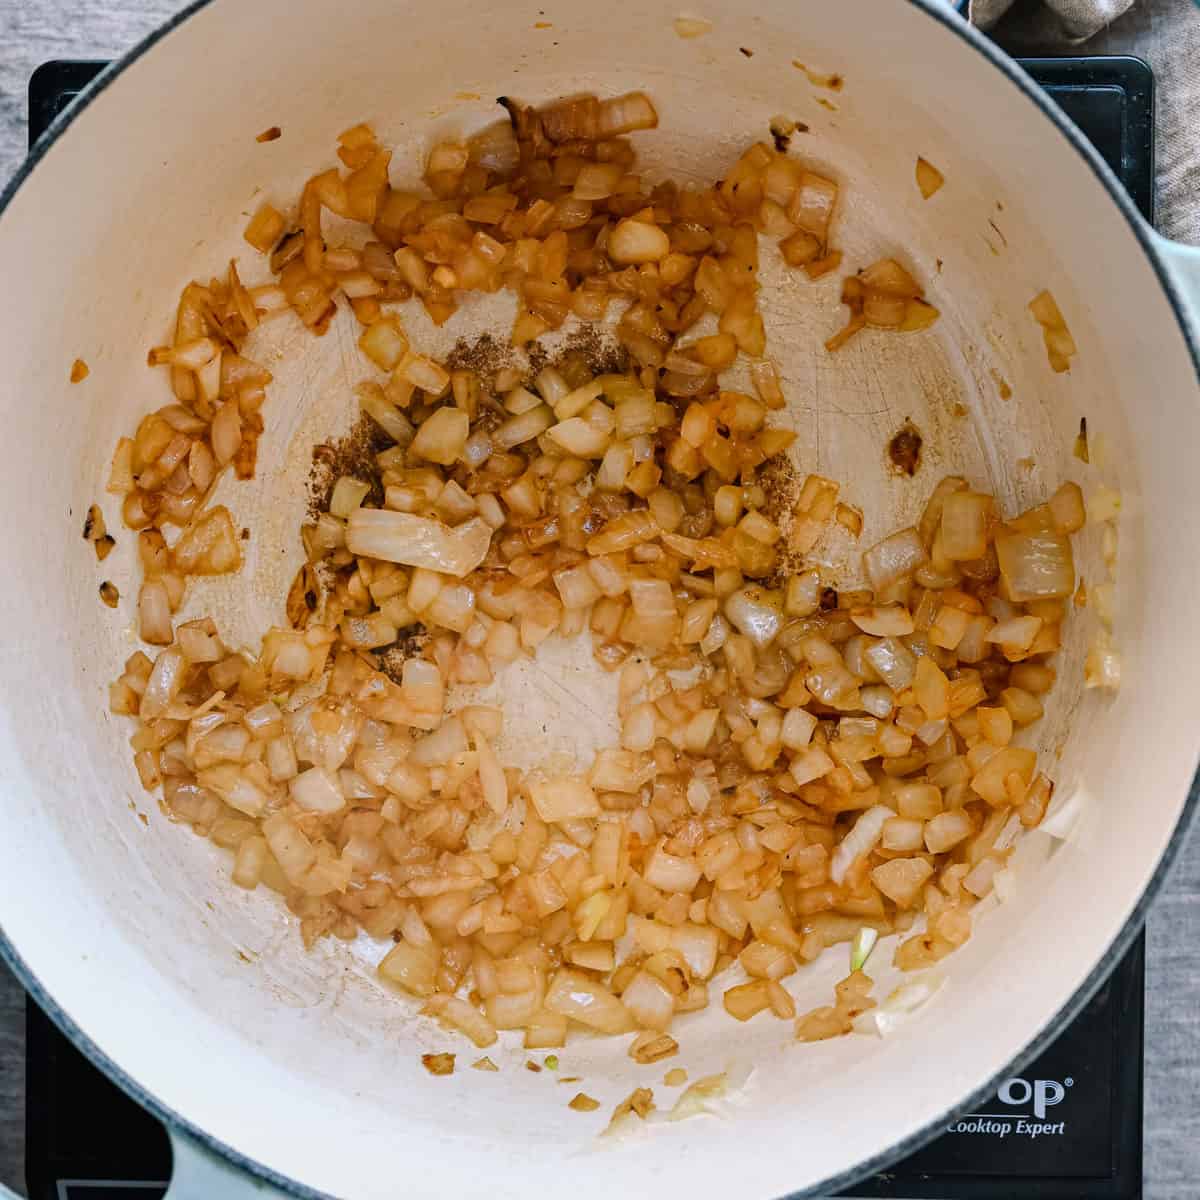
- Cook until nicely golden brown, about 10 minutes.
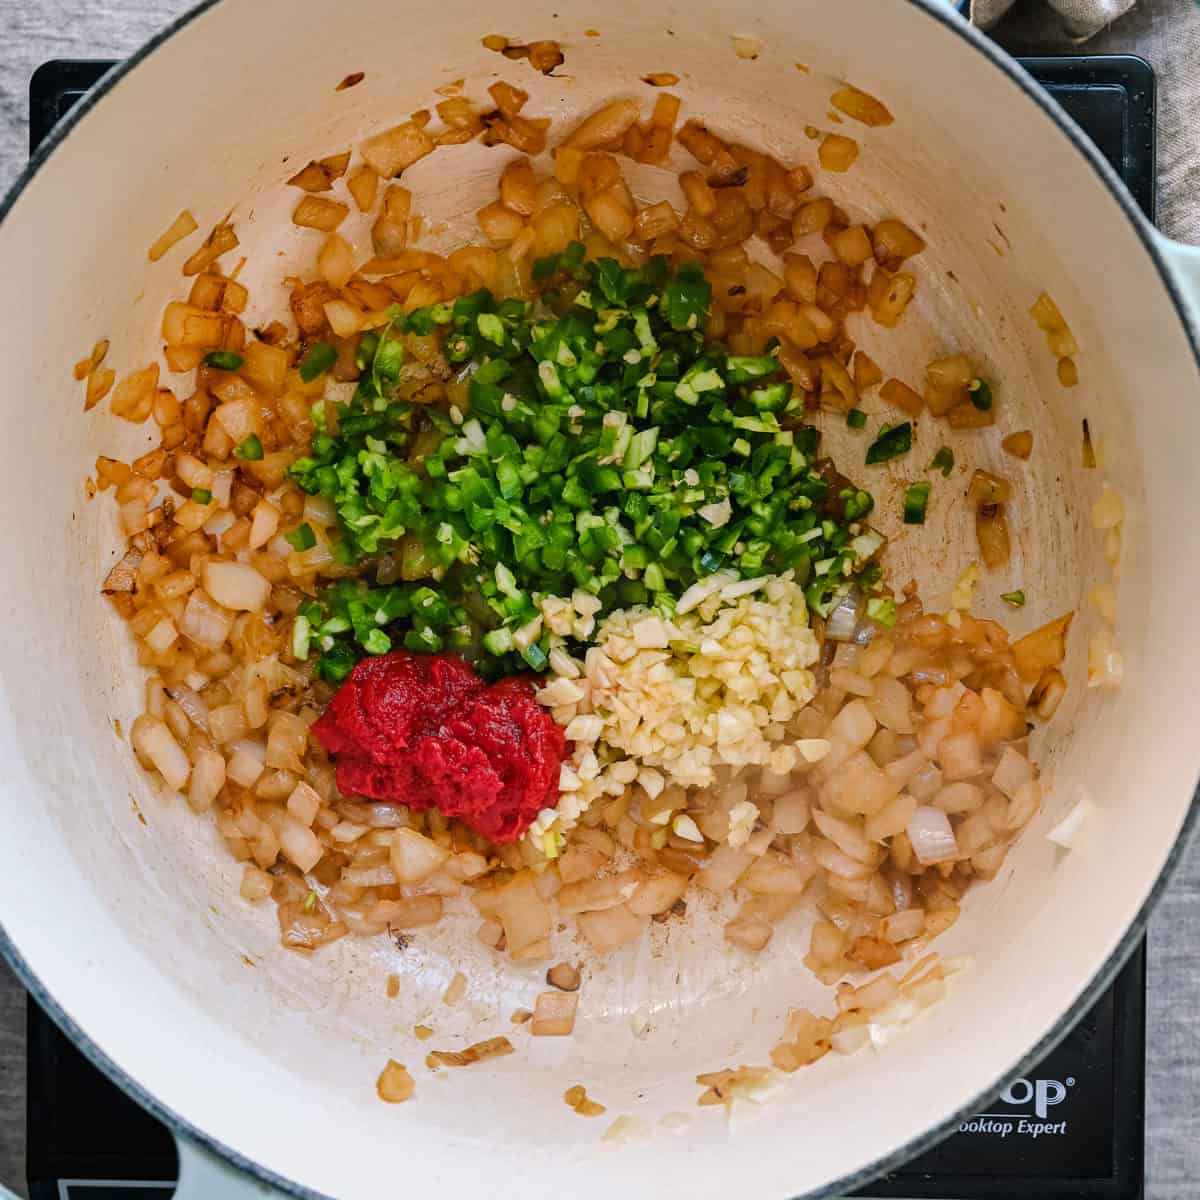
- Add the garlic, jalapeños, and tomato paste.
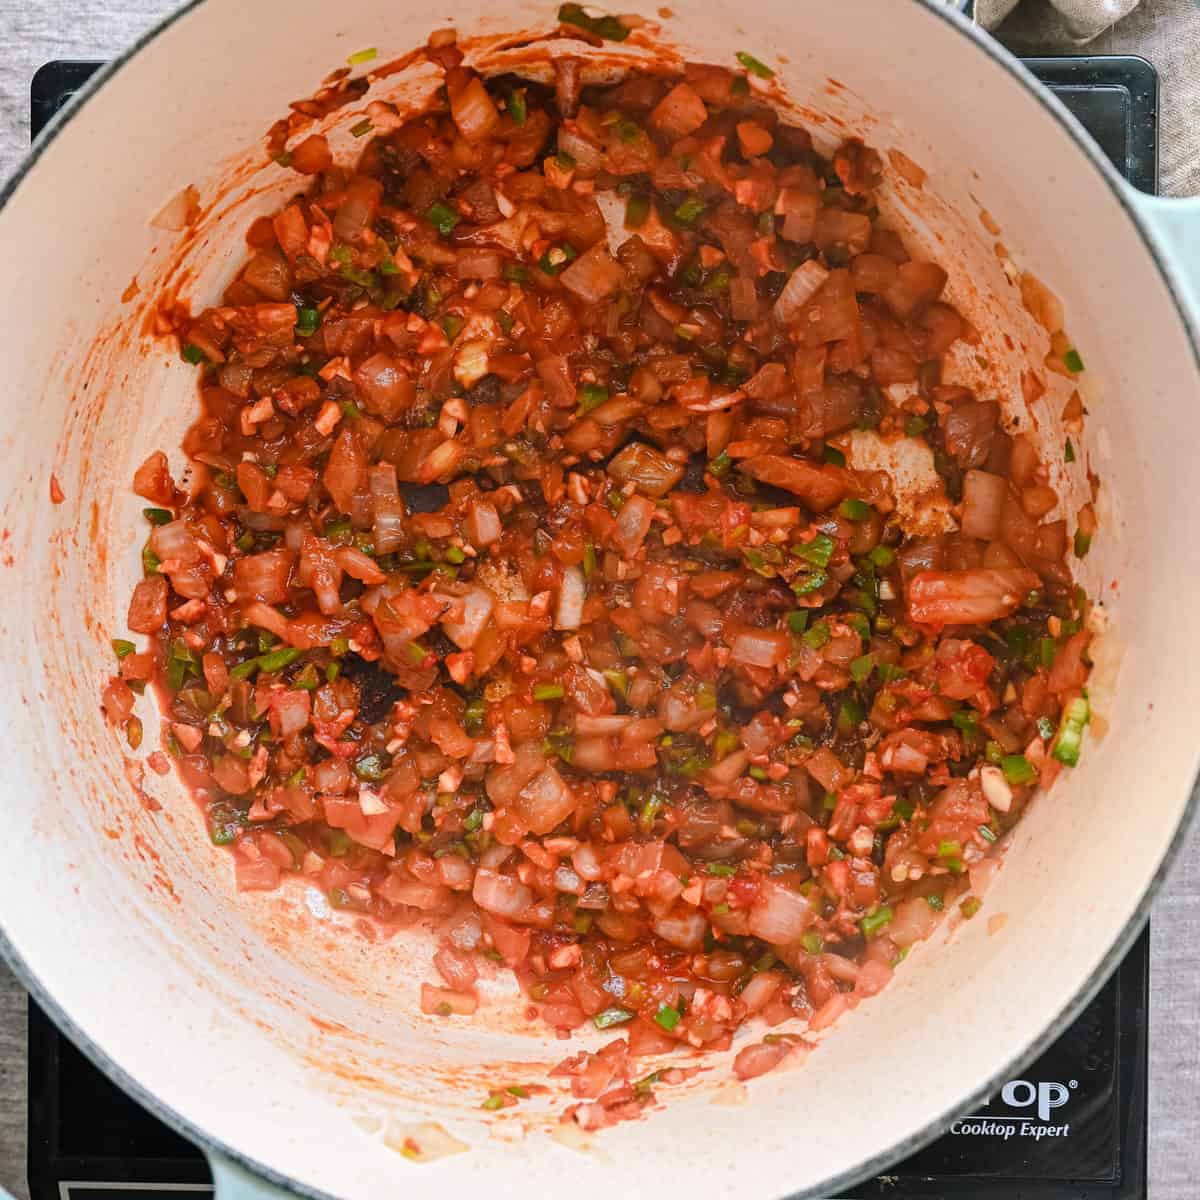
- Cook for 2-3 minutes, or until the tomato paste darkens.
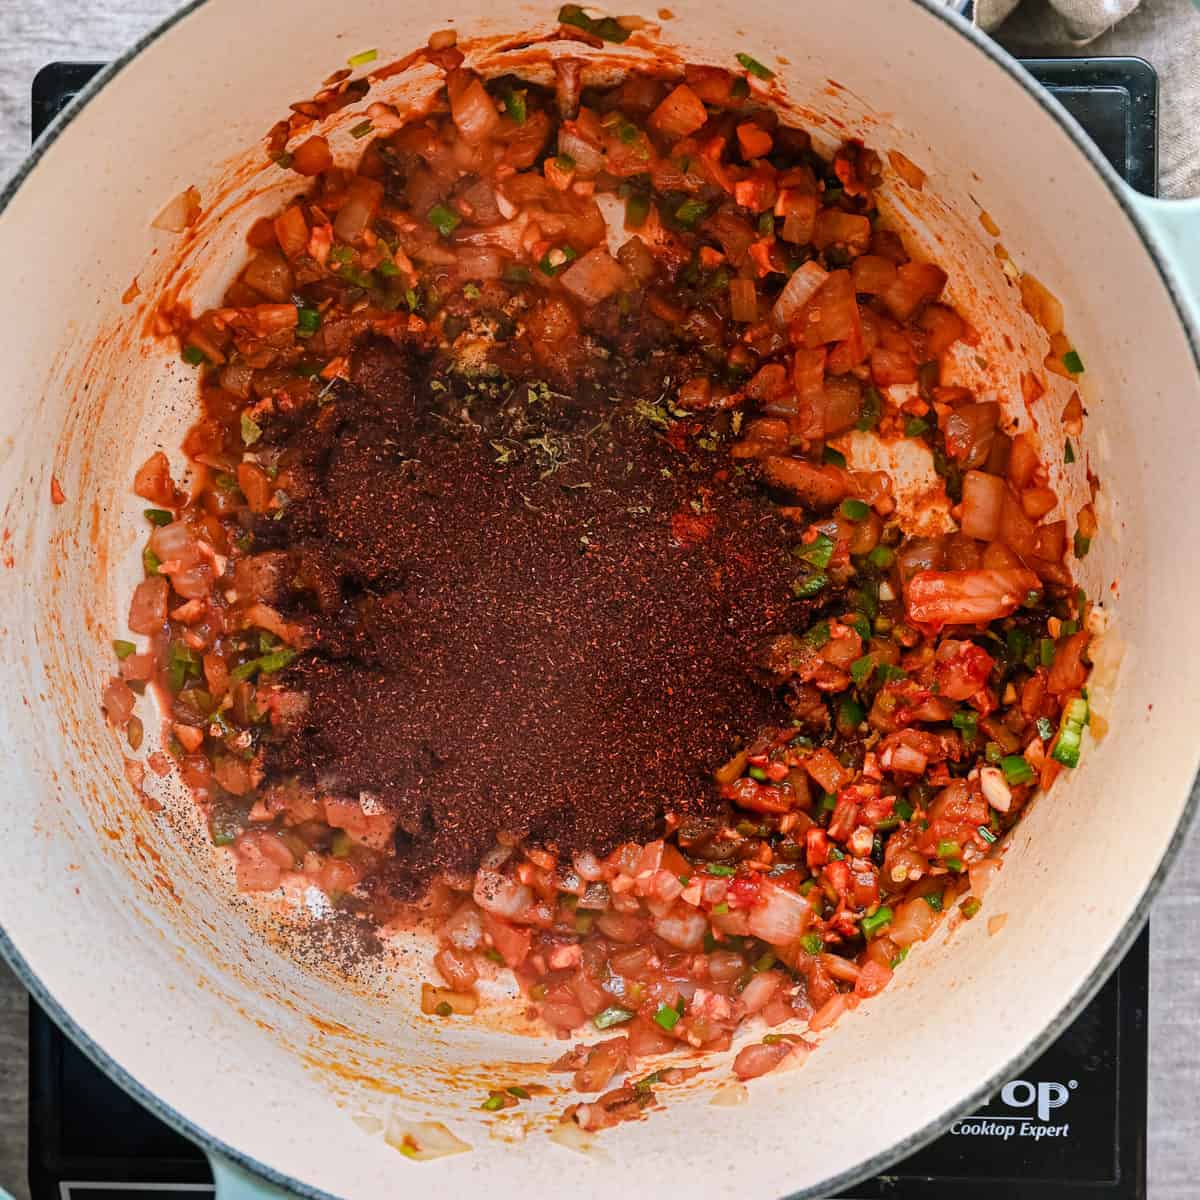
- Add the chili powder, cumin, smoked paprika, and Mexican oregano and stir vigorously for 30 seconds (for homemade chili powder, see the next section).
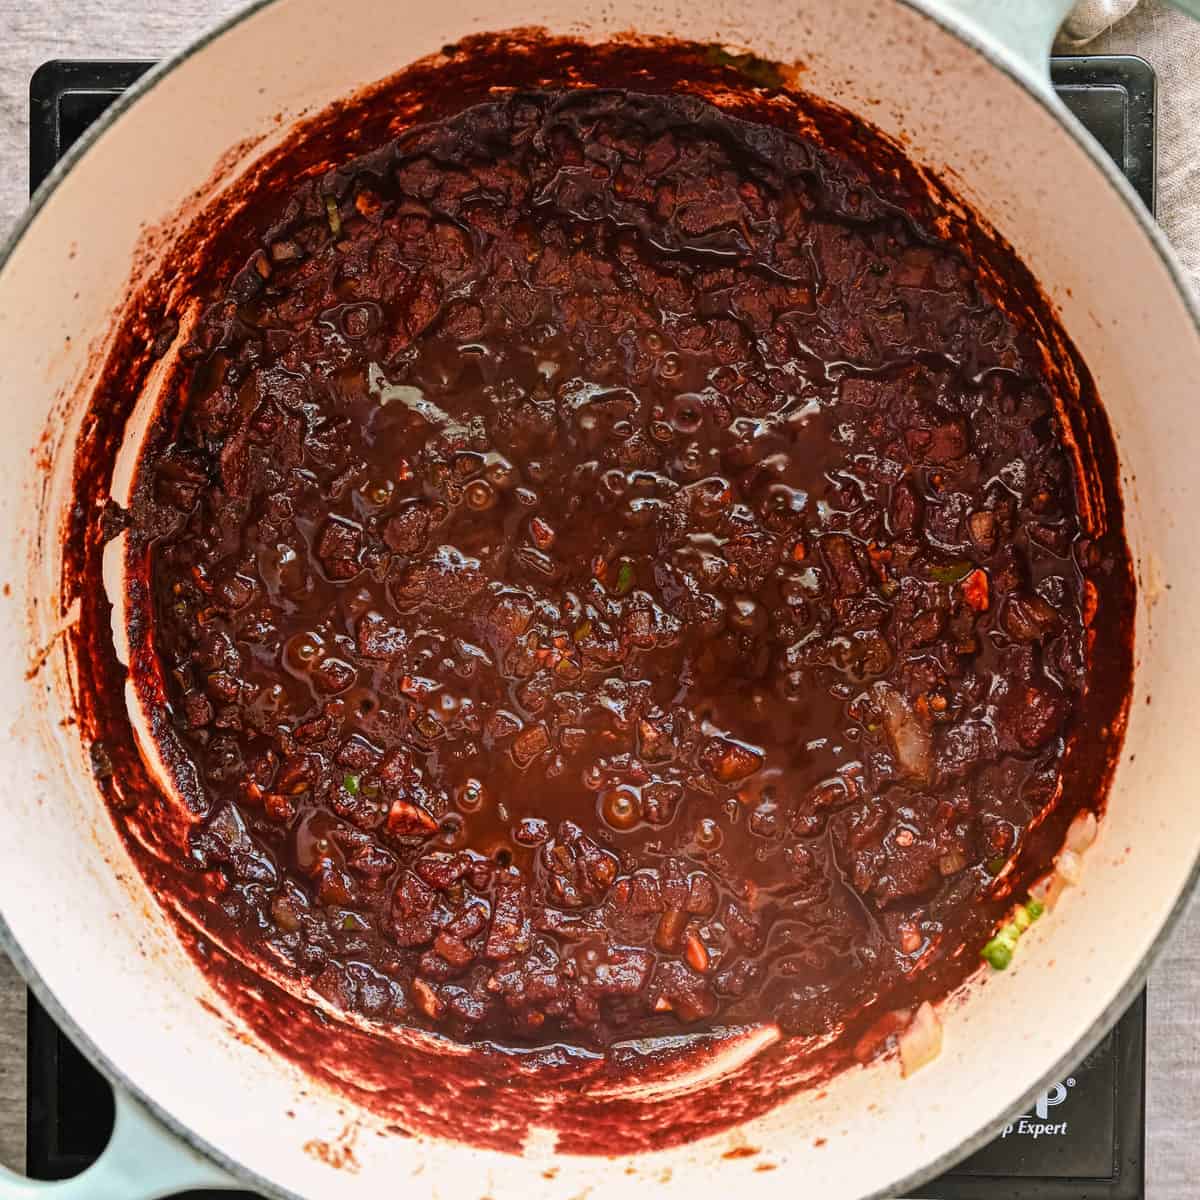
- Deglaze the pot with the red wine, scraping up the browned bits.
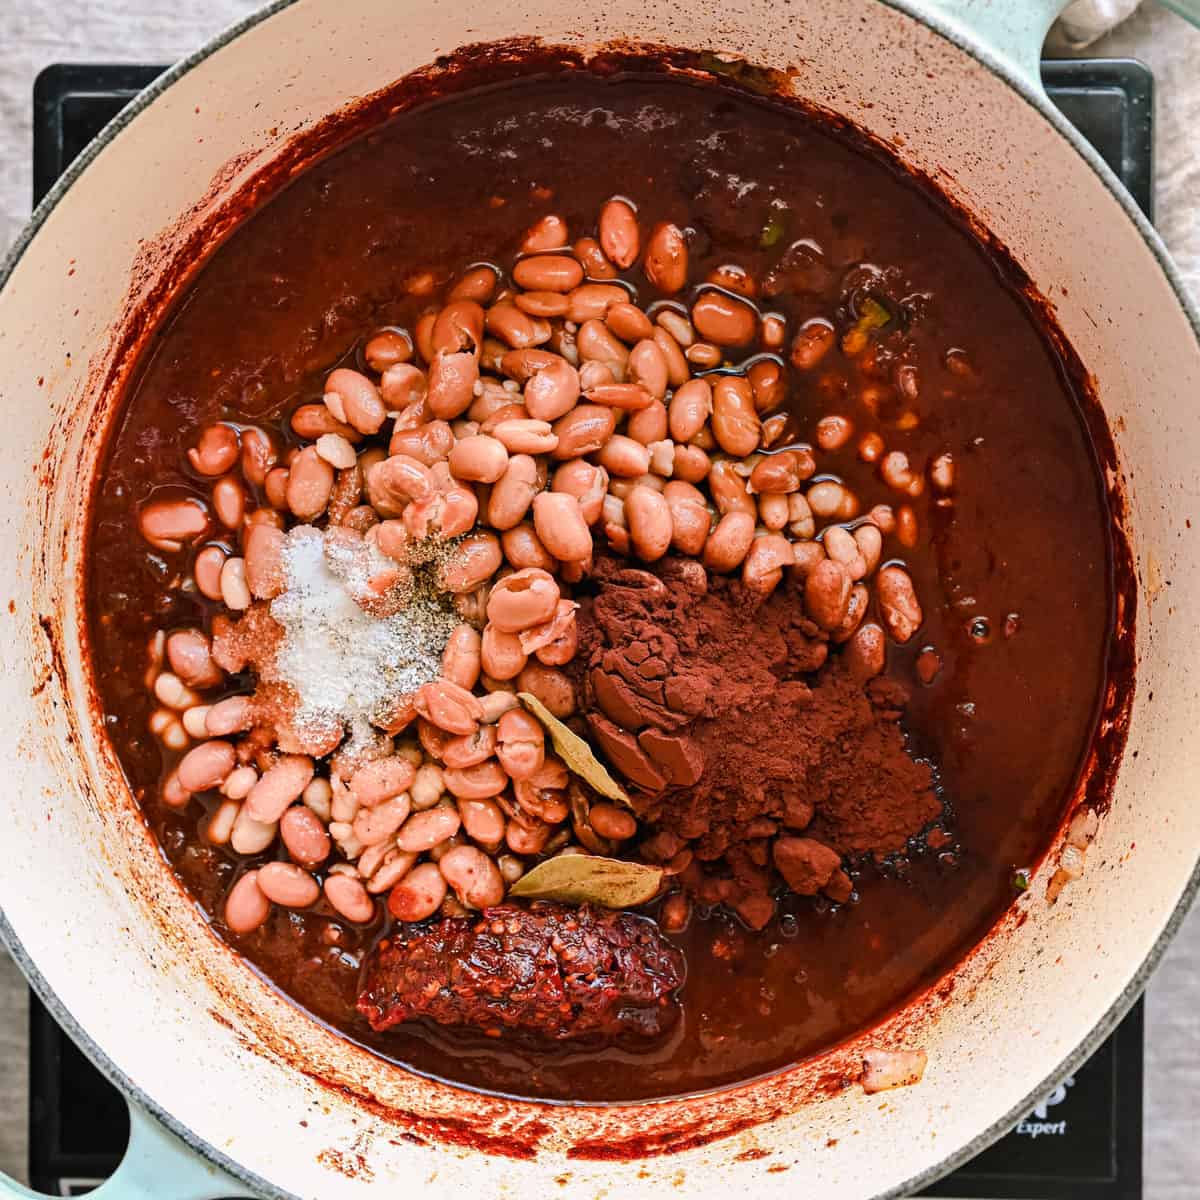
- Add the broth, and scrape up any browned bits. Add the pinto beans, navy beans, chipotle peppers, bay leaves, salt & pepper, cocoa powder, maple syrup, and soy sauce.
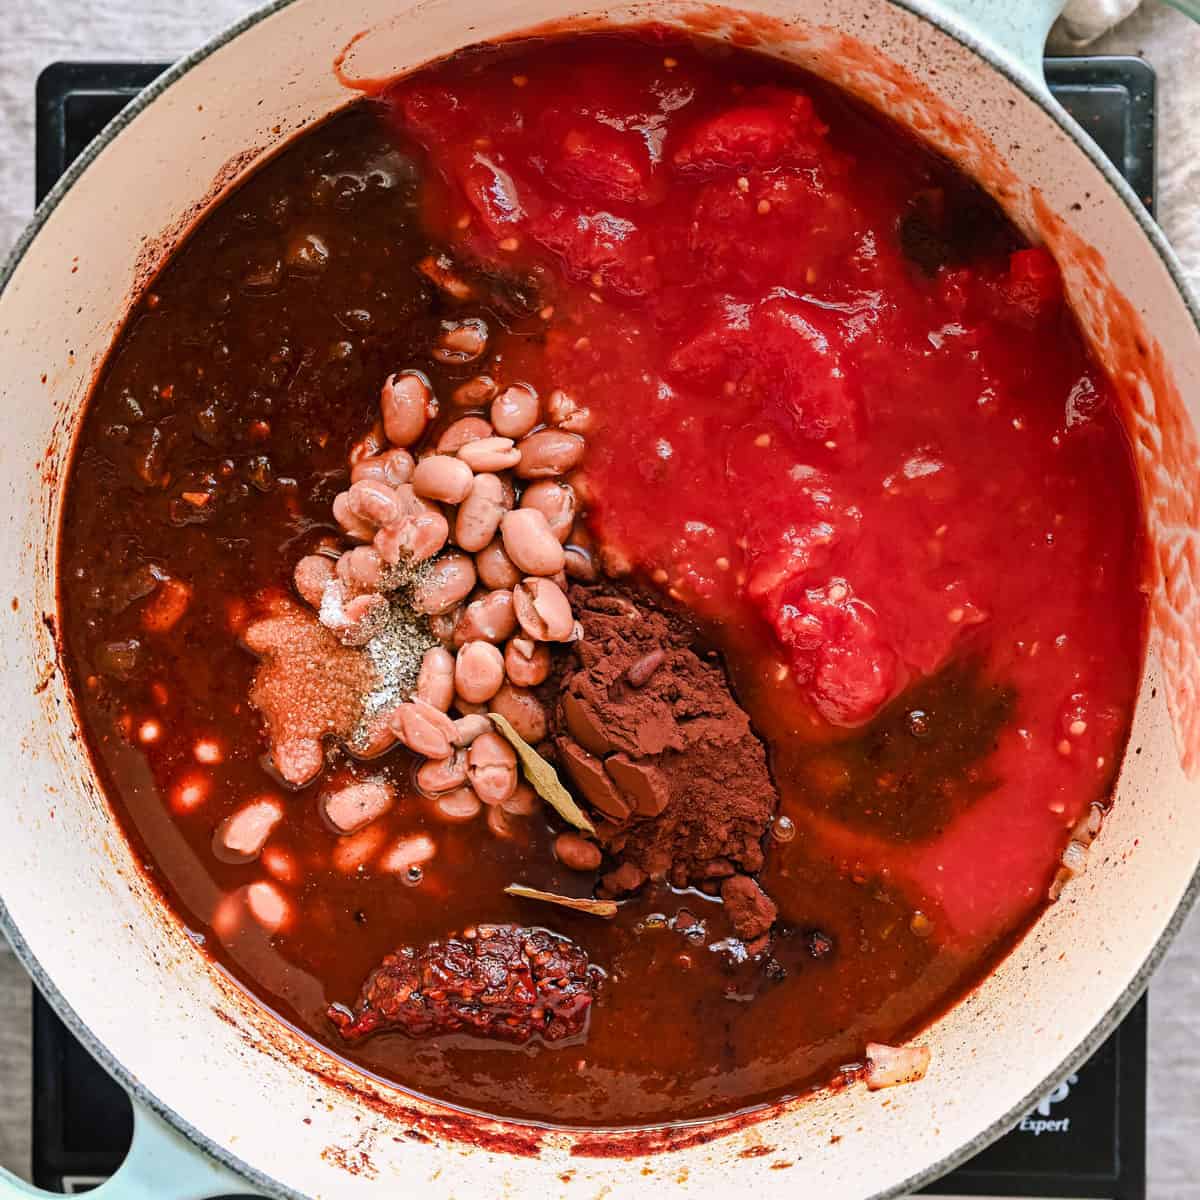
- Crush the tomatoes and add in.
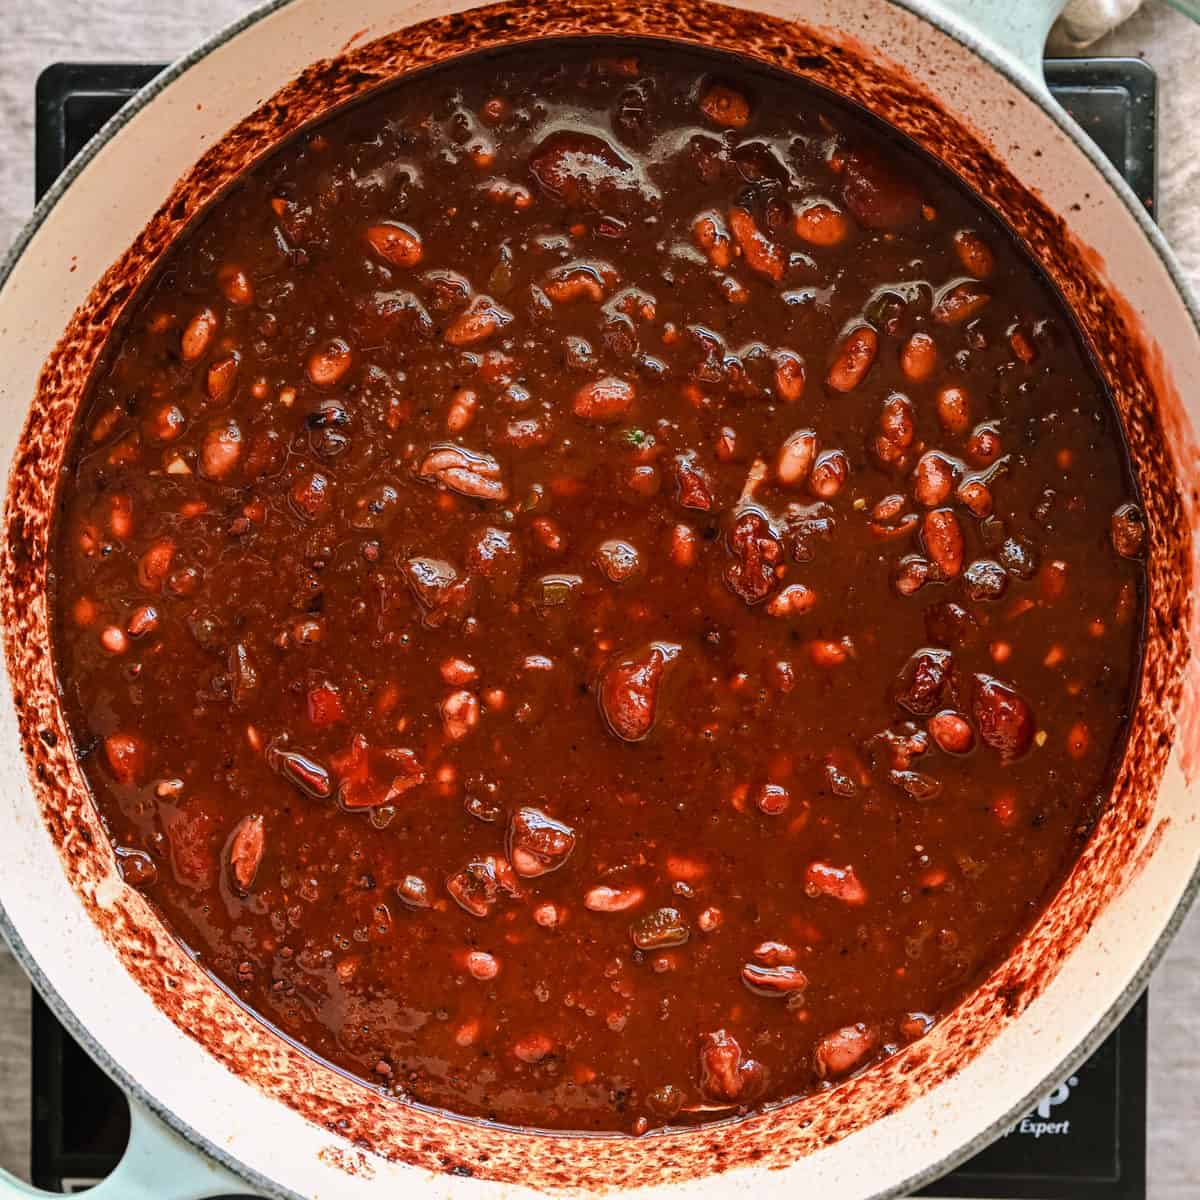
- Bring the chili to a boil, then reduce to a gentle simmer.
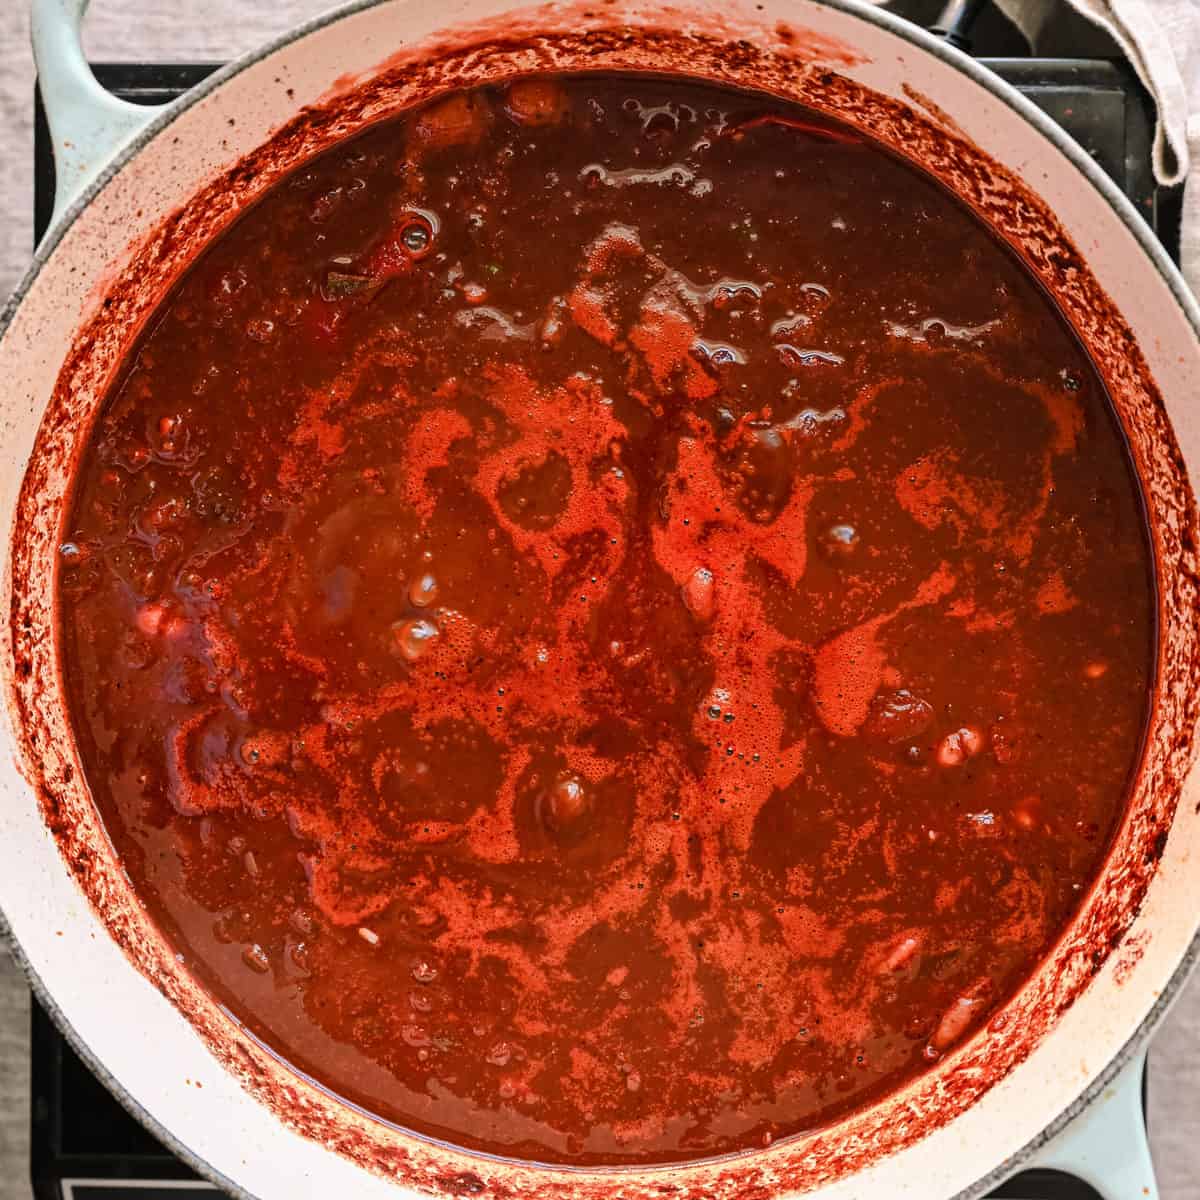
- Simmer for 1 1/2 hours, stirring every 10 minutes, until thick and velvety.
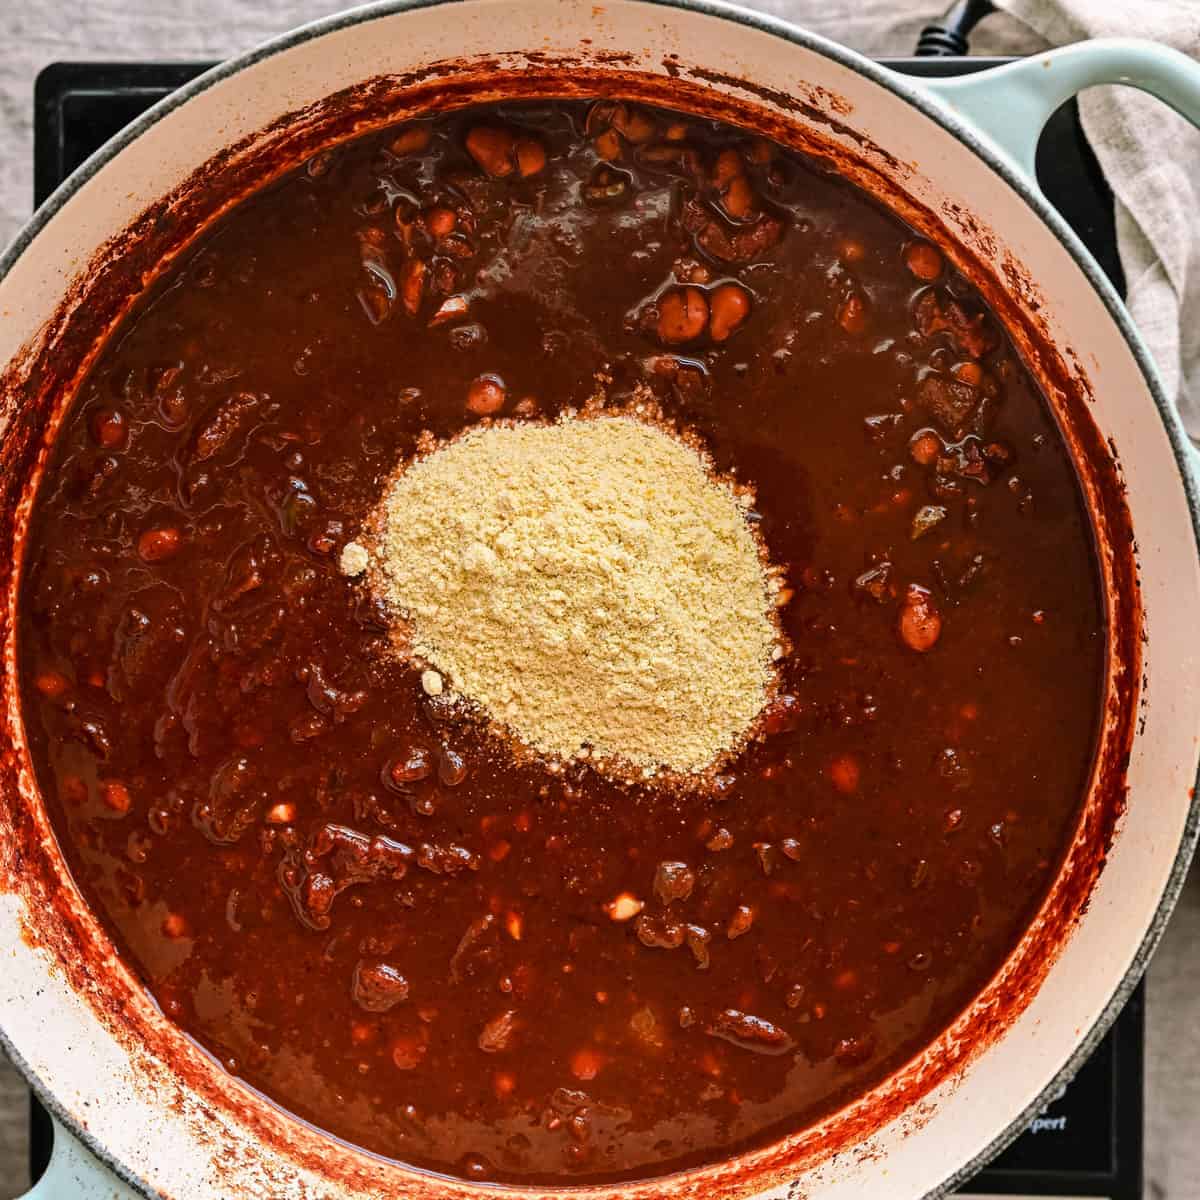
- Stir in the masa harina, if using, and simmer for 3 minutes, until further thickened.
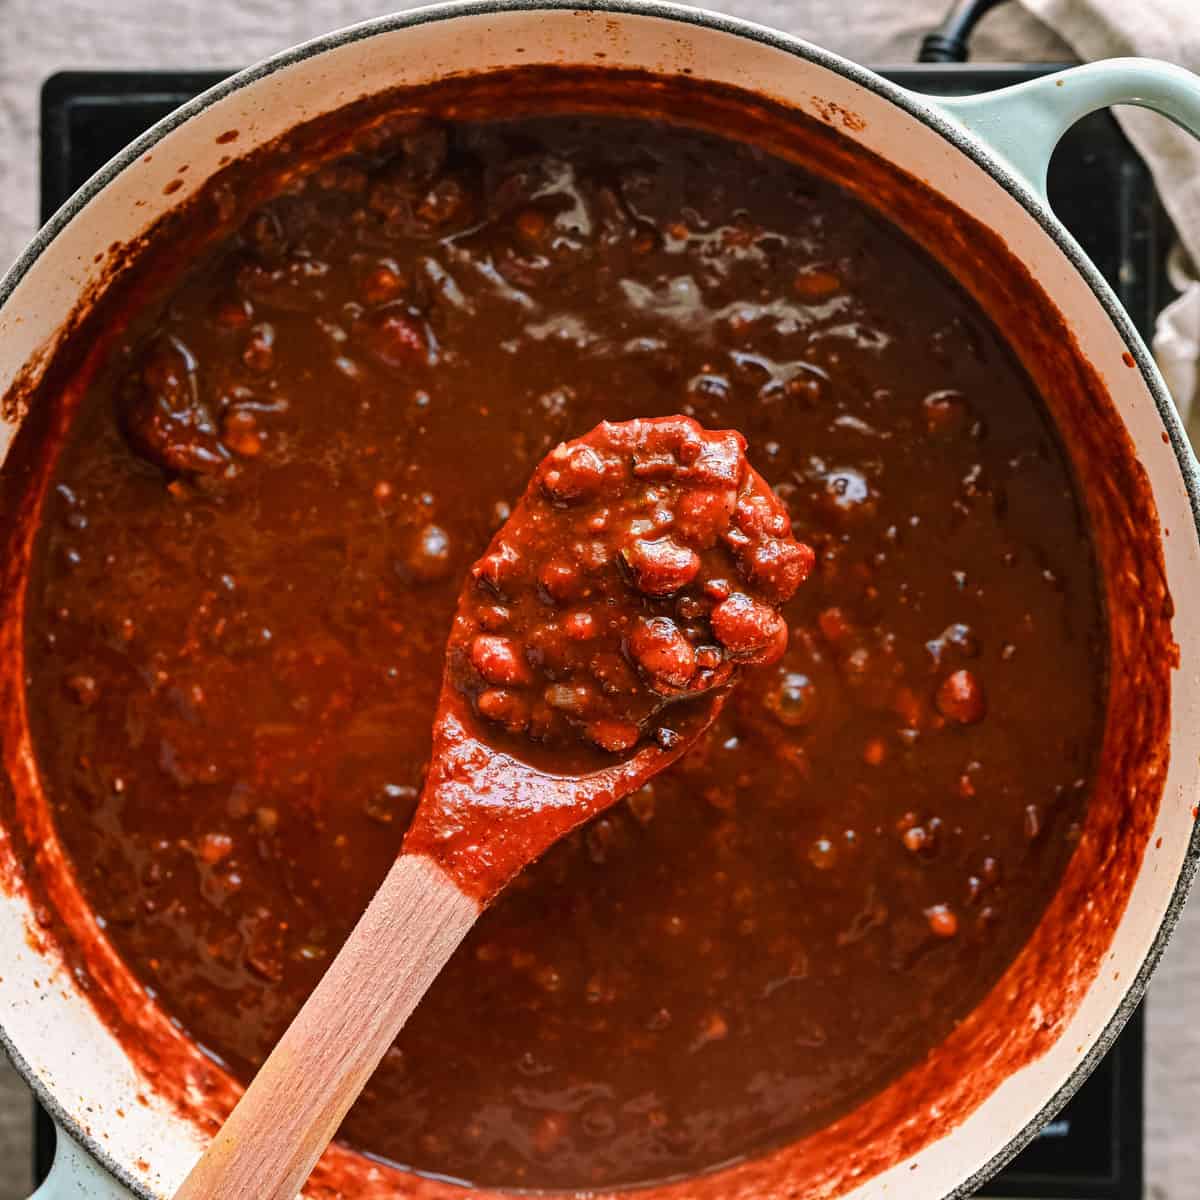
- Add the cilantro, lime juice, and vinegar. Taste, adding more maple syrup or lime juice as needed. Season with salt and pepper.
How to make homemade chili powder
I promise that making your own chili powder is 1) actually quite simple, and 2) will dramatically upgrade your chili.
If you’re unable to make homemade chili powder, though, substitute with store-bought ancho powder and check out Note 1 in the recipe card.
Where can I buy dried chili peppers?
You can find a variety of dried chile peppers at Mexican grocery stores, some standard grocery stores, as well as online.
If buying online, I really love the dried chiles from Rico Rico or Amazing Chiles & Spices. Both sell super fresh chiles that have a much softer texture (an indicator of freshness) than other dried peppers I’ve tried.
Shopping tip: This three-pack is the exact variety of chili peppers I use in my chili powder.
How to select dried chile peppers for chili powder
For complex yet balanced flavors, I use three different chile peppers: ancho, arbol, and guajillo. Check out the graphic below for the flavor profile, heat level, and substitutes for each chile pepper.
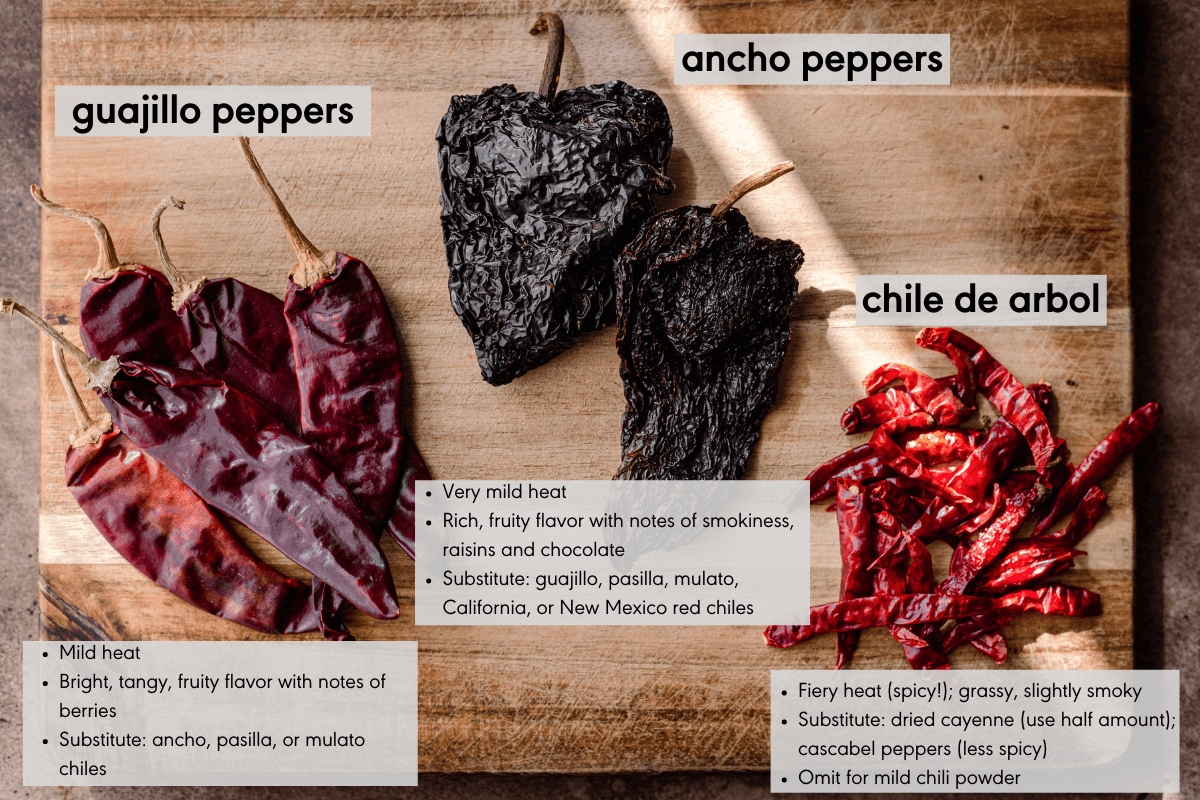
Tip: Check out the Choosing your chili’s heat level section below for suggestions on picking the right number of chiles de arbol to suit your heat tolerance!
Tips for working with dried chile peppers
First, open up the peppers to remove the seeds and membranes, which are often bitter. I find it’s easiest to gently tear open the peppers with my hands, but some people use kitchen shears. Be sure to wash your hands afterwards (or wear food-safe gloves if you have sensitive skin).
Second, toast the peppers. It releases their natural oils and reinvigorates them, giving the chili powder (and final chili) more complex flavors. We tested this recipe with untoasted chile peppers and it was good, but lacked some of the warm depth of flavor and tasted overall lighter and less complex.
When toasting the peppers, watch them closely and toast very briefly, maybe 1 minute per side. If they blacken or scorch, they get bitter. Small peppers, like chiles de arbol, don’t need much time—maybe 20-30 seconds per side.
Allow the chiles to cool before grinding them. You’ll need a spice grinder, a high-powered blender like a Vitamix, or a food processor. Grind the peppers with the toasted whole spices until pulverized. Add in your pre-ground spices, blend again, and that’s it!
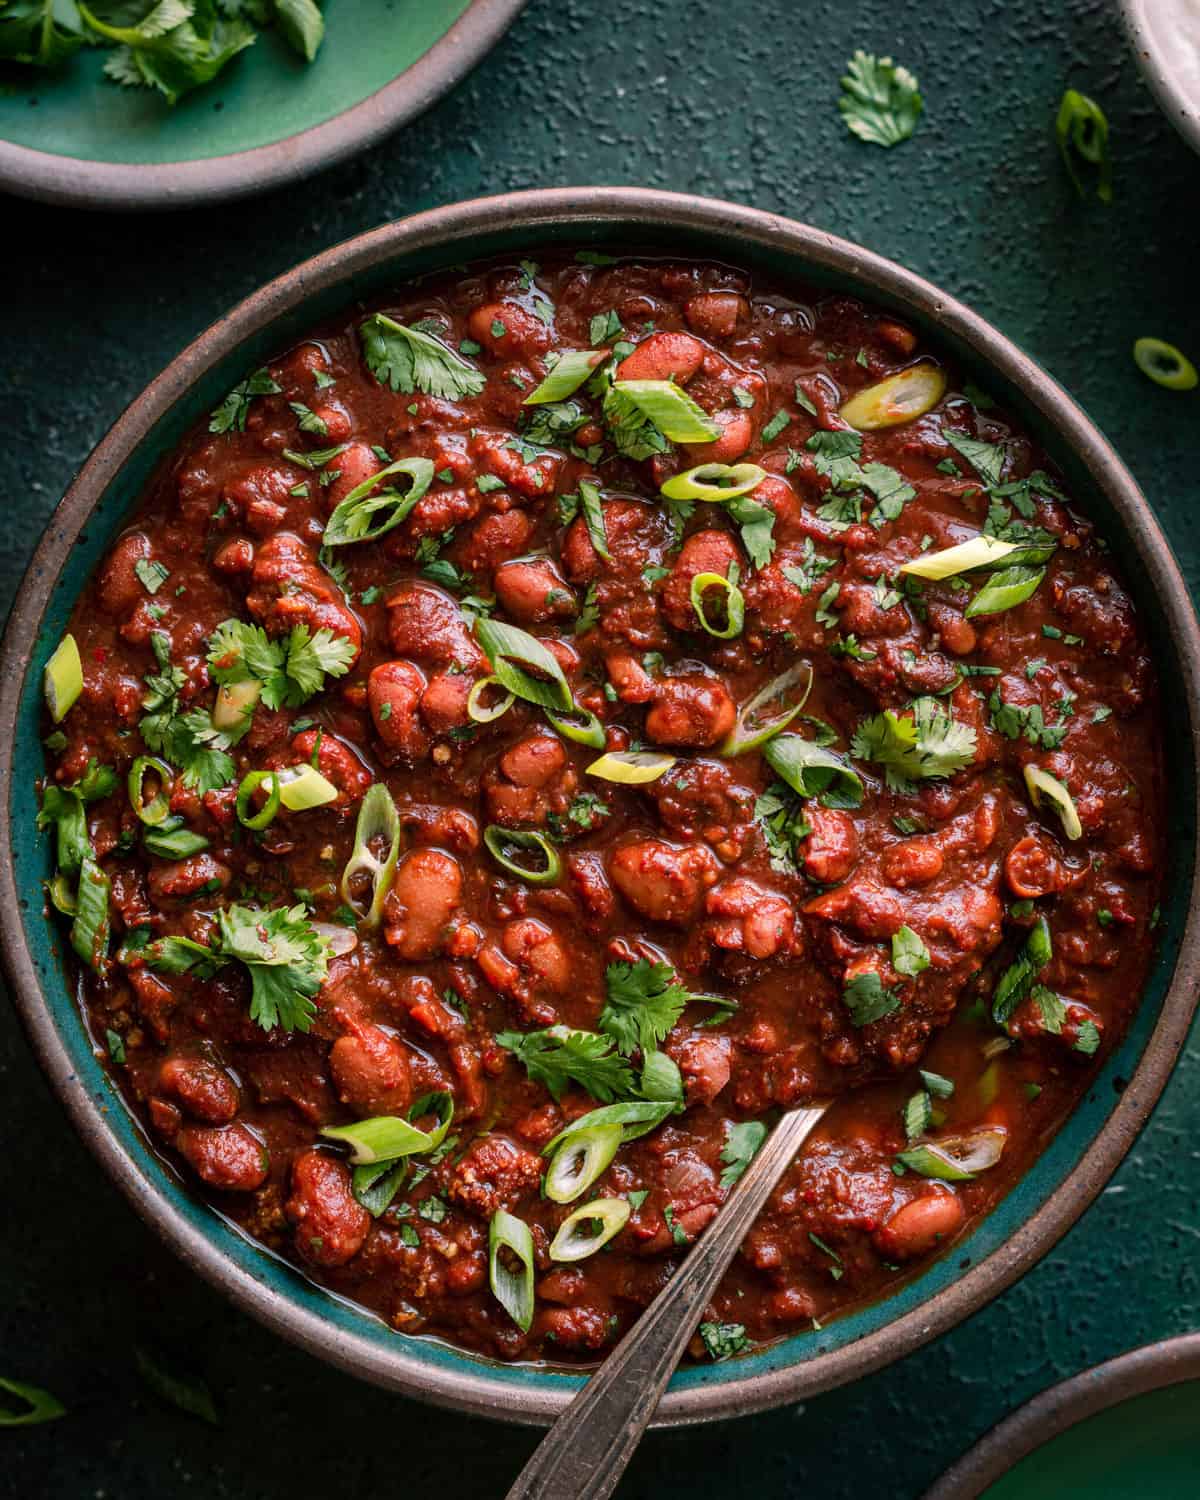
Choosing your chili’s heat level
🔥🔥🔥 For spice fiends (like me)
As y’all probably know, I like my food quite spicy. Here’s what I add to my chili:
- In the homemade chili powder: I add ~ 3 chiles de arbol (extreme heat-seekers can add up to 5, but do so at your own risk)
- 2 jalapeños (with membranes/seeds intact)
- 2 chipotle peppers in adobo + 1 tablespoon adobo sauce
This will likely be too spicy for most folks, so check out some of the below options for scaling back on the heat and creating your perfect spice level.
🔥 For a little heat (not too much)
Play with the number of chiles de arbol in the homemade chili powder:
- Use 1 to 2 chiles de arbol for moderate heat
- OR, omit the chiles de arbol entirely for a mild chili powder (this will have roughly the same amount of heat as a store-bought chili powder)
Adjust the number of jalapeños:
- Use 1 jalapeño and remove the membranes (I wouldn’t omit the jalapeños entirely, as they do add flavor)
Cut back on the chipotle peppers in adobo:
- Use just 1 chipotle pepper and 1 teaspoon adobo sauce (or omit the adobo sauce)
Tips for making this chili
Balance the flavors
A great chili should have “a rich, complex chile flavor that combines sweet, bitter, hot, fresh, and fruity elements in balance.”
J. Kenji López-Alt, Serious Eats
The reason I add maple syrup to my chili is that its sweetness balances both the spiciness and bitterness inherent in chile peppers. I finish the chili with lime juice and vinegar because sour flavors also mellow bitter tastes (and enhance the umami found in soy sauce and tomatoes).
It’s critical to taste the chili after it has simmered to see what flavors it needs more or less of. If you use a store-bought ancho chili powder, for instance, your chili might be slightly less bitter, so you won’t need as much less lime juice or maple syrup.
Chili always tastes better the next day
When chili rests overnight, the chili powder and spices have a chance to meld with the other flavors so you end up with a full-bodied chili with harmonious flavors.
Frequently Asked Questions
We have lots of details in the section on “Choosing your chili’s heat level” so be sure to check that out.
Sure! I prefer a bean-based chili without any faux meat, but adding vegan ground meat is a great option if you want to add a more traditional meaty texture or taste. We tested this recipe with Impossible Meat’s plant-based ground burger.
Option 1: Cook the onions until lightly browned, about 6 minutes. Add in your vegan ground meat and break it up with a wooden spoon. Cook until it’s starting to brown, 8 to 10 minutes, adding a splash of water as needed to deglaze. Proceed with the rest of the recipe.
Option 2: Brown the vegan ground meat in a separate pan, then add it to the chili when you add the beans.
The alcohol does cook off, but if you don’t drink any alcohol, you can try replacing the red wine with 1/2 cup (120 mL) of red grape juice (no added sugar variety).
Or just deglaze with more vegetable broth. I’d suggest the best vegetable broth you can find. Imagine Organic is my favorite for store-bought veggie broth (rich and flavorful). For more deeply savory notes, you can try these “vegan chicken” or “vegan beef” broth bases (they are quite salty, so use less than the jar calls for).
Your chili will have less complexity and body without the red wine, but it will still be good if you omit it!
With your favorite toppings, obviously! The toppings you choose help bring more balance to the final dish. For instance, vegan sour cream (I like Kite Hill or Tofutti brands) and avocado are great for cooling down the heat. Extra lime wedges and pickled onions bring a nice tanginess (find my recipe in the recipe card below). Cilantro and scallions offer a fresh contrast. Tortilla chips, obviously, add a nice crunch!
If you like adding a vegan cheese to your chili but don’t love store-bought shredded vegan cheese, a spoon of this Vegan Queso stirred in would be really good!
To stretch this chili further, serve it alongside warm corn tortillas (char the tortillas by placing them directly over a gas burner for ~20 seconds per side). Or, scoop over a bed of rice.
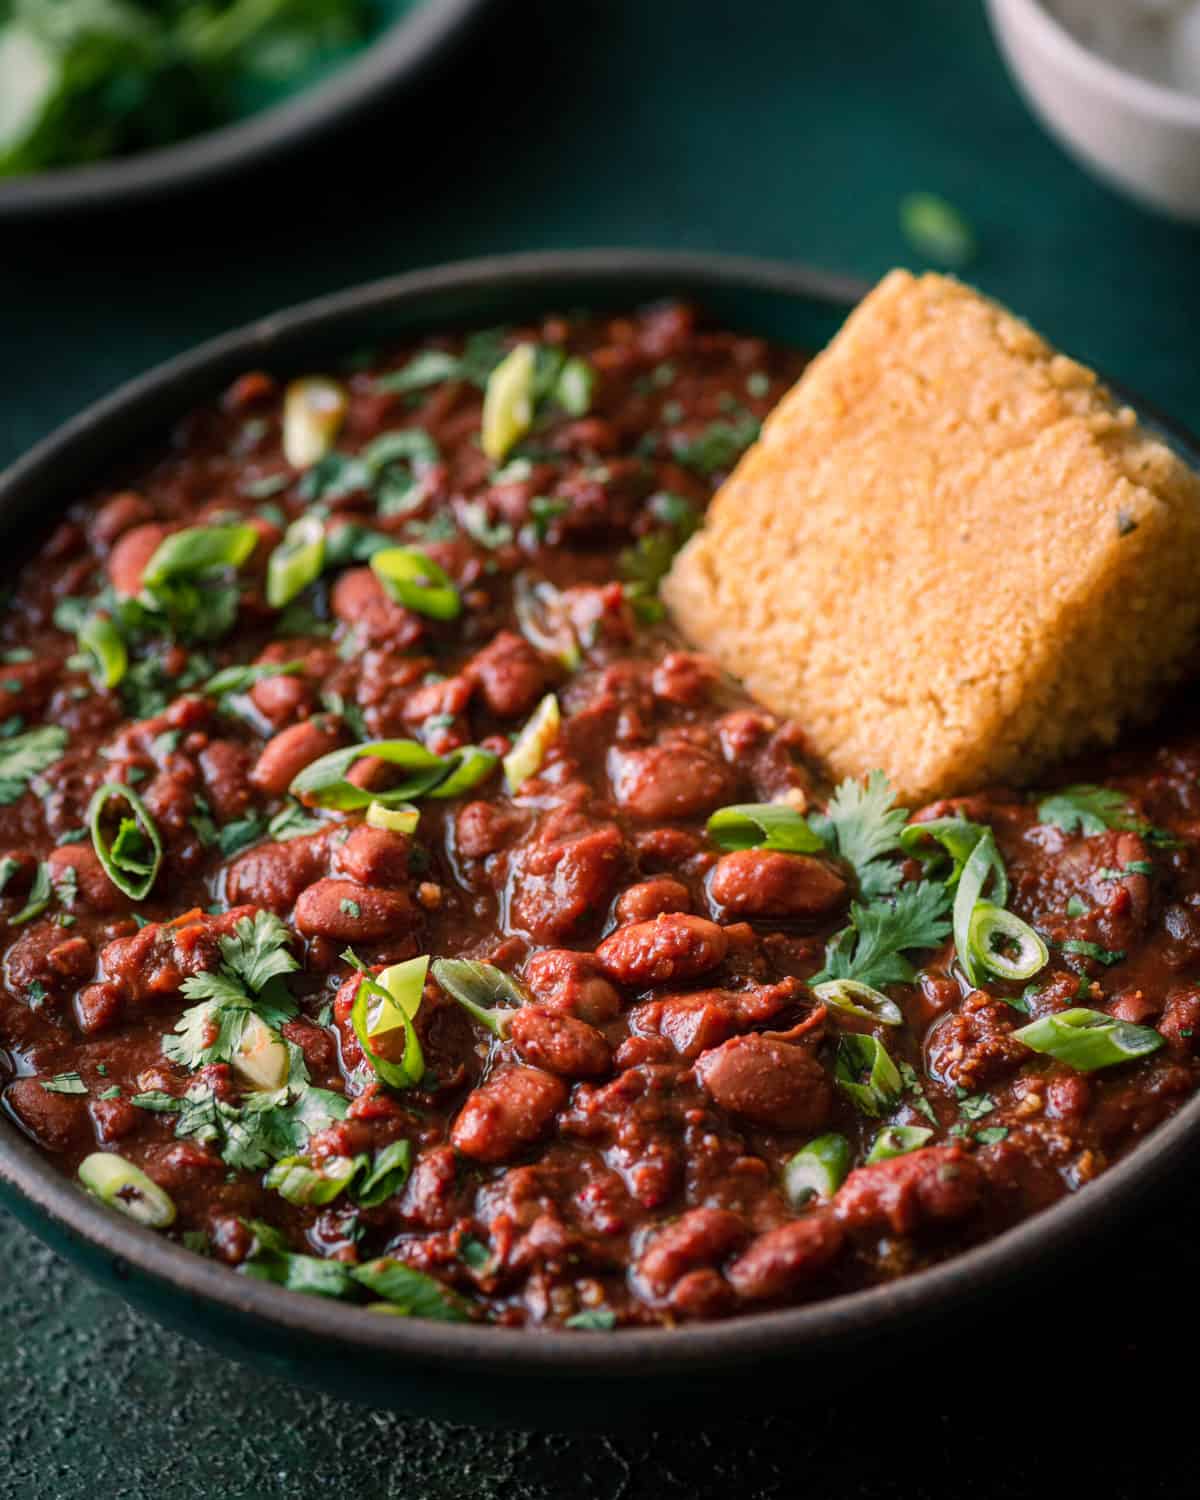
It’s also INCREDIBLE with my homemade cornbread, which adds the perfect slight sweetness to this chili.
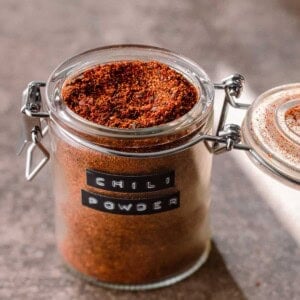
In a glass jar in a dark place, like your pantry. When stored this way, it’ll stay good for 6 months!
Simply store in an airtight container in the fridge for 5 to 6 days. You can reheat on the stove (my preference) or microwave.
And yes, chili freezes great for 3-4 months. I prefer to freeze it individual-sized portions (it defrosts much more quickly). These Souper Cubes in 1-cup or 2-cup portions are great for that!
There is really very little to no fat in this recipe besides the oil. I actually tried this recipe with half the amount of oil and it was less rich and harmonious in flavors. That’s because fat is an excellent carrier of flavor! The oil also enables the onions to get nicely golden brown and allows the full depth of flavor to be released from the spices.
I understand that some of my readers are oil-free, so if you must skip it, please stir some vegan sour cream or cashew cream in before serving!

Introducing
Big Vegan Flavor
Techniques and 150 recipes to master vegan cooking.
The Best Vegan Chili

Ingredients
- 3 tablespoons olive oil
- 1 large yellow onion, diced
- 6 cloves garlic, chopped finely
- 2 jalapeños, diced (remove membranes for less heat)
- 2 tablespoons tomato paste
- 4 tablespoons homemade chili powder, or store-bought ancho chili powder (see Note 1)
- 1 tablespoon ground cumin
- 1 ½ teaspoons smoked paprika
- 1 tablespoon Mexican oregano (or 2 teaspoons regular oregano or marjoram) (See Note 2)
- 3/4 cup(180 mL) dry red wine (such as Malbec, Syrah or Pinot Noir)
- 2 cups (480 mL) vegetable broth
- 2 (15-ounce/425g) cans pinto beans, drained and rinsed
- 1 (15-ounce/425g) can navy beans (or other small white beans), drained and rinsed
- 2 tablespoons cocoa powder (I prefer Dutch process cocoa powder)
- 2 bay leaves
- 1 ½ tablespoons tamari or soy sauce if you have vegan Worcestershire sauce, you can use that
- 2 chipotle peppers in adobo, chop the peppers + measure out 1 tablespoon adobo sauce (See Note 3)
- 1 (28-ounce/800g) can whole peeled tomatoes, crushed by hand (include juices)
- 1 ½ teaspoons kosher salt plus more as needed
- Freshly cracked black pepper to taste
- 1 tablespoon pure maple syrup, plus more to finish as needed (See Note 4)
- 1 to 1 1/2 tablespoons freshly squeezed lime juice
- 1 teaspoon red wine vinegar (or apple cider vinegar)
- 3 tablespoons masa harina (Mexican corn flour) (optional)
- 1 cup (12g) cilantro leaves and tender stems, chopped
Toppings of choice
- Vegan sour cream or diced avocado
- Sliced scallions or chopped cilantro
- Shredded vegan cheese or Vegan Queso
- Quick Pickled Red Onions (See Note 5)
Instructions
- Read all the instructions and notes before getting started, especially about moderating the spiciness level.
- Heat a Dutch oven or heavy-bottomed saucepan over medium-high heat. Add the olive oil, and once it’s shimmering, add the onions and season with a few pinches of salt. Stir frequently and cook the onions until nicely golden brown, stirring occasionally, about 10 minutes. If they start to burn around the edges, stir more frequently and/or add a splash of water.
- Add the garlic, jalapeños, and tomato paste, and cook for 2-3 minutes, stirring very frequently, until tomato paste is darker in color. If it starts to dry out, add a splash of water and scrape up any browned bits.
- Stir in the chili powder, cumin, paprika, and oregano and stir vigorously for 30 seconds.
- Pour in the red wine to deglaze the pot, scraping up any browned bits. Simmer rapidly for 3 to 4 minutes, or until the smell of alcohol has cooked off and it's jammy.
- Pour in the vegetable broth, pinto beans, navy beans, cocoa powder, bay leaves, soy sauce, chopped chipotle peppers + adobo sauce, hand-crushed tomatoes + their juices, salt, black pepper to taste, and 1 tablespoon maple syrup. Stir well.
- Bring the chili to a boil over high heat, then reduce to a gentle simmer (this is lowest heat on my small burner). Take care to not boil or too rapidly simmer the chili, as it will break down the beans too much. Cook, stirring every 10 minutes, until thick and velvety and the flavors have melded together, about 1 1/2 hours (or up to 2 hours). Discard the bay leaf.
- Stir in the masa harina, if using. Simmer for 3 minutes, until the texture has further thickened.
- Stir in 1 tablespoon lime juice, the vinegar, and cilantro. Taste and add more lime juice as needed for tanginess and add up to 1 more tablespoon maple syrup for sweetness to balance any bitterness. Season with salt and pepper, as needed.
- Serve with toppings of choice, such as pickled onions, chopped cilantro, sliced scallions, vegan sour cream, avocado, tortilla chips, etc.
Video
Notes
- My homemade chili powder recipe is below. If using store-bought, I recommend an ancho chili powder (simply ground ancho peppers) instead of standard chili powder, which has other seasonings and is usually less flavorful. If using store-bought chili powder, which is not spicy, you may want to make a few tweaks: (1) you may not need as much maple syrup or lime juice to balance the flavors in step 9. (2) if you like your chili spicy, consider adding 3 jalapeño peppers.
- Mexican oregano (citrus, bright, floral) is most traditionally used in chili and better suited to Mexican dishes than standard/Mediterranean oregano (bitter, mint, peppery). If you don’t have Mexican oregano, sub with 2 teaspoons marjoram or standard oregano.
- This is just 2 peppers from a can of chipotle peppers in adobo sauce, not 2 whole cans. If you’re looking for milder heat, use 1 pepper only and 1 teaspoon of adobo sauce.
- You can use agave nectar or brown sugar if desired. If using a store-bought chili powder, you may not need as much sweetener to balance.
- For quick pickled onions:
- Very thinly slice 1 medium red onion. Add to a large mason jar.
- Mix together freshly boiled water (3/4 cup or 180 mL) with 1/2 cup (120 mL) apple cider vinegar or distilled white vinegar. Add in 1 tablespoon organic cane sugar or maple syrup, stir until dissolved.
- Pour the hot liquid over the onions. Cool to room temperature, at least 30 minutes.
- You can serve now, but I prefer to refrigerate them for a more developed flavor
Nutrition
Nutrition information is automatically calculated, so should only be used as an approximation.
 Love this? Leave a rating below!
Homemade Chili Powder
Equipment
- Spice grinder, high-powered blender, or food processor
Ingredients
- 4 ancho peppers (See Note 1)
- 4 guajillo peppers (See Note 1)
- 2 to 5 chiles de arbol (See Note 2)
- 2 tablespoons cumin seeds
- 1/2 tablespoon coriander seeds (optional)
- 1 tablespoon Mexican oregano (or 2 teaspoons regular oregano or marjoram)
- 2 teaspoons garlic powder or granulated garlic
- 2 teaspoons onion powder or granulated onion
- 1 teaspoon smoked paprika
- 1/4 teaspoon ground cinnamon
Instructions
- Using your fingers, remove the stem from each chili pepper and gently tear the peppers apart. You can use kitchen shears, but using your hands is easier. Be sure to wash your hands after handling the peppers, or wear food safe gloves if your skin is sensitive.
- Once the peppers are open, loosen all of the seeds and any membranes, or scrape them out. This is necessary to minimize bitterness.
- Heat a cast iron skillet or other heavy, dark pan over medium heat, but don't heat for too long. Add the larger chilies (anchos and guajillos) in a single layer without overlap. Toast just until fragrant, about 1 minute, maybe 1 1/2 minutes, then flip and toast for 30-60 seconds. Smaller peppers like chile de arbol need 30 to 45 seconds, so I toast those separately. (See Note 3)Take care not to scorch them or they will taste bitter. Remove and allow to cool completely. Take off the heat and allow to cool.
- Add the cumin and coriander seeds to the hot pan. Toast until very fragrant, about 45 to 60 seconds, shaking the pan or stirring frequently to prevent burning, until toasty and aromatic. Remove and allow to cool.
- Once cool, add the chile peppers and toasted whole spices to a spice grinder or high powered blender. If using a small spice grinder, tear up the chilies with your hands into smaller pieces and do this in two batches. Blend until the peppers and spices are pulverized.
- Add the ground spices (oregano, garlic powder, onion powder, paprika, and cinnamon). Blend until a fine powder has formed. Allow the powder to settle before removing the lid.
- Store in an airtight container in a cool, dry place for up to 6 months. Makes 12 tablespoons, enough for 3 batches of this chili recipe.
Notes
- You can sub ancho peppers with guajillo, pasilla, mulato, or New Mexico red chile peppers. You can sub guajillos with ancho, pasilla, or mulato peppers. The flavors across these peppers aren’t all the same but will still yield a good chili powder.
- Omit chiles de arbol entirely for a mild chili powder. Use 2 chiles de arbol for moderate heat. I typically use 4 or 5.
- If toasting peppers in two batches, lower the heat a bit after the first round because the pan will already be hot.
Nutrition
Nutrition information is automatically calculated, so should only be used as an approximation.
Love this? Leave a rating below!









Holy cow this is amazing! It’s so deep and rich! I am amazed…best chili I’ve had (including my prior meat eating days). As noted in multiple places in the recipe, it is spicy! It’s a little time consuming, but so worthwhile.
Thanks for the amazing review, kddd! Happy to hear the time and energy spent making the chili was well worth it!
This chili is absolutely the best I have ever made, ever, the best I have eaten! I loved the homemade chili powder and the wine and the cocoa powder. Flavored are rich and complex. I will be making this from now on.
Thank you,
Trina
Your positive feedback is the best reward for our hard work. Thank you, Trina!
This is another level of delicious…..I think it might even be better than meat! I can’t believe I’m saying that. I added celery, carrot and sweet potato.
Woohooo, what a compliment, Claire! Thank you 🙂
I love this chili!! I was hesitant about the cocoa powder but I trust you so I went with it and goodness it was delicious! Its such a warm, full flavor. More full than any vegan chili I’ve made. This is my new go-to.
Thanks Nisha!!
Hi Laini, it’s great to hear you had success with the recipe. Thanks for the review!
Sublime! Clearly you have the touch! Thank you so much!
Aw, thanks for the lovely compliment, Shelley! It’s great to hear you enjoyed the chili.
I made this Chili last year and used 3 different kinds of beans and loved it. Will make it tomorrow again, cause this time I have the chipotle peppers in adobo 😀 Very excited to eat it again (it also freezes well). Thank you so much!
Hi Ivana, we’re thrilled to hear you enjoyed this recipe enough to make it again! Next time, would you mind leaving a rating alongside your review? Star ratings are big help to readers who are thinking of making the recipe. Thanks!
This really is the best chili! I particularly love the homemade chili powder. OH MY GOODNESS. The powder is 10000% worth the effort to make it yourself! And, in my opinion, this chili is even better the next day. All my non-vegan friends loved it so I doubt I’ll ever be making another chili recipe again!
Those words are music to our ears, Britt! Thank you for trying the recipe and for leaving such a lovely review! 🙂
I’m not vegan but started adding vegetarian and vegan dishes to my diet recently. This recipe is so flavorful. It could compete with any top tier traditional chili recipe. So so good. Thanks for sharing.
Hi Vanessa, Thank you so much for such a fantastic review! Appreciate you taking the time!
Back again and now I have made it, its a work of art, really creamy and rich, its like a wine that has a lot to say, It will be my chilli go to from now on :0)
We appreciate your feedback and support, Robbie. Thank you for leaving a review!
Hey, would it be okay to add more chipotle in adobo to this? It is not available where I live and the shipping is expensive if I order it online so I would like to use as much as possible so I won’t be wasting it. Also, I like extra heat, I always add a lot more chilli than what is recommended 😁
I also need to order all the chilli’s for the chilli powder online, but only dried chilli’s are available, will these be okay?
Never mind my last message, I just watched the video and saw that you are also using dried chillies 😁 I am still wondering about the chipotle in adobo though
I have all the stuff I needed to order now, I will probably make it next week 🙂 I found a way to keep my chipotle in adobo fresh, I’m going to freeze tablespoons of it blended up. How many tablespoons of paste would be the same amount as 2 chillies and a tablespoon of sauce?
Hi John, we can’t wait for you to try the recipe! We aren’t 100% sure because we haven’t blended and frozen them before, but from what I read online 1 pepper is roughly equal to 1 tablespoon. So around 3 tablespoons of that paste, give or take. We’d always recommend starting with less(2tbsp) and adding more after tasting.
Hi John, if you like very spicy spicy you can add one more at a time and taste as you go, but we are hesitant to recommend you use a ton because they really are quite spicy. A hack we love to take advantage of is freezing chipotle peppers in adobo in ice cube trays, popping them out of the tray into an airtight bag and storing in the freezer for future use!
Okay, I will try just two at first! I will let you know how it goes 🙂 is this recipe more Southwestern or Mexican? I’ve loved most Mexican food I’ve tried, but I’m not sure about Southwestern, I have never tried any Southwestern food. It seems to have a lot of Mexican ingredients 🥰 also, would it be good with the lime and cilantro rice from your burrito bowls or should I try a different type of rice? I really love this one though 😍
Hi John, Southwestern food has a lot of Mexican influence but chili isn’t a traditionally Mexican dish. The cilantro lime rice would work well with this, yes! Enjoy!
Also, I am having some problems with your site on my phone recently, when I’m looking at a recipe the page goes blank, everything is just all white. Do you know why this is? I would really like to not have to find another site because this one is the best I’ve found and I use it for most of my cooking 😔 it happened maybe four times just while trying to write this comment
Oh no! So sorry to hear that, John! We are emailing you now to get some more information.