

If you’re bored of the standard vegan cupcake, this is the recipe for you.
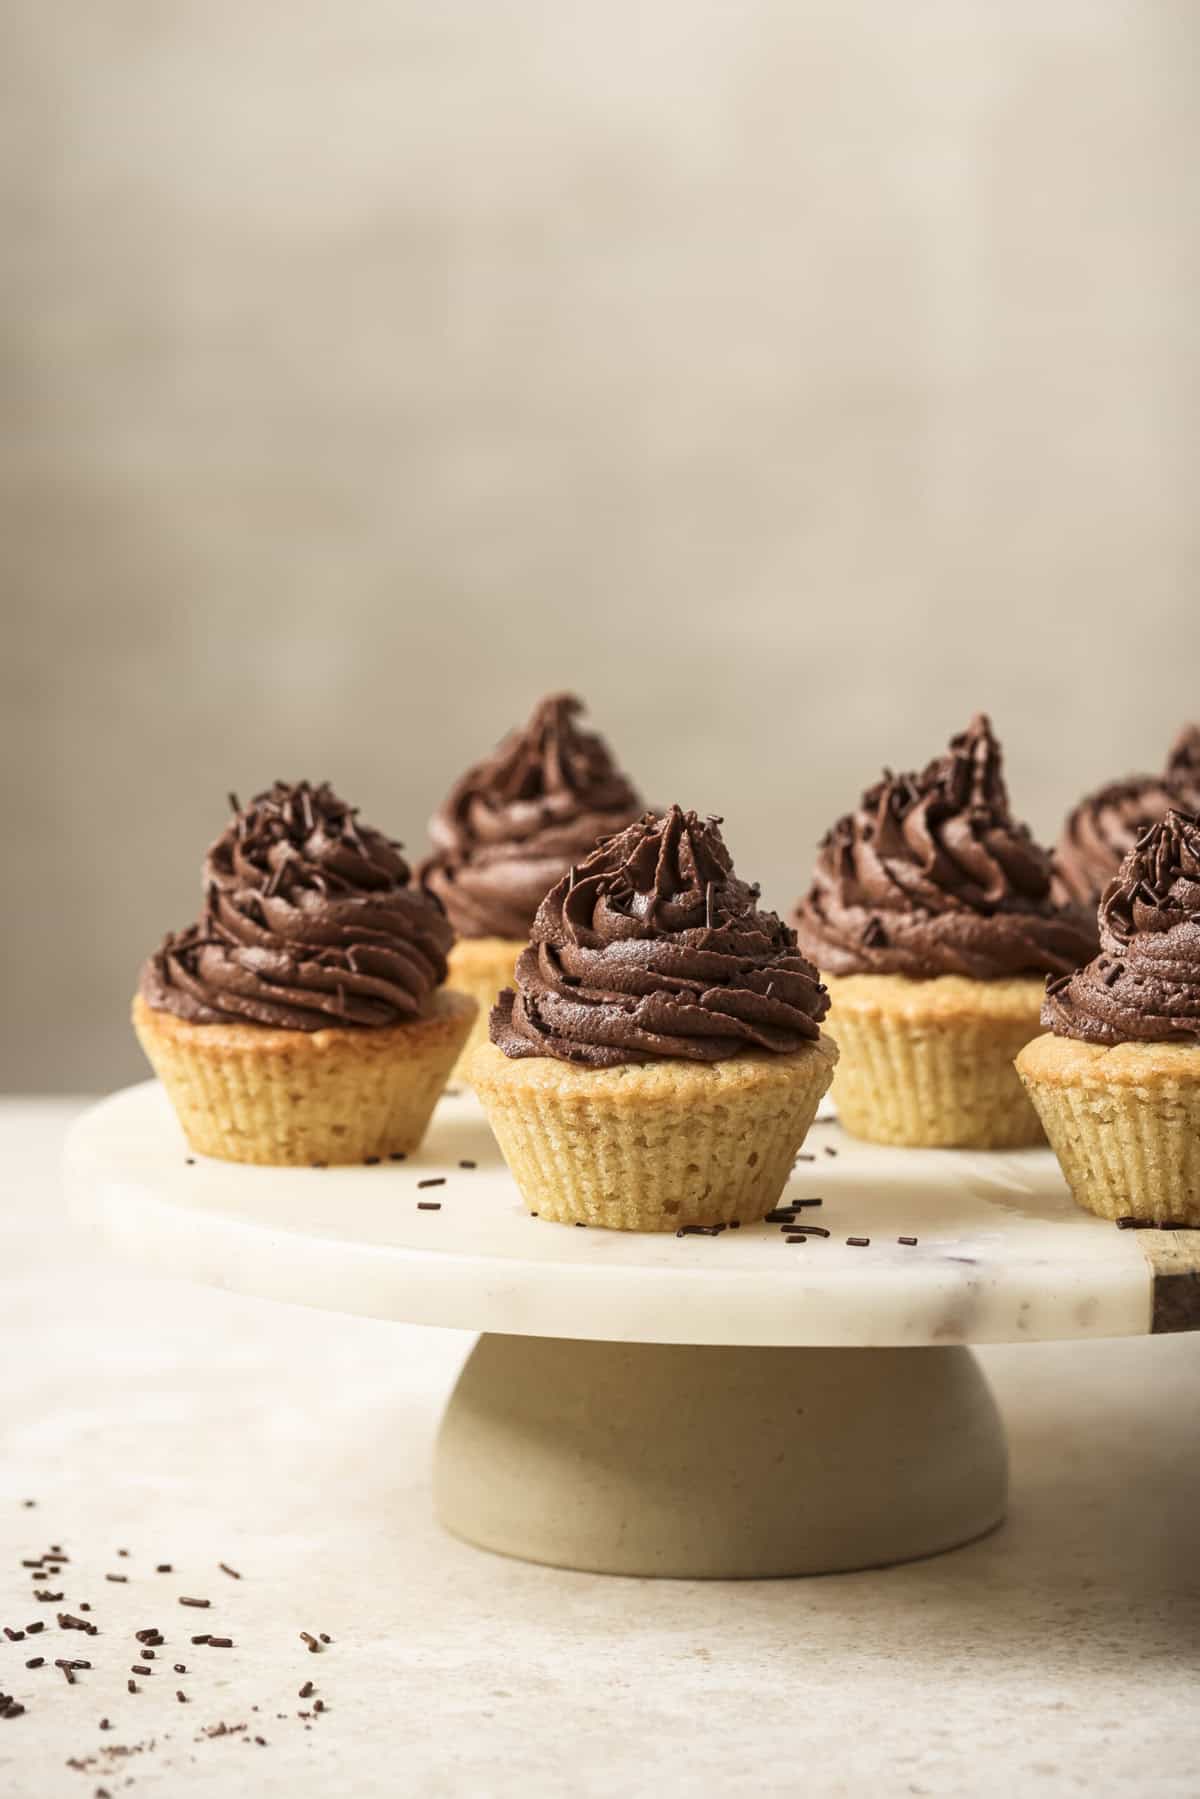
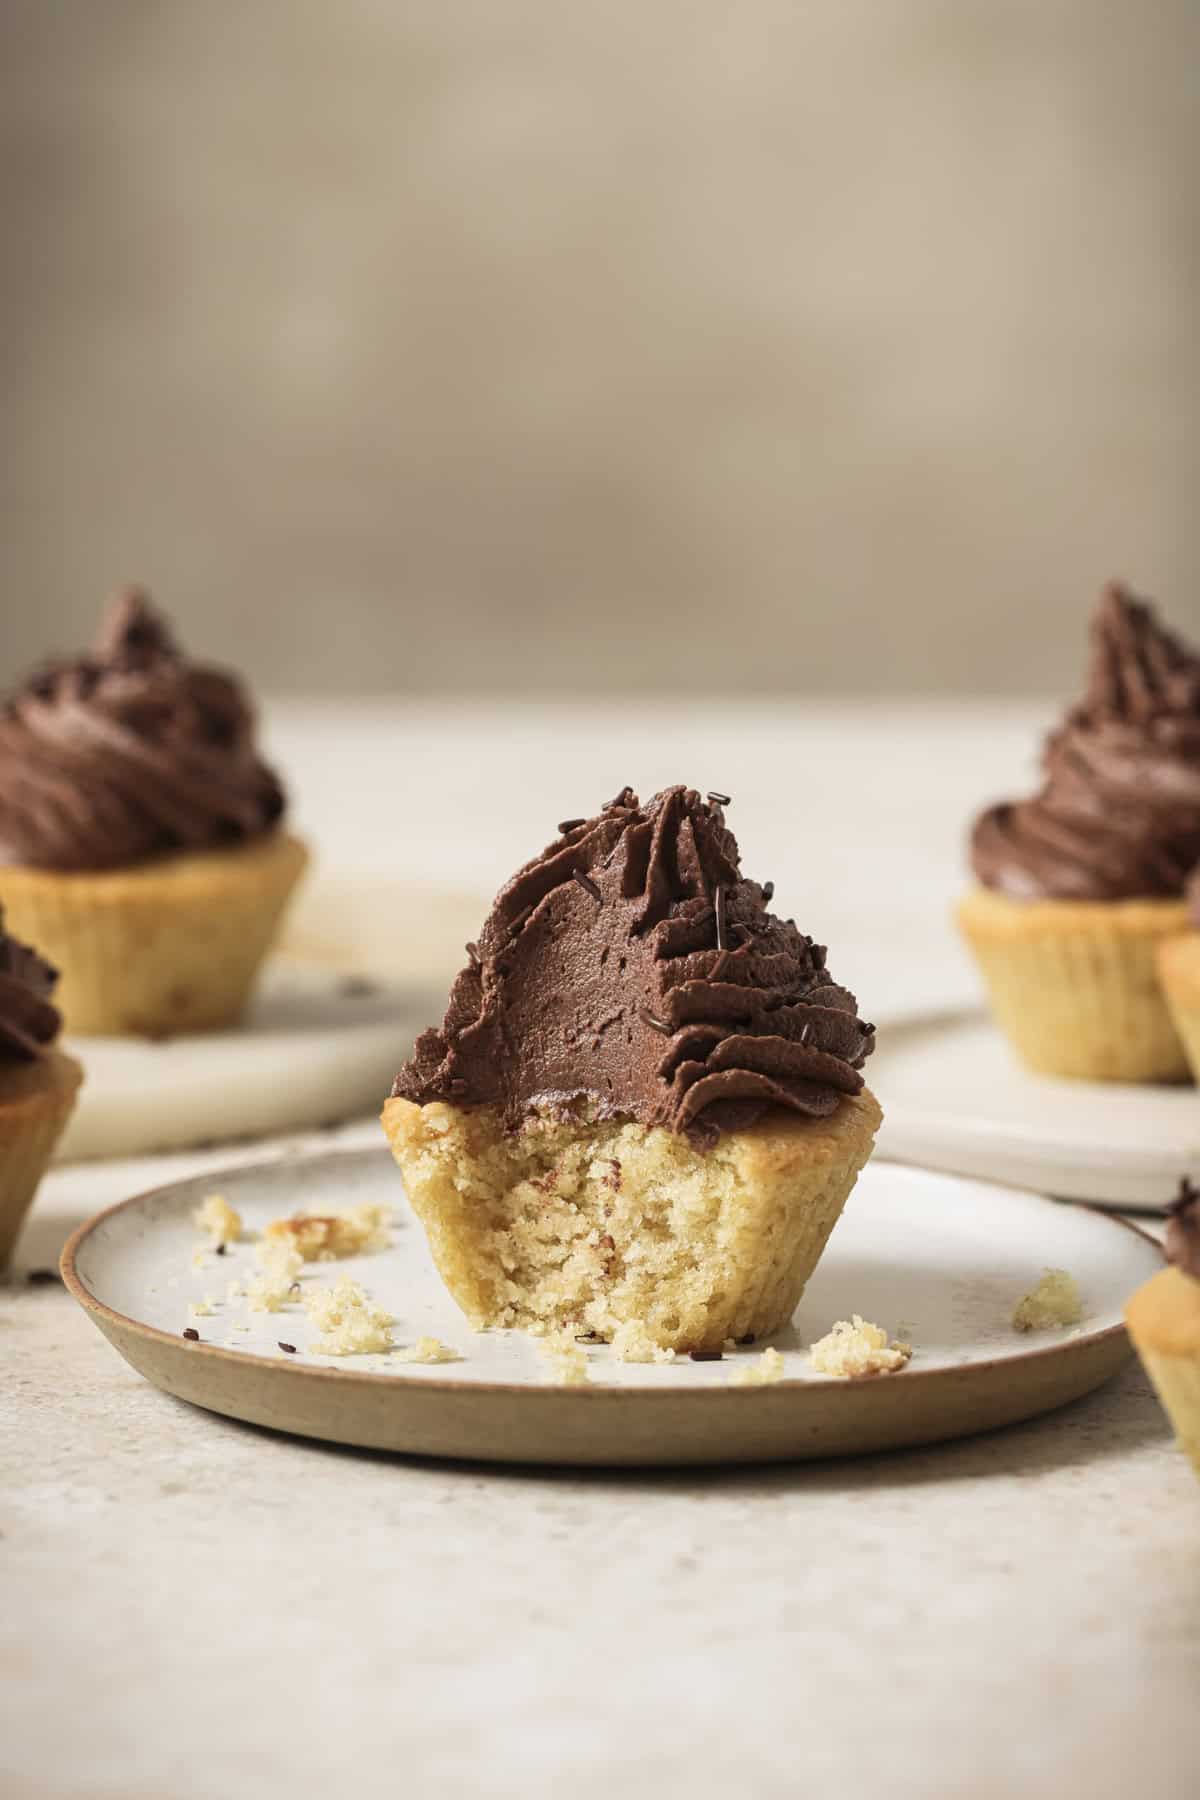
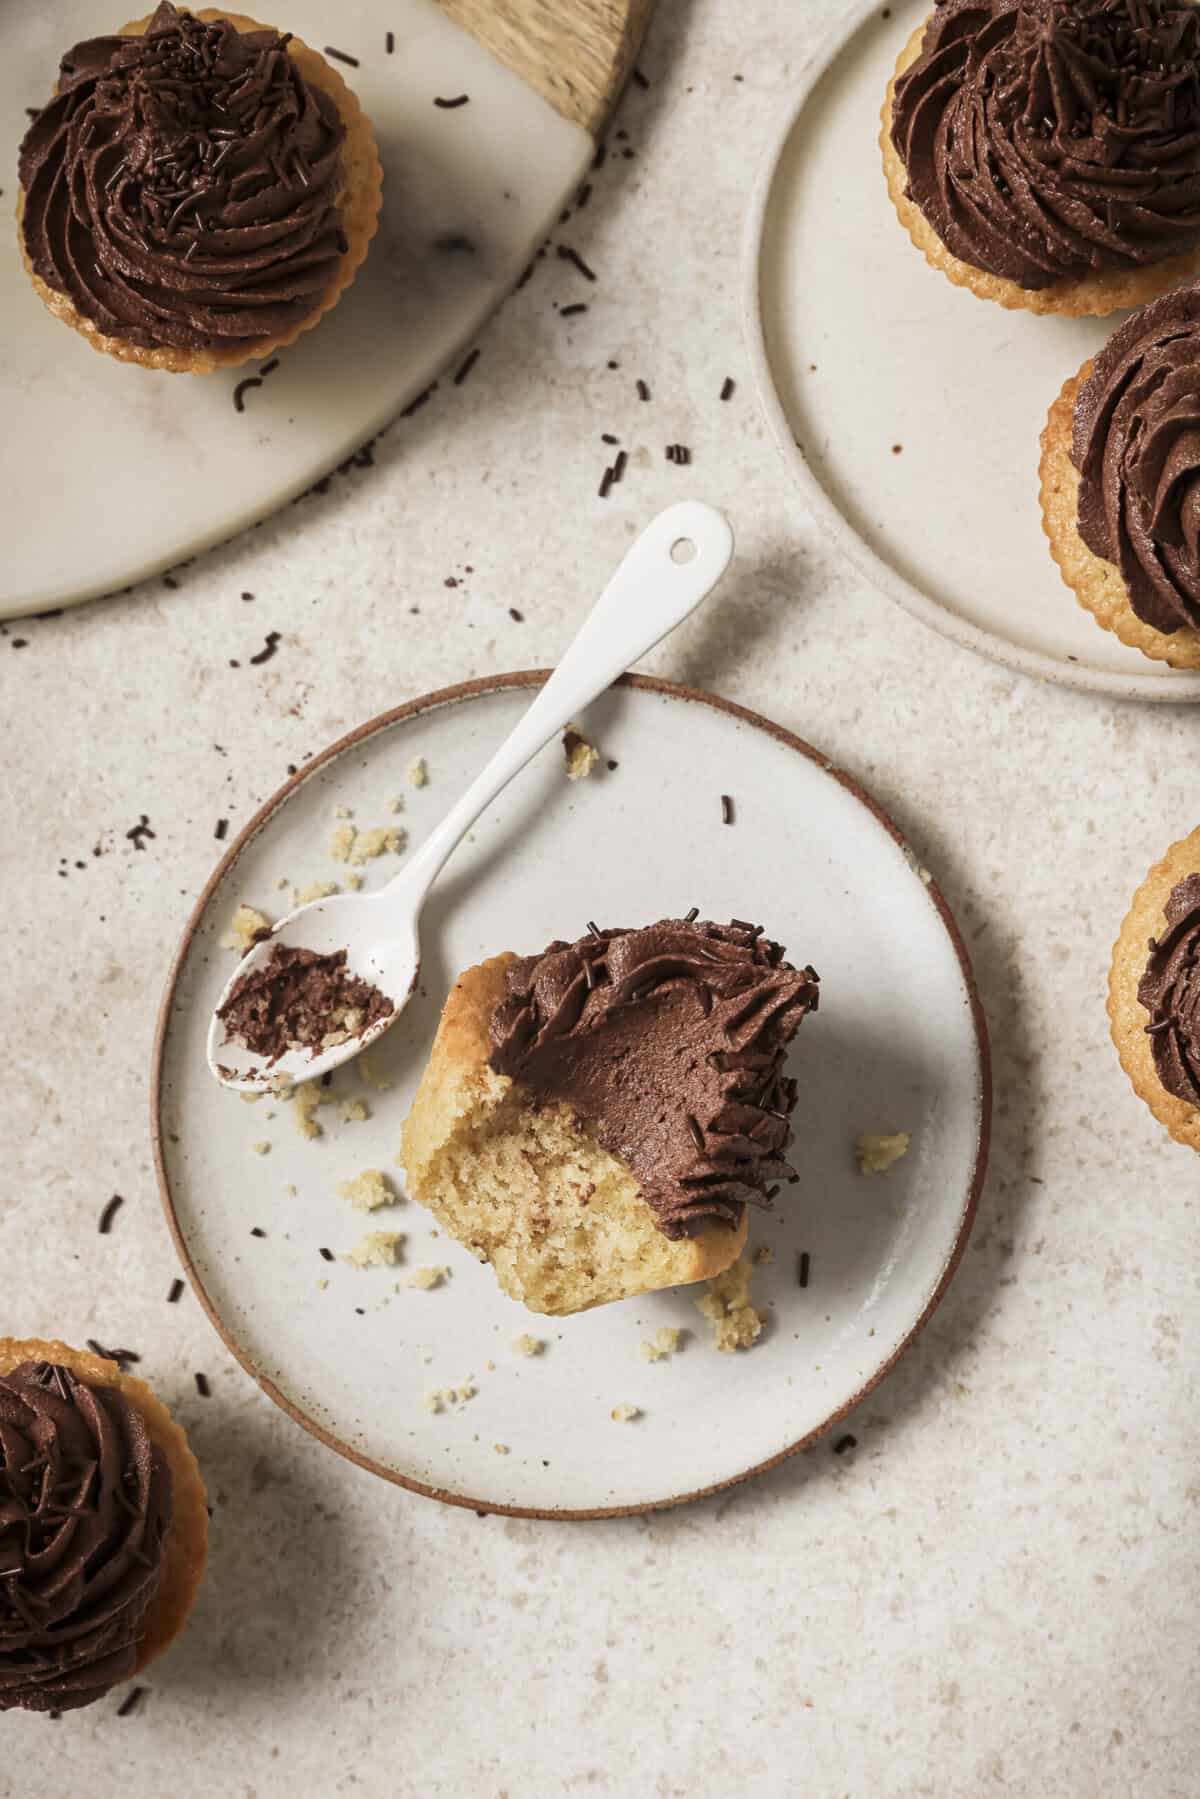
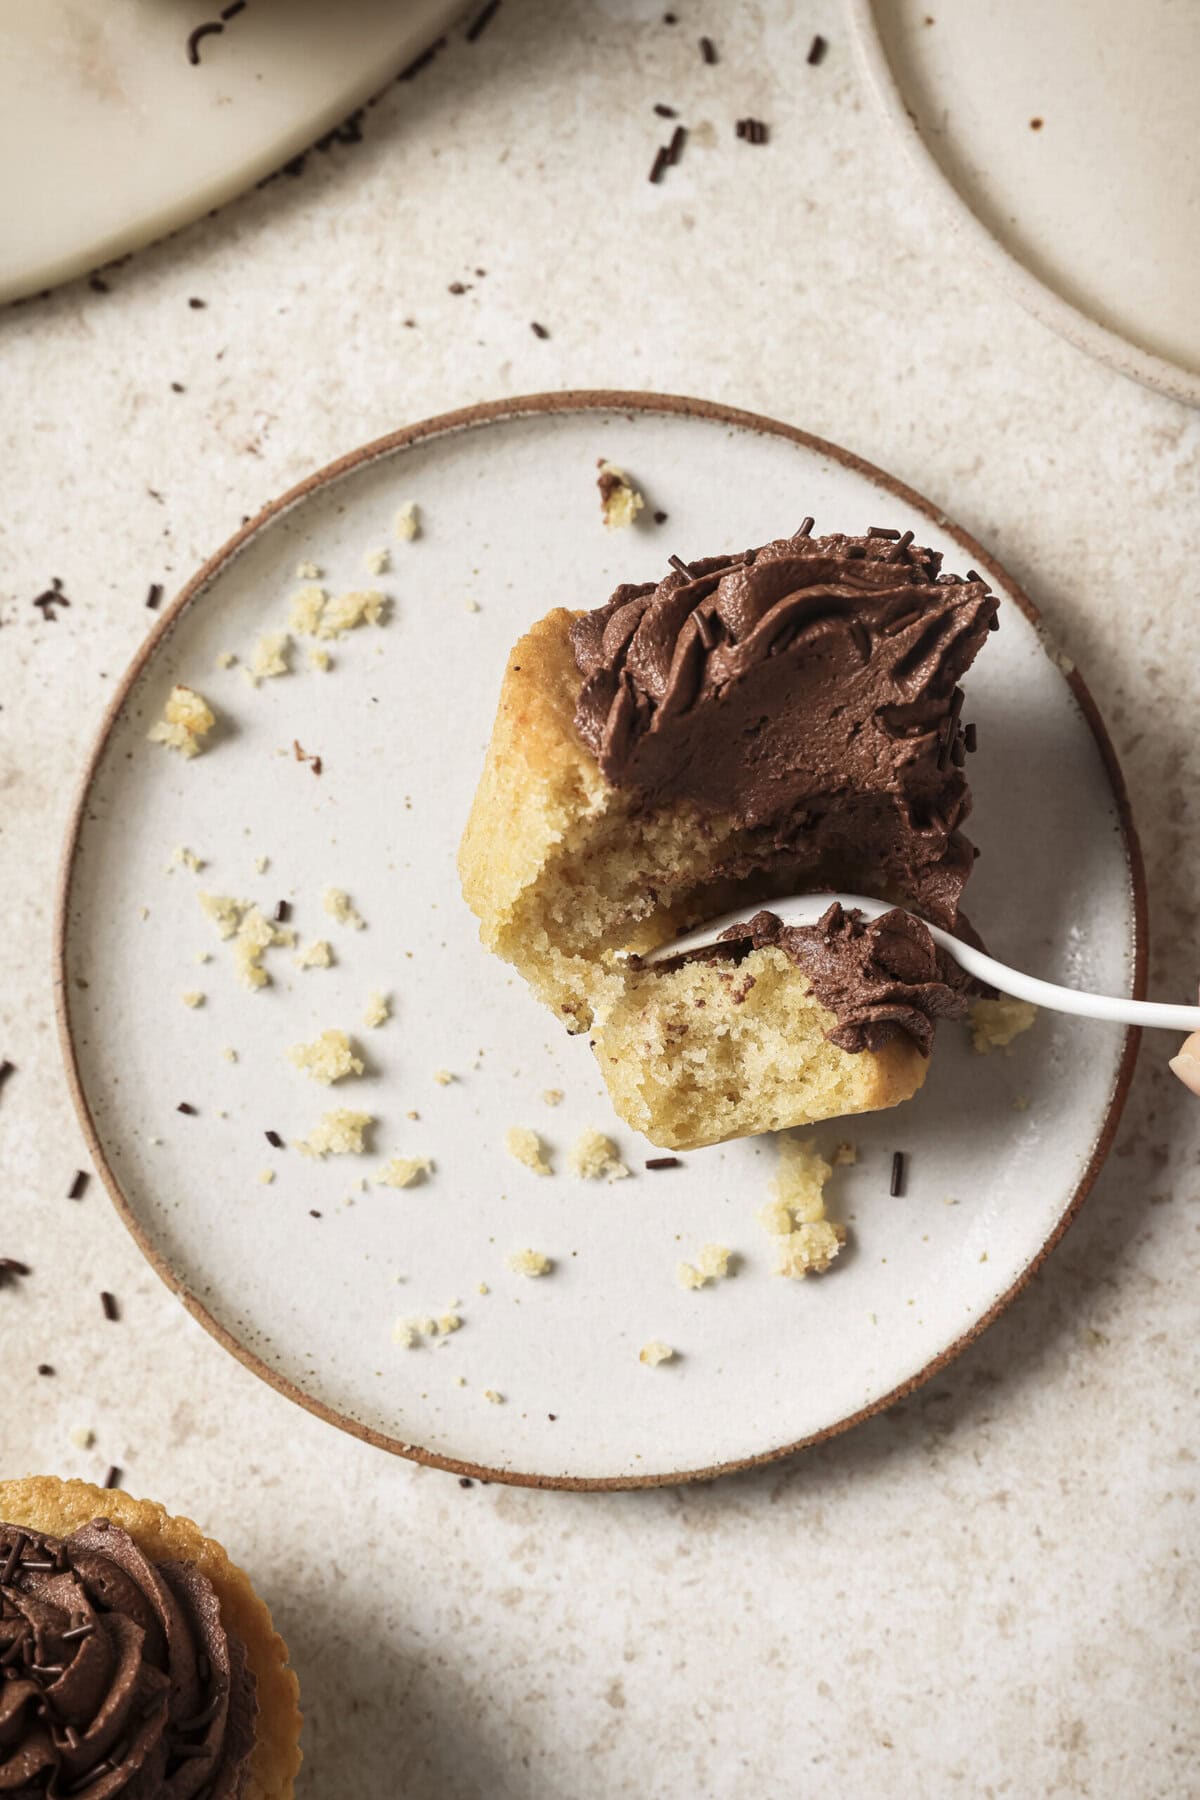
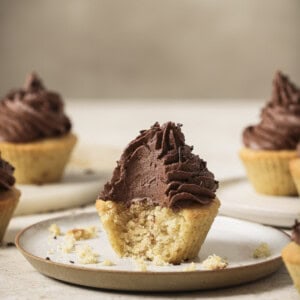
We’re talking light, bouncy, and fluffy cupcakes, with a tender, melt-in-your-mouth interior and a slightly crisp, buttery top. They’re delightful on their own, but when topped with a rich, fluffy chocolate buttercream frosting, they become truly irresistible. And the addition of orange zest and cardamom elevates them a few notches to gourmet dessert heaven.
Enjoy this crowd-pleasing dessert for Easter, birthdays, baby showers… or honestly, any occasion that needs a really good cupcake.
Table of Contents:
1. Why you’ll love this recipe
2. Ingredient notes
3. Step-by-step instructions
4. Tips for making this recipe
5. Recommended tools for baking cupcakes
6. Frequently Asked Questions
7. Recipe card with notes
Why you’ll love this recipe
- Undetectably vegan. Seriously—no one will guess. These cupcakes are every bit as moist, tender, and buttery as their dairy-filled cousins (if not more). No dense or dry vegan cupcakes here!
- That texture, though. These babies are light, fluffy, and bouncy on the inside with a slightly crisp, buttery top. Paired with a dreamy, chocolate buttercream frosting, it’s the kind of melt-in-your-mouth combo that makes you close your eyes and do a little happy dance.
- Simple ingredients, no fancy fuss. No need for creaming butter and sugar, no hard-to-find ingredients, no stand mixer required. If you can mix pancake batter, you can make these cupcakes. And the frosting requires just 6 ingredients and comes together in mere minutes.
- Classic, but with a glow-up. These may look like classic cupcakes, but the flavors are anything but basic. A generous splash of pure vanilla, a whisper of cardamom, and bright orange zest elevate these into “ooh, these are fancy” territory. Finished with a traditional American-style chocolate buttercream frosting but with a more grown-up, balanced sweetness.
Ingredient notes
Ingredients for the cupcakes
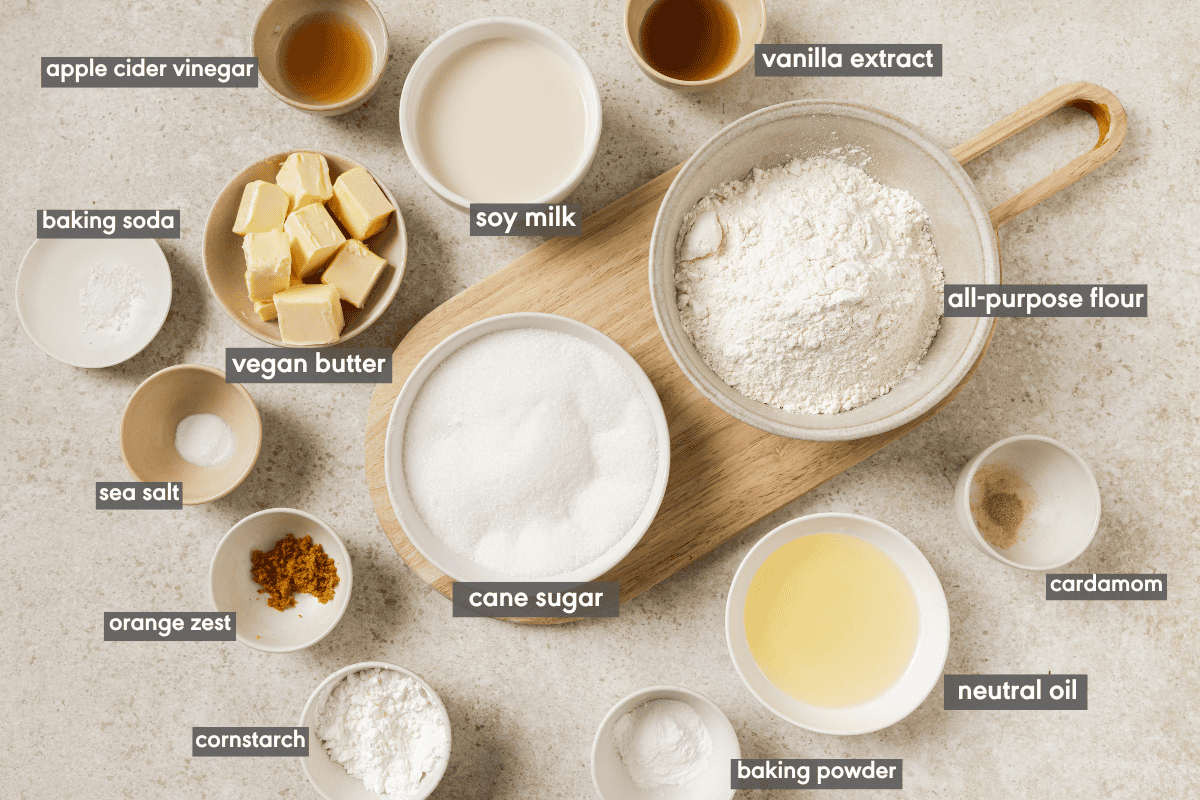
Soy milk
When mixed with an acid like vinegar, soy milk curdles a lot due to its high protein content, yielding a fluffy vegan cupcake batter that fluffs up delightfully well when exposed to the heat in the oven.
And the acidity in the apple cider vinegar helps break down the gluten strands in flour, lending a more tender crumb.
Substitute: If you can tolerate soy, use soy milk for the best results. If you have a soy allergy, I would try a full-fat oat or barista variety of almond milk (I like Elmhurst best), or pea milk if you have access to it).
All-purpose flour + cornstarch
Some cake and cupcake recipes call for cake flour since it has a lower protein content (this causes less gluten to form, which translates to a softer texture). But I know that most of my readers don’t keep cake flour stocked in their pantries.
Luckily, mixing a bit of cornstarch into all-purpose flour produces a similar effect to cake flour. The cornstarch lowers the total protein content of the flour mixture, giving these cupcakes a wonderfully light crumb and tenderness.
Substitute: Want to make these gluten-free? Check out the FAQ section.
Vegan Butter
As mentioned, these cupcakes are undetectably vegan thanks to their rich buttery flavor (and tender, fluffy crumb).
There are so many great vegan butter blocks on the market these days that work perfectly well in most baked goods, especially simple baked goods like cupcakes. Our favorite widely available option is Violife’s plant butter.
Substitute: I don’t recommend substituting the butter with oil, as it will add no flavor to the cupcakes and it’s more likely to make them greasy.
Orange zest and cardamom
The orange zest really shines in these cupcakes, elevating them from a standard cupcake into something truly extraordinary. The subtle floral citrus notes work wonders with the chocolate frosting, brightening it yet also magically deepening the flavor.
I love using orange zest in various desserts and sweet treats, like waffles, French Toast, and fruit compotes because it really adds a je ne sais quoi element that makes your palate say “now, what is that delicious flavor?”
And just for fun (and a little extra elegance), a hint of cardamom sneaks in to add the most delicately rich spiced warmth.
Ingredients for the chocolate frosting
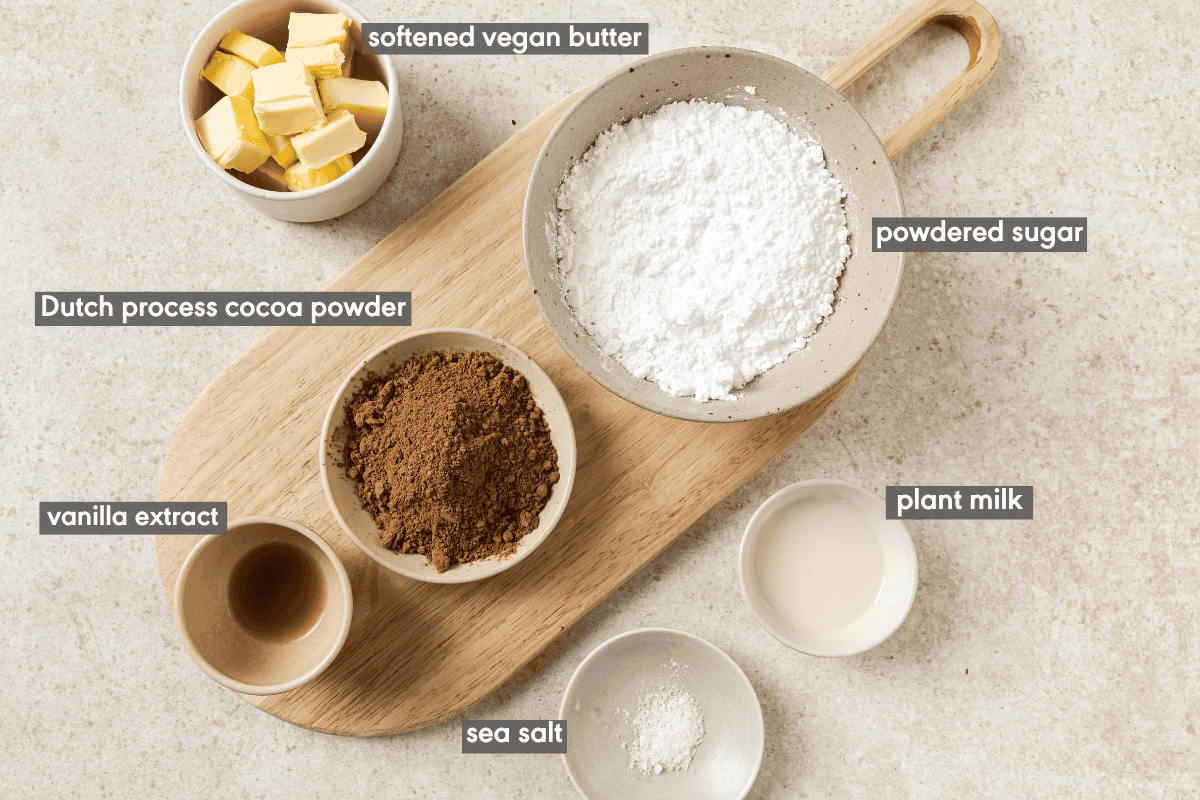
Dutch process cocoa powder
For our vegan chocolate frosting, we need cocoa powder, and I prefer to use Dutch process cocoa powder over natural cocoa powder.
Dutch processed means the natural acidity in cocoa has been neutralized, so you’re left with a purer chocolate flavor that’s smoother. Dutch process cocoa also tends to have a higher fat ratio, which makes it richer compared to natural cocoa.
Tips for buying: Sold as “Dutch process” cocoa powder or alkalized cocoa powder. Or, simply labeled “cocoa powder” but the ingredient list will say “processed with alkali” like this (affiliate link).
Natural cocoa powder is typically just labeled “cocoa powder” (e.g., your standard American Hershey’s or Ghirardelli cocoa powder) or may be labeled “natural cocoa powder” like this (affiliate link).
If you live in Europe, most cocoa powders are Dutch processed, whether labeled or not. And most European brands sold in the U.S. (e.g., Valrhona, Droste) are Dutch processed.
If you need help picking a Dutch process cocoa powder brand, try Serious Eats put together a guide to the best brands (I’m also a fan of Guittard! – affiliate link).
Vegan butter
Traditional American-style buttercream frosting is made by creaming softened butter and sugar, so of course we need butter!
Tip: Be sure to use softened butter, as cold butter will not cream or mix well and your frosting will have little clumps of solid butter.
Butter is appropriately soft when it’s malleable but not melted or greasy. It should feel room temperature to the touch and if you press your fingertip into the butter, it should make an indent. Most vegan butters soften more quickly than dairy-based butter.
Powdered Sugar
AKA icing sugar or confectioners sugar. This superfine sugar is perfect for frostings and icings, as it melts into the frosting without adding any graininess.
PS: If strictly vegan and you live in the U.S., choose organic powdered sugar, as most conventional sugar grown in the US is filtered with animal bone char (UGH).
Pure vanilla extract
Just a little accents the cocoa powder and brings out its rich flavor. It also cuts through the richness of the butter and sugar by adding a little dimension.
While I always recommend using pure vanilla extract, not the imitation or artificial stuff, it’s especially important in unbaked applications like this. You will absolutely taste the difference!
Step-by-step instructions
For the cupcakes
Make the “buttermilk”: Mix the vinegar into the soy milk and set aside to curdle.
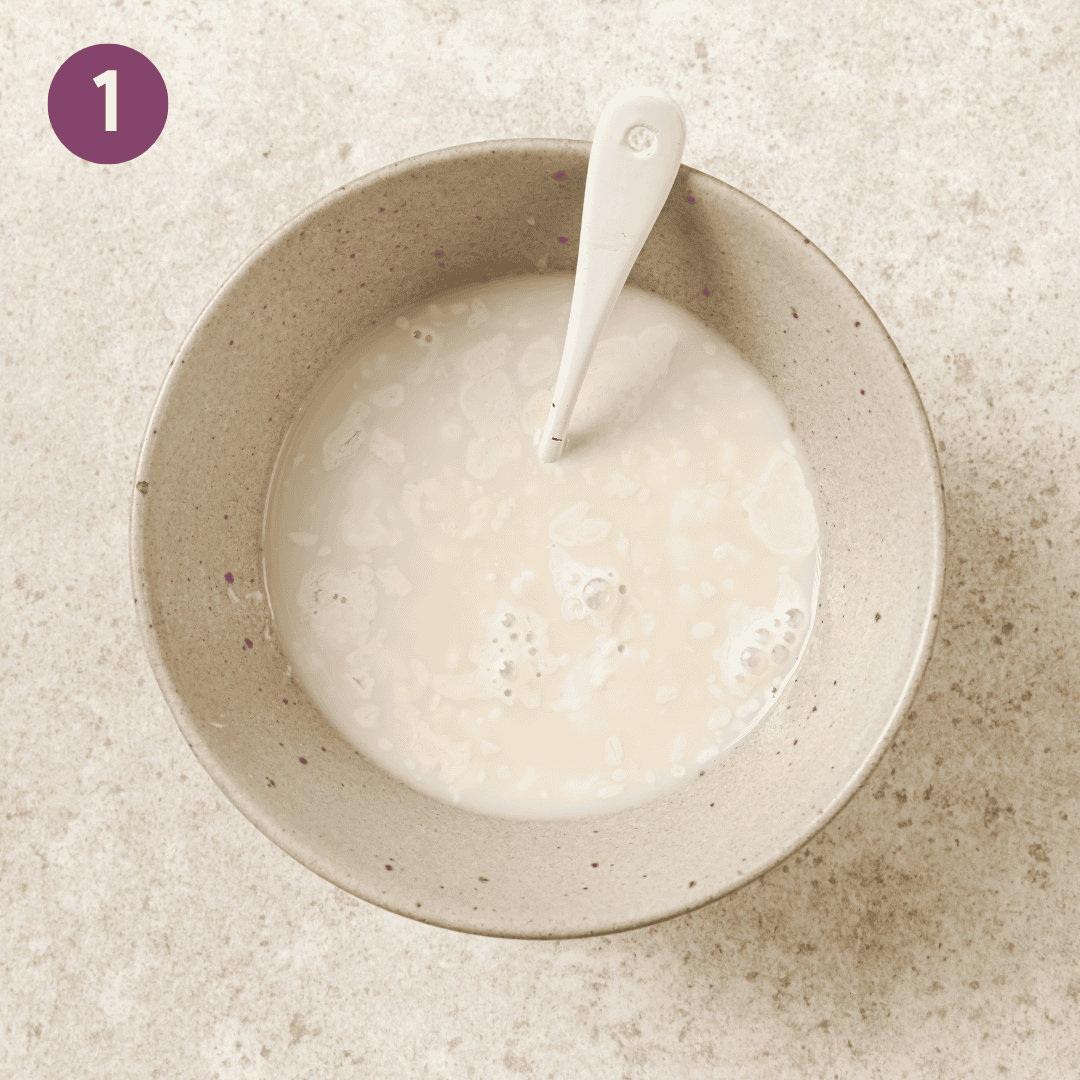
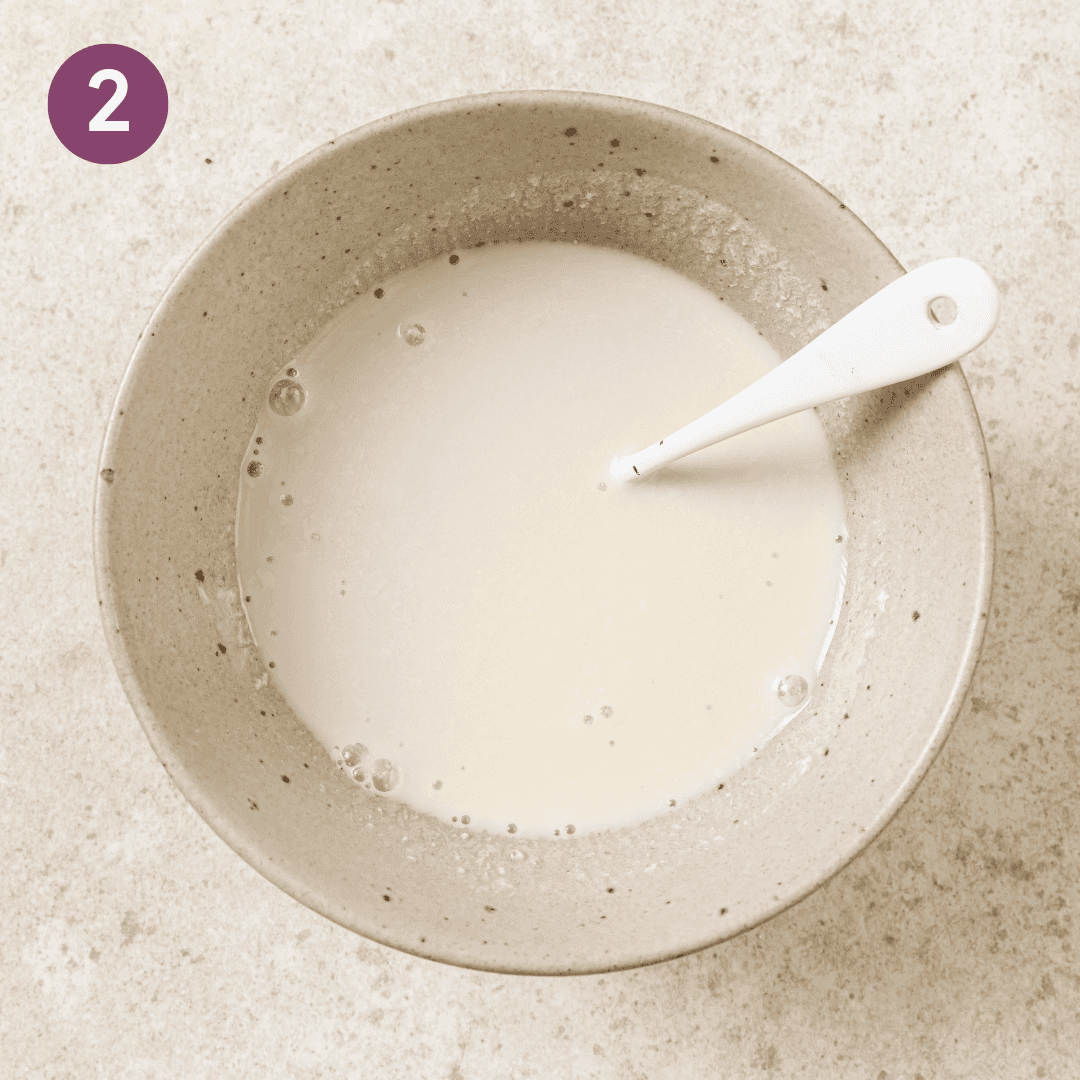
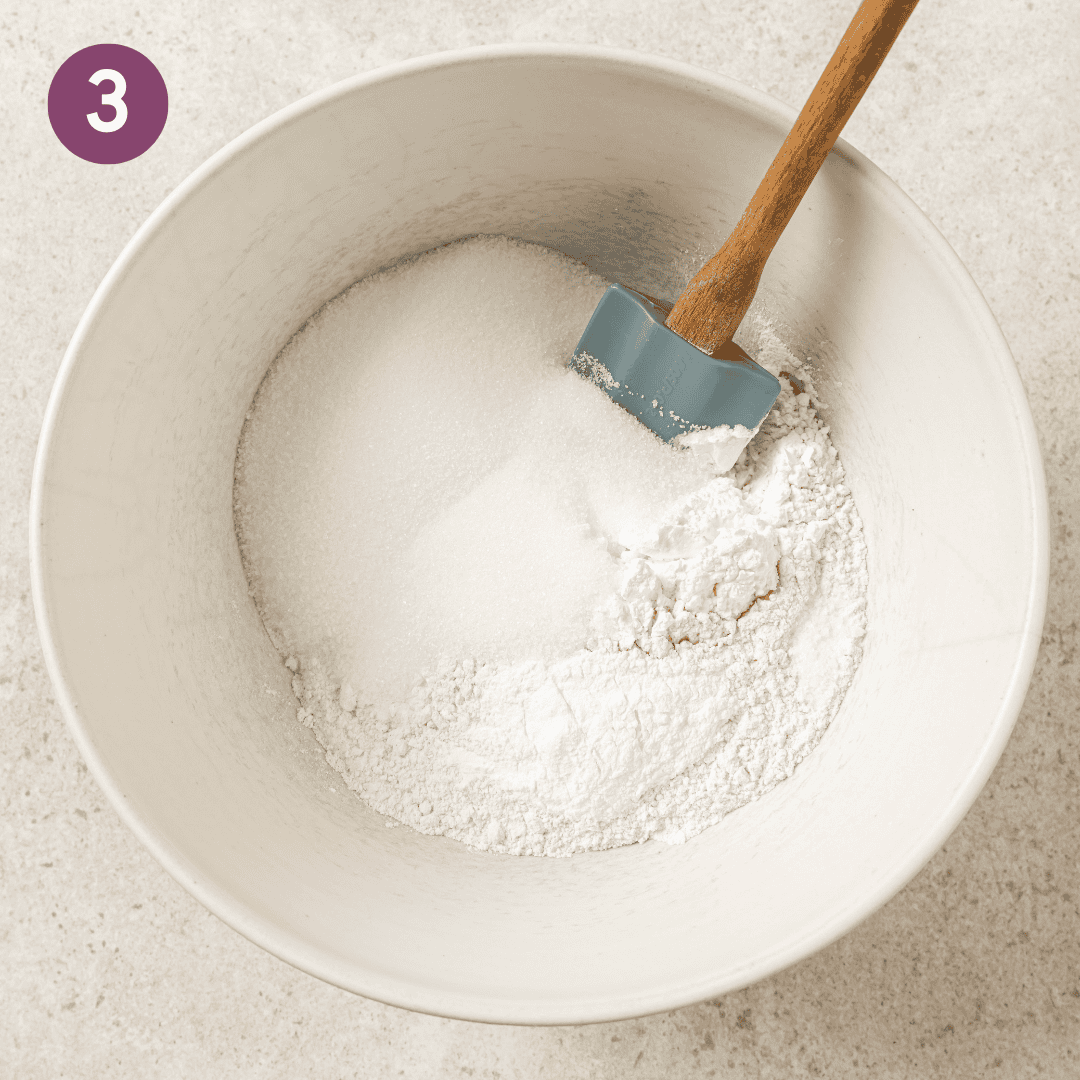
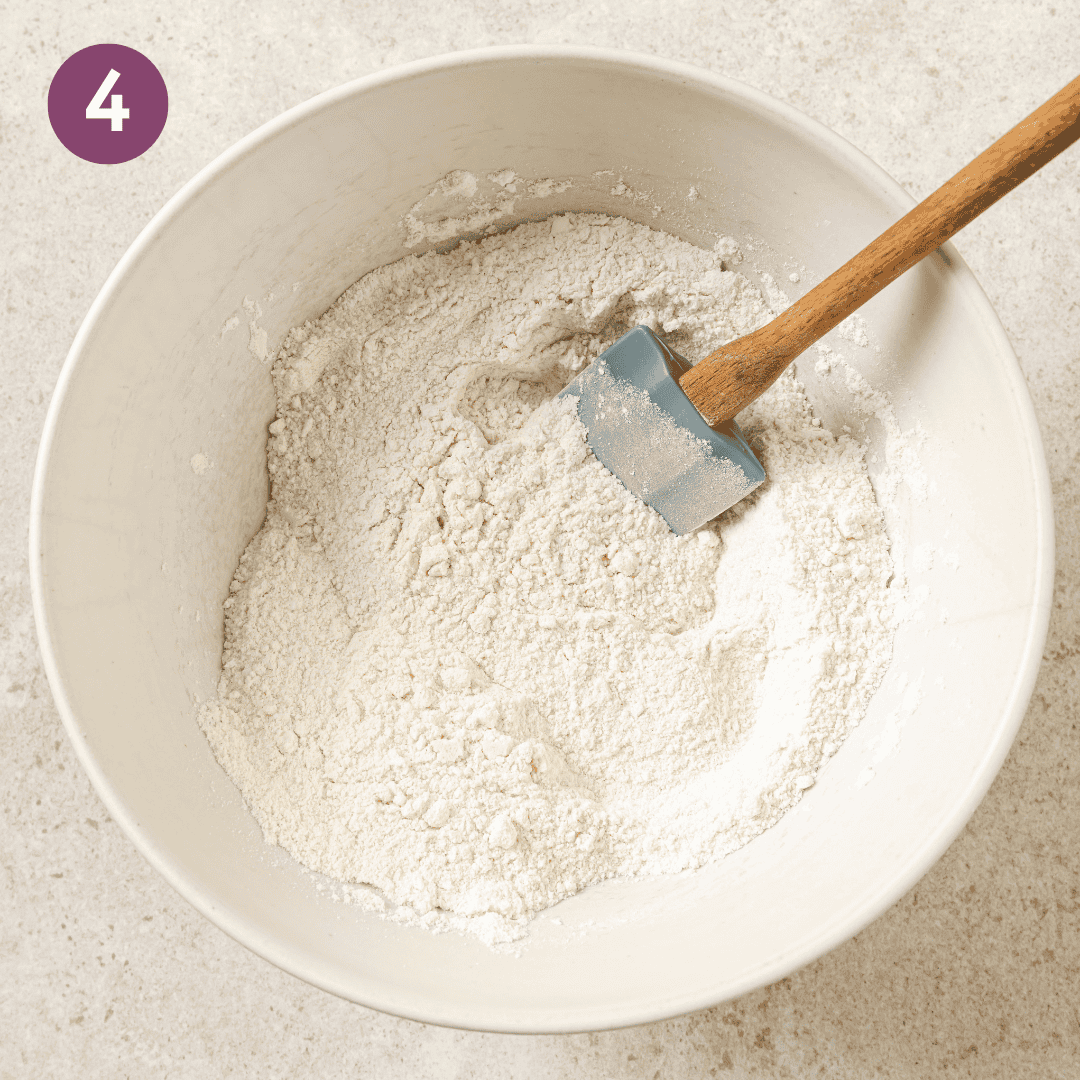
In a large bowl, combine the dry ingredients: flour, cornstarch, baking soda, baking powder, salt, and sugar. Whisk well to combine.
In a medium bowl, combine the melted butter, oil, “buttermilk,” vanilla, orange zest, and cardamom if using. Whisk to combine.
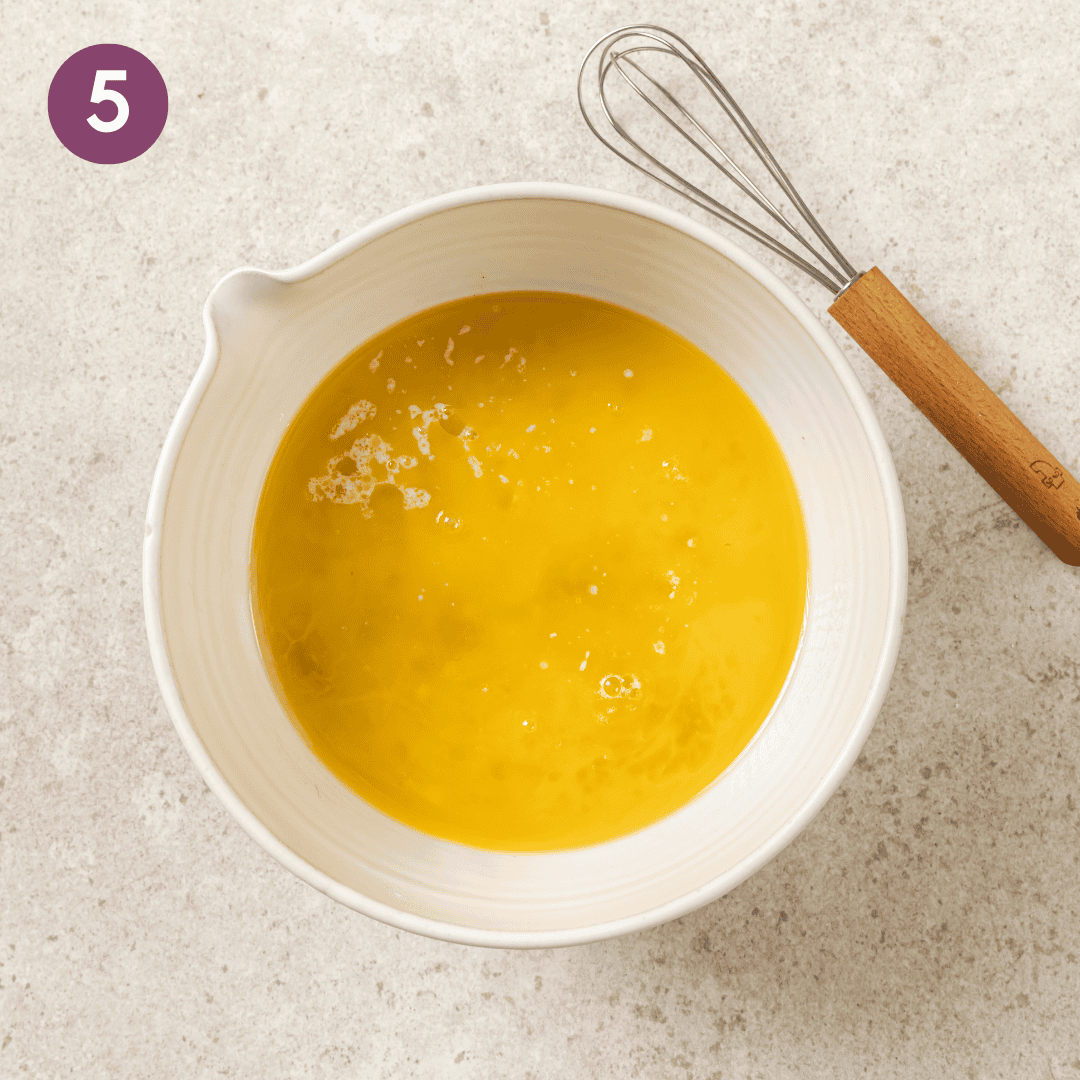
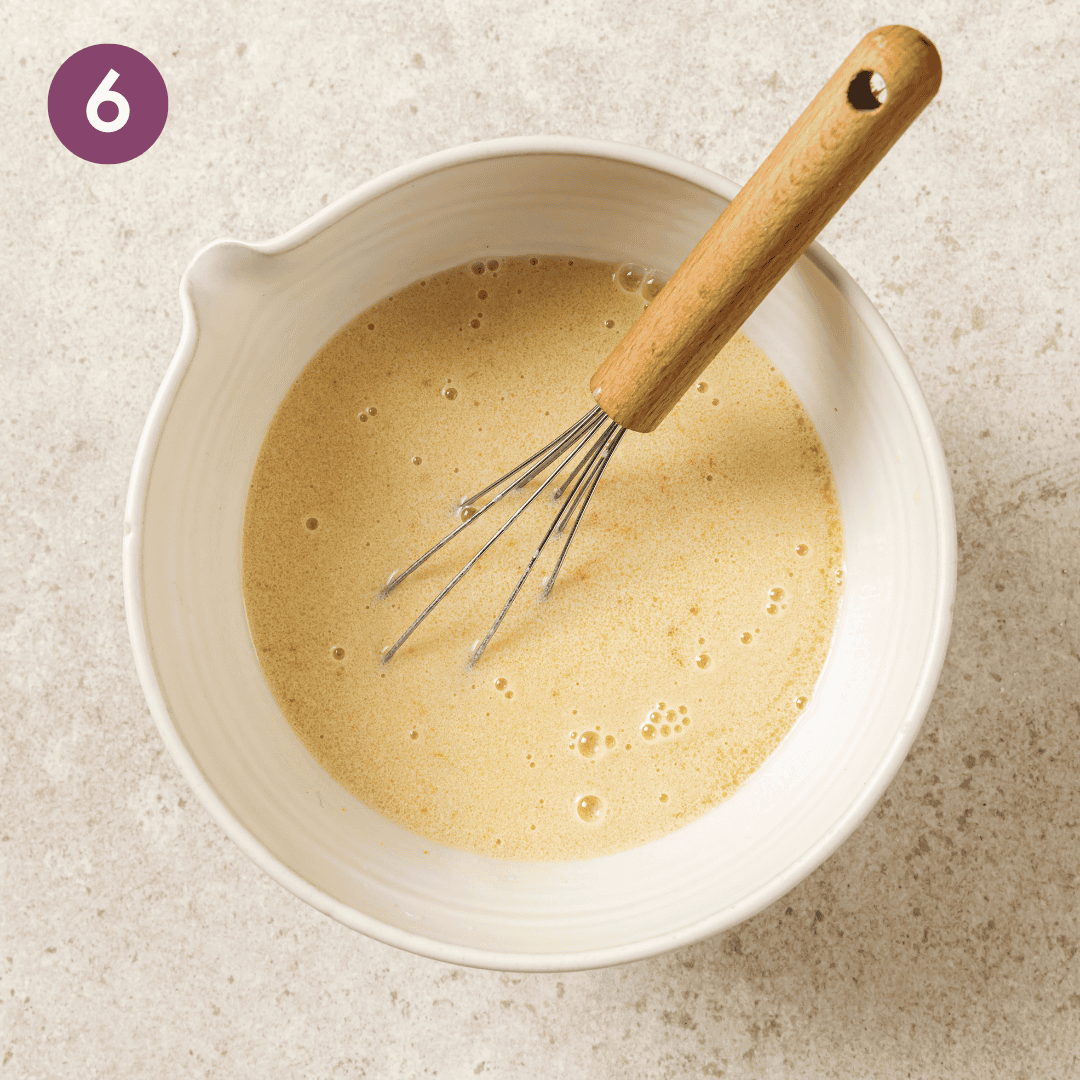
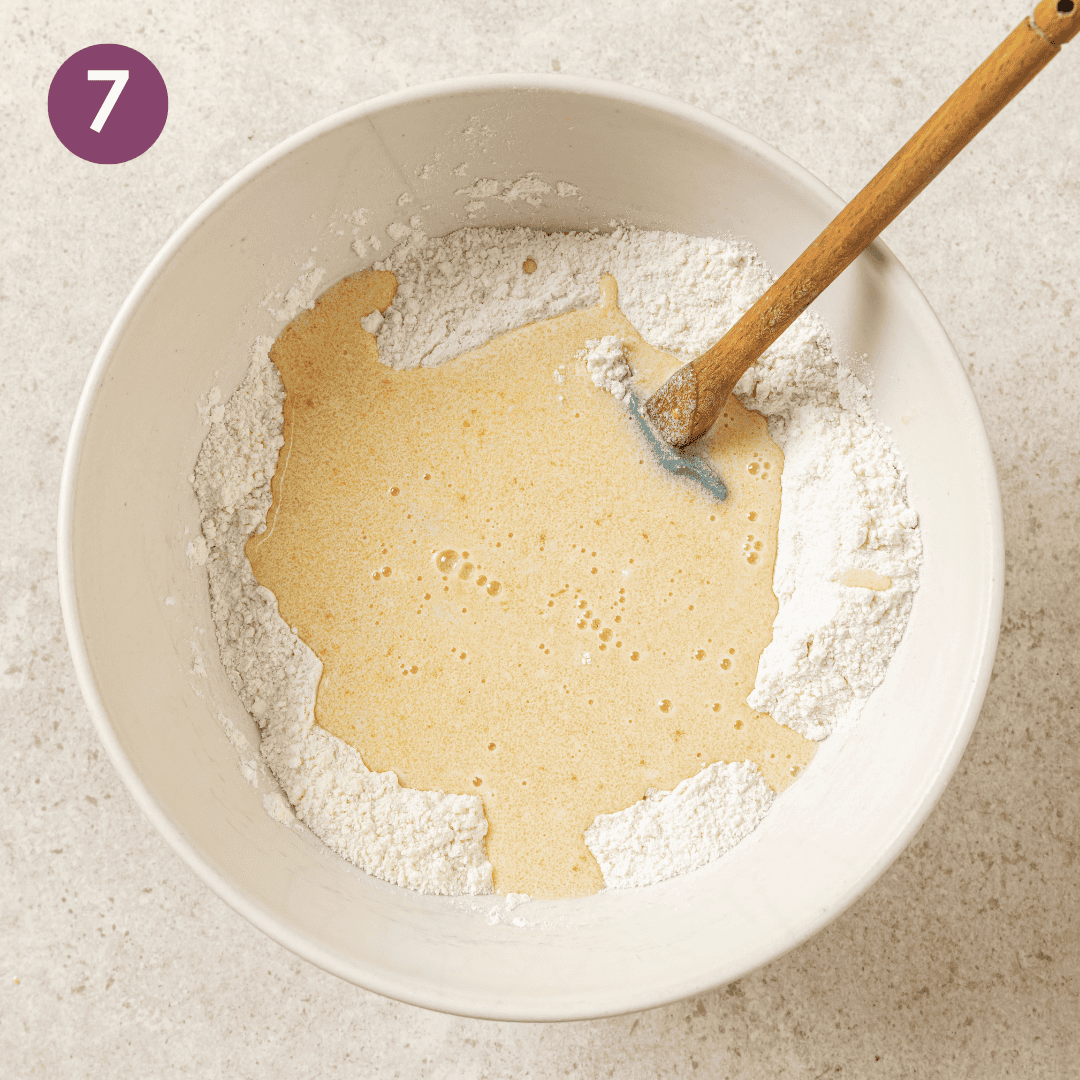
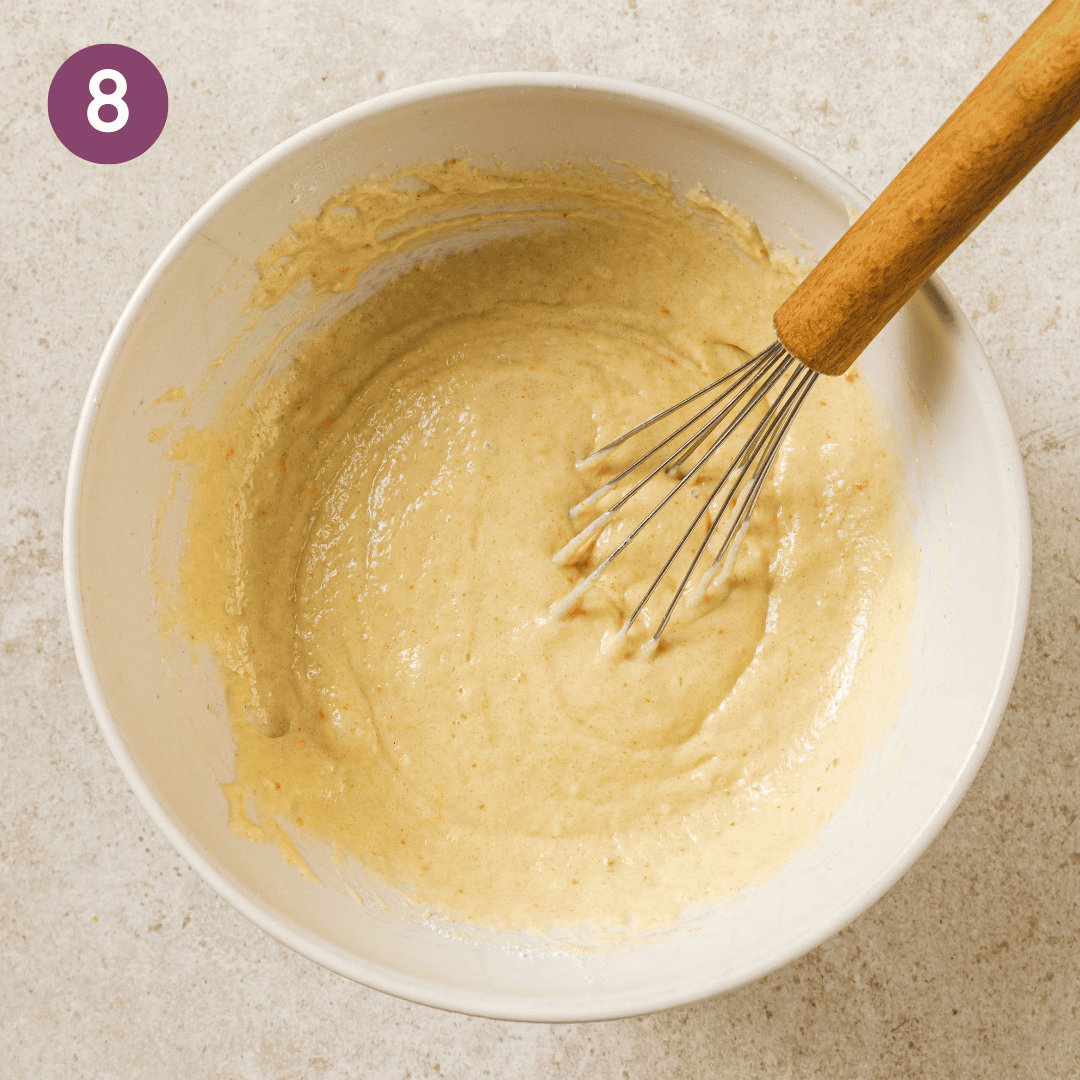
Pour the wet ingredients into the dry and gently stir until combined.
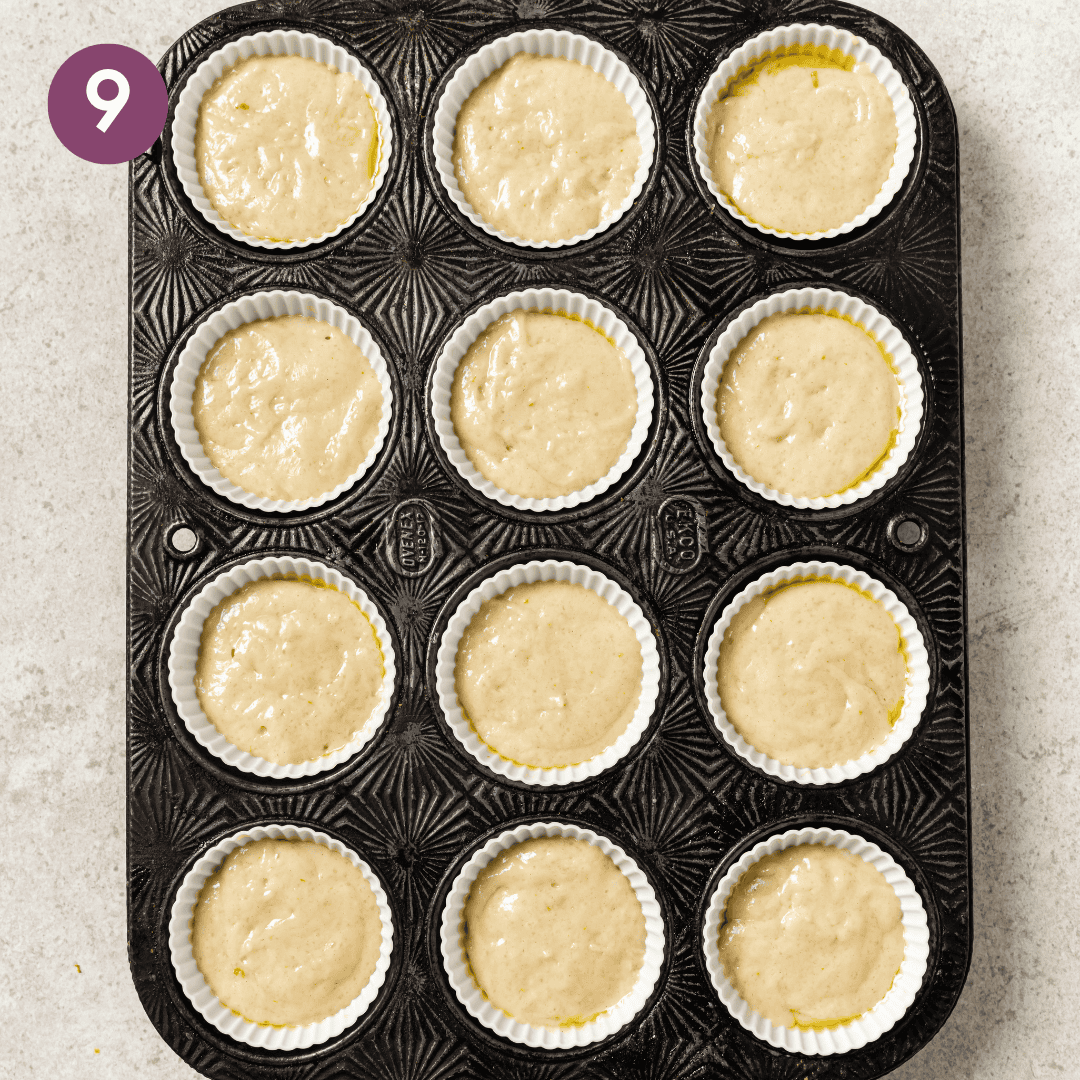
Divide the batter across 12 lined and greased muffin cups, filling each ⅔ full.
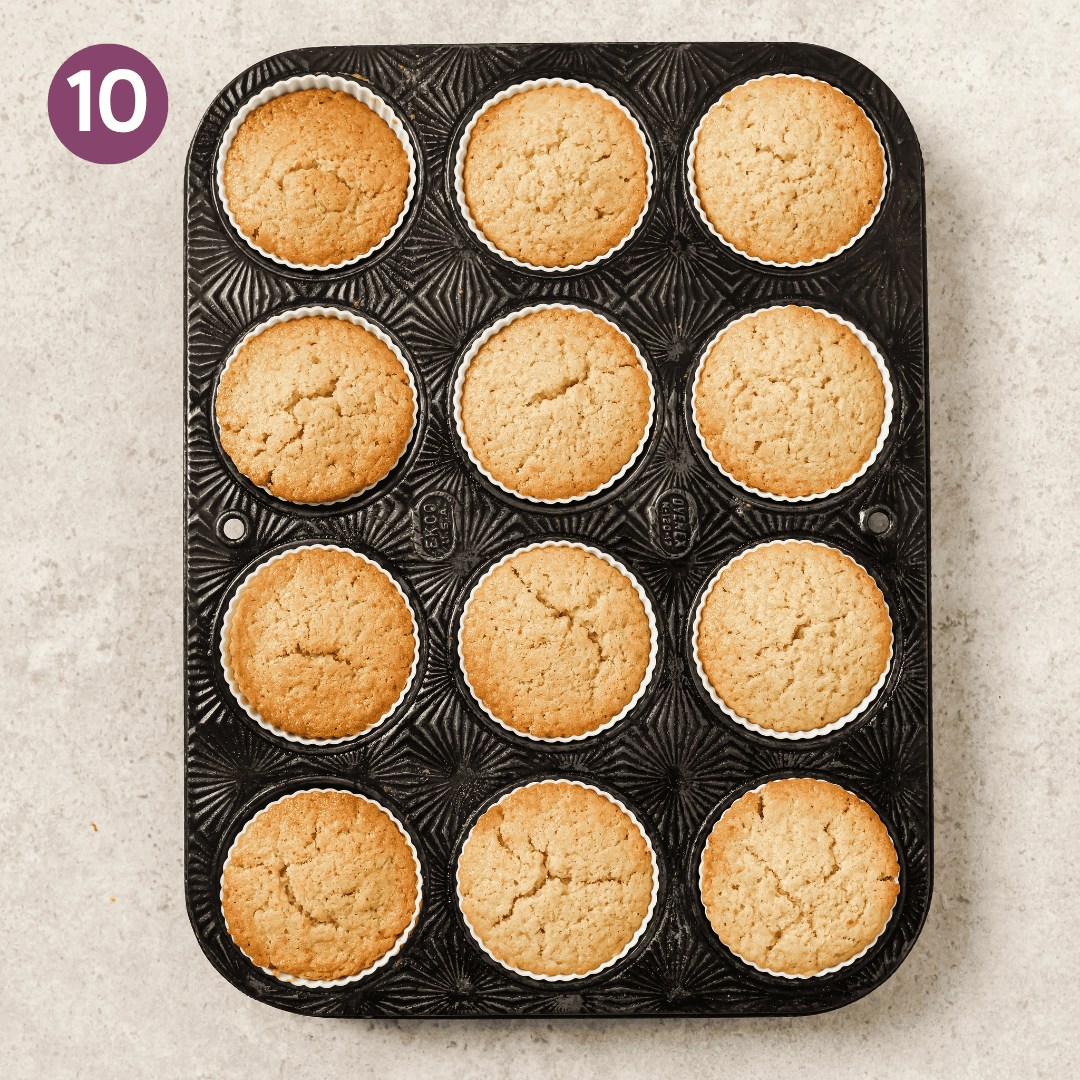
Bake at 325ºF / 163ºC in the center rack of the oven for 22 to 24 minutes, or until a toothpick comes out clean or with only a few moist crumbs.
For the frosting
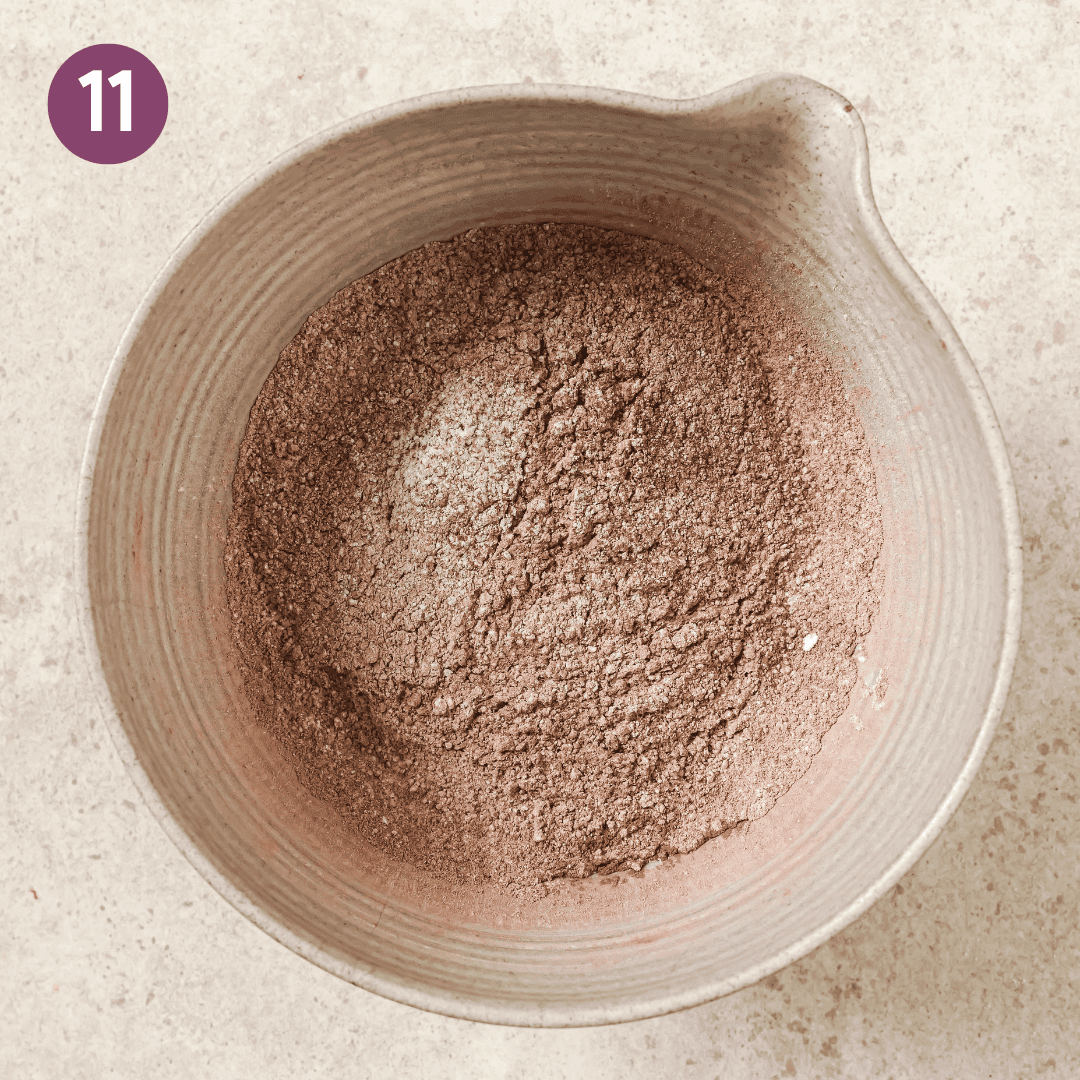
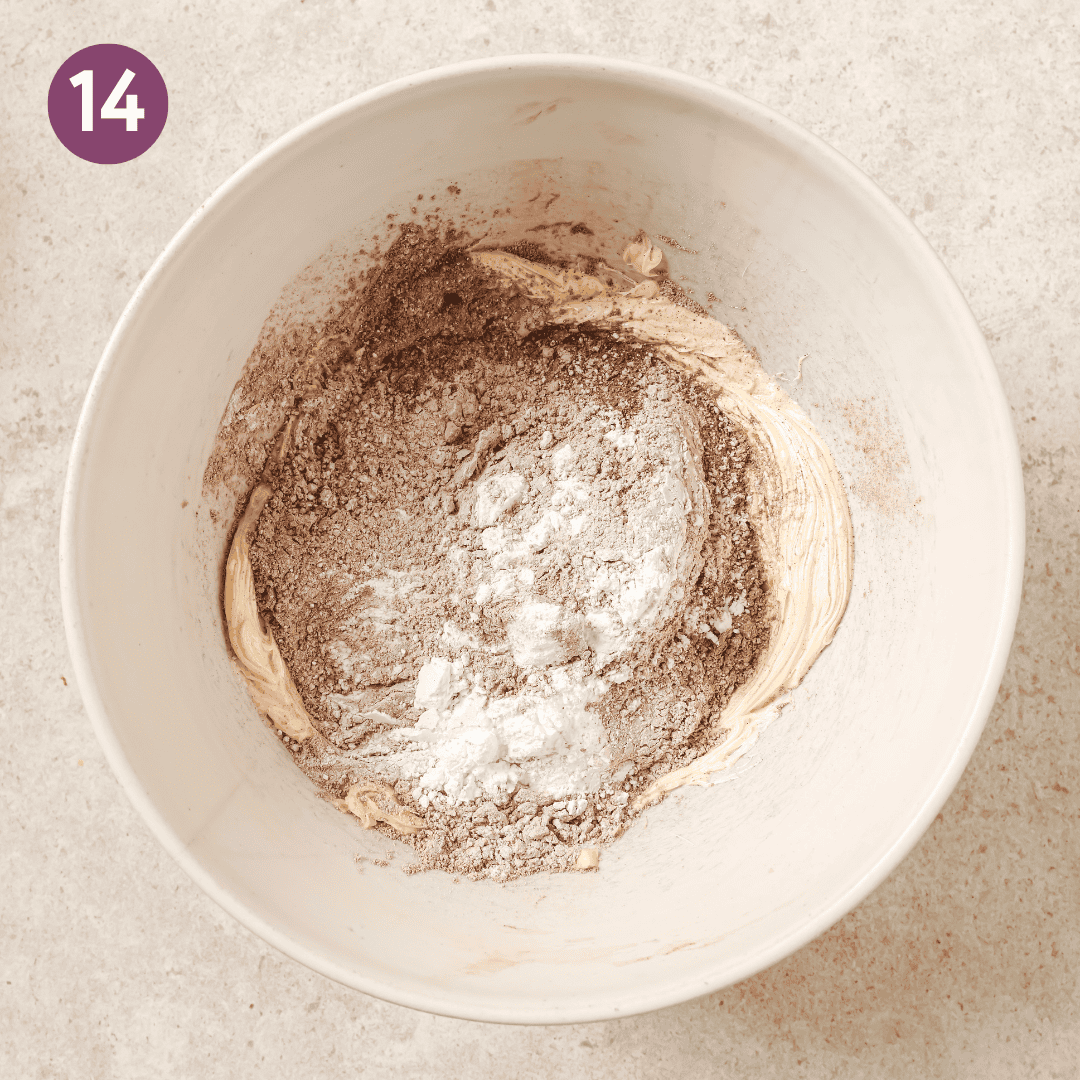
Sift the powdered sugar and cocoa powder together to remove clumps.
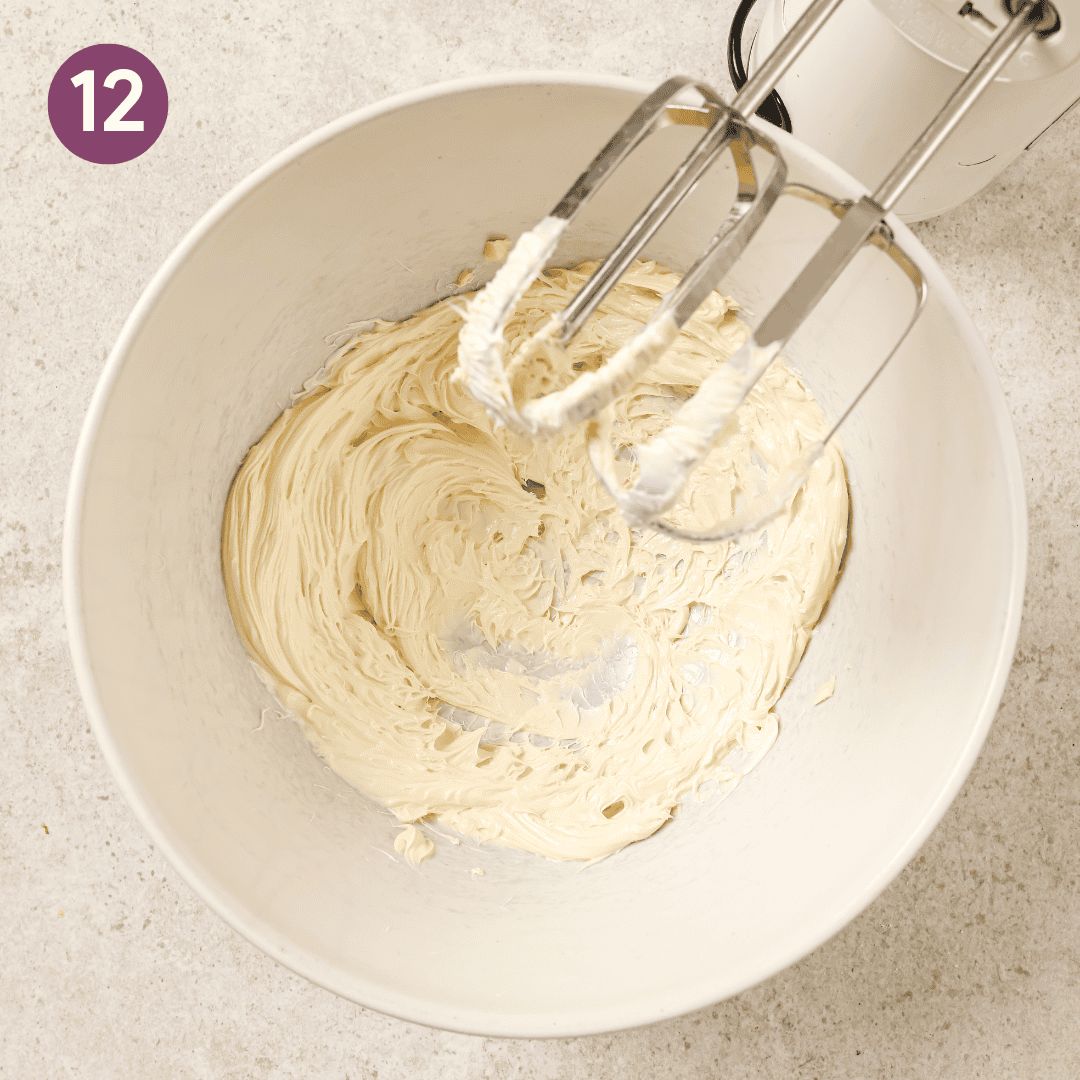
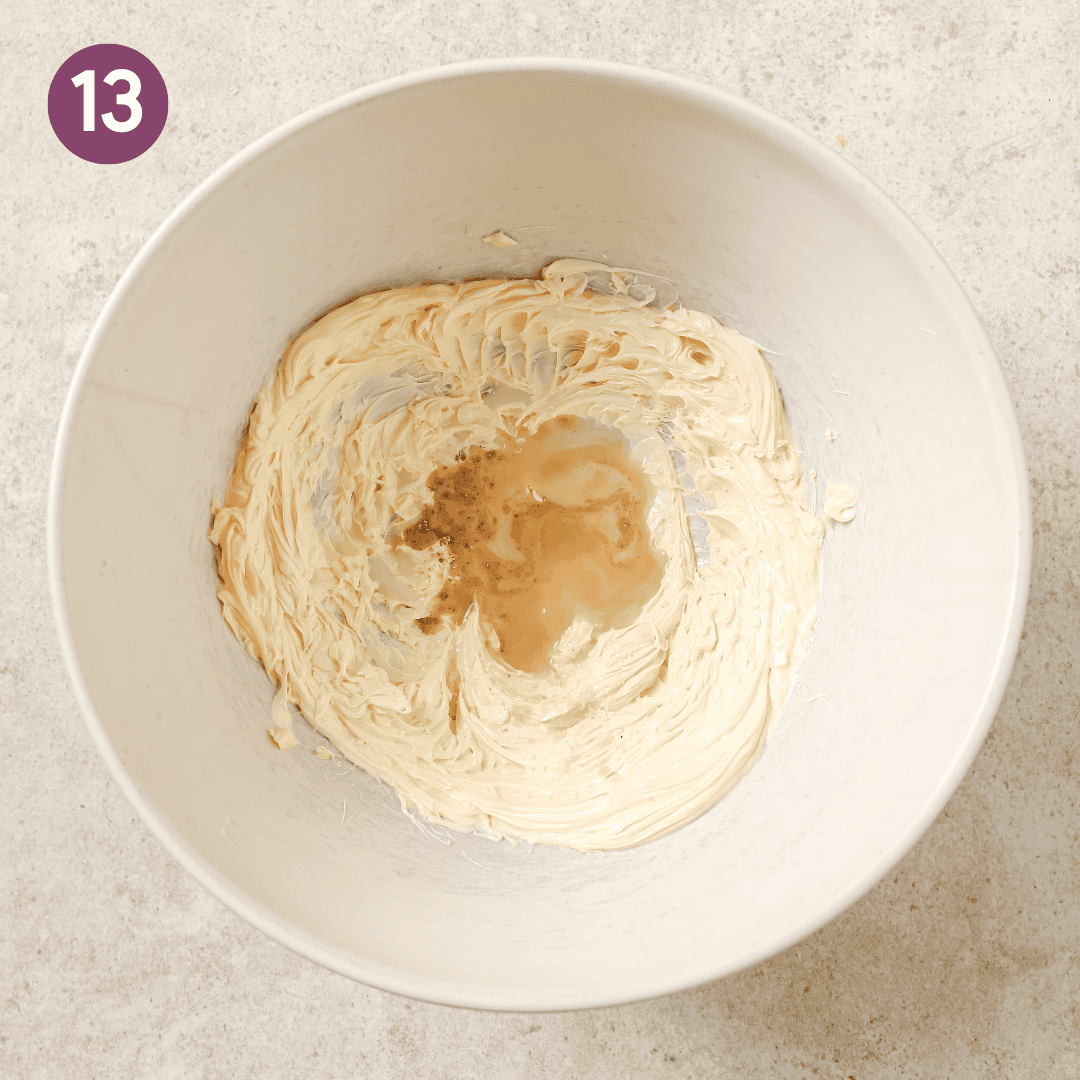
Add the softened butter to a bowl and beat with an electric handheld mixer on medium speed until creamy and fluffy, about 1 minute.
Add the sifted cocoa-sugar, vanilla, salt, and plant milk to the softened butter.
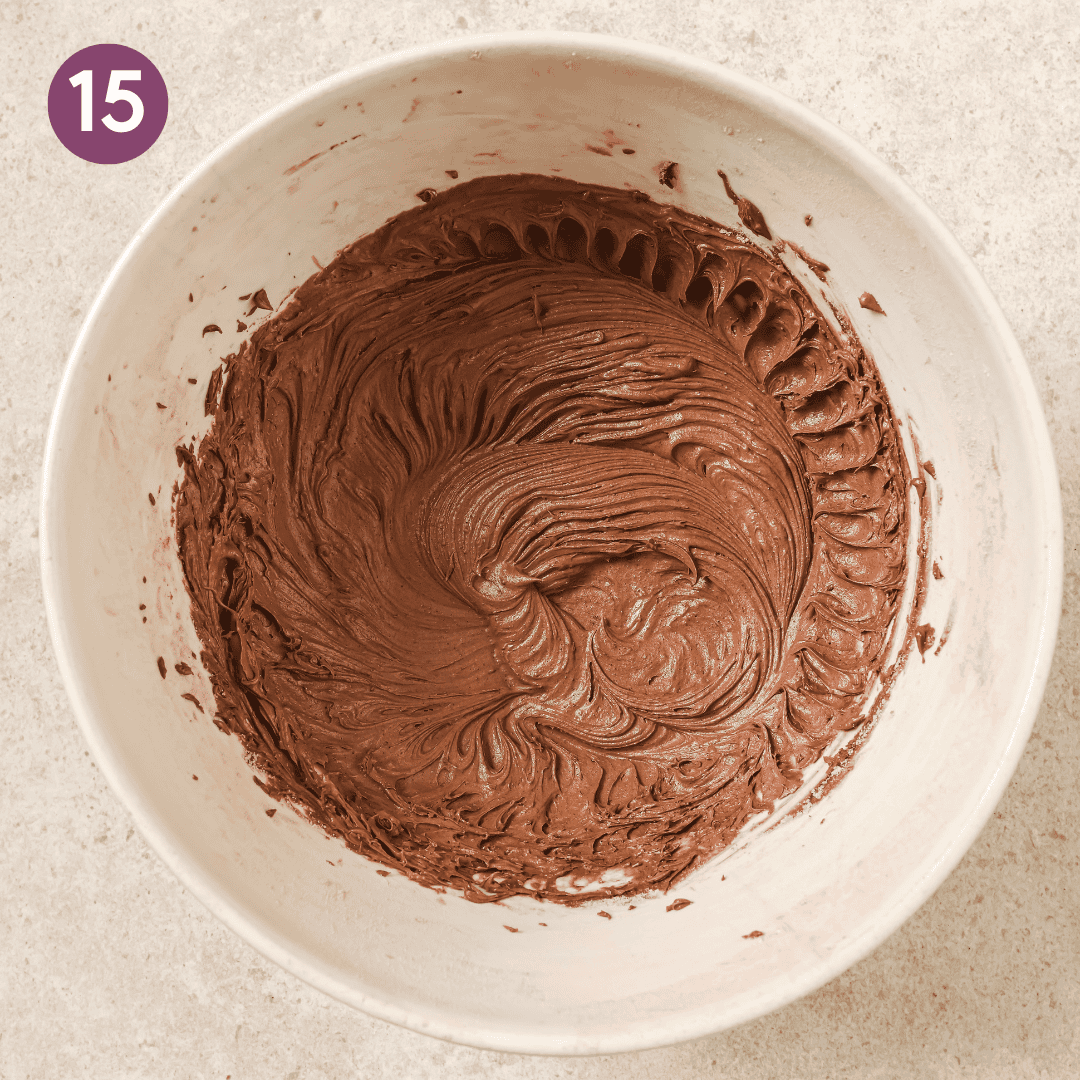
Start mixing on low for 30 seconds, then gradually increase to high and beat until frosting is smooth, fluffy, and thick and it holds its shape.
Tips for making this recipe
Use foil or silicone liners
If possible, avoid using paper liners, as they tend to squish the cupcakes and make them come out with dents. Foil liners or silicone liners were much sturdier in our recipe tests (affiliate links).
Pro tip #1: Spray the liners before filling with batter, as this makes it easy to unwrap the cupcakes without them getting stuck to the lining.
Pro tip #2: If using silicone liners, pop them out of their molds before applying the frosting. Once they are frosted, it will be tricky and messy to pop them out.
Ensure your leaveners are fresh
Before baking anything with baking soda or baking powder, always test that it’s fresh (unless you used it very recently and it worked as intended).
Baking powder and baking soda should be replaced 6 months after they’re opened, which is sooner than home cooks might expect.
To test if baking soda is fresh: simply add a small amount to a glass or bowl and splash in a few teaspoons of an acidic ingredient, such as distilled white vinegar. If it bubbles immediately and vigorously, it’s fresh. If it doesn’t bubble or only a little, replace it.
To test if baking powder is fresh: simply add a small amount to a glass or bowl and pour in some hot or boiling water. If it bubbles immediately and vigorously, it’s fresh. If it doesn’t bubble or only a little, replace it.
Use a scale to measure (or spoon and level your flour).
If you don’t use a digital scale (affiliate link) to weigh out ingredients (the preferred method for baking), be sure to correctly measure the flour using the spoon-and-level technique.
Don’t overfill
Fill your muffin liners ⅔ full (or no more than ¾ full).
Filling the liners too much causes the cupcake tops to spread out onto the pan. The tops will likely stick to the pan, making it difficult to pry the cupcakes out of the tins without breaking.
Overfilling may cause the cupcakes to look taller when they come out of the oven, but underneath the flat muffin top, the interior of the cupcake has actually sunk.
When in doubt, it’s better to underfill than to overfill.
Use an oven thermometer.
Home ovens can be all over the place when it comes to temperature (the oven in one of my apartments in Brooklyn was 75ºF off from the stated temperature!).
For the most accurate results, make sure you have an oven thermometer any time you bake.
I swear by this Thermoworks DOT thermometer (affiliate link) that sits on the outside of your oven so you can see it at all times.
Don’t let the cupcakes rest too long
After removing the cupcake pan from the oven, let them rest in the pan for only 5 minutes. Then, carefully remove each cupcake from the pan (don’t unwrap yet) and rest the cupcakes on a wire rack to cool completely.
If you let the cupcakes sit in the pan for too long, it traps the steam from the heat of the oven, leading to soggy bottomed cupcakes. It also makes it more likely that the liners will stick to the cupcakes.
Enjoy with the best chocolate frosting
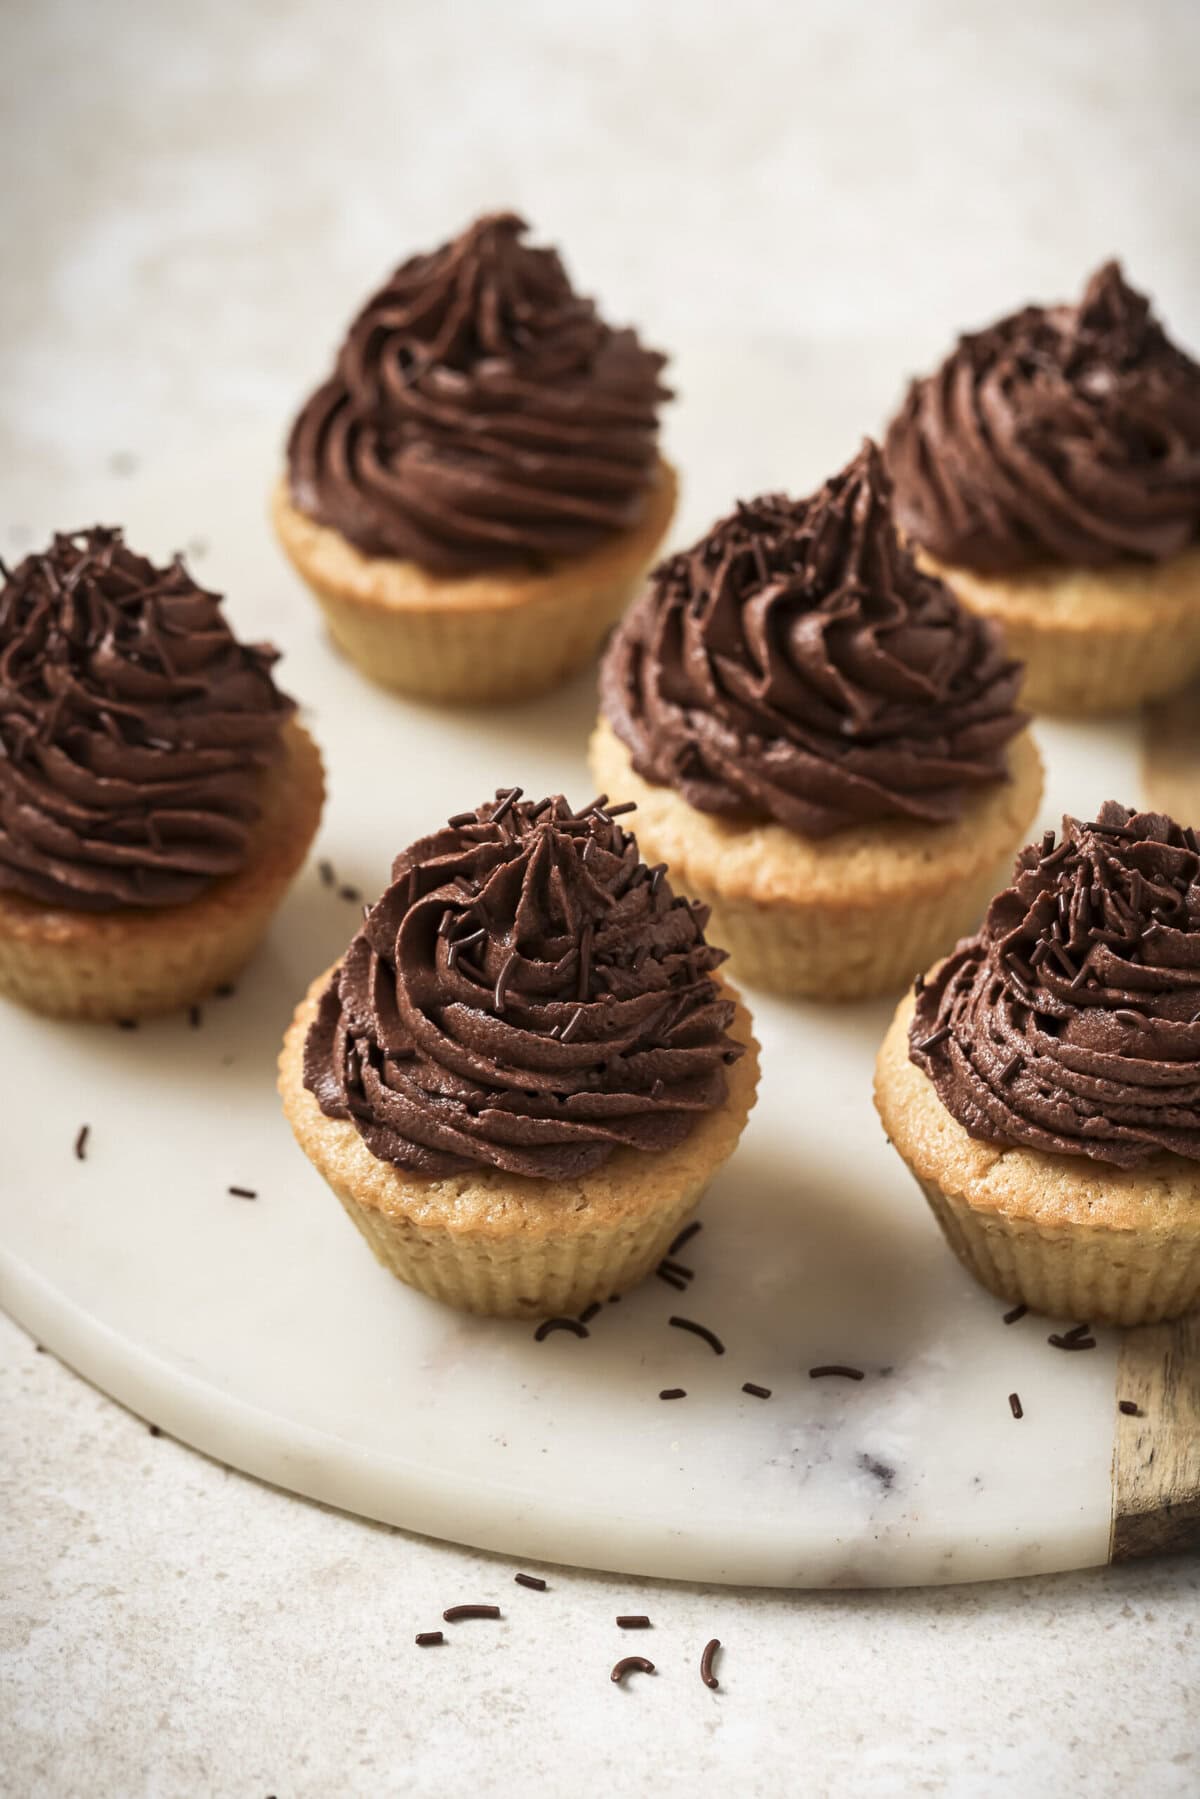
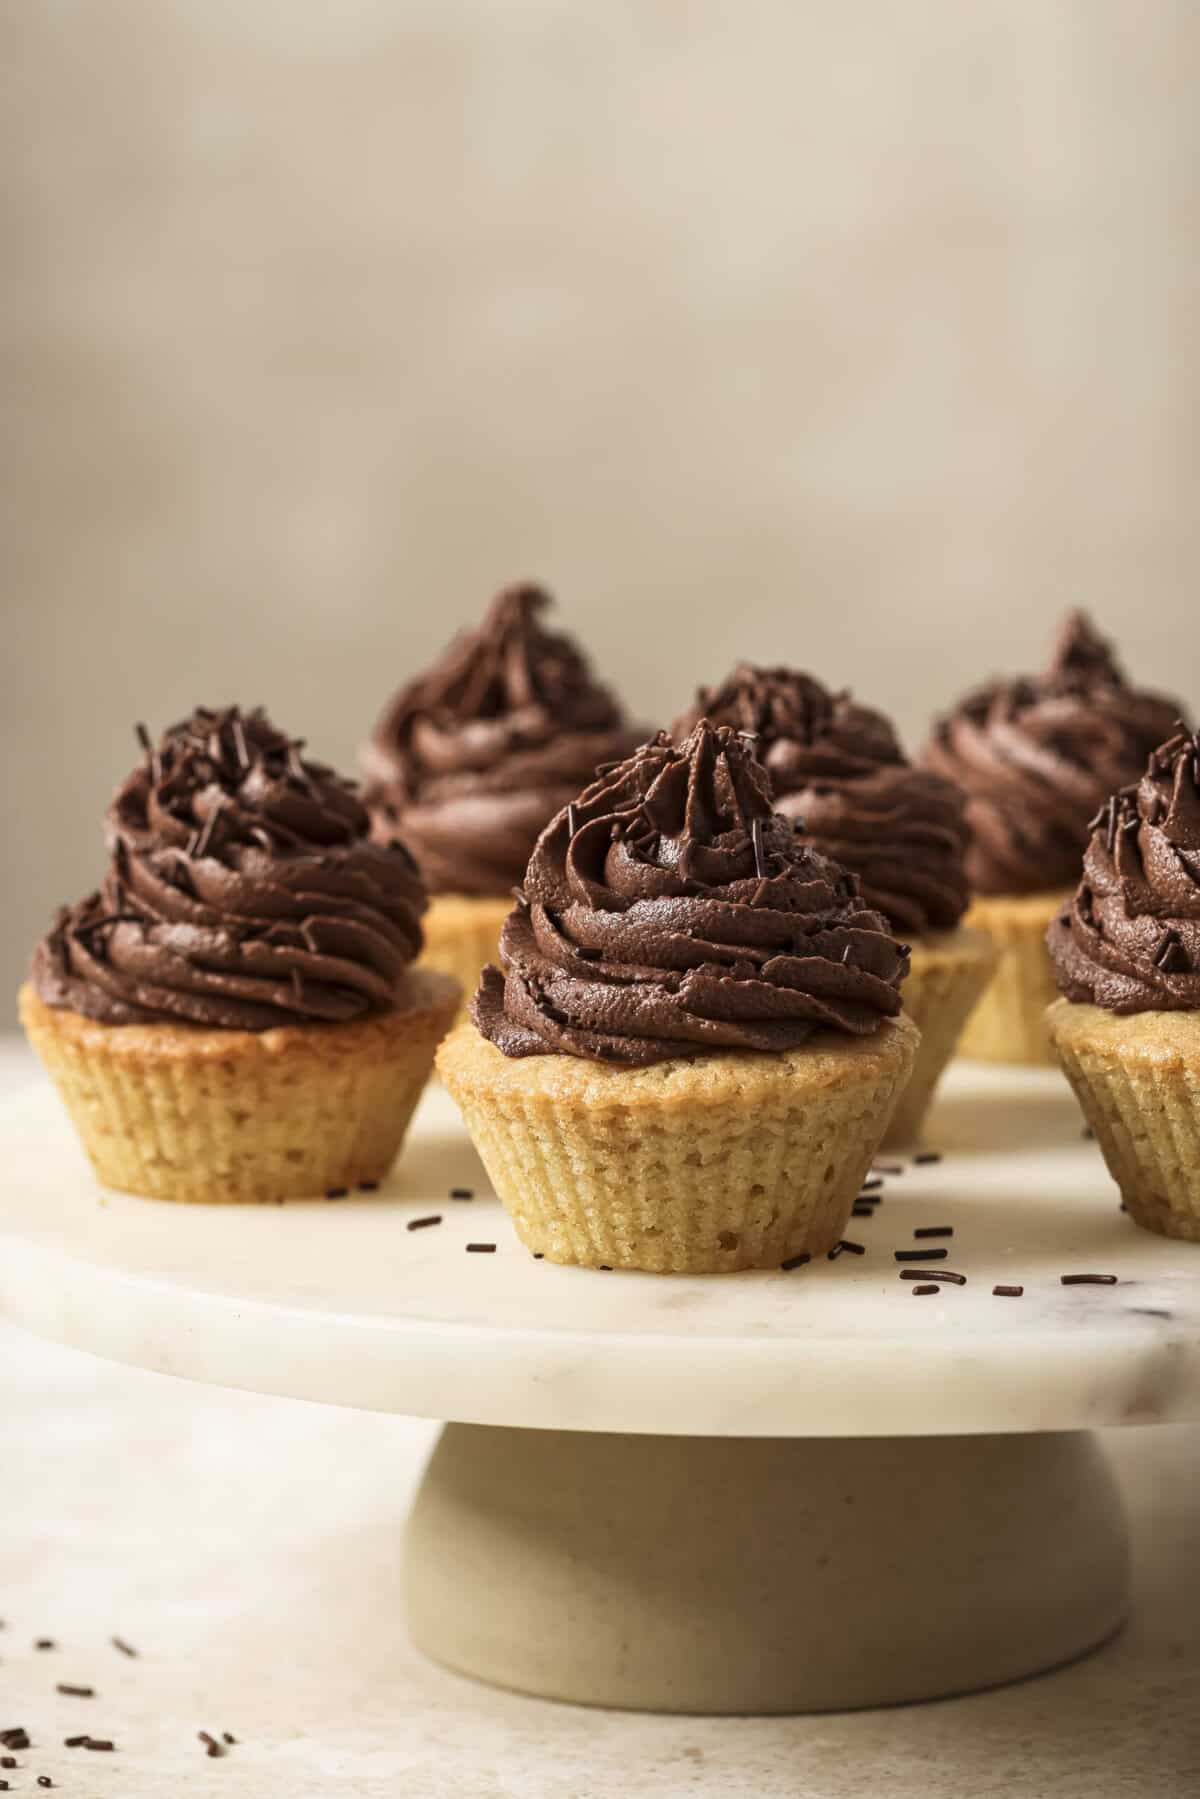
Frost these adorable vegan cupcakes with my classic and ridiculously delicious but easy-to-make vegan chocolate buttercream frosting (recipe in the recipe card below).
This frosting recipe comes from my cookbook, Big Vegan Flavor, though the version here omits the optional melted dark chocolate to keep the frosting light and fluffy.
If you frost the cupcakes with a spatula or spoon, you should have plenty of frosting.
However, if you want to get fancy and pipe your frosting, piping typically uses a lot more frosting (and you lose some frosting to the piping bag), so I recommend doubling the frosting recipe (don’t worry, leftovers freezes well; see the FAQ section).
As for toppings, those are totally up to you! I used sprinkles in the photos for a fun vibe, but when I make these just for stuffing them in my face, I omit the sprinkles (they’re not my favorite) or I top with a few fresh raspberries. Fresh sliced strawberries would also be nice!
Recommended tools for baking cupcakes
While you don’t need any fancy equipment to make these cupcakes, here are a few tools I use to make cupcakes as easy as possible (affiliate links).
12-cup muffin pan. A muffin pan like this is one of the few pieces of required equipment.
Large ice cream scoop. I use this scoop to measure out the cupcake batter into each tin.
Wire rack. To cool the muffins after baking.
Offset spatula. For a rustic style of frosting, all you need is a small offset spatula. If you do want to pipe your frosting to look fancier, you’ll need piping bags and piping tips.
Frequently Asked Questions
Once the cupcakes have cooled, proceed to store them in an airtight container. The longer they sit out uncovered, the less moisture they’ll retain.
Whether frosted or unfrosted, store leftover cupcakes in an airtight container at room temperature for about 2 days. For longer storage, store them in an airtight container in the fridge for up to 6 days.
I don’t recommend eating leftover cupcakes straight from the fridge, as they will be a bit dry and not as soft or fluffy. Let them sit on the counter for at least 30 minutes (or until they’re at room temperature) before enjoying. If you can’t wait that long, you can try microwaving them on reduced power until they come to room temp.
For freezing instructions, see the next FAQ.
If storing the frosting separately, see the third FAQ.
We have not tested freezing these particular cupcakes, but we have frozen similar cakes with pretty good results for 2 to 3 months. Make sure to thaw the cupcakes in the fridge overnight, then let them sit at room temperature before enjoying.
The chocolate buttercream frosting stored separately will freeze great. For details, check out the next FAQ.
Yes, you can make this frosting ahead of time!
Refrigeration instructions: You can refrigerate prepared chocolate frosting in an airtight container for up to 1 week. Allow the frosting to sit at room temperature for an hour or two, as it will make it more pliable and spreadable.
If you don’t have time to let it sit at room temp, add it to a microwave-safe bowl and heat in 5-second intervals, using a spatula to stir after every round. When it’s soft enough, use a mixer and beat briefly until fluffy.
Freezer instructions: Store frosting in a couple small containers for up to 3 months (this makes it easier to thaw). Defrost in the fridge until thawed.
Add the thawed frosting to a bowl and beat with an electric mixer on low speed, then gradually increase to medium speed, for about 30 seconds, or until creamy and fluffy again. If it’s too thick, add a splash of plant-based milk while mixing.
My chocolate buttercream frosting recipe makes about 1 ½ cups or 375g of frosting. This is plenty to frost the 12 cupcakes if using an offset spatula or spoon to frost.
If you want to pipe your frosting, this method typically uses a lot more frosting (and you lose some frosting to the piping bag), so I recommend doubling the frosting recipe.
To double the frosting, simply double the ingredients called for and use bigger bowls as needed. No need to make any other changes.
We did try these cupcakes gluten free! While they are not as fluffy as the original version and slightly dense, we think it’s still a pretty good option for folks who are allergic to gluten.
To make them gluten-free, replace the all-purpose flour with the following:
(1) 225g of gluten-free all-purpose flour (~ 1 ½ cups + 1 tablespoon). You need a blend that has xanthan gum; we used Bob’s Red Mill Gluten-Free 1:1 Baking Flour (affiliate link).
(2) 38g of almond flour (this is a shy ½ cup if using the scoop-and-level method of measuring flour).
Make the recipe as instructed and check at 20 minutes (ours were done at 22 minutes). Store these in an airtight container in the fridge rather than room temperature, as they can get a little grainy.
Following this baking conversion guide from baking blog Handle The Heat, you would need to double this cupcake recipe to get two 9-inch layer cakes, then bake those at 350ºF for 25 to 30 minutes.
That said, baking is quite precise, and you’d be guaranteed better results if you made the Celebration Cake with Chocolate Buttercream Frosting from my cookbook, Big Vegan Flavor, instead. That recipe was designed and tested (many times) to be a layer cake, so I recommend following that recipe instead.
More classic vegan desserts!
If you try and love these Vegan Cupcakes, please give the recipe a rating and review below! And of course, tag me with your remakes on Instagram!
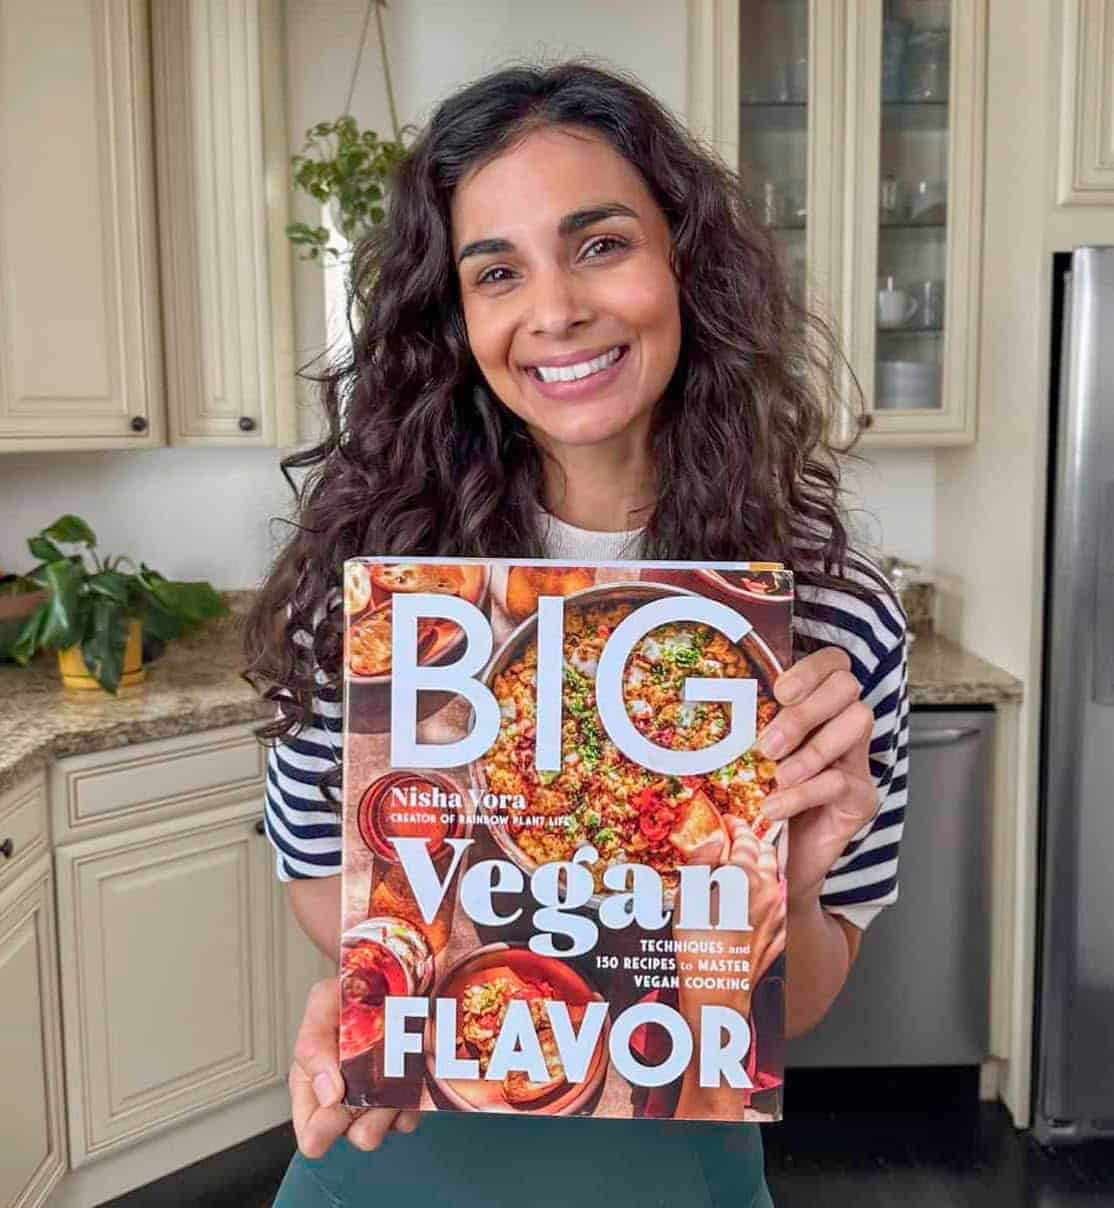
Introducing
Big Vegan Flavor
Techniques and 150 recipes to master vegan cooking.
Ultimate Vegan Cupcakes
Ingredients
Cupcakes
- ¾ cup + 2 tablespoons (200 mL) soy milk, at room temperature (see Note 1)
- 2 teaspoons apple cider vinegar or lemon juice
- 2 cups (250g) all-purpose flour (see Note 2)
- 1 tablespoon + 2 teaspoons (13.5g) cornstarch
- Heaping ¼ teaspoon sea salt
- 2 teaspoons (7g) baking powder
- ¼ teaspoon baking soda
- 1 cup (200g) organic cane sugar
- 1 stick (112g) vegan butter in block form, melted
- 3 tablespoons (42g) sunflower oil (or neutral oil of choice)
- 1 tablespoon (15 mL) pure vanilla extract
- ½ tablespoon orange zest
- ⅛ teaspoon ground cardamom (optional)
Chocolate Buttercream Frosting (see Note 3)
- 1 ½ cups (172g) organic powdered sugar (AKA confectioners or icing sugar)
- ¼ cup + 2 tablespoons (36g) Dutch process cocoa powder (see Note 4)
- 1 stick (112g) vegan butter in block form, softened at room temperature
- 1 teaspoon pure vanilla extract
- 1 ½ tablespoons plain plant-based milk of choice
- ⅛ teaspoon fine sea salt, more as needed
Instructions
Cupcakes
- Arrange a rack in the center of the oven. Preheat the oven to 325ºF / 165ºC. Line a 12-cup muffin pan with cupcake liners, ideally foil liners or silicone liners, as paper liners tend to squish the cupcakes. Spray liners lightly with cooking spray or brush with oil (this prevents the cupcakes from getting stuck).
- Make the “buttermilk.” Measure out the soy milk and allow it to come to room temperature OR heat in the microwave for 10 seconds, stir, then heat for another 10 seconds, or until at room temp. Stir the vinegar into the milk and set aside to curdle.
- In a large bowl, whisk together the flour, cornstarch, salt, baking soda, and baking powder. Whisk well. Now whisk in the sugar.
- Add the melted butter to a medium bowl. Pour in the curdled “buttermilk,” oil, vanilla extract, orange zest, and cardamom if using. Whisk well to combine.
- Add the wet ingredients to the dry ingredients. Use a silicone spatula to fold the wet into the dry until the batter is smooth without any flour clumps, taking care to not overmix.
- Divide the batter across the muffin tins, filling them ⅔ full (or ¾ at the most; otherwise, the cupcake tops will spread out onto the pan and stick).
- Transfer muffin tin to the oven. Bake at 325ºF for 22 to 24 minutes, or until the tops are rounded and a toothpick inserted into the center of the cupcake comes out clean or with only a few moist crumbs.
- Transfer pan to a wire rack and cool cupcakes in the pan for just 5 minutes. Now gently remove each cupcake from the pan (don’t unwrap) and cool completely on the wire rack (this method prevents the bottoms from becoming soggy due to trapped steam).
- Once cooled, use an offset spatula or piping bag to frost the cupcakes with Chocolate Buttercream Frosting. NOTE: If using silicone liners, pop the cupcakes out of their molds before frosting.
- Store leftover cupcakes (frosted or unfrosted) in an airtight container at room temp for about 2 days. After that, store in the fridge for up to 6 days. Allow to come to room temp before consuming (otherwise, they are a bit dry and not as fluffy/soft).
Chocolate Buttercream Frosting
- Sift the sugar and cocoa: Hold a fine-mesh sieve or sifter over a large enough bowl. Add the sugar and cocoa to the sieve and gently tap the side of the sieve to remove clumps and sift the ingredients into the bowl.
- Add the softened butter to a medium-to-large bowl. Use an electric handheld mixer on medium speed to beat the butter until creamy and fluffy, about 1 minute. NOTE: You can also use your stand mixer if you prefer.
- Add the sifted cocoa-sugar to the butter along with the vanilla, milk, and salt. Beat on low speed for 30 seconds, then gradually increase the speed to high. Beat until smooth, fluffy, and thick and it holds its shape, another 30 to 60 seconds.
- Taste, adding more salt as desired. If the frosting is too thick or dry, add a teaspoon of milk and beat again. If too loose or wet, add a bit more cocoa powder and/or sugar and beat until the frosting holds its shape.
Notes
- Soy milk helps make these cupcakes, so try not to substitute it with another plant milk unless you have a soy allergy.
- For gluten-free substitute, see the FAQ section (question 5).
- If using piping bags for frosting, you may need to double the frosting, as this method uses a lot more frosting than spreading with a spoon/spatula.
- To soften butter: slice the measured amount of butter into small pieces and let sit at room temperature until softened and malleable.
Nutrition
Nutrition information is automatically calculated, so should only be used as an approximation.


These turned out perfect and delicious! Loved the orange zest/cardamom and chocolate combination!
We’re so happy you enjoyed the cupcakes, Natalie! Thanks for sharing!
How do I change up the frosting to be more festive for Valentine’s Day? Red/pink? I’m making these for a bday and want them to be more fitting for the holiday.
perfect and yummy
Awesome, Faye. Thanks for your comment and for taking the time to review!
I have made these 5x now and they are absolutely delicious! But, every time, they sink in the middle rather than rounding. I’m an experienced baker and I don’t open the oven in the middle of baking and all my ingredients are fresh. I use a digital scale to measure everything and a scoop to ensure I don’t overfill the cavities above 2/3 full. I even tried baking the last batch in a different oven in case it’s a problem with my heating element but they still sank in the middle. Any idea how I might be able to get those beautiful rounded domes?
your altitude/sea level may make a difference
Good thought! I’ve never had an issue before, but I will try adjusting temp / ingredients for higher altitude baking and see if that makes a difference, thank you!
Hi Shanna, we’re so glad you love the cupcakes! 🙂 So sorry to hear they’ve sunk each time, that definitely shouldn’t happen!
As you mentioned, your oven could’ve been not hot enough, as heat (when it interacts with the leavening agents) is what causes the cupcakes to rise. Did you use an oven thermometer in that second oven by any chance? If you are in the market for an oven thermometer, this one is our absolute favorite. It clips to the outside of your oven so you can see it at all times without having to look into the oven.
Did you happen to open the oven door during baking to check on the cupcakes? Opening the oven door, especially in the first 50-70% of baking is one of the biggest reasons cupcakes fall flat, as the heat escapes and prevents rise.
Sometimes, over-measuring oil/butter or sugar can result in flat cupcakes. If you don’t have a digital scale, we recommend using one for baking.
And finally, overfilling cupcake tins (more than 3/4 full) can cause them to flatten, as they don’t have any room left to expand and will collapse.
Hope that helps you troubleshoot!
Lovely light cupcakes! I didn’t have cardamom but orange zest was delicious in the cake.
Katie, So glad to hear you loved this recipe!
These cupcakes were absolutely UNREAL! The chocolate-orange-cardamom combo is my absolute fave and just with so many of your recipes, this one absolutely blew me and my boyfriend away! I would love to make them for my brother at some point and was wondering how I might best make them gluten free? Should I substitute the flour 1:1 with GF and add xantham gum? What would you recommend? Thanks again for another amazing recipe!
Hi Emily, thank you so much for the kind words 🙂 It’s great to hear you’ve found a new favorite recipe!
And as for making the cupcakes gluten-free, Nisha actually includes instructions in the FAQ section! I will paste them here for your convenience:
“We did try these cupcakes gluten free! While they are not as fluffy as the original version and slightly dense, we think it’s still a pretty good option for folks who are allergic to gluten.
To make them gluten-free, replace the all-purpose flour with the following:
(1) 225g of gluten-free all-purpose flour (~ 1 ½ cups + 1 tablespoon). You need a blend that has xanthan gum; we used Bob’s Red Mill Gluten-Free 1:1 Baking Flour (affiliate link).
(2) 38g of almond flour (this is a shy ½ cup if using the scoop-and-level method of measuring flour).
Make the recipe as instructed and check at 20 minutes (ours were done at 22 minutes). Store these in an airtight container in the fridge rather than room temperature, as they can get a little grainy.”
Best of luck!
1
Made these cupcakes tonight to give to my co-workers tomorrow. They taste incredible! The batter smelled like a creamsicle! I am wondering if there is any advice for storing the icing, I don’t think I will ice them all tonight. Thank you for this unique and tasty recipe!
Hi Amanda, so happy you love the cupcakes (and what a nice coworker you are)! Here are some options for storing the frosting:
Refrigeration instructions: You can refrigerate prepared chocolate frosting in an airtight container for up to 1 week. Allow the frosting to sit at room temperature for an hour or two, as it will make it more pliable and spreadable.
If you don’t have time to let it sit at room temp, add it to a microwave-safe bowl and heat in 5-second intervals, using a spatula to stir after every round. When it’s soft enough, use a mixer and beat briefly until fluffy.
Freezer instructions: Store frosting in a couple small containers for up to 3 months (this makes it easier to thaw). Defrost in the fridge until thawed.
Add the thawed frosting to a bowl and beat with an electric mixer on low speed, then gradually increase to medium speed, for about 30 seconds, or until creamy and fluffy again. If it’s too thick, add a splash of plant-based milk while mixing.
I made these for my husband’s birthday as he is vegan and they blew my mind. I am very snobby about baked goods and I struggle to find vegan cakes that taste any good. So I was sceptical going in. But wow, these ones were SO GOOD. I would highly recommend giving them a go whether you’re vegan or not. This recipe will be saved and made on repeat for future occasions. Thanks RPL, what a kick-ass recipe.
Your review made our day, Claire! Thank you for taking the time to share your thoughts and for trying out the recipe.
I made these for my father-in-law’s birthday on a whim. Didn’t know it beforehand but my FIL loves the orange and chocolate flavor combination so they were an absolute hit! These are so decadent and easy to make – thank you so much for sharing this recipe.
That’s so awesome to hear, Elise! Thanks for giving the recipe a shot!