

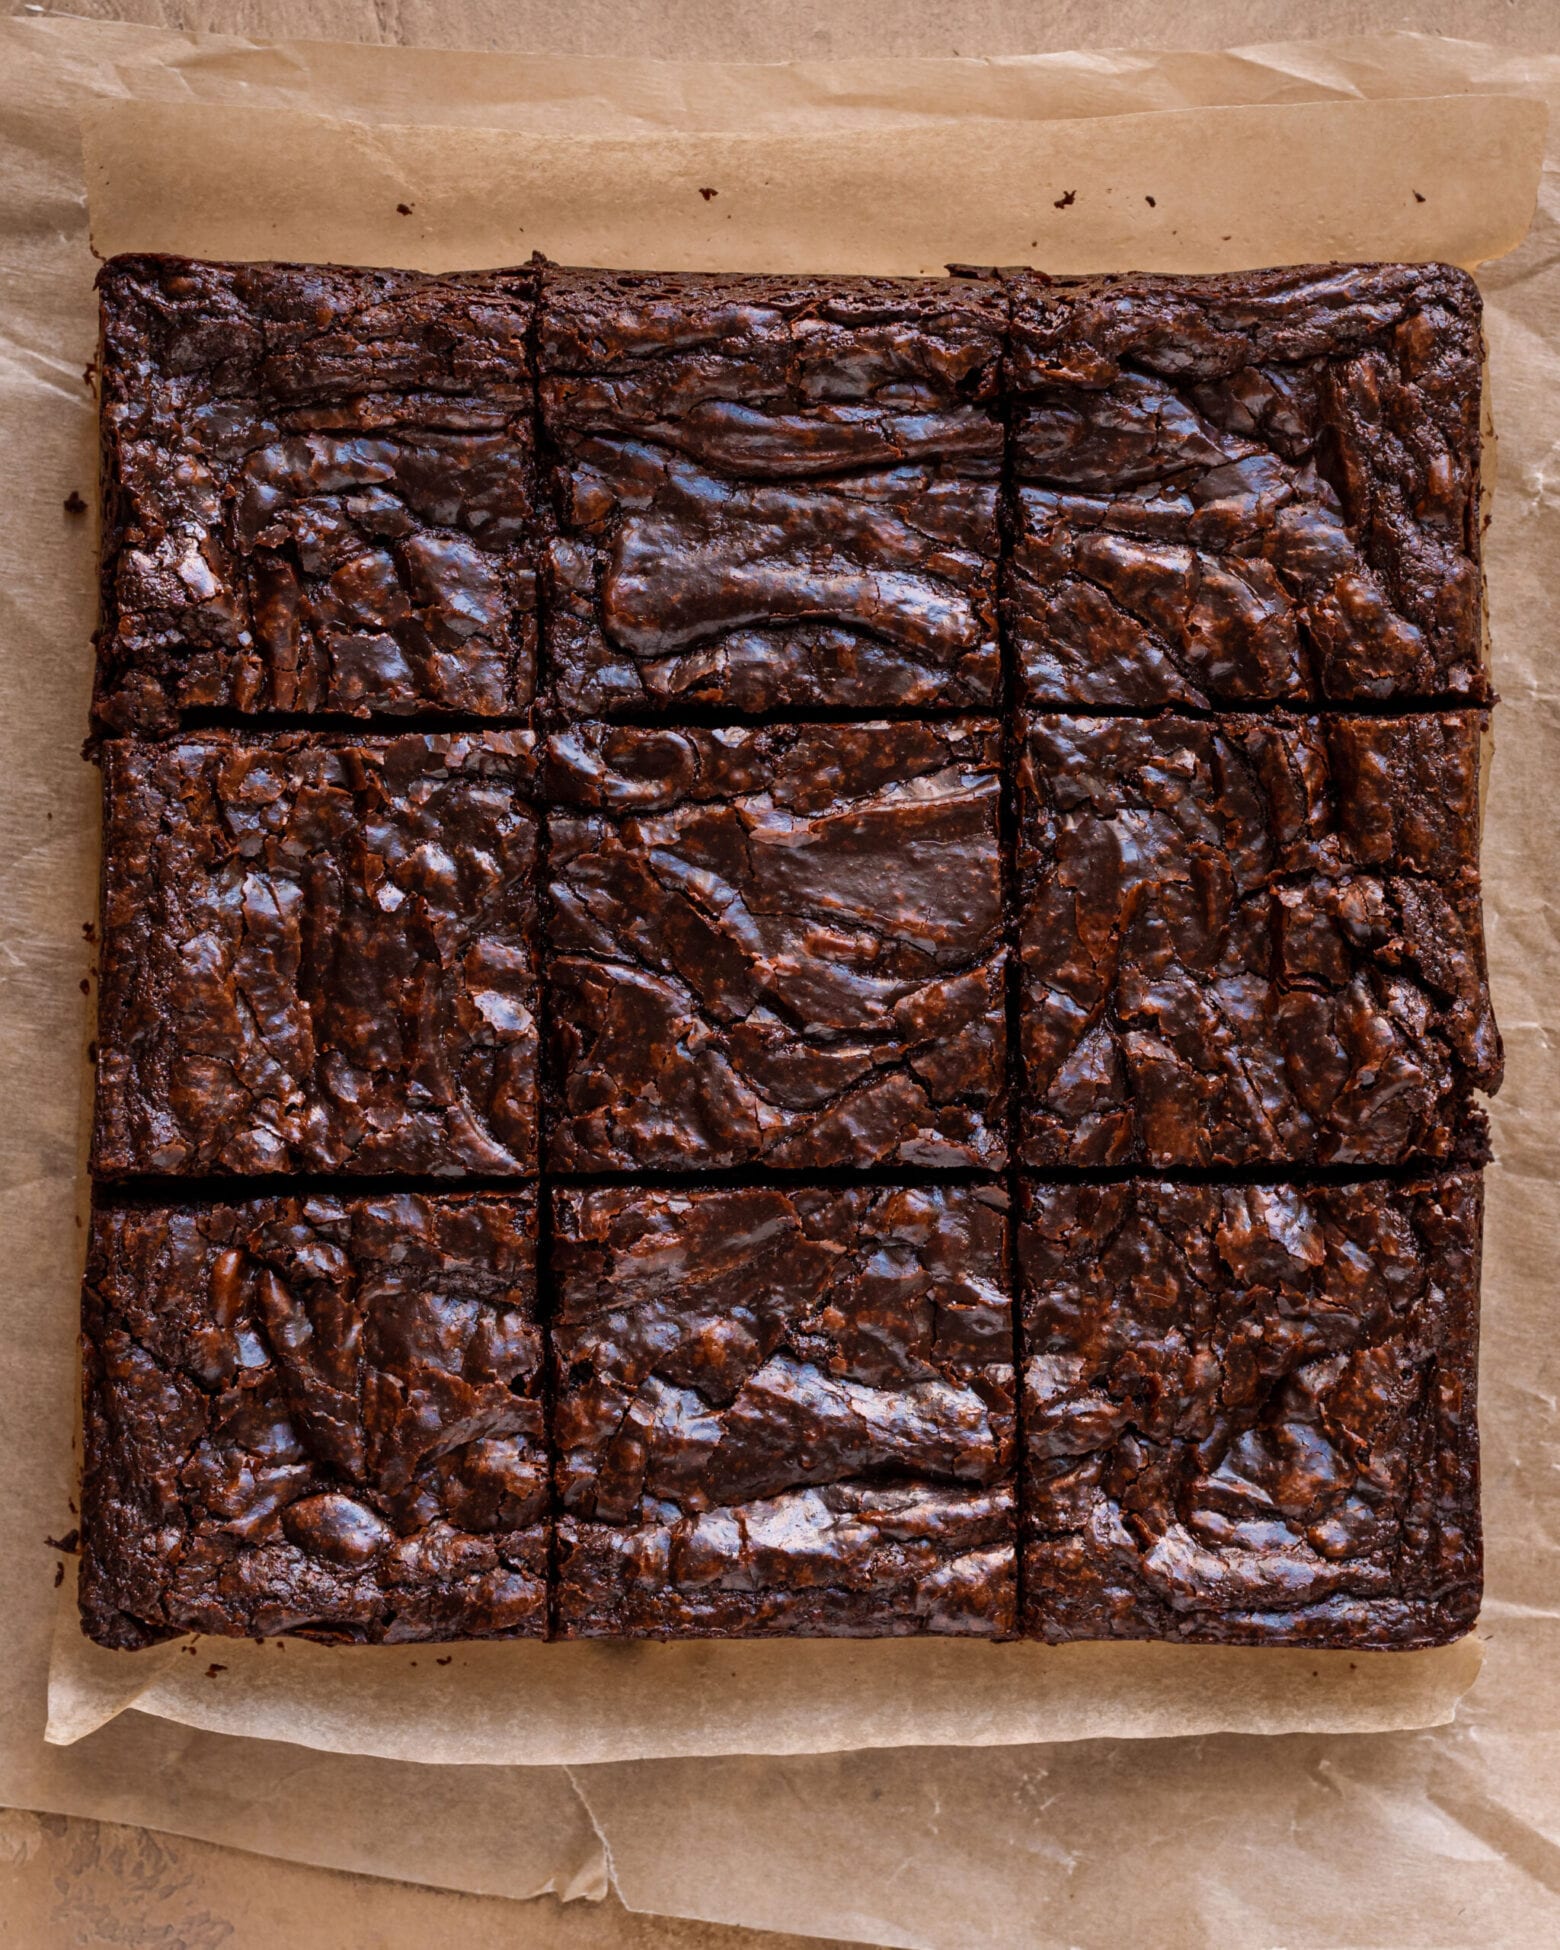
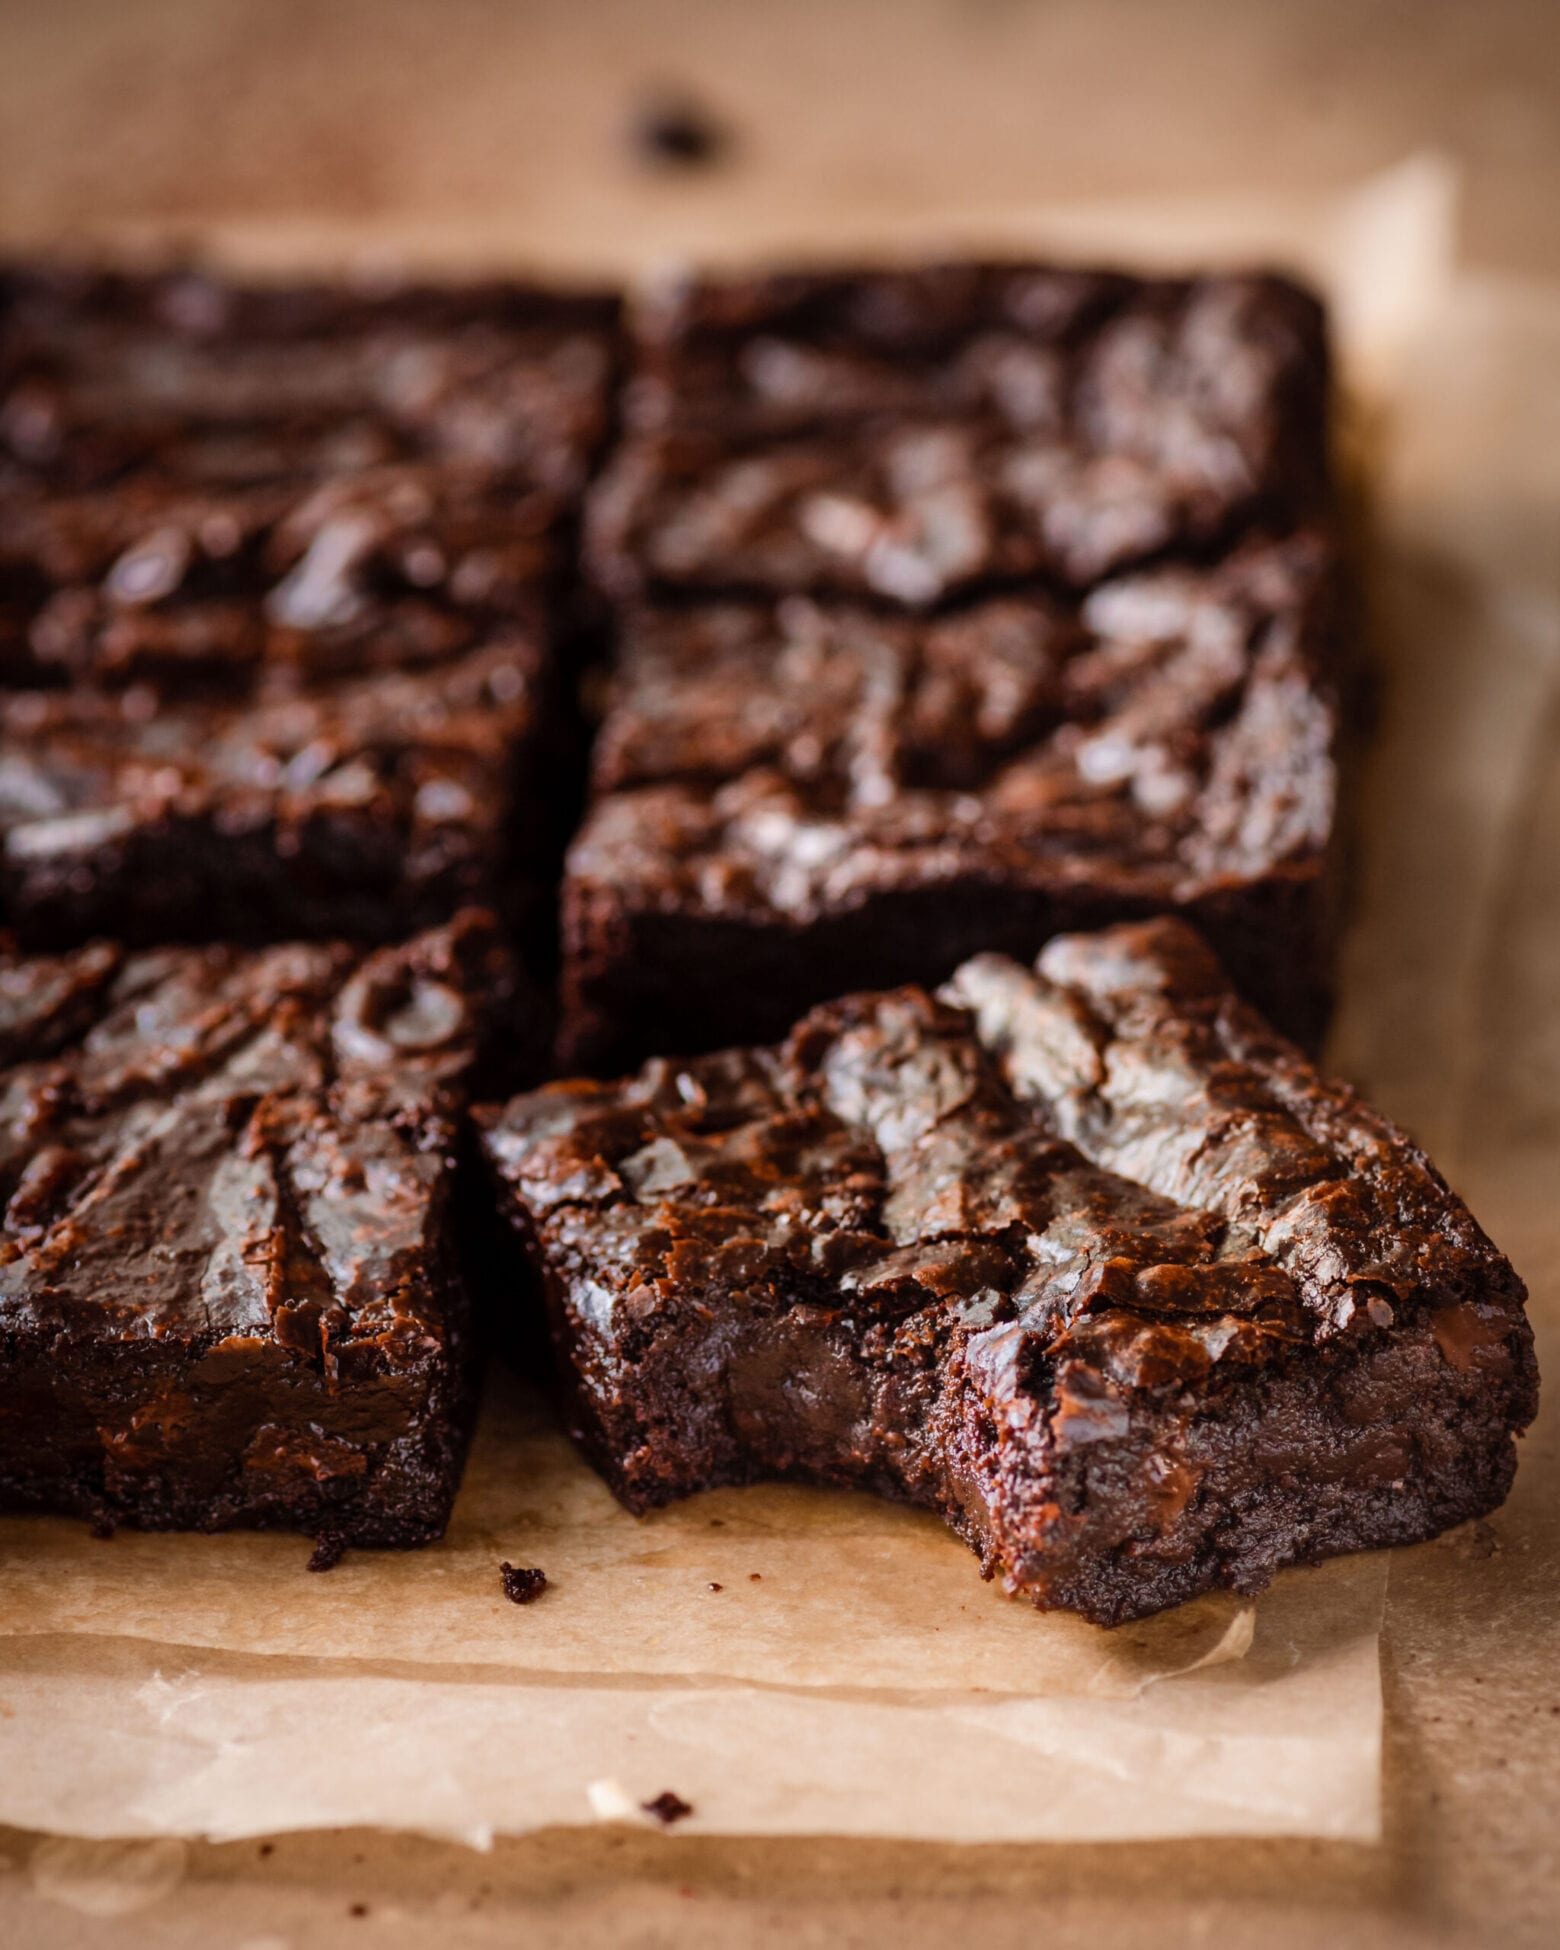
Life is too short for sad, one-dimensional brownies. That’s why you need the absolute best vegan brownies in your life… brownies that are the perfect mix of fudgy and chewy, and with an irresistible crinkle top.
You’ll have a hard time believing these brownies are vegan. It’s because they don’t have the dry, crumbly texture and underwhelming flavor most vegan brownies end up with. Instead, these brownies are:
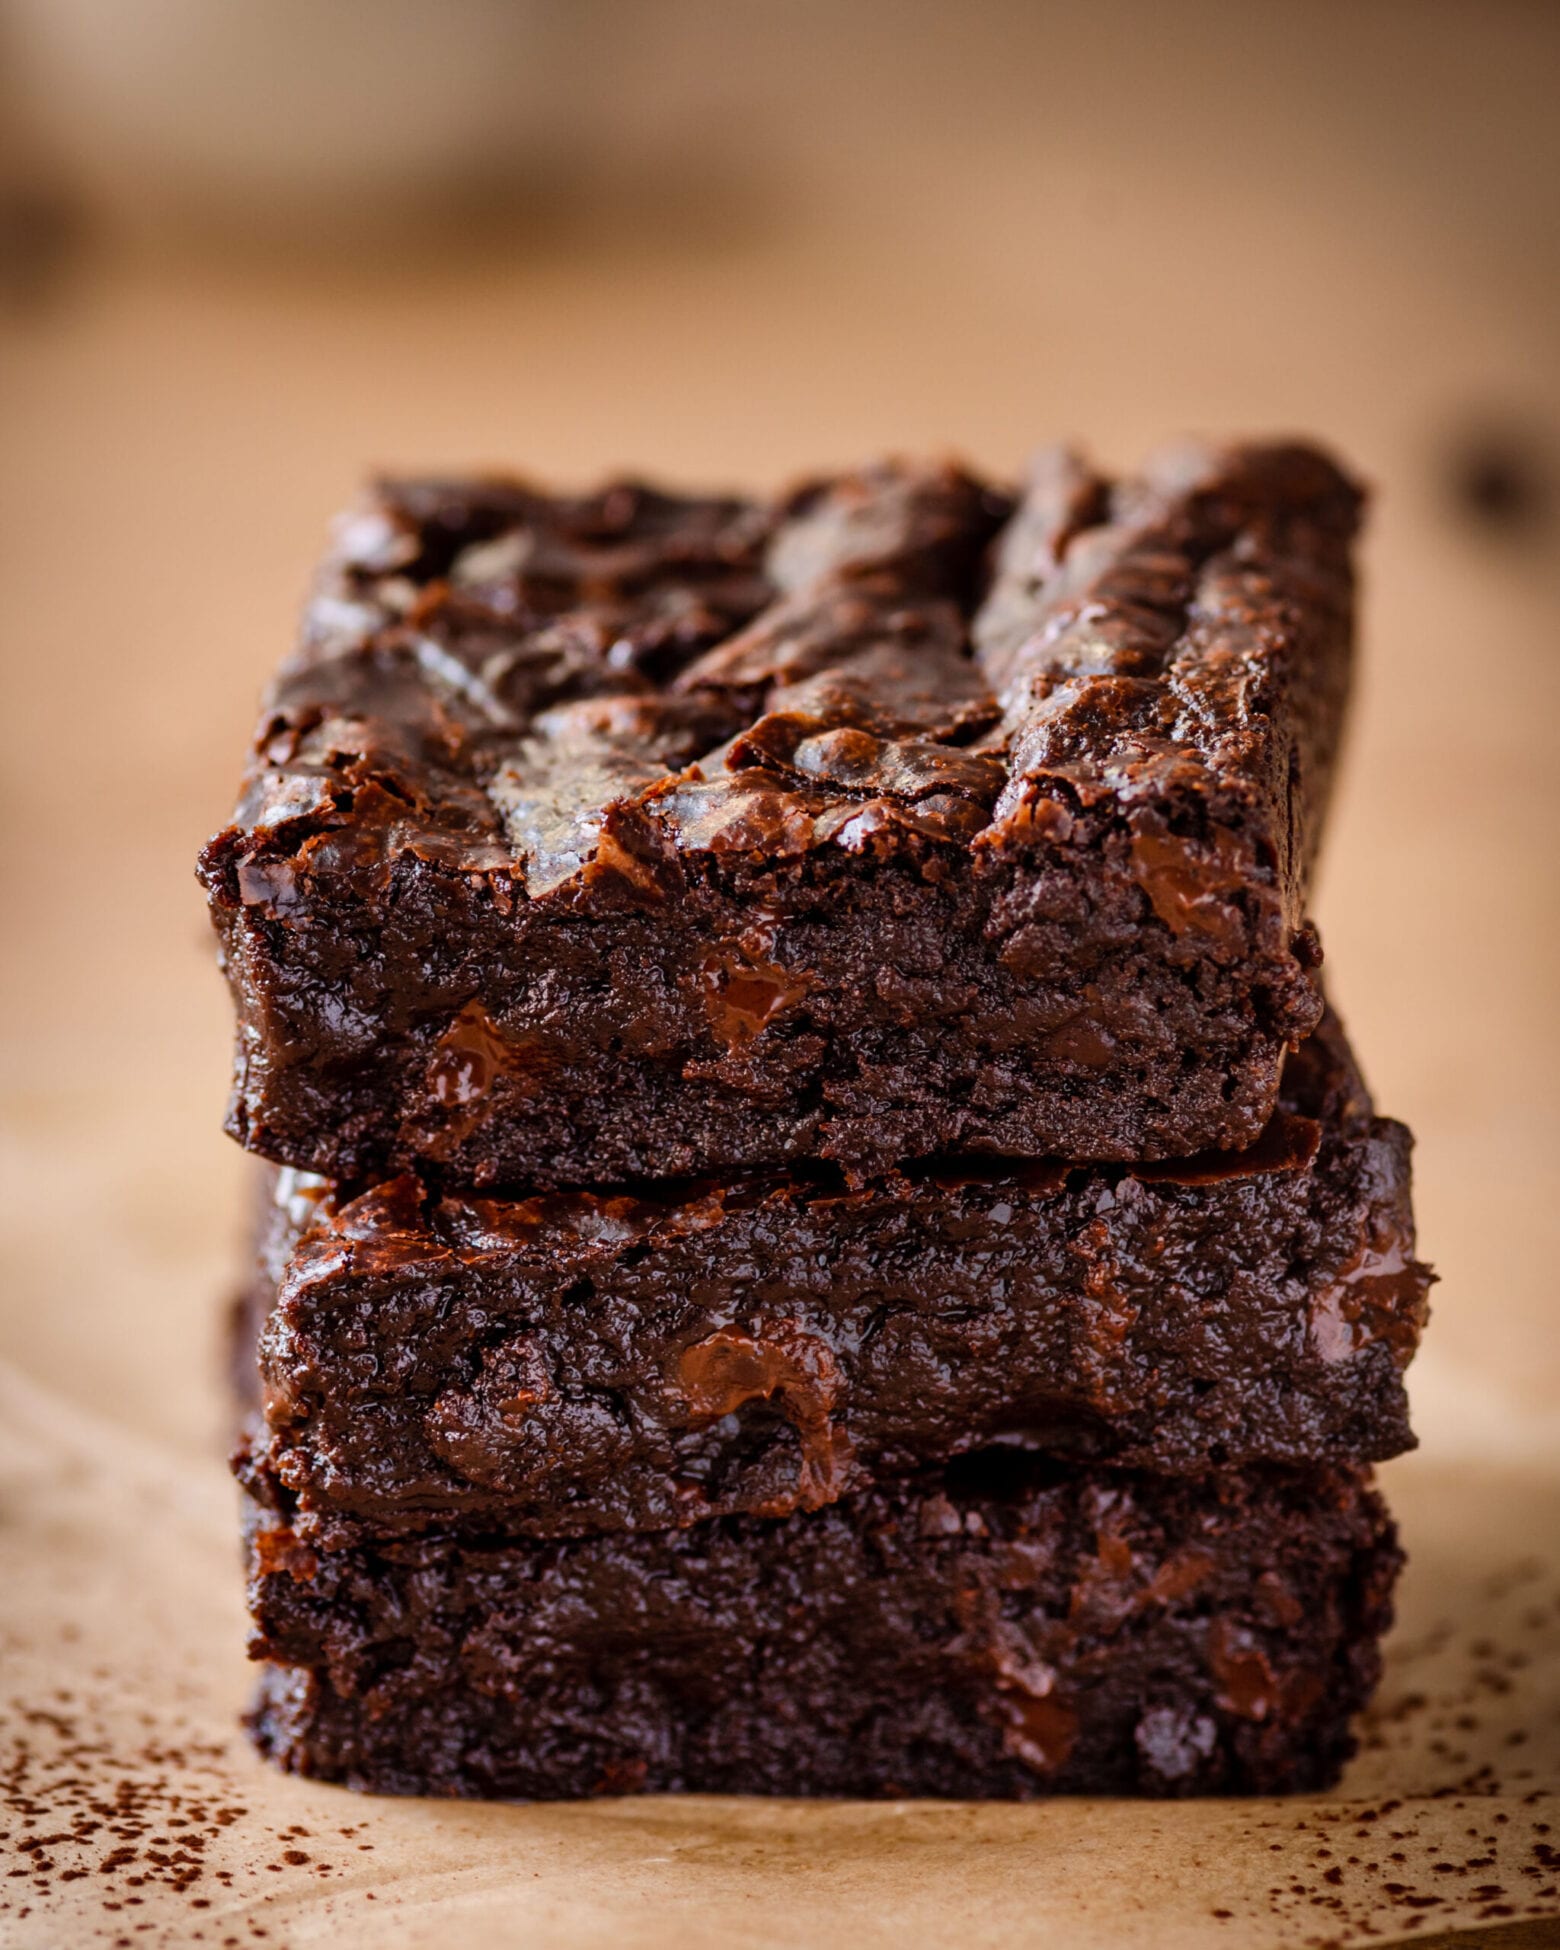
- Deeply chocolatey thanks to real dark chocolate and Dutch process cocoa powder.
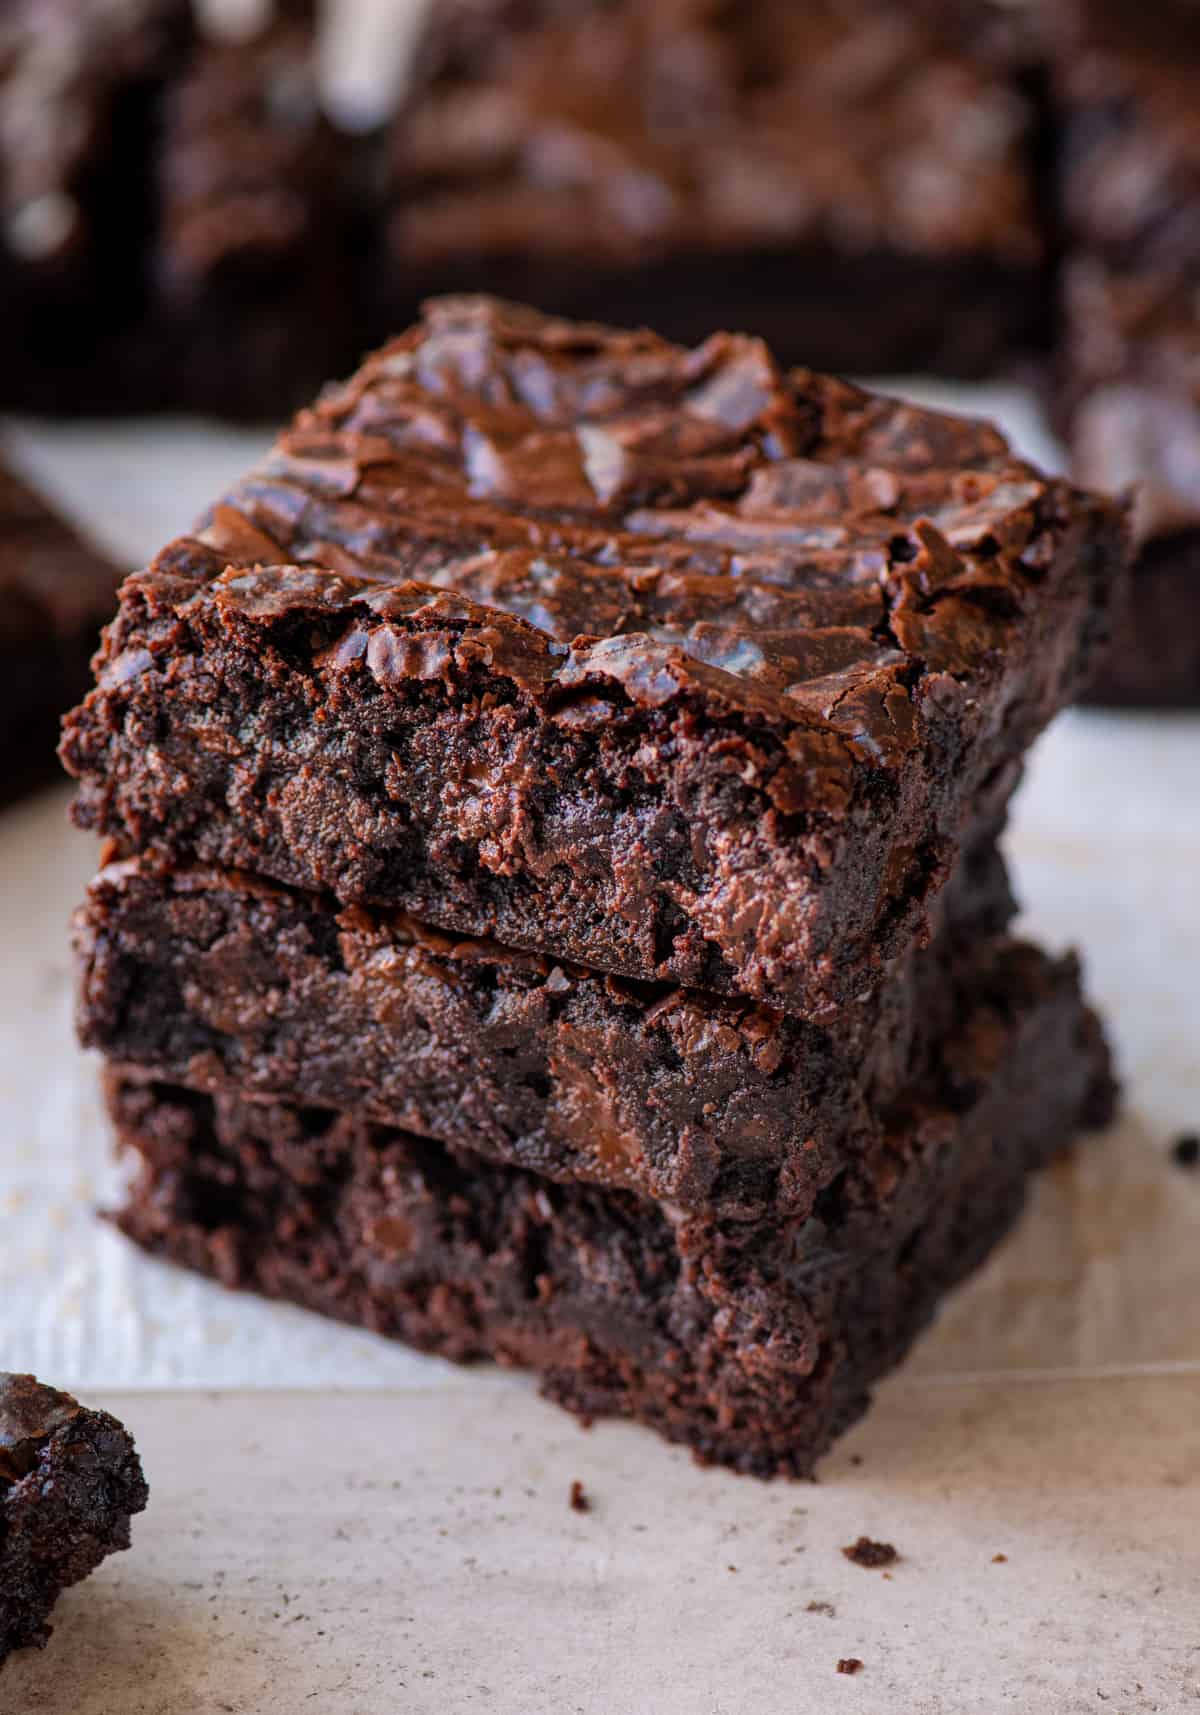
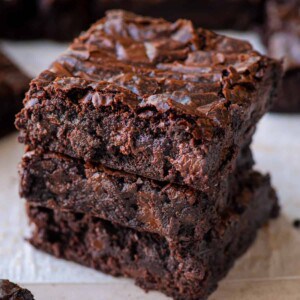
- The perfect mix of chewy and fudgy and 100% decadent, like any amazing brownie.
- Shiny and crinkly on top (something you thought was only possible with non-vegan boxed brownies!).
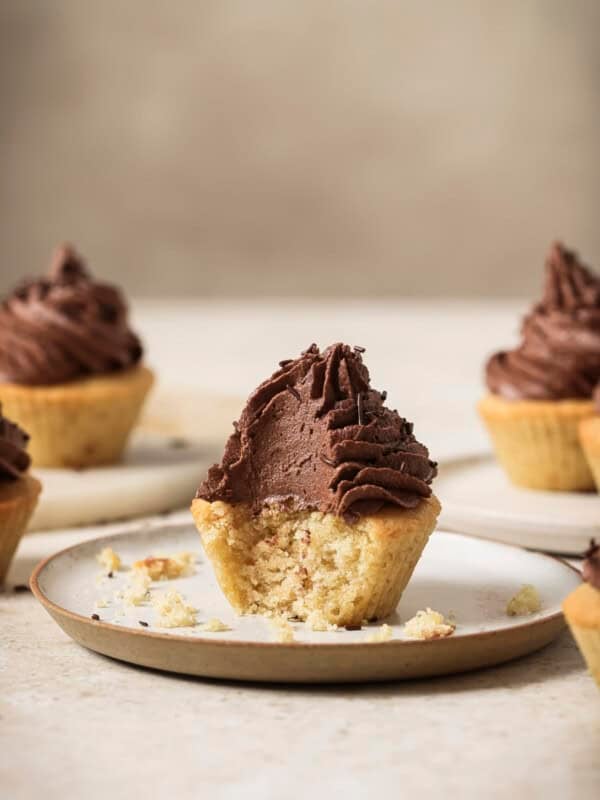
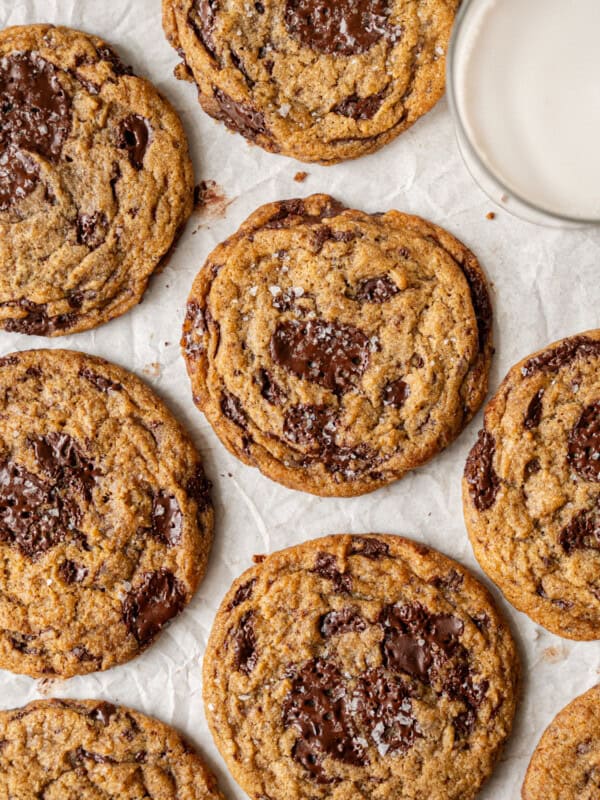
I can’t wait for you to try them! These brownies plus my Ultimate Chocolate Chip Cookies are pretty much the only classic American dessert recipes you’ll ever need (:
Table of Contents
1. Why this recipe works
2. Ingredient notes
3. Step-by-step instructions
4. Tips for making this recipe
5. Frequently Asked Questions
6. Recipe Card
Why this recipe works
A chocolate lover’s dream
You’ll find three layers of chocolate in these brownies: (1) Dutch process cocoa powder, (2) good dark chocolate, and (3) vegan chocolate chips. All three result in an intense chocolatey flavor that is unreal.
Special shout out to Dutch process cocoa powder. It’s alkalized, meaning the natural acidic flavor has been washed away. Its flavor is pure, rich, and deeply chocolatey.
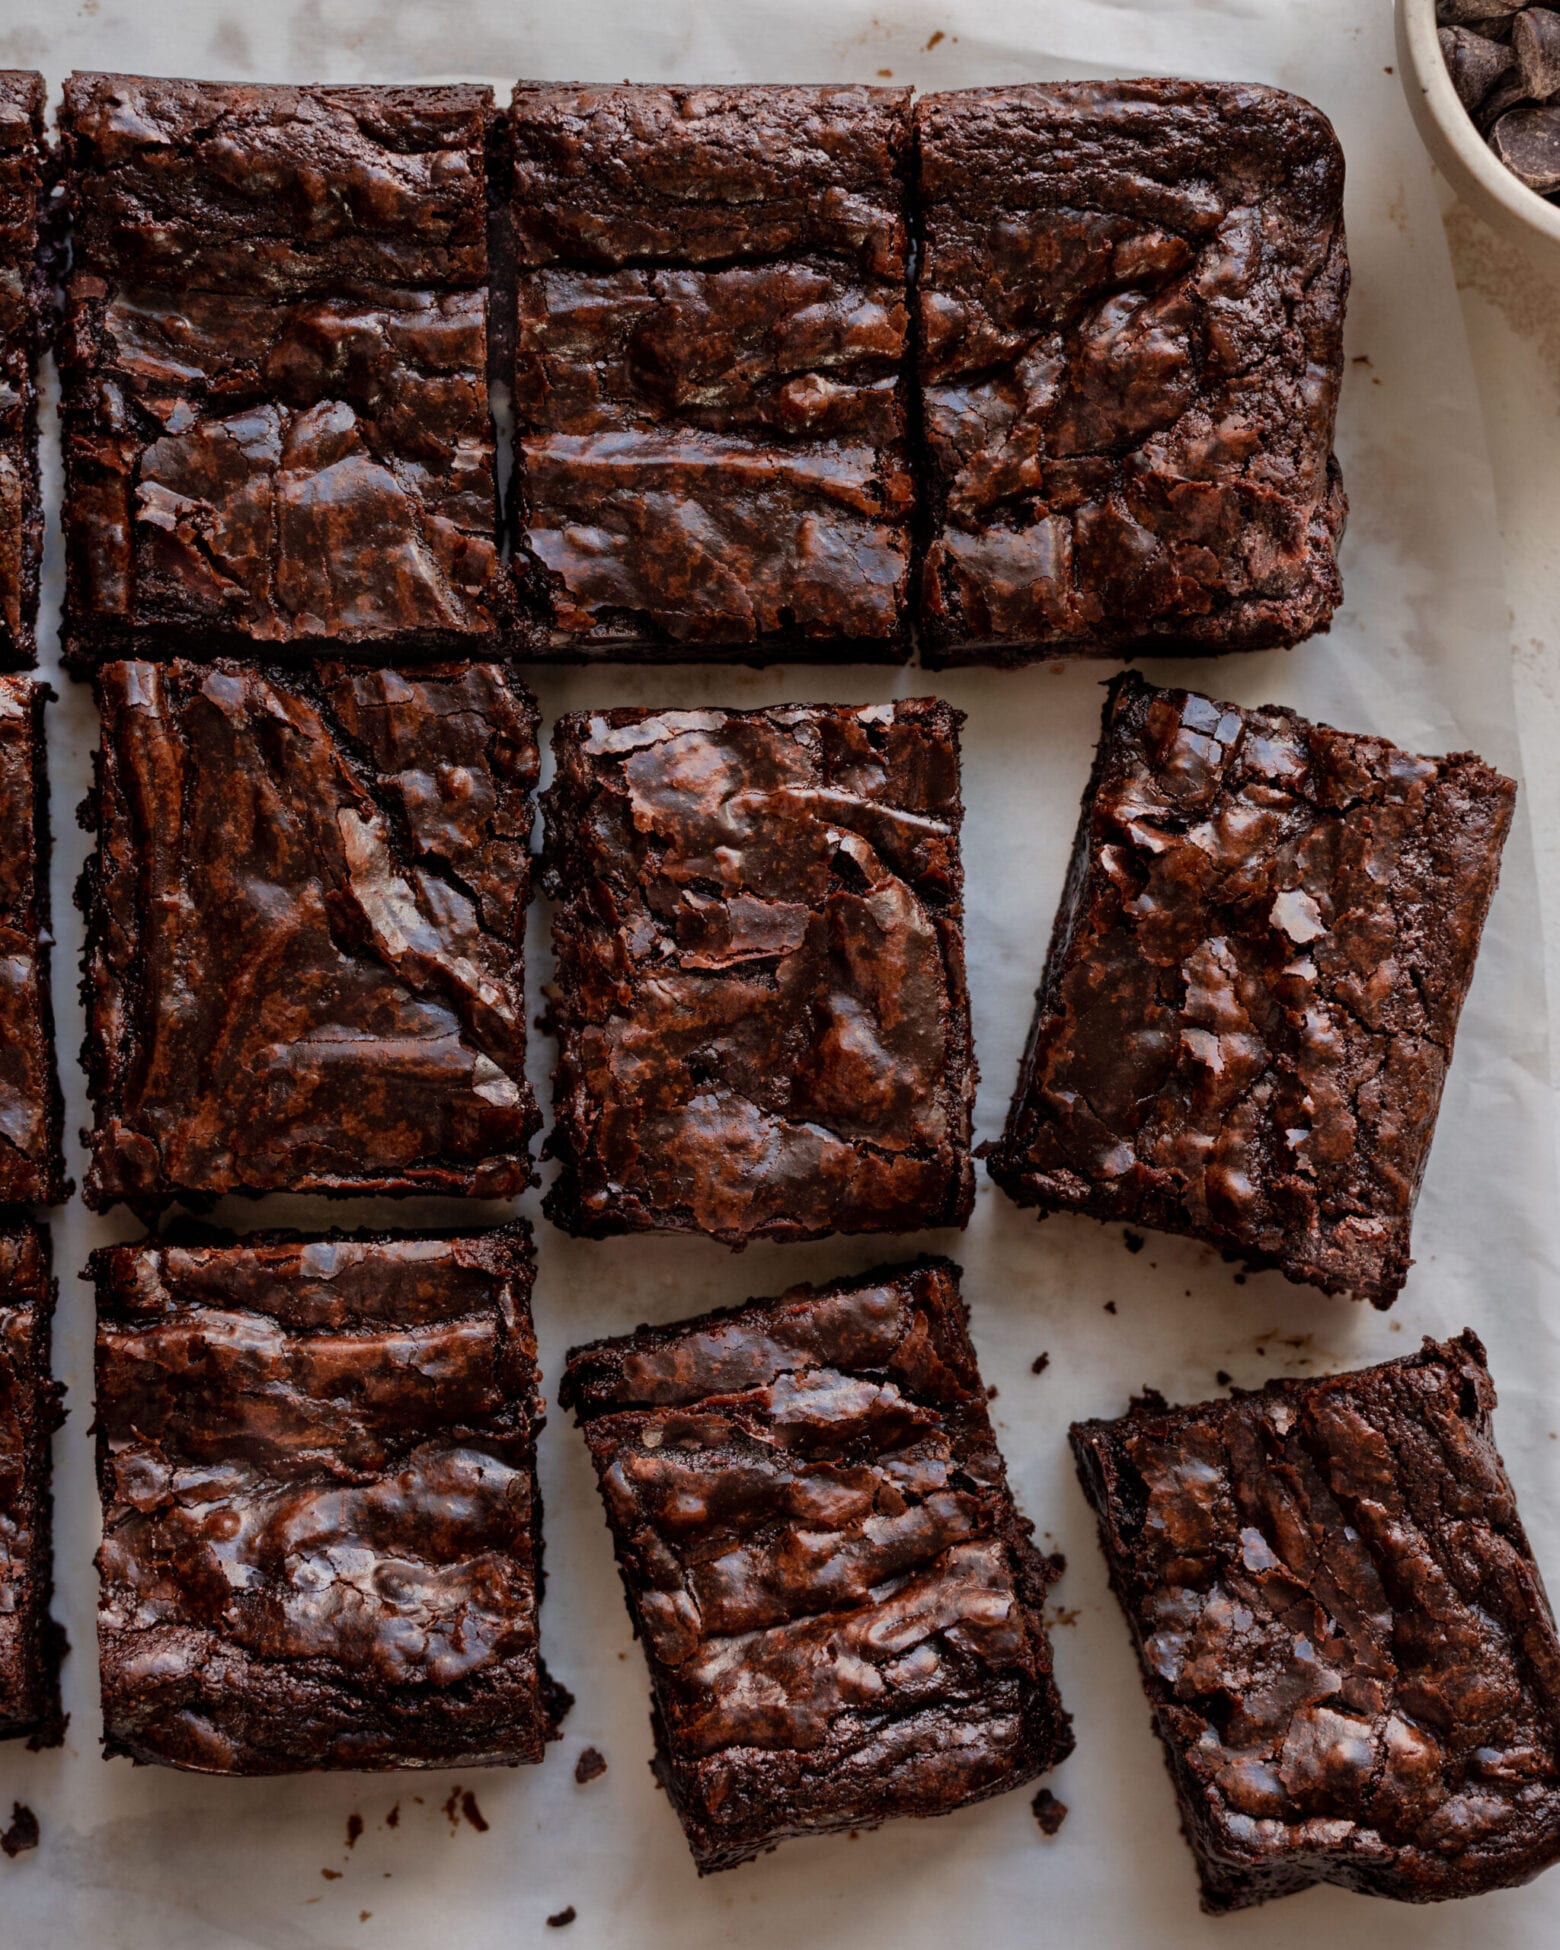
An ultra-enticing and shiny crinkle top
Once you get a glimpse of crinkle top brownies, you know you can’t hold back. The texture is delightful: wispy, delicate, ridged, and flaky. When paired with a fudgy interior, the contrast is too good to describe in words.
Unfortunately, this is almost never found in vegan brownies.
Typically, the secret to the flaky crinkle top on brownies comes from eggs. But I discovered you can achieve the same results by whipping aquafaba and sugar together.
I tested this method 11(!) times and ended up with a crinkle top every time. Can other vegan brownie recipes say the same? I don’t think so!
PS: These brownies even work gluten-free! Head to the FAQ section for tips!
Because you said so!
I don’t call these the “best vegan brownies” lightly. It’s proven by the more than 390 five-star reviews!
Here’s what readers are saying:
Jennifer says, “They are THE BEST EVER BROWNIES I have had in my entire life, vegan or not!!”
Jackie says, “Hands down BEST brownies I have ever eaten. No joke. I followed the recipe to the T and it couldn’t have been more perfect. I can’t believe these are vegan.”
Tamara says, “I cannot believe how fudgy, chewy, and delicious they are. Like a million other commenters on here, I never thought I’d find good brownies again after going vegan. They’re amazing and totally live up to the hype.”
Ingredient notes
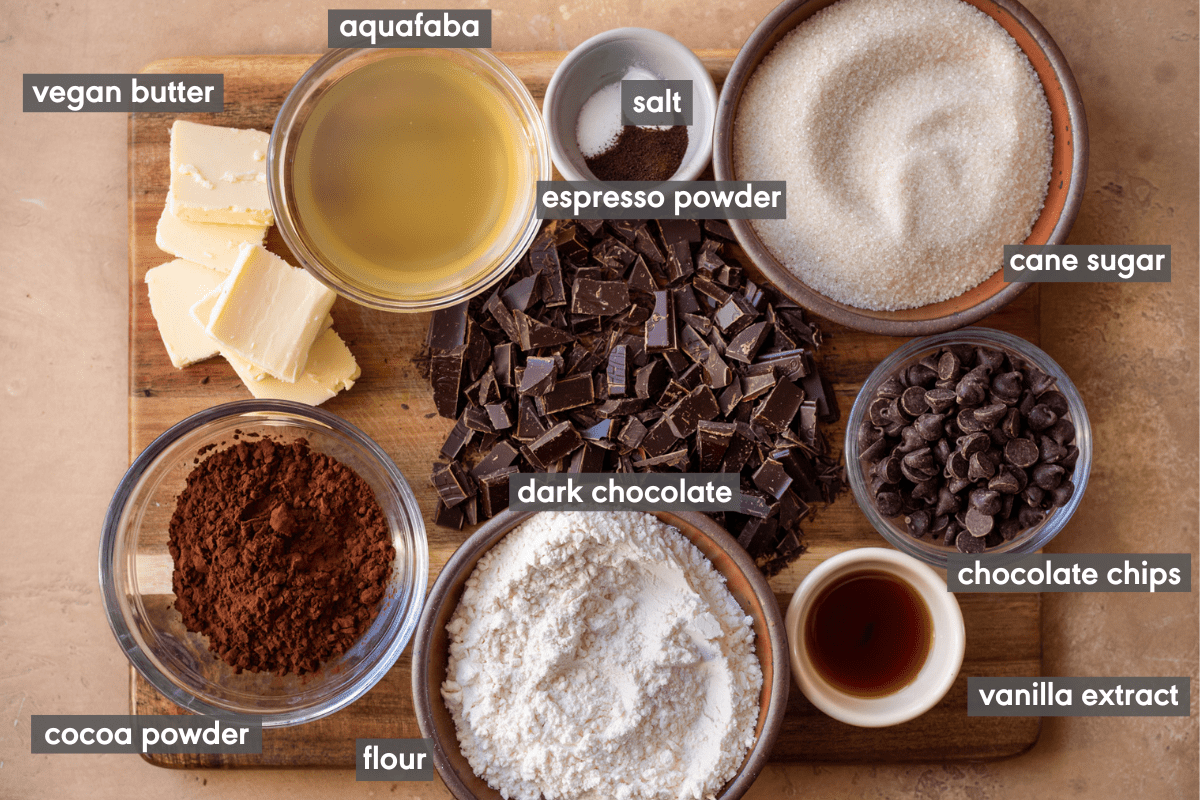
Aquafaba. The liquid from a can of chickpeas. After some trial and error, I discovered that you can get vegan brownies with a shiny, crinkle top by vigorously whipping aquafaba and sugar together for several minutes before adding it to your wet ingredients.
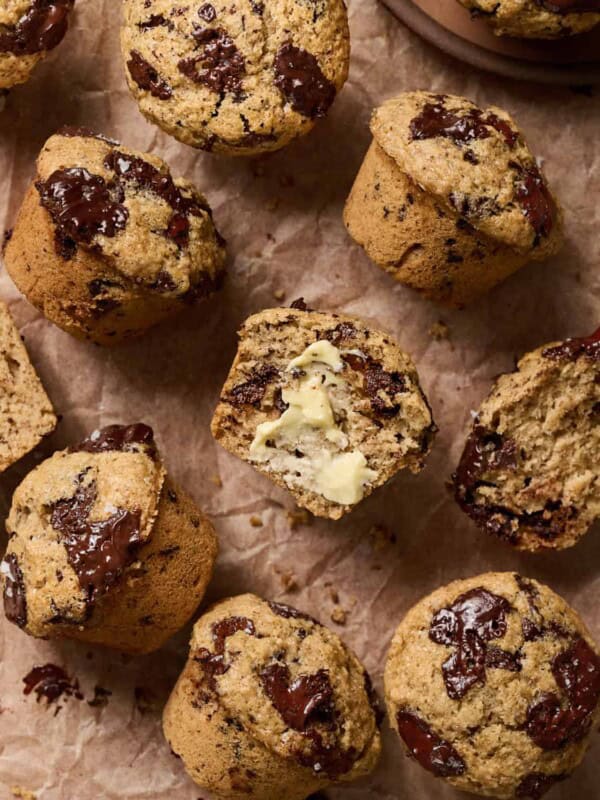
It’s an unconventional ingredient in a brownie recipe but it works amazingly well here. My fan favorite banana bread is another vegan baked good that uses aquafaba to great effect.
Substitute: We don’t recommend substituting this, as it’s a key ingredient in making these so special.
Cane sugar. I use a fair amount of cane sugar for the above reason and because it gives the brownies structure (often missing in crumbly vegan brownies).
If you’re worried about the brownies being too sweet, use a dark chocolate with a higher cocoa percentage. The natural bitter flavors will help balance the sweetness from the sugar.
Vegan butter. In our testing, vegan brownies made with just oil turned out oily and bland in flavor. Brownies benefit greatly from a rich, buttery taste, and vegan butter works great. We have had great results with Earth Balance buttery sticks.
Substitute: Some folks have asked if they can use margarine. We haven’t tested this, but keep in mind:
(1) If you’re strictly vegan, margarine in the U.S. often contains trace amounts of dairy.
(2) Vegan butter brands are usually formulated to mimic dairy in baking in a way that margarine isn’t. So if you have access to a product marketed as vegan butter, use that.
Dark chocolate. I like to buy a 65% to 75% dark chocolate bar and roughly chop it. The chocolate is melted with vegan butter to create a beautifully smooth chocolate sauce.
Tip: Don’t use semisweet chocolate, or the brownies will be too sweet.
Dutch process cocoa powder. You will get better results with Dutch processed cocoa powder vs. natural cocoa powder. The brownies have a purer, more intense chocolate flavor with a smoother taste.
Substitute: If you can’t find Dutch cocoa, natural cocoa powder still works. PS: For European folks, Dutch cocoa is just the standard cocoa available!
Espresso powder. Espresso + chocolate are a dream team. It deepens and intensifies the chocolate flavor without making the brownies taste like coffee.
Substitute: If you don’t have instant espresso powder, you can substitute with instant coffee powder (use slightly more, about 1 1/4 to 1 1/2 teaspoons).
Step-by-step instructions
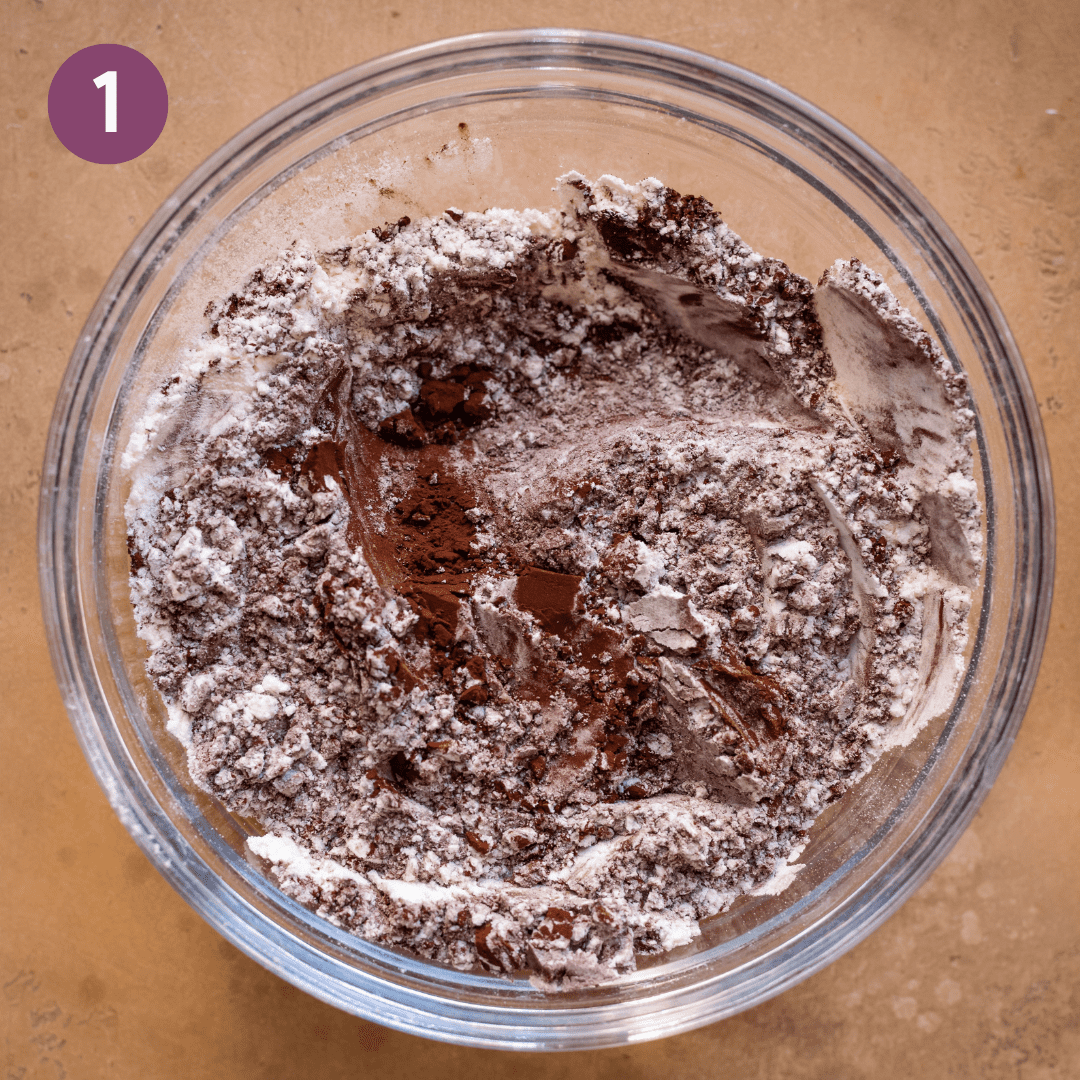
Sift the dry ingredients. Sift the flour and cocoa powder together in a medium bowl to prevent lumps.
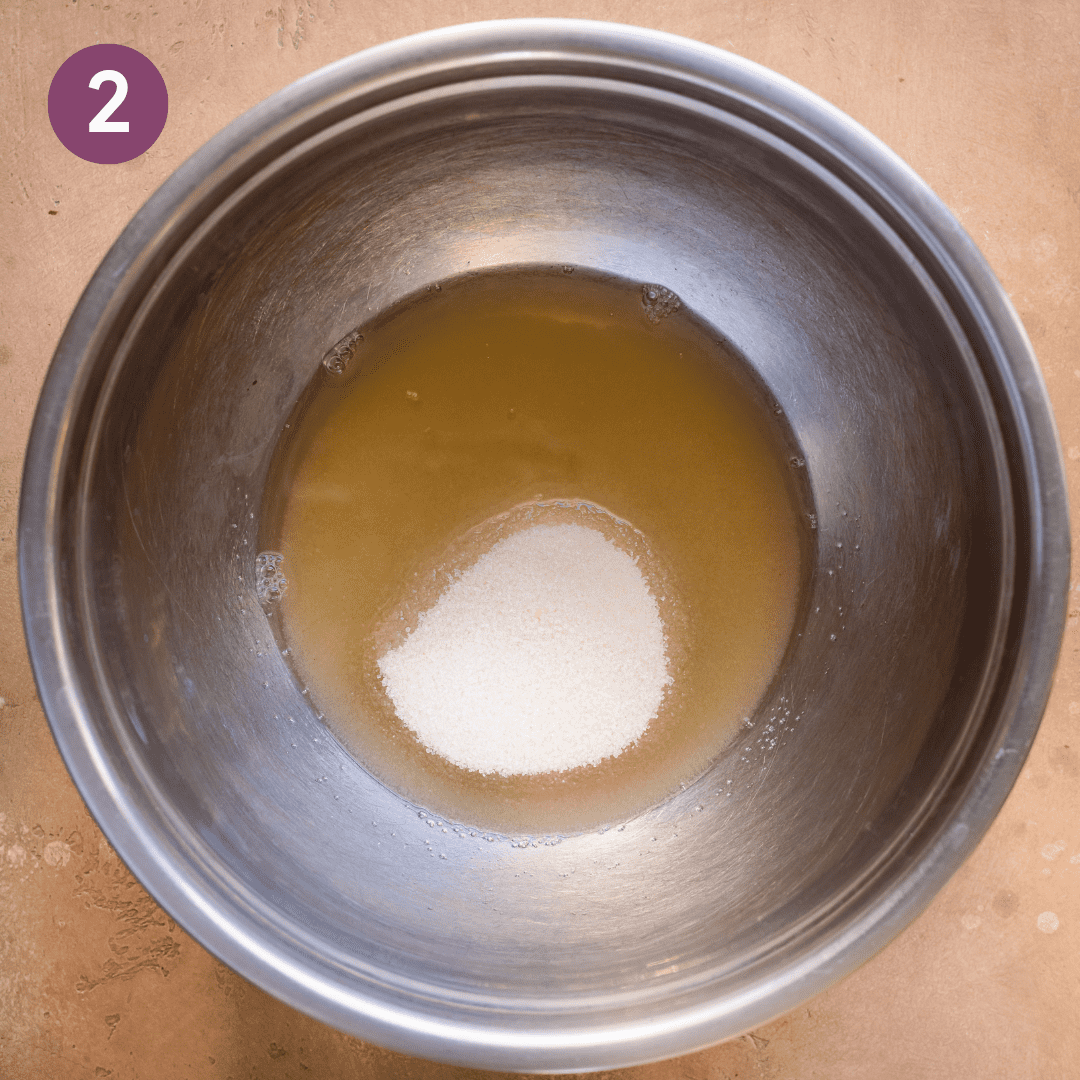
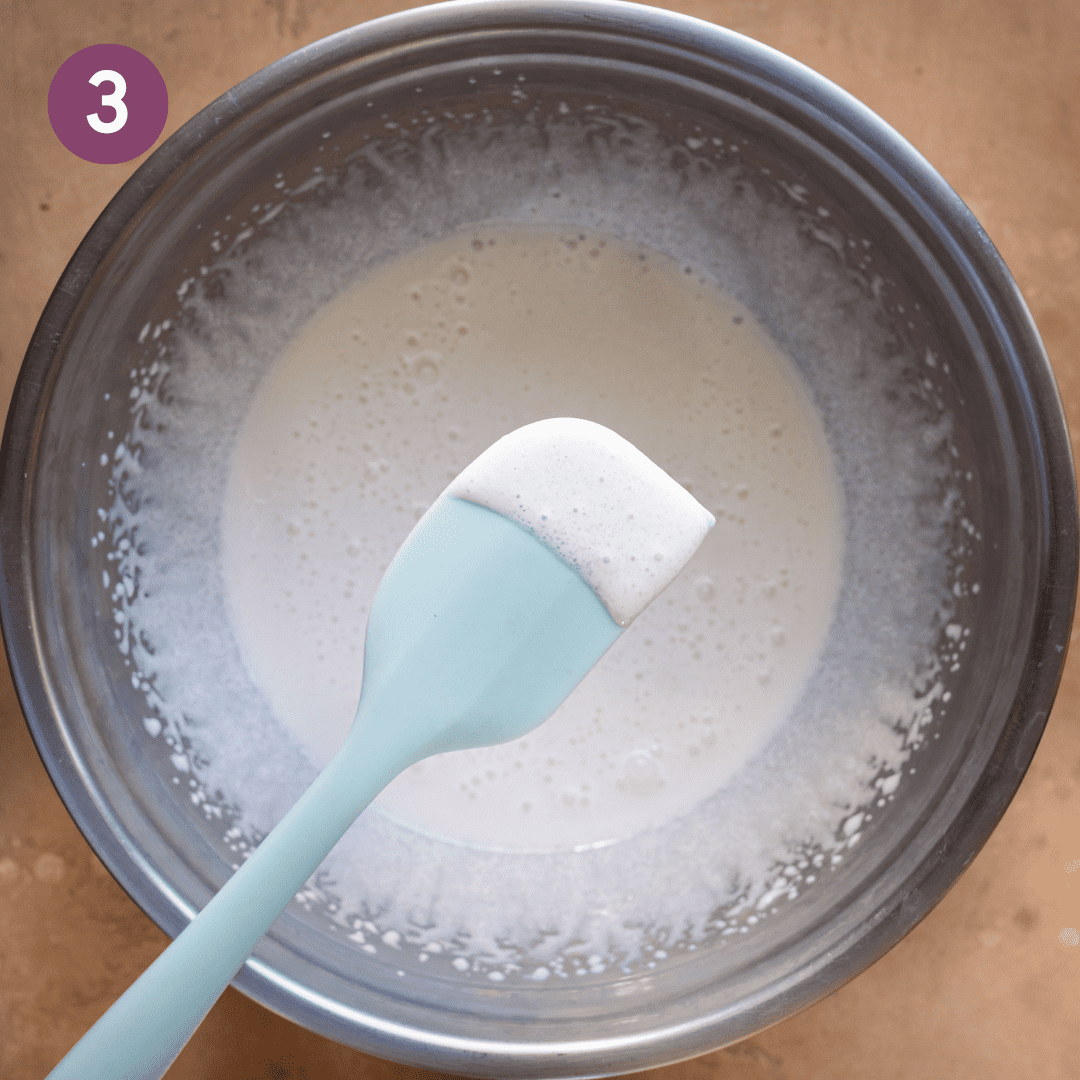
Mix the aquafaba and sugar. Add the aquafaba and sugar to a bowl. Use a handheld or standing mixer to beat the two together. You’ll know it’s done when the mixture looks thick, glossy, and has wavy ribbons.
Now you can fold the vanilla, salt, and espresso powder into the aquafaba mixture.
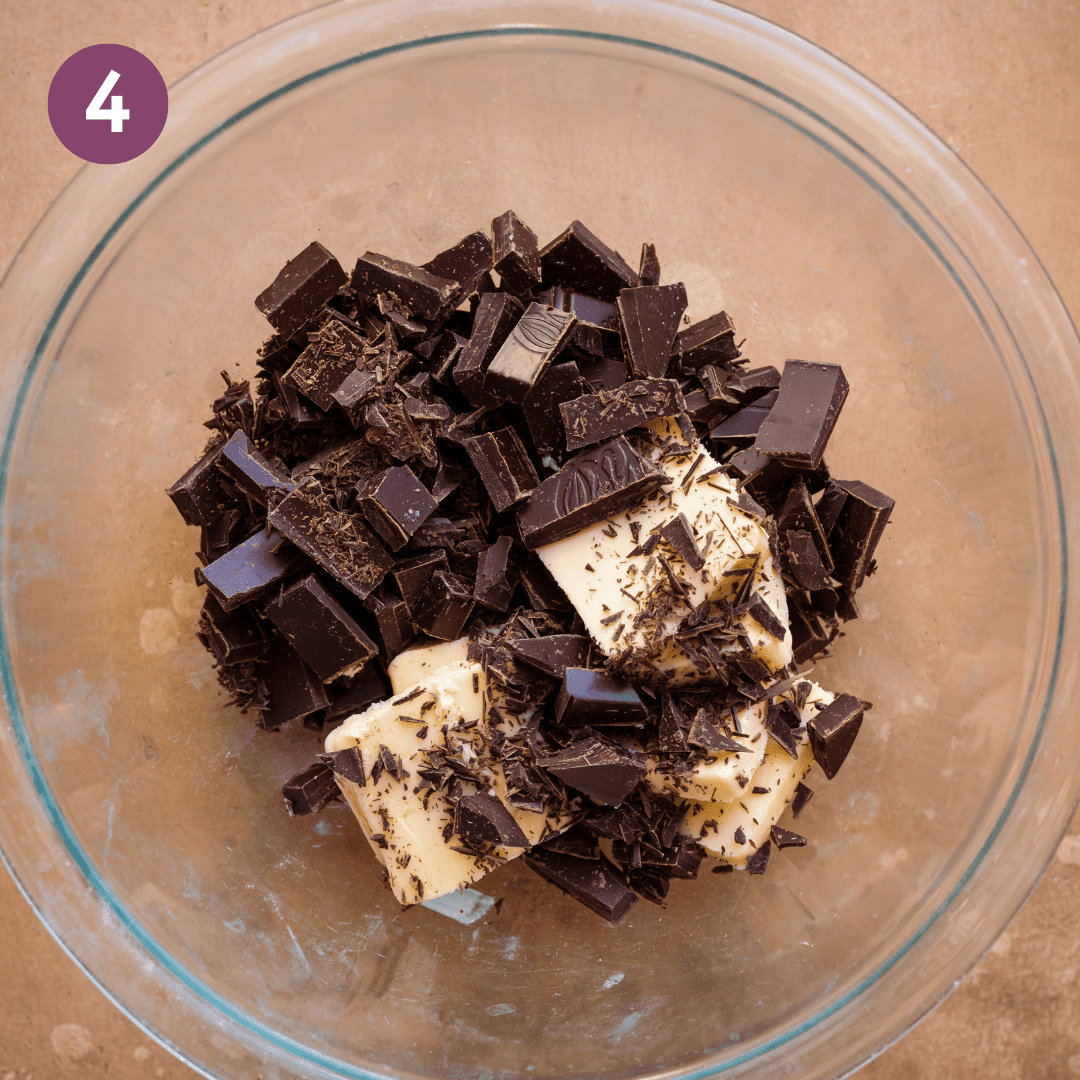
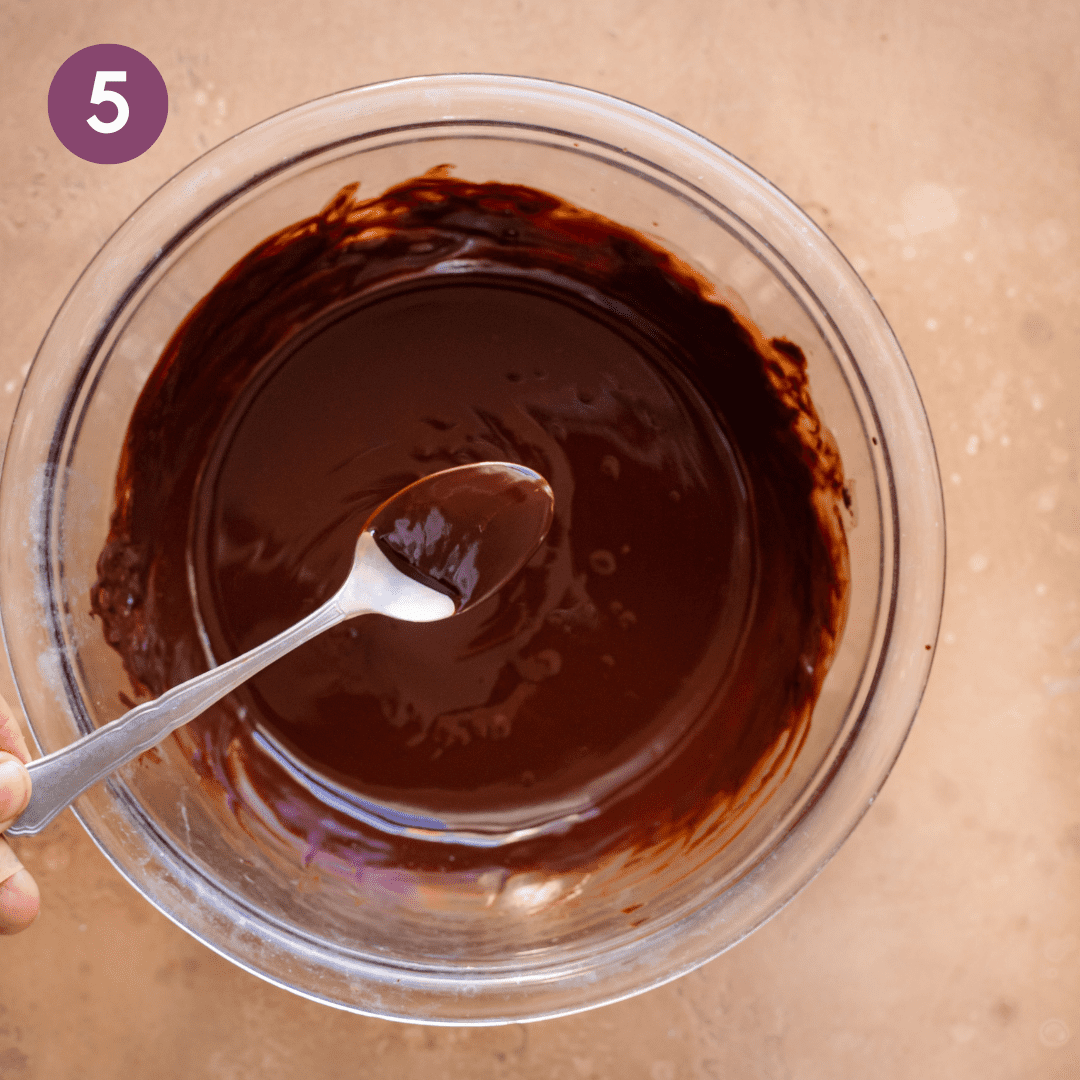
Melt the chocolate. Place a heatproof bowl on top of a saucepan filled with a few inches of water. Place the chopped chocolate and vegan butter in the bowl and heat the water until it’s at a rapid simmer. Stir until the chocolate has melted.
Or, melt the chocolate and butter in the microwave on high power in 30-second intervals, stirring after each round.
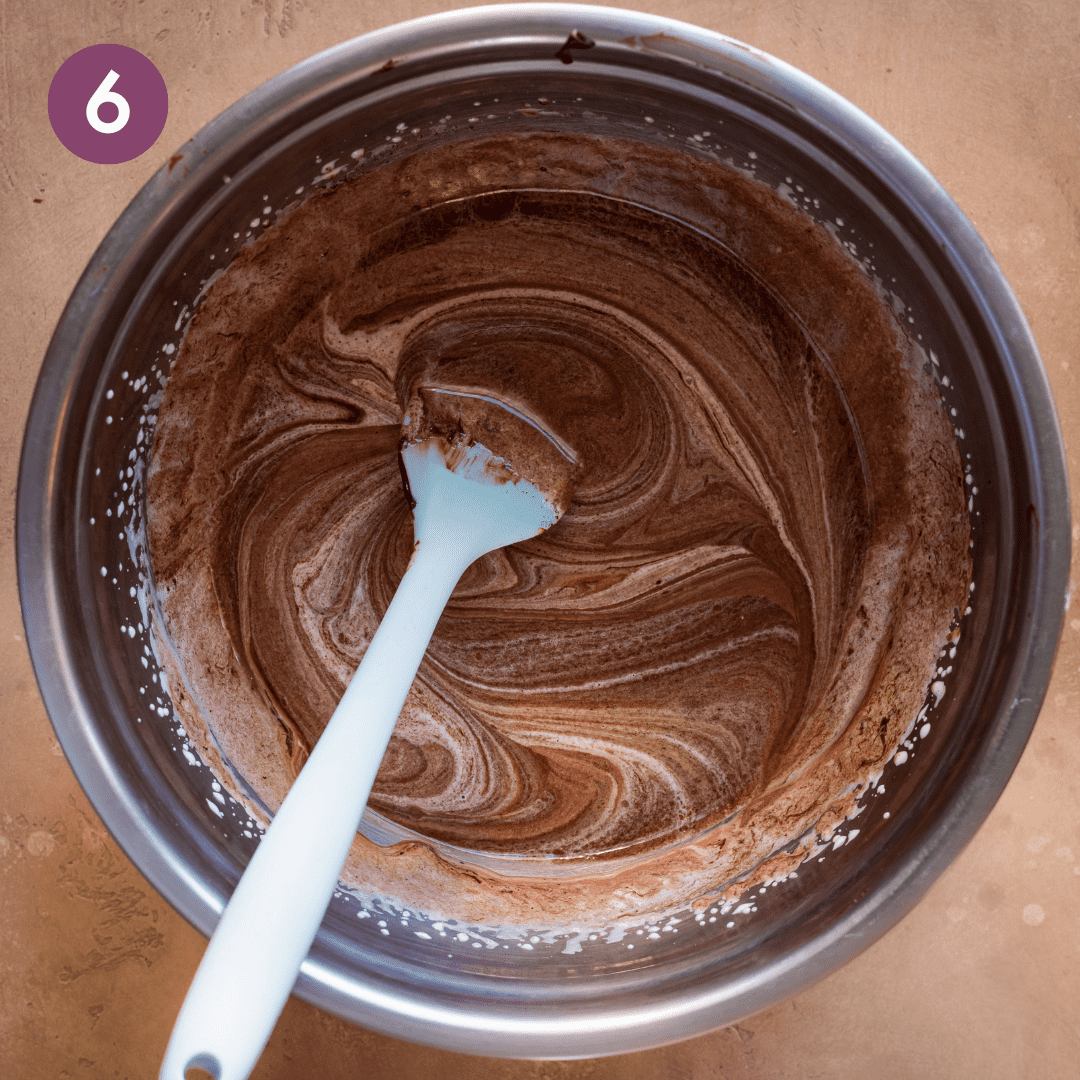
Fold the melted chocolate mixture into the aquafaba mixture until well combined.
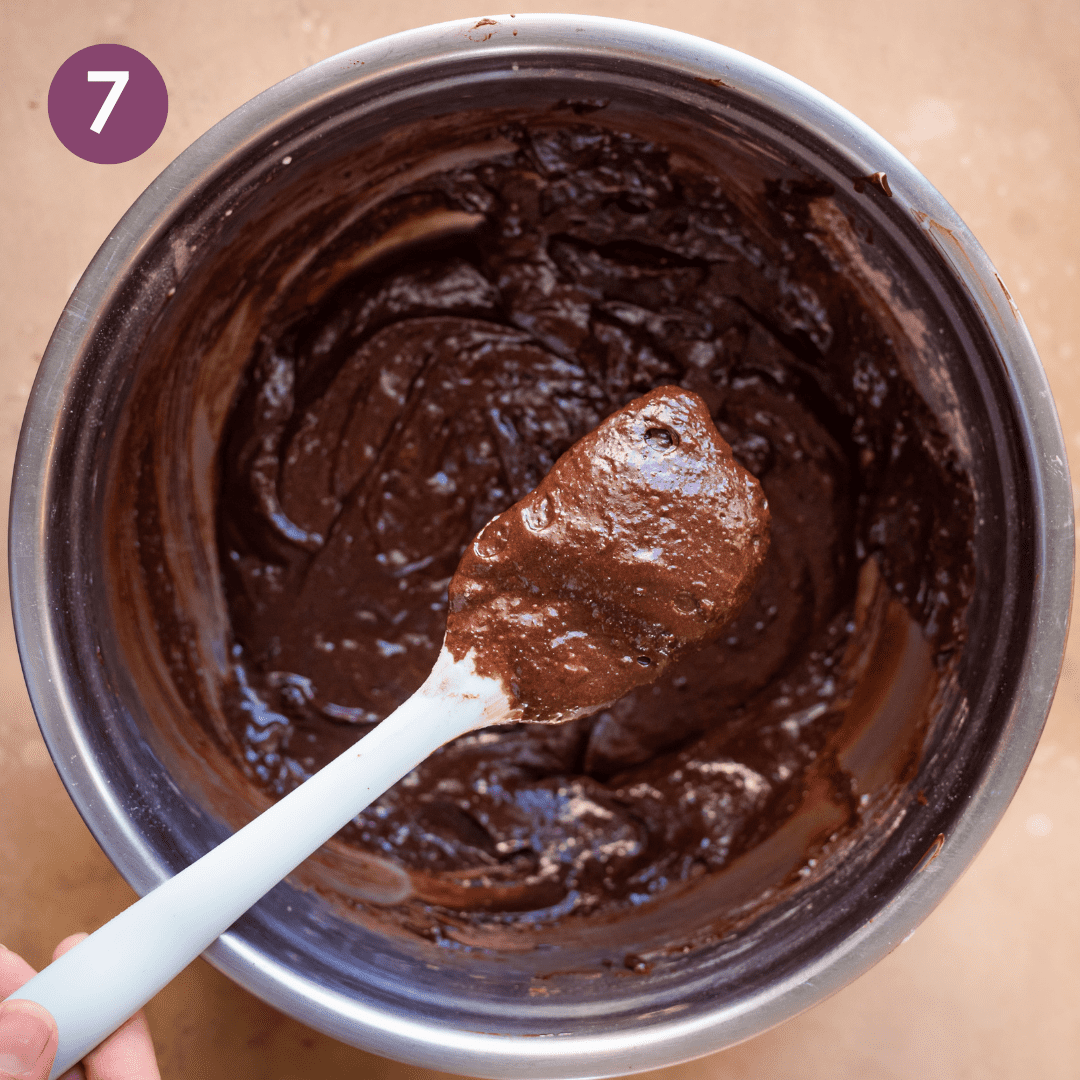
Finish the batter. Gently stir the dry mixture into the wet ingredients until just combined and no dry flour remains. Fold in the chocolate chips.
Note: The batter will be quite thick, much more thick than a standard brownie batter.
Transfer the batter into your lined 8×8-inch (20×20 cm) baking pan and smooth out the surface with a spatula.
Bake. Bake the brownies for 34 to 37 minutes until a toothpick inserted in the middle comes out with some moist crumbs.
Tip: If it comes out with runny batter, the brownies aren’t done yet. If the toothpick comes out clean, the brownies have baked a bit too long. Tips on how to avoid this are in the FAQs section.

Let them cool before slicing (seriously though). Transfer the pan to a wire rack and cool for 30 minutes, or longer. Once they’re completely cool, slice and enjoy!

Tips for the best vegan brownies
Better quality chocolate = better tasting brownies.
Try to use the best quality chocolate you can find and afford: (1) for cocoa powder, Dutch process cocoa; (2) for the solid chocolate, use a chocolate you enjoy snacking on. 70% dark chocolate is a great place to start because it isn’t too bitter but will still produce decadent results.
Serious Eats has an entire list of amazing dark chocolate brands for you to peruse. Otherwise, stroll through the grocery store or artisan market to see what other options you can find (most good dark chocolate brands don’t contain milk, but always read the label!).
Measure accurately.
I use a digital scale for all baking and highly recommend it for the most precise results (baking + precision are best friends).
Note: If you don’t have a digital scale, do not scoop the flour straight out of the bag or container. This always results in getting too much flour in your measuring cup, and too much flour = dry brownies.
Instead, use the spoon and level method. Spoon your flour out of the bag/jar into the measuring cup until almost full, then use a butter knife to level it off.
Overmixing = dry brownies.
Overmixing the dry and wet ingredients aerates the batter, resulting in dry or cakey brownies. Instead, fold everything together until they’re JUST combined and you no longer see dry streaks of flour.
Check your oven thermometer.
Home ovens can be all over the place when it comes to temperature, so if you have an oven thermometer, check that it’s accurate before baking.
Don’t slice the brownies too early.
They continue to cook after they come out of the oven, which is why it’s important to let them cool completely first. They’ll be a gooey mess if you slice into them too early.
Note: There are two ways to speed up the cooling process.
After resting in the pan for 20 minutes, (1) carefully transfer the pan to a large shallow pan filled with an inch or two of ice cold water; or (2) transfer the pan to the fridge for 20 to 30 minutes.
Frequently Asked Questions
The best way to tell is to stick a toothpick in the center of the batch. If it comes out with some moist crumbs, the brownies are done. If the batter is liquidy or runny, they need ~5 more minutes.
Is the toothpick completely clean? Unfortunately, that means they’ve been baked too long and will likely taste dry. Brownies continue to bake as they cool, so to avoid this, err on the side of underbaking and check the brownies 5 minutes before you think they’ll be done.
Yes!
We tested these brownies with ¾ cup (82g) oat flour and ¾ cup (100g) all-purpose 1:1 gluten-free flour, and baked for 37 to 39 minutes with lovely results. The brownies have a bit less structure, but after they are refrigerated, the texture is great.
Many readers have also had success doing a straight 1:1 swap with King Arthur, Bob’s Red Mill, and Cup4Cup Ancient Grains gluten-free flour blends, but we haven’t tried this ourselves.
Baking the brownies with less sugar makes us nervous because they might lose their wonderful texture.
Instead, try adding chocolate with a higher percentage of cacao to help balance the sweetness.
Or, scale down by just 25% of the sugar. You can read more about reducing sugar in baking from Food52 experts here.
First, use a large knife (I use an 8-inch chef’s knife). Slice the brownies in one fell swoop instead of dragging the knife back and forth. The dragging method leads to more crumbs and uneven slices.
Also, you can try dipping your knife in hot water and drying it off with a kitchen towel before slicing. Repeat this process between every slice. I find that this method in conjunction with cooling the brownies on top of an ice cold sheet pan (see the Tips section) yields the cleanest slices.
First, try to slice only as many brownies as you need (or want). This is the best way to keep them as moist as possible. The leftover block of brownies can be stored in an airtight container for 3 to 4 days at room temperature of 8 to 10 days in the fridge.
If you don’t have a container big enough to fit the unsliced brownies, slice and and store the pieces in an airtight container.
Yes, they freeze very well. Keep the sliced brownies separated with pieces of parchment paper in an airtight container.
Freeze for up to 3 months. Let them defrost at room temperature when it’s time to eat.

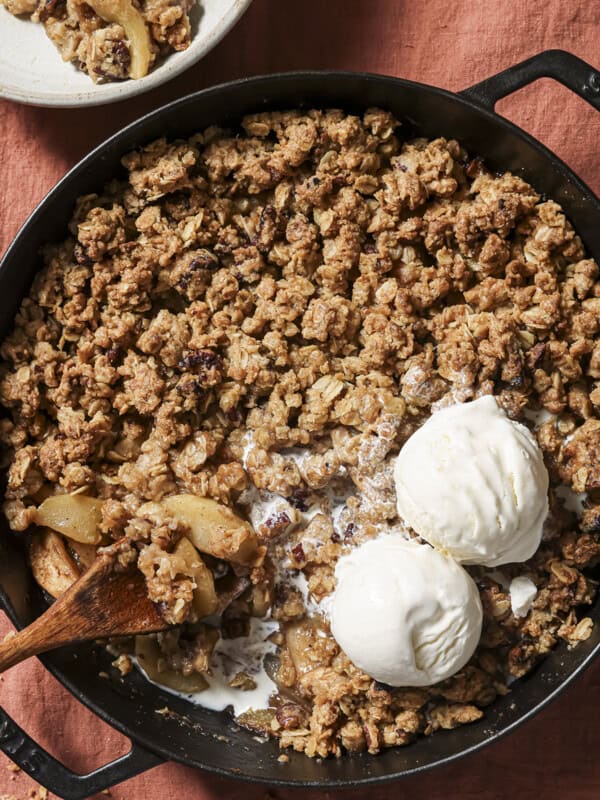
More Classic Desserts Veganized
Watch! How to make the best vegan brownies!

If you love these best-ever Vegan Brownies as much as we do, please be sure to leave a rating and review below 🙂 And as always, I love seeing your remakes on Instagram!
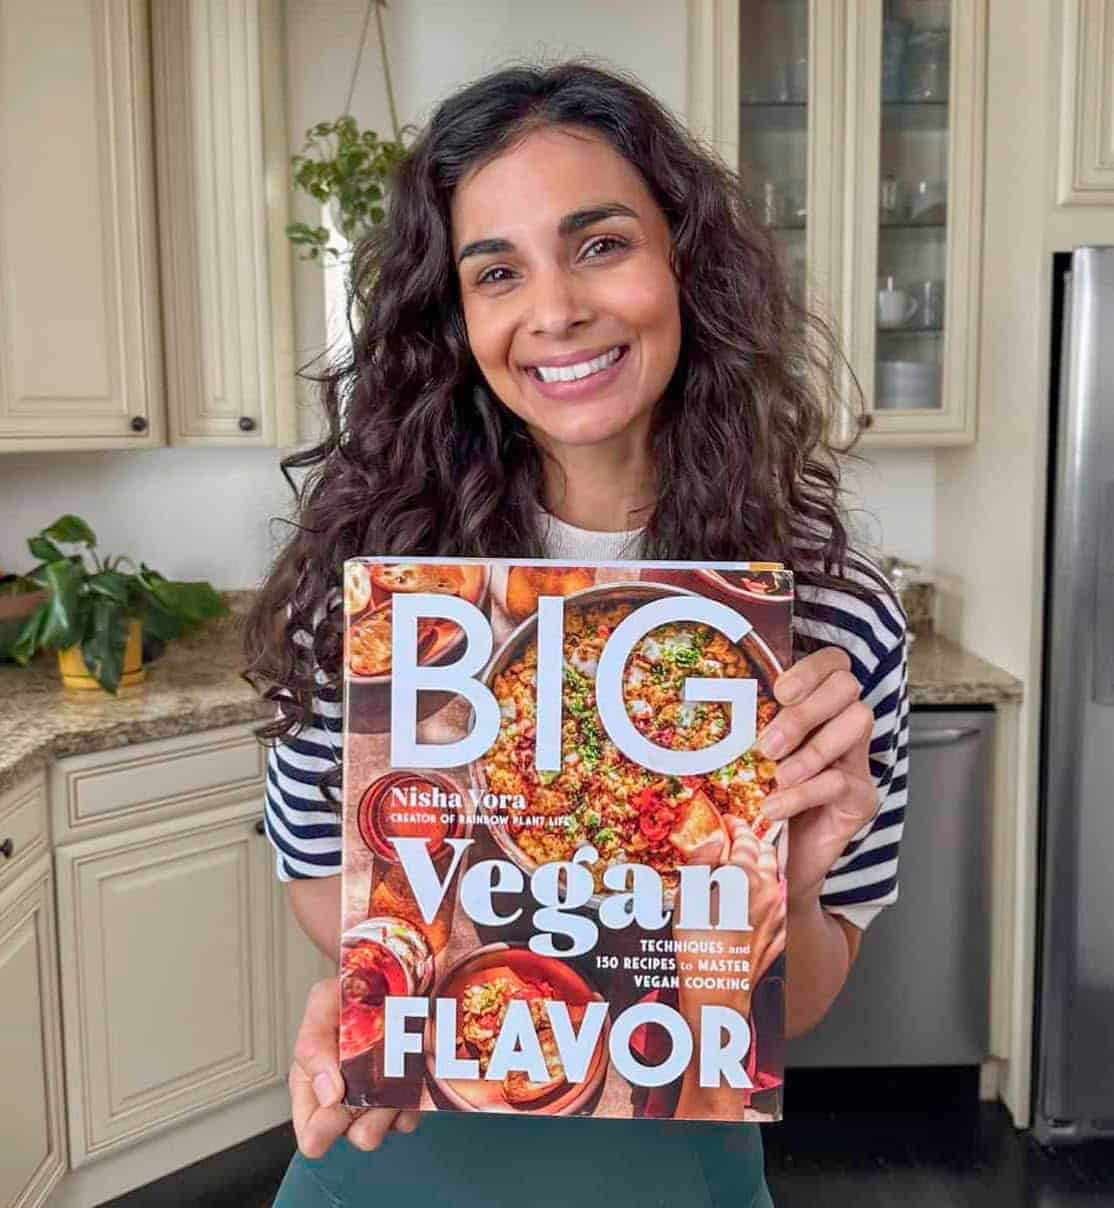
Introducing
Big Vegan Flavor
Techniques and 150 recipes to master vegan cooking.
The Absolute Best Vegan Brownies
Ingredients
- 1/2 cup (120 mL) aquafaba (liquid from a can of chickpeas, use unsalted chickpeas)*
- 1 ½ cups (290g) organic cane sugar or pure cane sugar
- 6 ounces (170g) 65-75% dark chocolate, roughly chopped
- 8 tablespoons / 4 ounces (112g) vegan butter, cubed
- 1 ½ cups (180g) all-purpose flour
- 7 tablespoons (42g) Dutch process cocoa powder**
- ¾ teaspoon fine sea salt
- 1 tablespoon pure vanilla extract
- 1 teaspoon espresso powder***
- 3 ounces (85g) dark or bittersweet chocolate chips, or finely chopped dark chocolate
Instructions
- Line an 8×8-inch (20×20 cm) square metal baking pan with parchment paper and ensure there is some overhang on the sides (this will make it easy to lift the brownies out of the pan).****Preheat the oven to 350°F (176°C).
- Sift the flour and cocoa powder together in a medium bowl. Sifting ensures there are no flour or cocoa lumps in the batter.
- Add the aquafaba and sugar to a large mixing bowl. Use an electric handheld mixer or a stand mixer on high speed and beat the mixture for 2 ½ to 3 minutes until thickened, glossy, and wavy ribbons frequently appear in the bowl.
- Add in the vanilla, salt, and espresso powder, and fold with a silicone spatula until well combined (the espresso will continue dissolving into the mixture as it rests).
- Assemble a double boiler*****. Grab a heatproof bowl that can be nestled into a saucepan. Fill the saucepan up with a few inches of water – not so much that the bottom of the bowl would touch the water. Heat the water on the stove and keep at a rapid simmer.
- Add the chopped dark chocolate and cubed vegan butter to the bowl on top of the saucepan. Allow the chocolate mixture to melt, whisking occasionally until smooth and the chocolate is completely melted. Once the chocolate is completely melted, keep the bowl on the saucepan for an additional 30 to 60 seconds to further warm through.
- Pour the warm butter-chocolate mixture over the aquafaba-sugar mixture and fold together with the silicone spatula.
- Add the flour-cocoa mixture to the wet ingredients and stir until just combined (stop mixing once the flour traces are gone). Fold in the chocolate chips. Pour the batter into the lined pan and smooth out the surface with the spatula so the batter is in an even layer as possible (for even baking).
- Bake the brownies in the preheated oven for 34 to 37 minutes, or until a toothpick inserted in the middle comes out with some moist crumbs and/or a tiny bit of thick batter (the latter could be the melted chocolate chips). If the batter is liquidy or runny, though, the brownies need about 5 more minutes in the oven. To avoid overbaking and since every home oven varies, I err on the side of underbaking and check the brownies 5 minutes before I think they're going to be done. My oven usually takes between 34 and 37 minutes.
- Transfer the brownies to a wire rack to cool for 30 minutes. Then carefully lift the brownies out of the pan using the parchment paper handles onto the wire rack. Allow to cool for a further 20 to 30 minutes before slicing. Slice the brownies and enjoy!
Video
Notes
Nutrition
Nutrition information is automatically calculated, so should only be used as an approximation.


These were ok, but way too rich for me, and even though I baked them for the minimum recommended time and my oven doesn’t usually run hot, they came out a bit dry and crumbly. I’ve never baked with aquafaba before, so maybe it was user error. I would try them again and scale back the chocolate some and bake them for less time.
Hi Molly, sorry to hear they didn’t work out for you. I’ve made these about a dozen times (the latest being just yesterday) and they’re always quite moist. There are a couple reasons this might have happened:
– did you by chance weigh the dry ingredients? i always recommend weighing ingredients like flour on a digital scale, as many home cooks measure flour by scooping and it leads to over-measuring flour. if a greater volume of dry ingredients was accidentally used, that would result in a dryer texture.
– i’m not sure if you watched the video or saw the step by step photos, but perhaps you can compare the texture of the whipped aquafaba mixture to what yours looked like. it should be glossy and fairly thick.
– if you have a convection oven or convection setting, it’s recommended to lower the temperature by 25ºF, so if that’s the case, it could result in overbaking.
– i know you mentioned that your oven doesn’t usually run hot, but I always recommend using an oven thermometer to be certain (there is a lot of variance in home ovens; i only learned that my last oven ran 50-75ºF cooler after getting a thermometer)
– you can certainly use less dark chocolate or omit the chocolate chips.
I hope these ideas/tips help! If you make them again and they turn out successfully, please let me know!
Lovely but too dry! Please help !
I made these twice.
The taste is lovely but too dry!
I followed exactly.
It feels like there needs to be water or something to make it more moist.
I even undercooked them a bit (on the 2nd attempt), but its just so dry.
What do you suggest ?
Do you think I could use a larger casserole dish to bake these? Would I need to double the recipe do you think? Thanks!
Hi Brielle, If you’re using a 9×9 inch pan it should work fine but they will a bit thinner. You might also want to check the brownies a few minutes before the suggested cook time, as the thinner texture will take less time to bake. If you want to use a 13×9 pan, the current recipe would make the brownies really thin so we would recommend doubling it.
These are amazing! I even messed up the recipe (was short a couple ounces of chocolate) and they turned out perfect! My husband didn’t even know they were vegan!
Awesome, Christine. Thanks for your comment and for taking the time to review!
I tried it with a mixture of buckwheat and quinoa flour to make it gluten-free and it turned out DELICIOUS. I added the flours until it became a thick batter just like the original recipe.
I also tried it with all-purpose flour and saw no difference in texture as well as in taste! Highly recommend!
YES. That’s it. They’re perfect. Folks, if you’re unsure about the consistency of the sugar/bean juice mixture, watch the vid. Nisha, thank you thank you thank you! Best brownies ever, my whole family is obsessed.
I am so pleased with this recipe! The title absolutely fits! These brownies are a must try for any vegan or anyone who enjoys dairy free sweets.
Tried this recipe today and it turned out soooooo gooooood. Thankyou so much❤️
Tried this recipe today and it turned out soooooo gooooood. Thankyou ❤️
I praise your baking skills! Those brownies were the best I’ve probably ever eaten! I however made a few modifications: coconut oil instead of vegan butter (which I don’t get where I live) and fewer sugar (250g, but still a bit sweet for my taste). The shiny cracky top texture was perfect.