

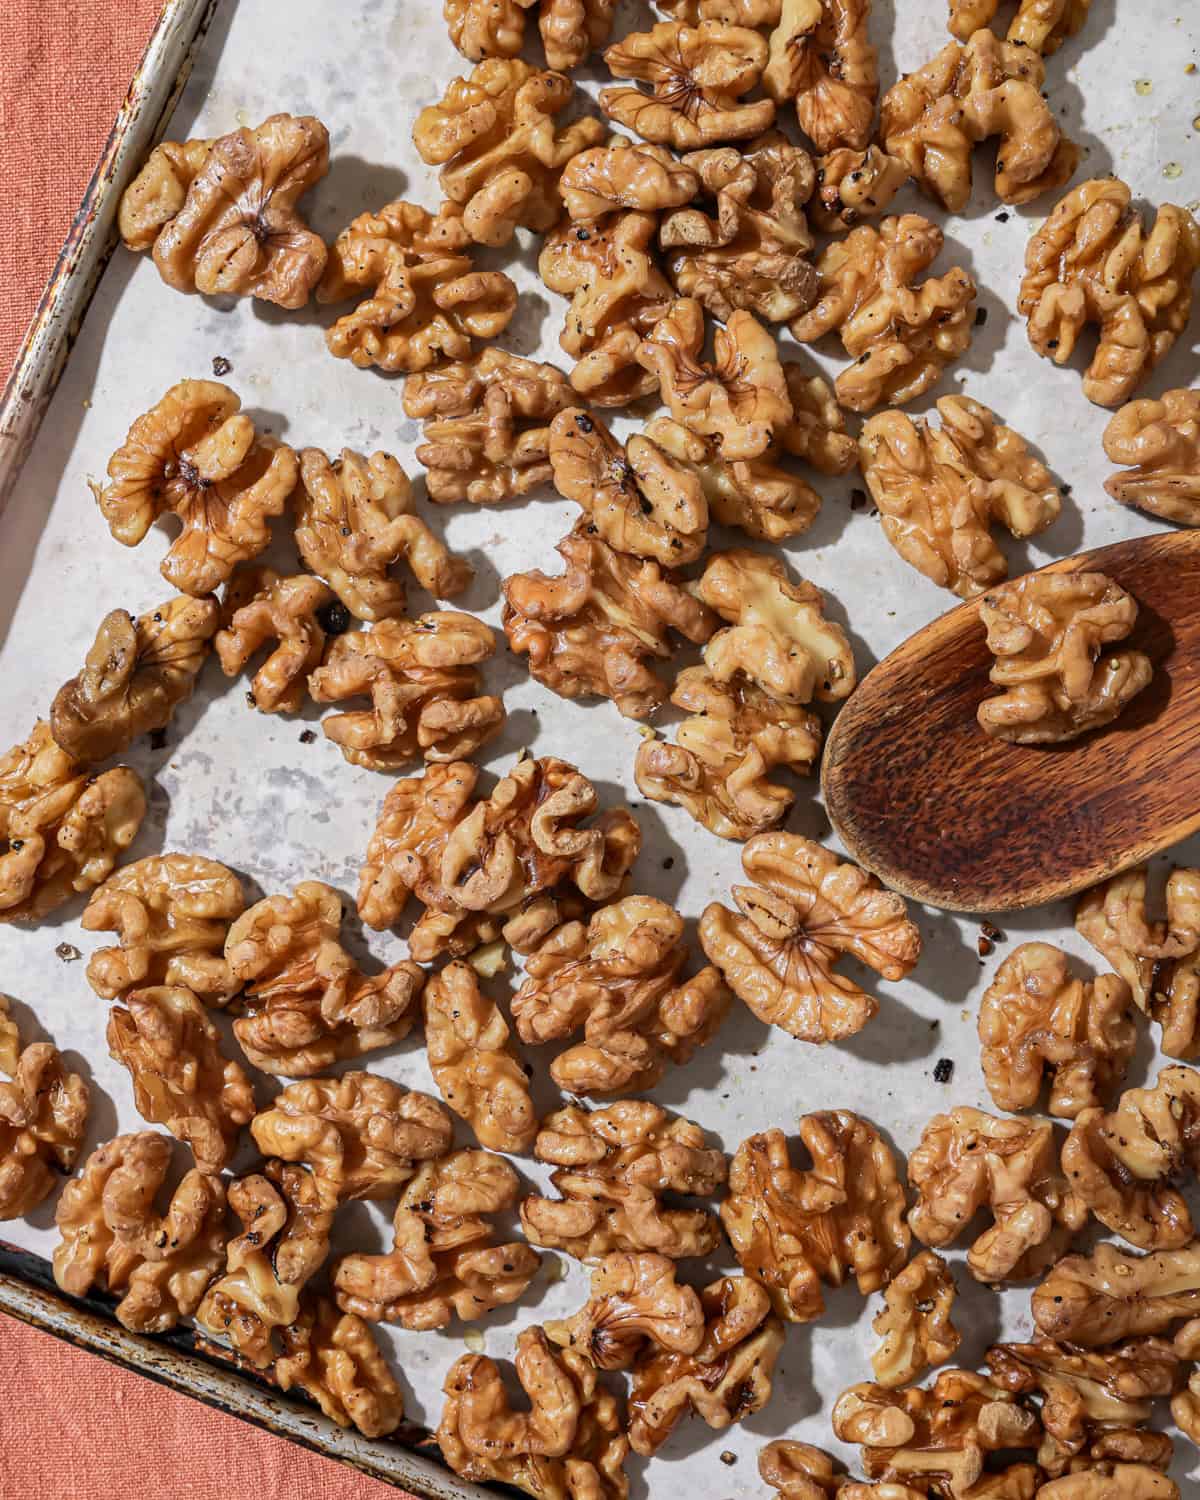
These roasted walnuts are so simple, I feel bad calling them a “recipe.” They’re more accurately described as “a 10-minute ritual for infusing your week with roasty-toasty, salty-savory, nutrient-dense crunch.”
They’re a meal prep staple for me because they’re healthy, crunchy, and outrageously easy to make. All you need are walnuts + a smidge of olive oil + salt & pepper, and you have yourself a salty, savory snackable sensation rich in heart-healthy omega-3s.
Add them to salads and grain bowls, yogurt and oatmeal, creamy soups, and more!
Ingredient notes
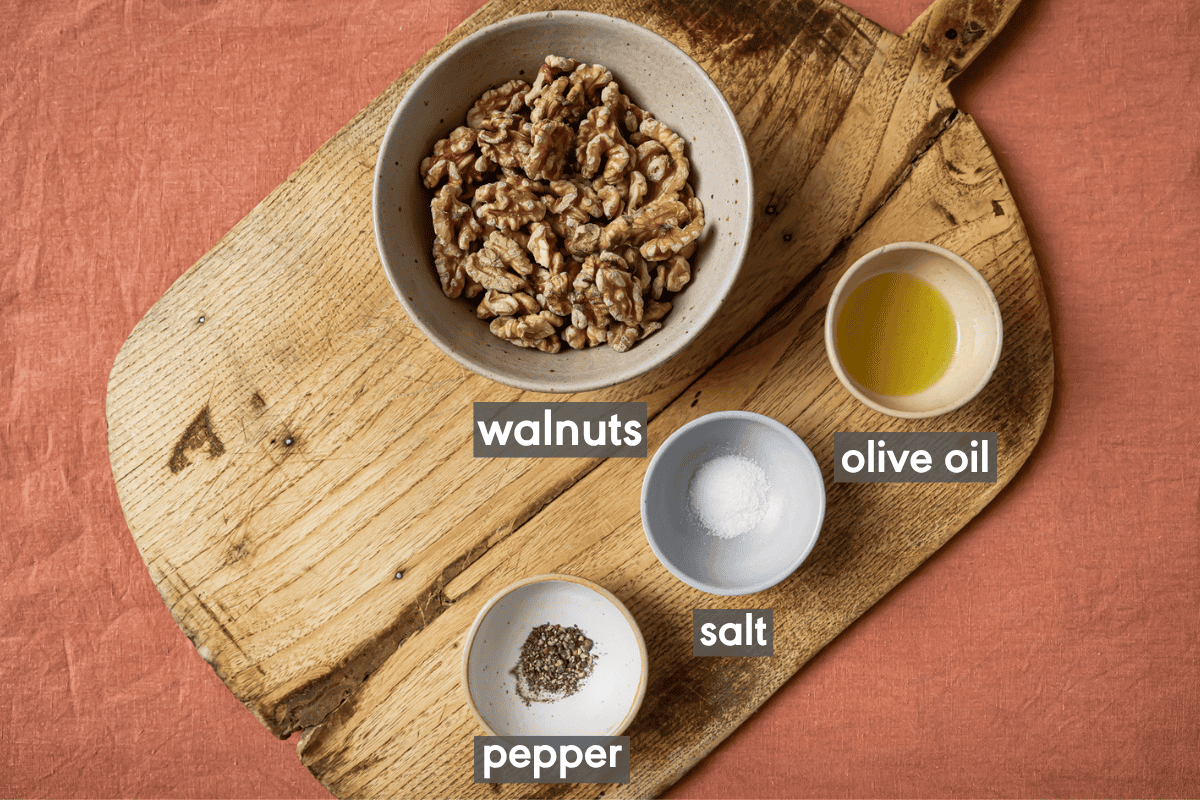
- Walnuts: It’s hard to find a nut that gives you better nutritional bang for your buck than walnuts. They’re packed with antioxidants and anti-inflammatory polyphenols, and they’re the ONLY nut significantly high in a superhero omega-3 called ALA which is linked to heart health. (Nutrition nerds should check out this compelling study on the positive impact of adding 1 ounce of walnuts to your usual diet!)
- Extra virgin olive oil: The oil does two important jobs here: (1) it helps the salt and pepper stick to the nuts, and (2) it prevents the nuts from drying out in the oven. A little goes a long way—less than a tablespoon for 1 ½ cups of walnuts!
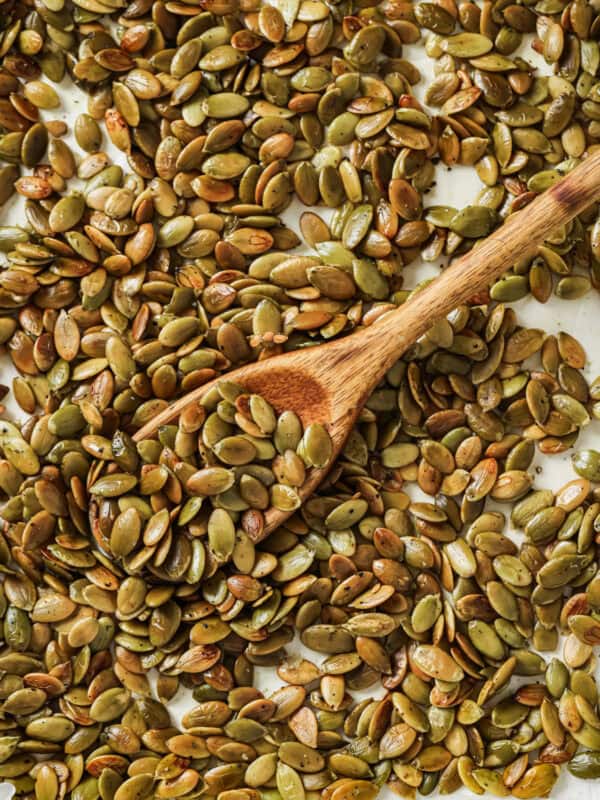
- Salt & pepper: Just like in my roasted pepitas, good ol’ s&p are all we need to heighten the walnuts’ roasty toastiness. Sticking to simple seasonings also helps keep these walnuts versatile and ready to work seamlessly in so many meals!
Step-by-step instructions
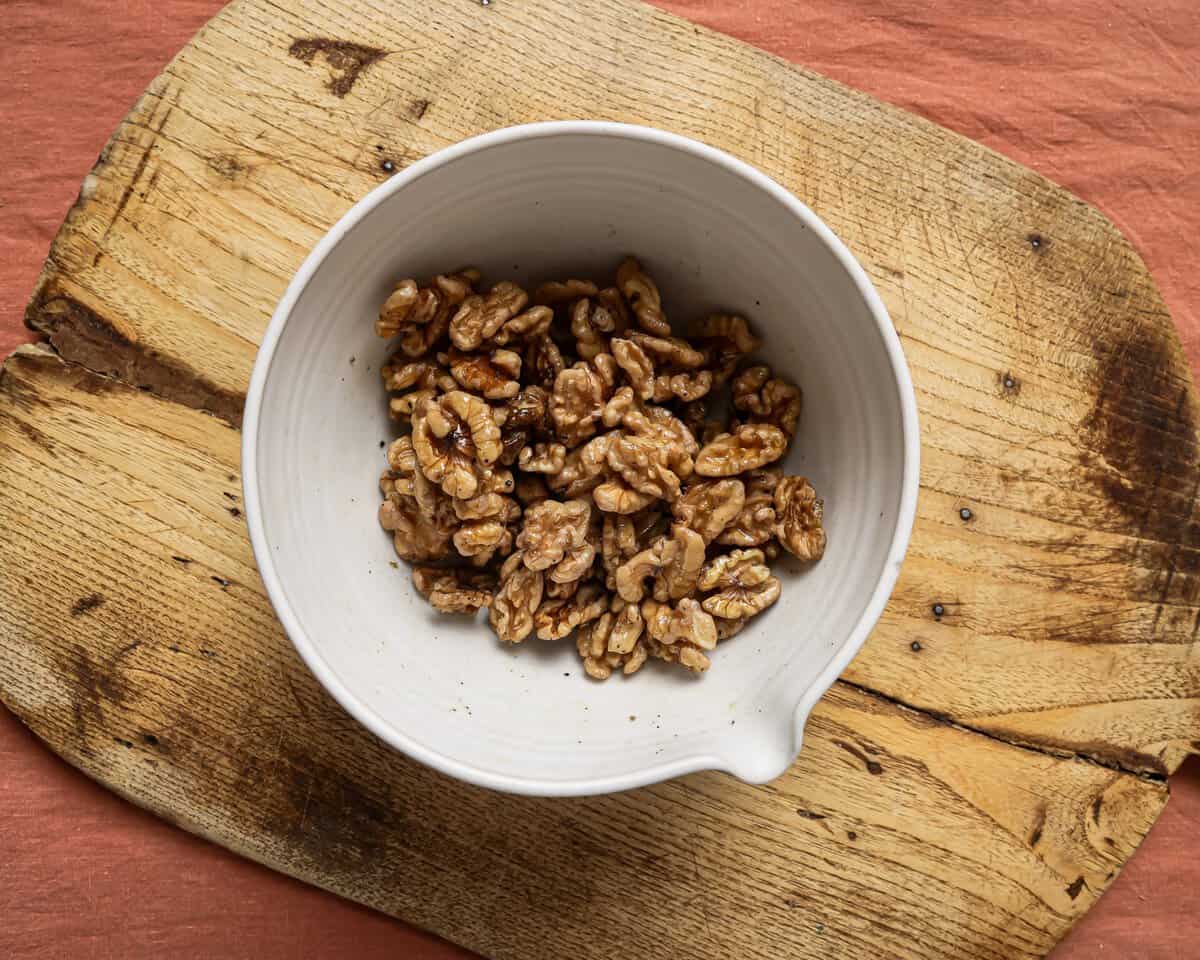
- Combine the chopped walnuts, olive oil, salt, and pepper in a bowl, tossing well to coat the nuts in the oil.
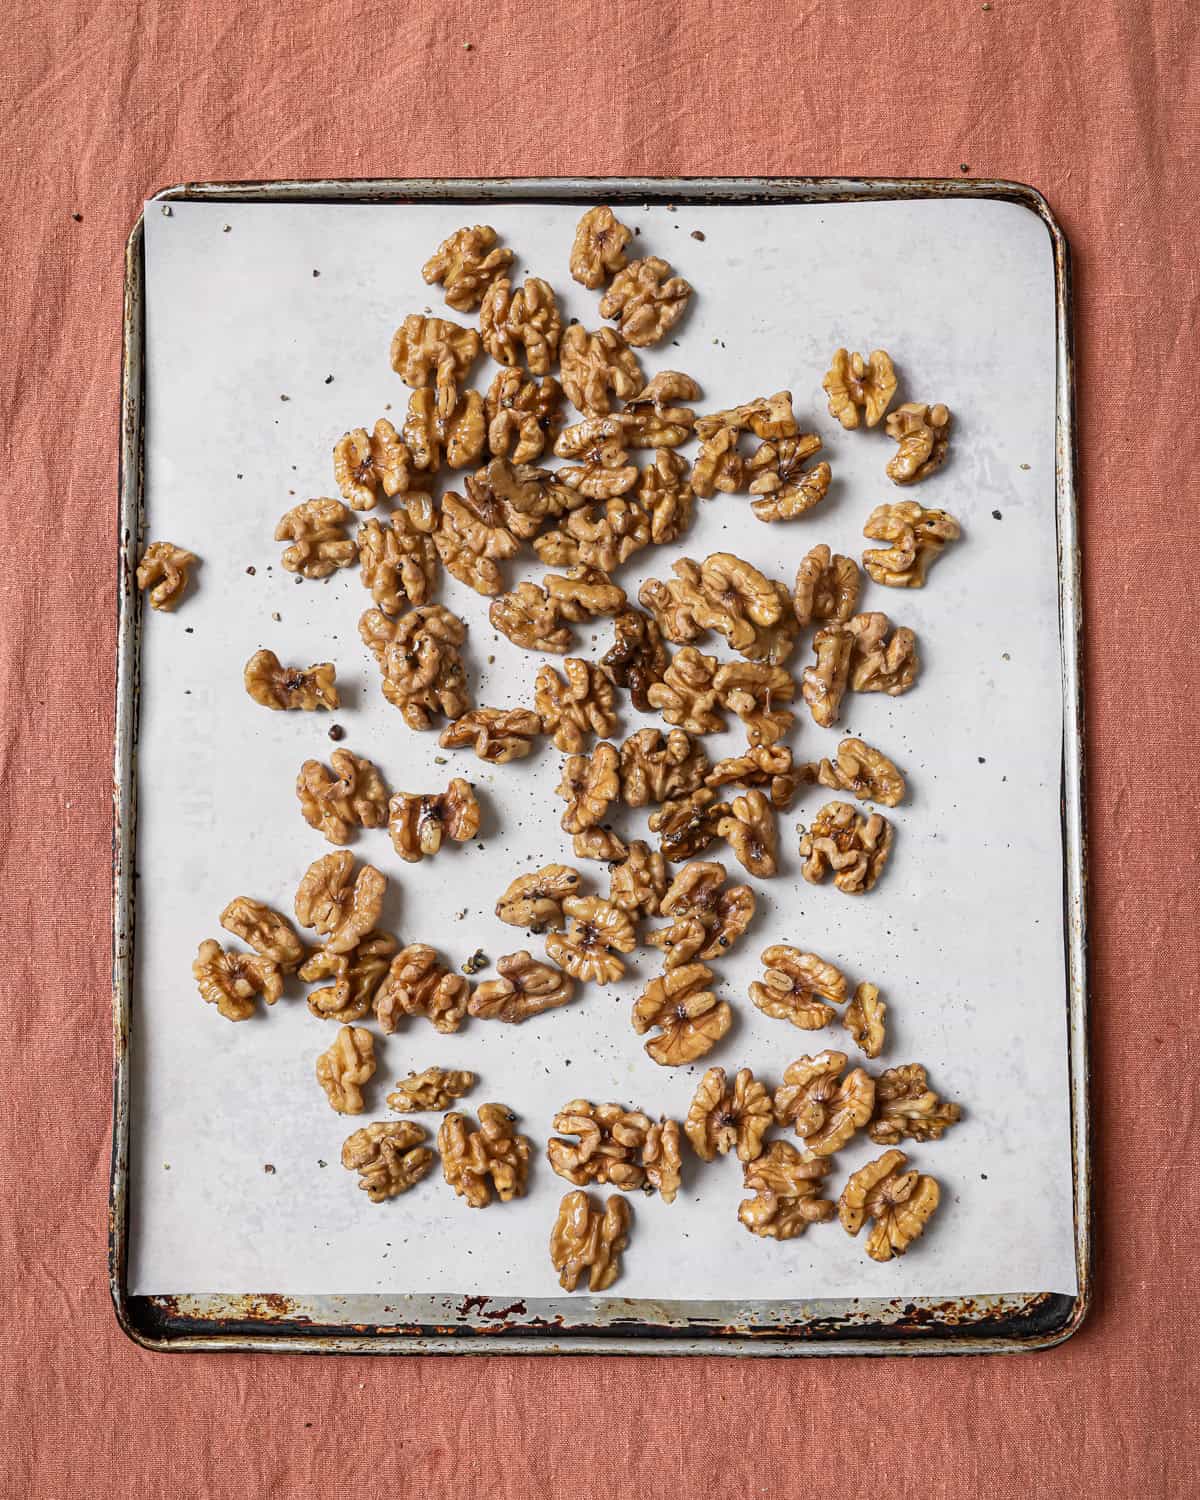
- Spread out on a parchment paper-lined sheet pan (for easy cleanup!).
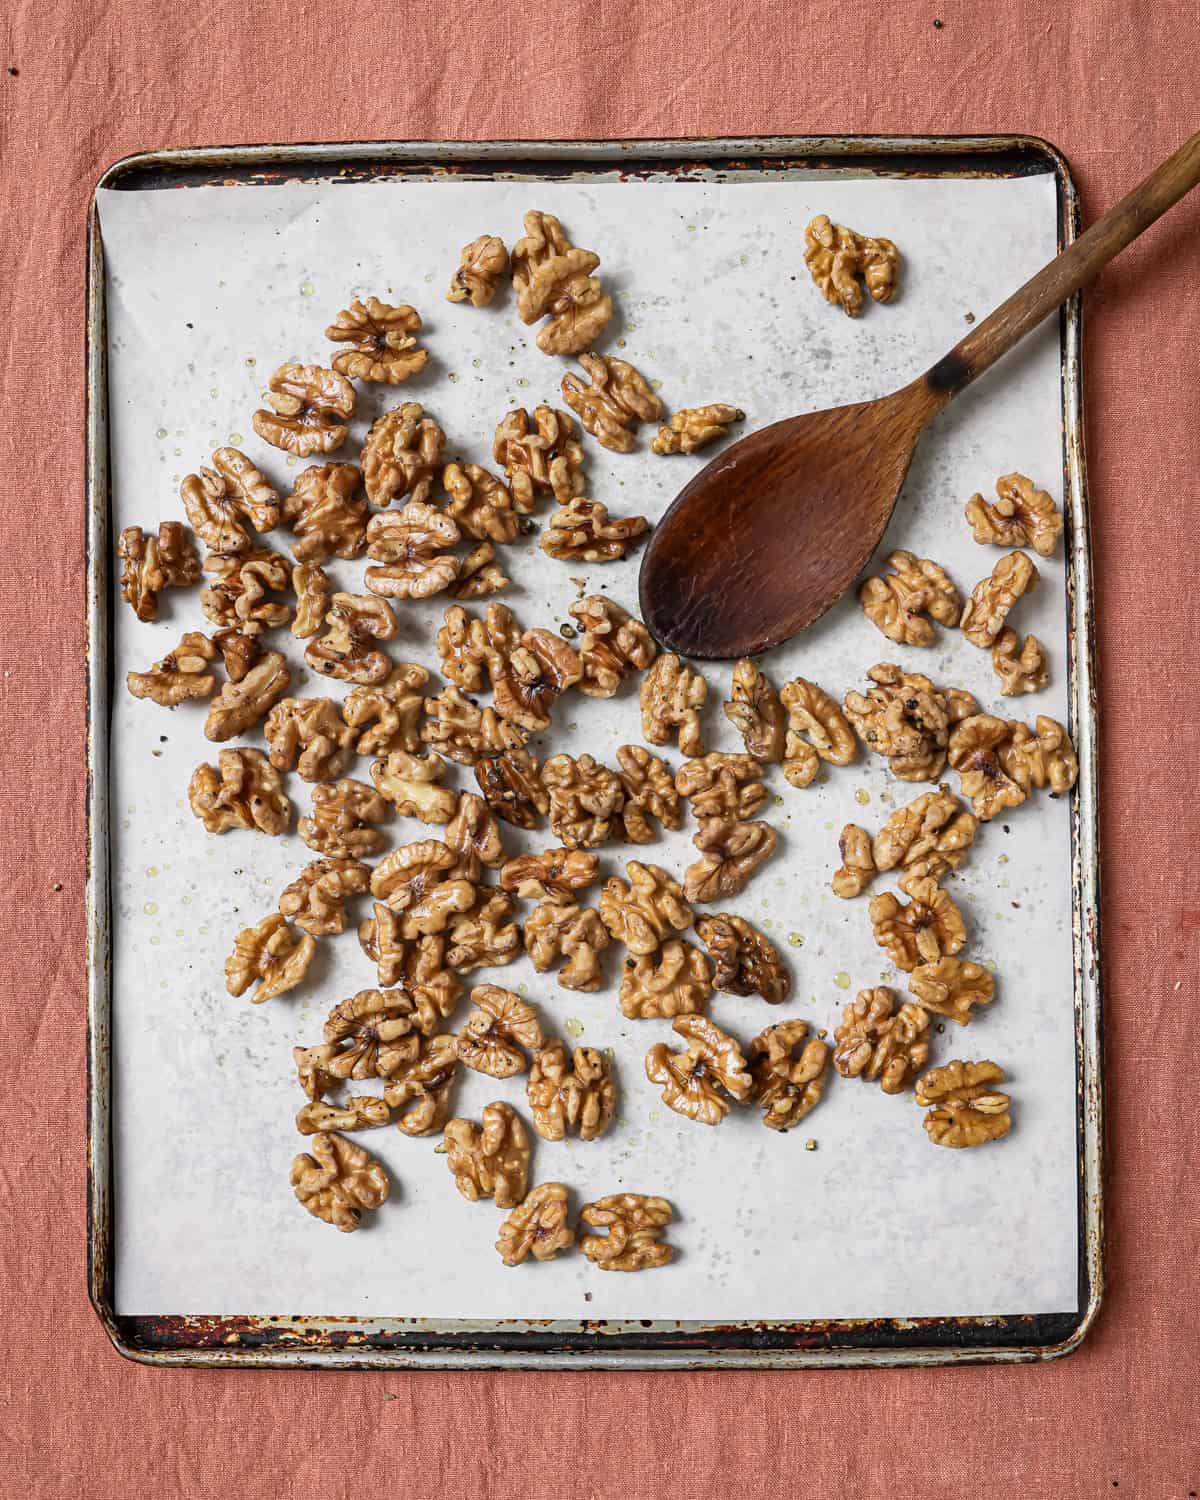
- Roast on the middle rack of a 350ºF / 175ºC oven for 5 minutes, then toss to ensure even roasting.
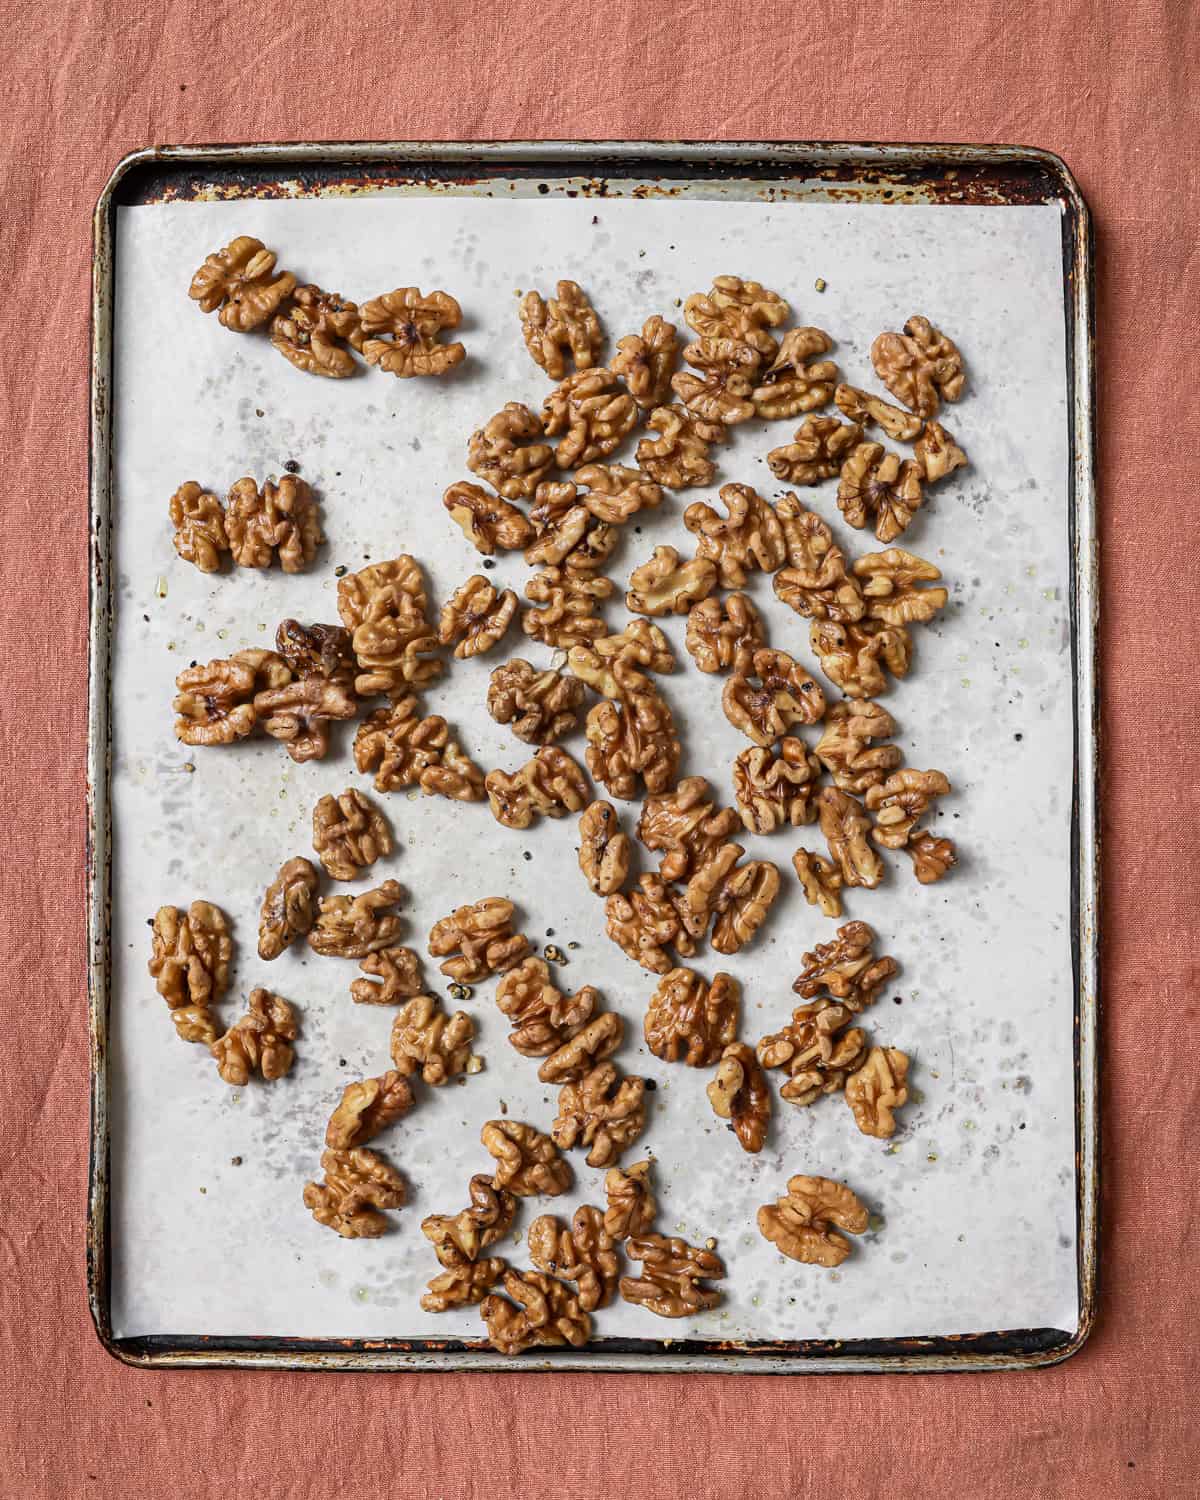
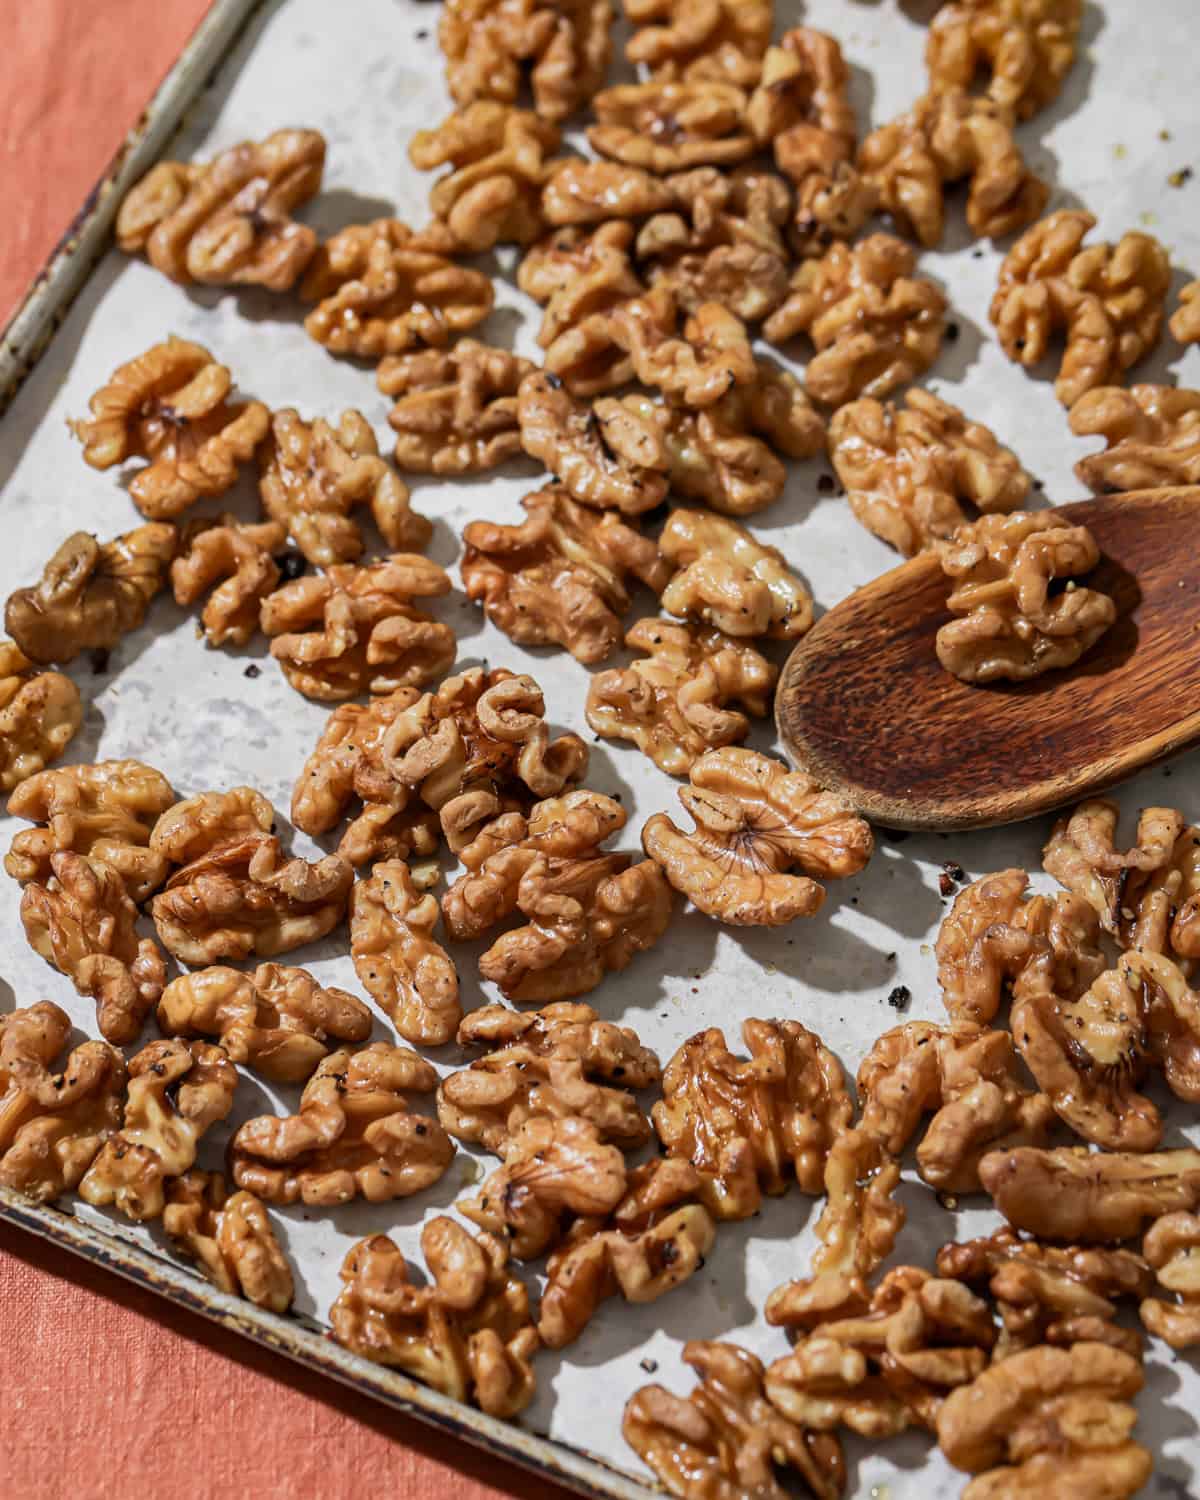
- Roast for 5 more minutes, or until the walnuts are uniformly golden brown.
Tips for making roasted walnuts
Keep an eye on them as they roast
In the final 5 minutes of the roast (after you’ve tossed them), don’t walk away, especially if your oven runs hot.
Your eyes (and nose) are the best indicator of doneness—roast until the walnuts are uniformly golden brown, which may mean taking them out a minute before or after the time suggested in the recipe. They will also smell roasty and nutty!
Don’t skip the salt
Raw walnuts have a distinct earthiness and slight bitterness to them. The roasting process helps release walnuts’ natural glutamate content and makes them an umami powerhouse, but they still need salt to complete the transformation and taste their absolute best.
Alternate with roasted pepitas
If you want to be my meal prep twin, alternate making a batch of these roasted walnuts with a batch of my roasted pepitas. The walnuts are high in omega-3s, while the pepitas are high in protein and iron, so you get a nice variety of nutrients. And you’re never without crunch!
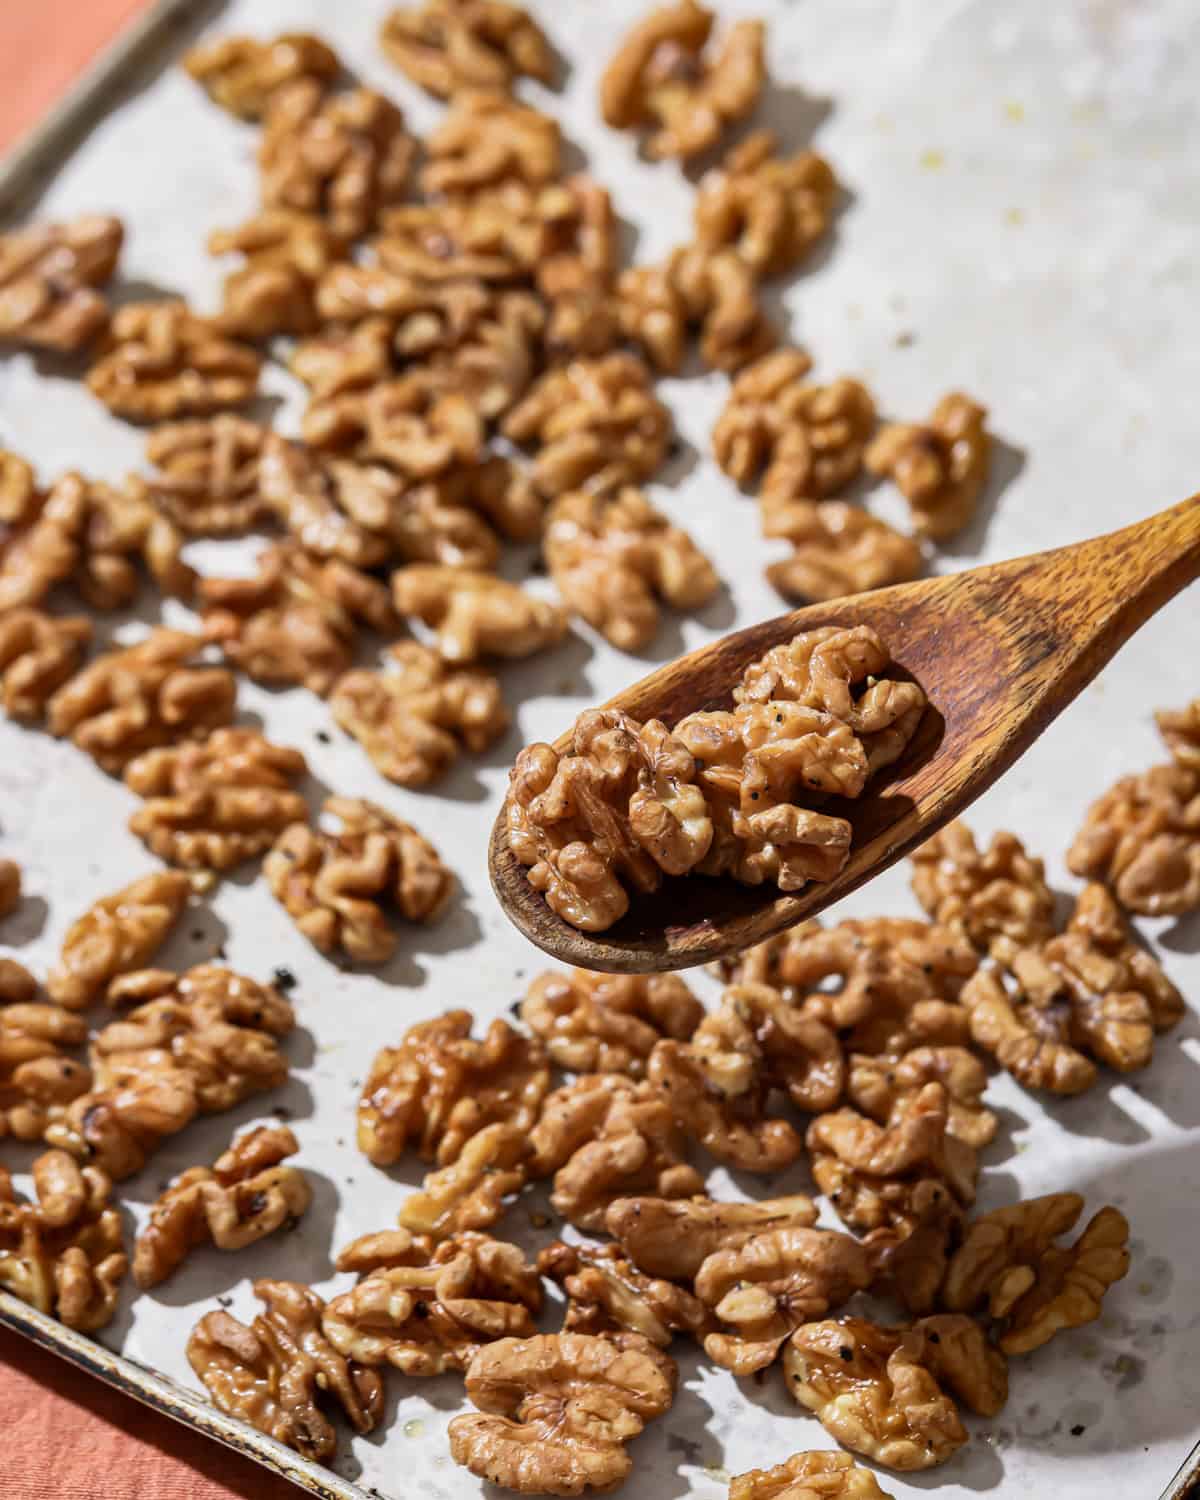
How to use roasted walnuts
A rule to live by: if it could use some nutty, salty crunch, reach for these toasty morsels.
- Sprinkle them on creamy soups! Add fun texture to my creamy vegan broccoli soup, butternut squash soup, creamy cauliflower soup, or red lentil soup.
- Scatter on salads! A favorite is shredded Brussels sprouts + creamy balsamic vinaigrette + shaved fennel and pears + roasted walnuts! Or, try showering them over my roasted butternut squash kale salad, this wintry kale and brussels sprouts salad, or my fennel orange salad.
- Use as a topper for grain bowls! Follow this blueprint for an irresistible bowl: brown rice or farro + baked or air fried tofu + these roasted walnuts + roasted veggies of your choosing + a creamy sauce—try a dollop of hummus or vegan aioli, a drizzle of lemon tahini dressing, a bit of easy pesto, or a spoon of vegan ranch.
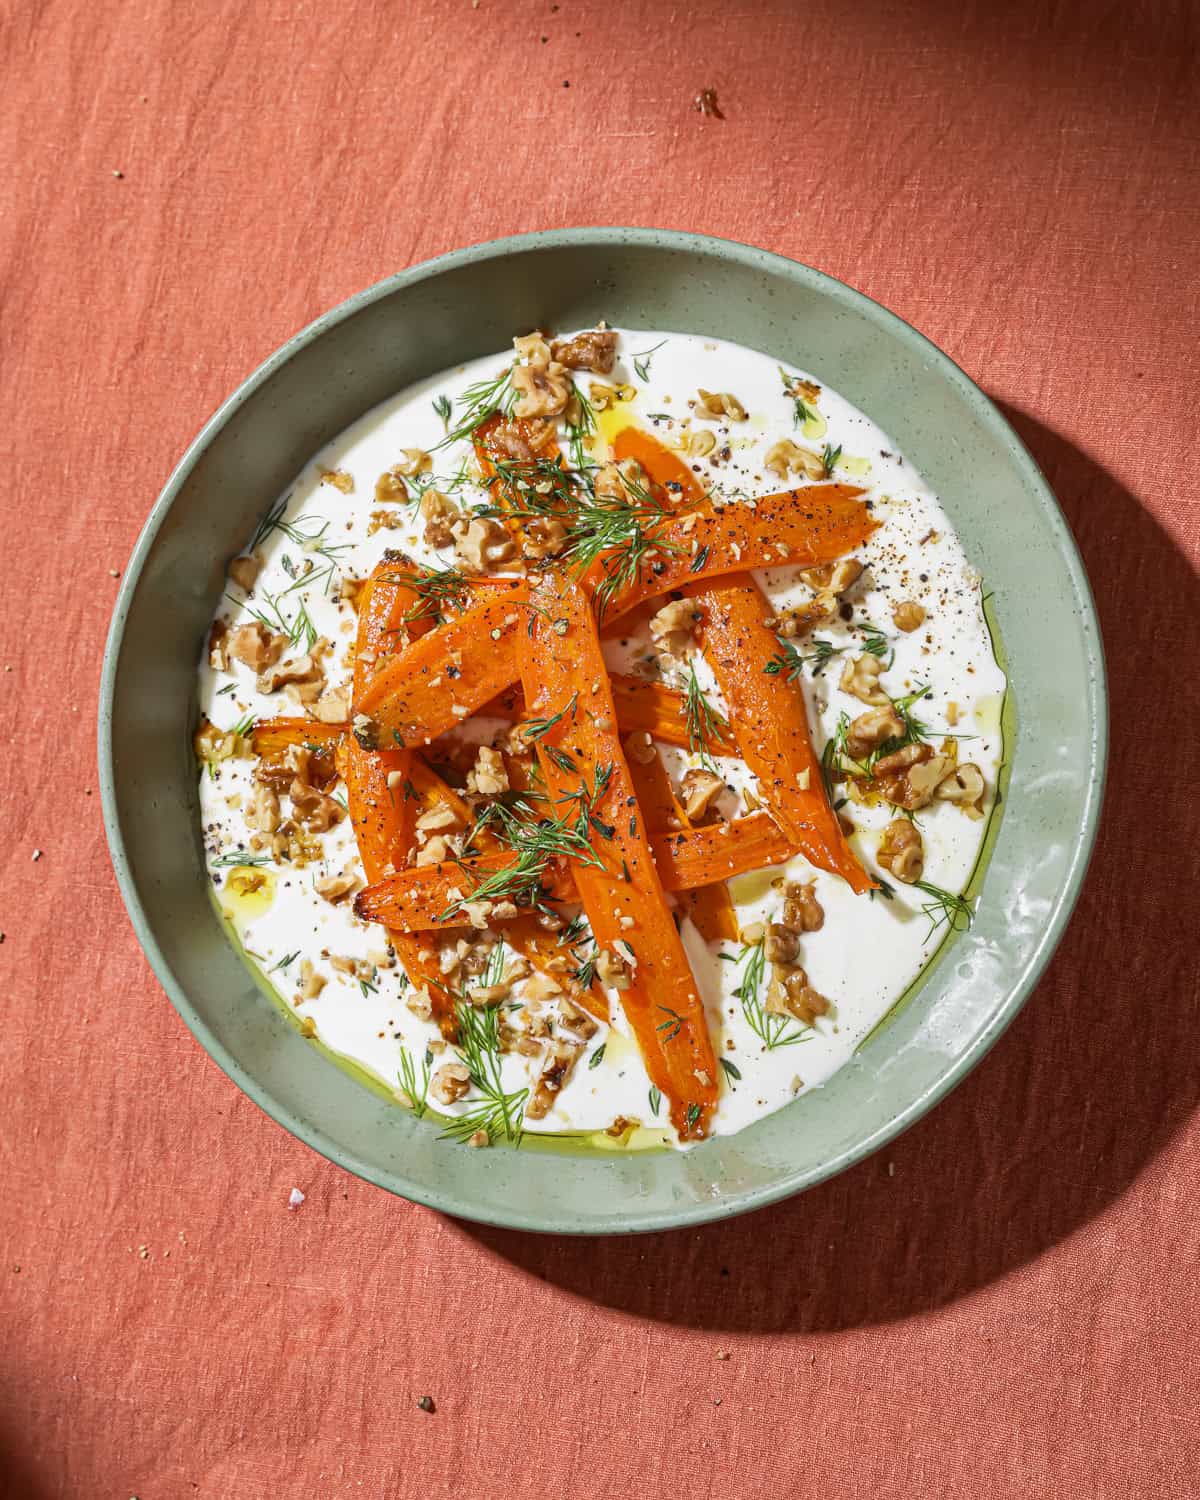
- Top veggie dishes: Here’s a fun formula: (1) smear a creamy dip across the plate (think Silky Beet Dip, Whipped Tofu Ricotta or Whipped Feta, see page 208 of Big Vegan Flavor); (2) top with roasted veggies (think carrots, beets, broccoli, butternut squash, cauliflower); (3) scatter on these roasted walnuts, a drizzle of your best olive oil and vinegar (or lemon juice), and chopped fresh herbs.
- Breakfast bowl toppers: I love tossing these on chia pudding, oatmeal, and yogurt & fruit bowls in the morning. The salty savoriness adds a bit of interest to sweet-leaning breakfasts—though they’d also be a lovely complement to savory oatmeals like this one.
- Make your own trail mix! My personal favorite combo = these roasted walnuts + dried cranberries/blueberries/cherries or chopped dates + dark chocolate chips 😍
- Eat ‘em by the handful! Having a batch of these in the pantry makes it easy to reach for something wholesome and nutrient-dense when you’re feeling peckish.
Frequently Asked Questions
Yes! This method works well with most seeds and nuts (I use it in my roasted pepitas), though the exact roast time will vary based on the nut’s density and oils.
You’ll get much better results with the oven. Because of their uneven shape, it’s hard to toast walnuts evenly in a frying pan—some spots burn before other spots brown.
Once cool, store these in a sealed jar or airtight container in your pantry for up to 2 weeks (they tend to go stale after that).
Are these nutty roasted walnuts helping you hit your daily crunch (and nutrition) quota? I want to hear all about it! Leave a rating and review below 🫶🏽

Introducing
Big Vegan Flavor
Techniques and 150 recipes to master vegan cooking.
Roasted Walnuts
Ingredients
- 1 ½ cups (168g) chopped walnuts
- 2 ½ teaspoons (11.5g) extra virgin olive oil
- 1 scant teaspoon kosher salt (see Note 1)
- Freshly cracked black pepper
Instructions
- Arrange a rack in the middle of the oven and preheat to 350ºF / 175ºC. Line a sheet pan with parchment paper.
- In a bowl, combine the chopped walnuts, oil, salt, and a generous amount of pepper, tossing well to coat. Spread out on the lined sheet pan.
- Roast in the oven for 5 minutes, then toss the nuts around. Roast for another 5 minutes, or until toasty and golden brown, checking a minute early if your oven runs hot.
- Transfer the parchment paper to a flat surface to cool. Once cool, funnel into an airtight container or jar and seal. Store in the pantry for 1 to 2 weeks.
Notes
- If using table salt, use half the amount: a scant ½ teaspoon. If using Morton’s kosher salt or sea salt, use ½ teaspoon.
Nutrition
Nutrition information is automatically calculated, so should only be used as an approximation.
 Love this? Leave a rating below!