I don’t say this lightly: this is the best homemade hummus recipe! It’s easy to make with a handful of ingredients and features an incredible texture and restaurant-quality flavors, just like my Beet Hummus. One try and, like thousands of other readers, you’ll never go back to store-bought hummus again!
I’ve been making homemade hummus for over 8 years now. The most important lesson I’ve learned is that you don’t need to be a world-class chef to make the best homemade hummus. You just need a few quality ingredients and some tricks up your sleeve!
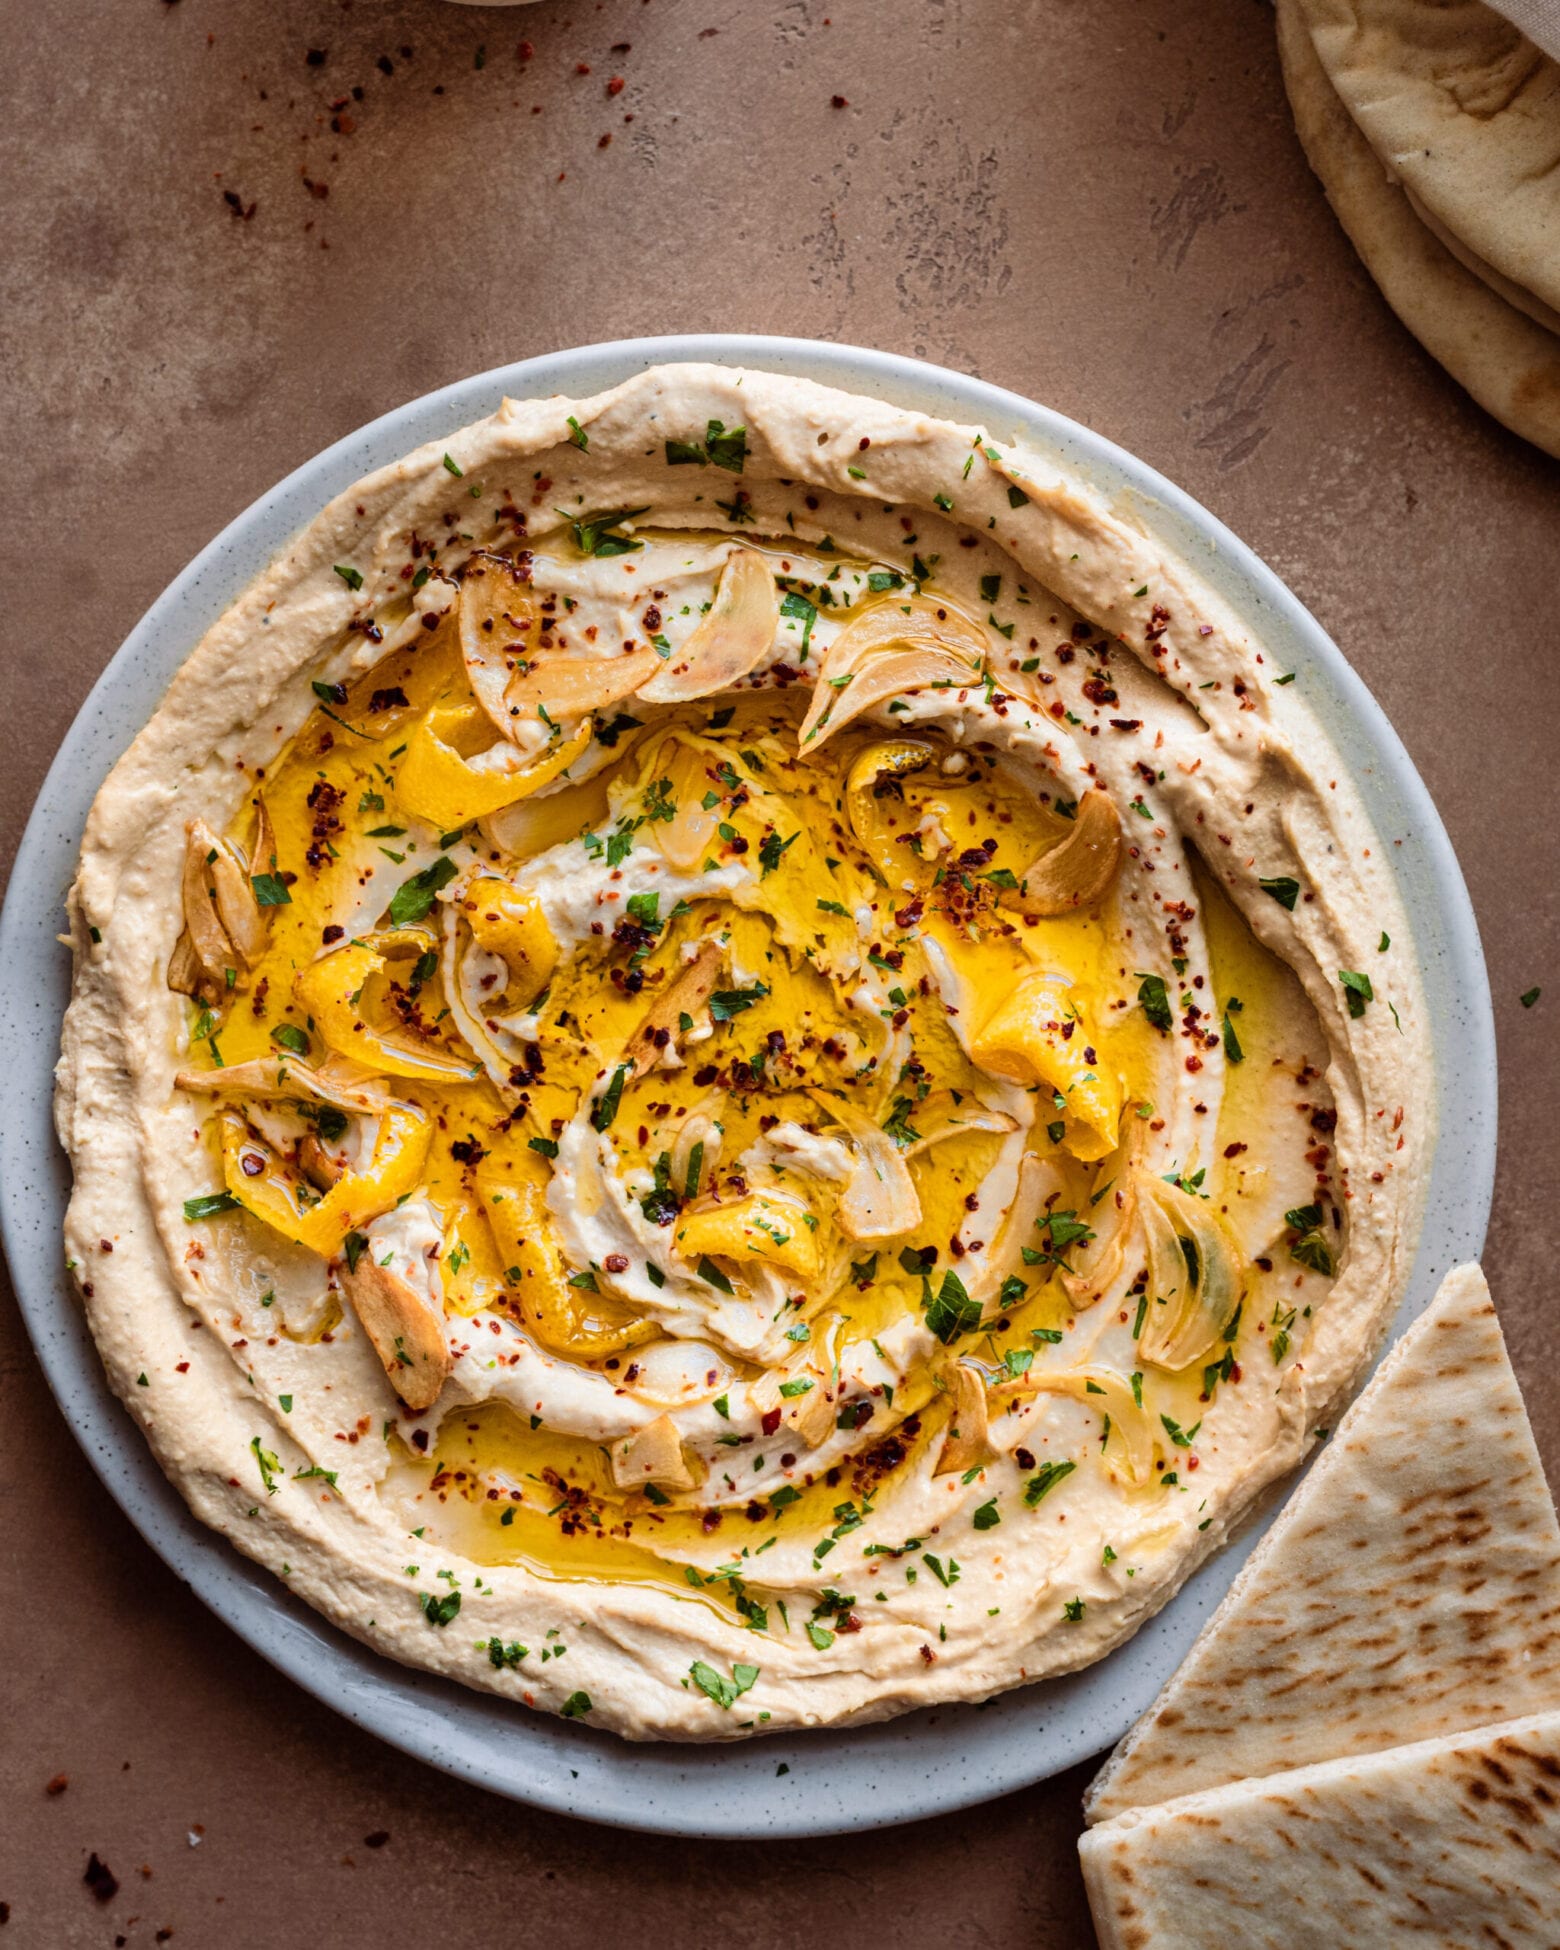
What is hummus?
Hummus (or “humus”, “houmous”, and “hommus”) is the Arabic word for “chickpeas”. It’s a naturally vegan dip or spread made primarily with cooked chickpeas, tahini, garlic, lemon, and salt; some versions also contain cumin.
Hummus has been a staple in many Middle Eastern countries for centuries. There’s actually quite a debate about who invented hummus and which countries can claim hummus as their own. If you’re interested in reading more, check out this article on who invented hummus and this article on hummus’s origins.
For more cultural and sociopolitical context, I also recommend the books of Palestinian food writer and historian, Reem Kassis (The Palestinian Table (2017) and The Arabesque Table (2021). The process and techniques I used have been largely influenced by three chefs—Yotam Ottolenghi, Sami Tamimi, and Michael Solomonov—so be sure to check out their cookbooks if you want to learn even more!
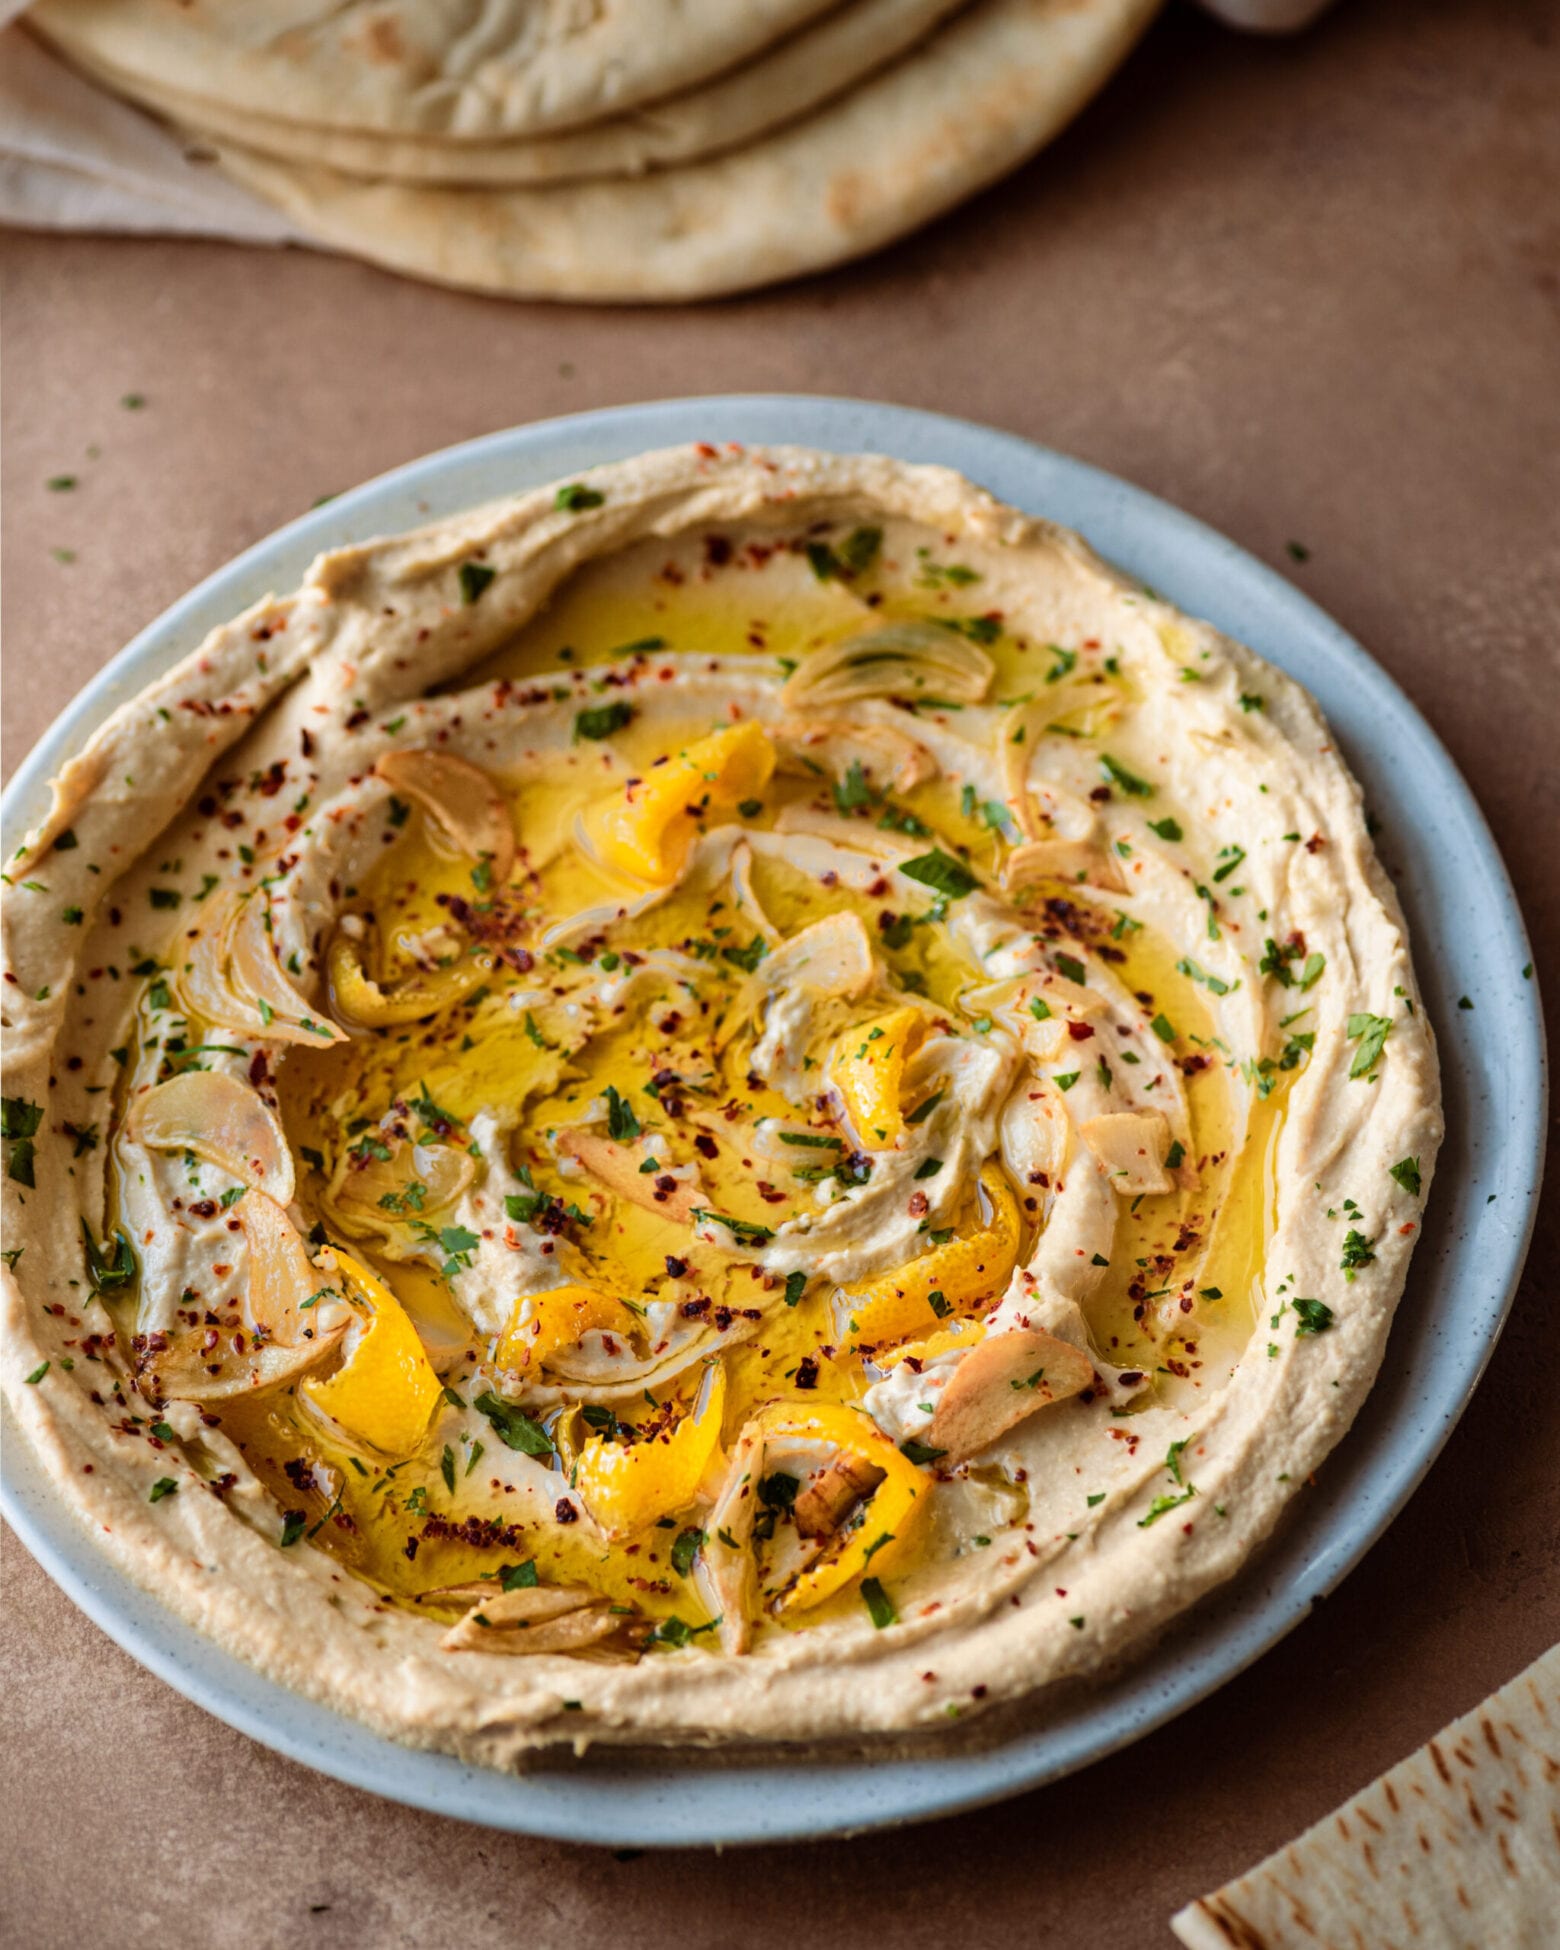
Why this recipe works
Incredibly creamy and smooth.
If you’ve eaten store-bought hummus, then you’ve experienced its infamous stiff and gloopy texture. That is NOT what we want. Instead, hummus should be creamy, as well as somewhat loose and pliable.
A handful of good-quality ingredients and simple techniques are all you need to make the best homemade hummus. The texture of this hummus is extremely creamy and smooth, never gritty or chunky. That alone will have you reaching for more.
Life-changing flavors.
I have a long list of grievances with store-bought hummus but one of the biggest is the flavor (or lack thereof). It’s also usually served cold, which causes the nutty richness that makes hummus amazing to lie dormant.
As chef Michael Solomonov mentions in his cookbook Zahav (the titular name of his restaurant where hummus is the most popular dish on the menu):
“[Even the best store-bought hummus] requires certain additives to make it shelf-stable–most likely citric acid. These additives turn hummus sharp and sour–light years away from the dreamy qualities of fresh hummus.” – Chef Michael Solomonov
Using fresh ingredients to make hummus from scratch helps you avoid those additives and flat flavors. Instead, each scoop is boldly nutty, lemony, and rich in flavor. It’s a life-changing experience.
It’s just plain foolproof.
It may sound complicated, but making your own hummus is easier than you’d think. All of the ingredients are easy to find, and the dip comes together entirely in a food processor.
The recipe gets a little more complicated if you’re cooking dried chickpeas yourself (the method I recommend) but I will guide you through the process below.
Ingredient notes
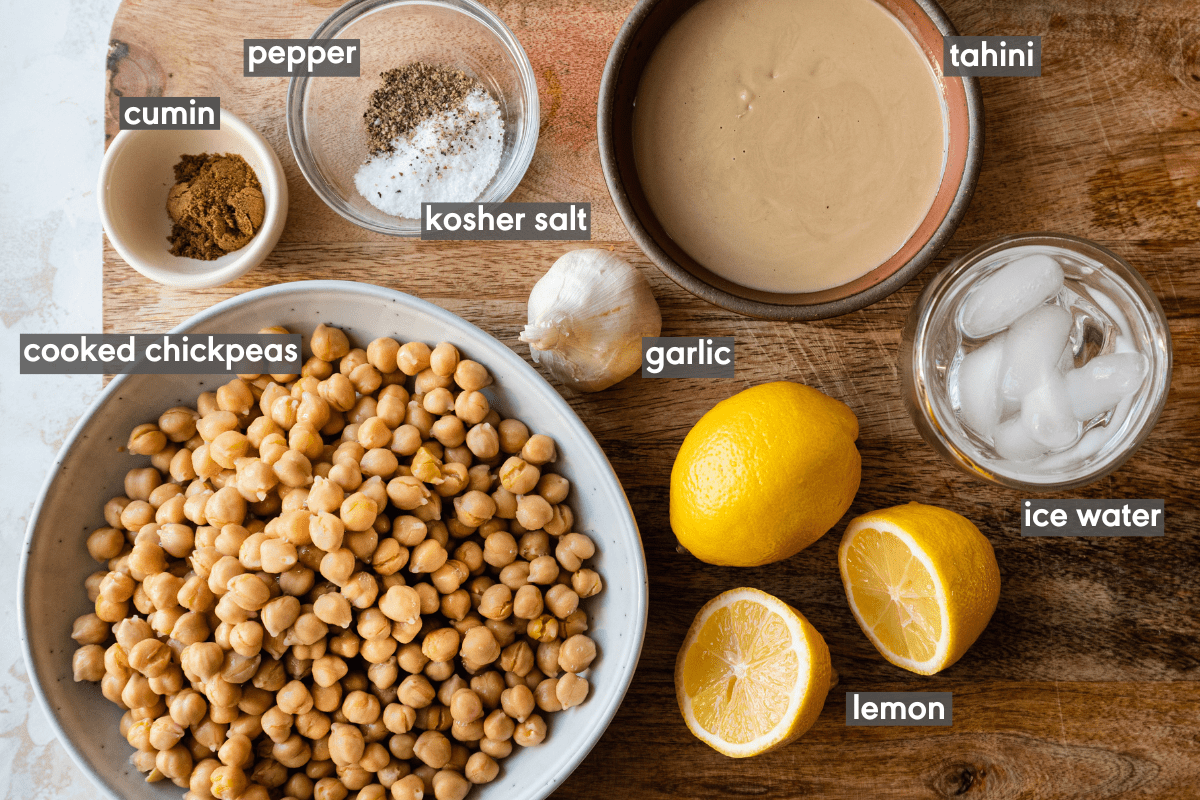
Chickpeas
AKA garbanzo beans. You can use both canned and dried chickpeas to make hummus but for the very best hummus, I like to cook dried chickpeas myself.
Canned chickpeas come with a firmer texture, which can leave the hummus with a slightly chunky texture.
There is a solution to this, though! When using canned chickpeas, just simmer the drained chickpeas in a pot of boiling water with baking soda. This will soften them right up. See the FAQ section for more details.
Tip: Using canned chickpeas? Remember to save the aquafaba (the water in the can)! Use it to make banana bread, vegan aioli, frothy cocktails, vegan whipped cream, and so much more.
Tahini
Tahini is a smooth and rich paste made from sesame seeds. It’s a primary ingredient in hummus and should never be left out. A good-quality brand of tahini makes a HUGE difference because its flavor is so prominent in every bite.
Tip: Always use tahini from hulled sesame seeds (unhulled sesame seeds are usually bitter). Check out my suggested tahini brands in the FAQ section below.
Lemon
Freshly squeezed lemon juice brightens up the rich, nutty, and savory flavors. Without it, the hummus would lack its distinguishable ‘pop’.
Garlic
Some people (hi, me!) like their hummus quite garlicky. If you don’t love the sharpness of raw garlic, you can (1) use less garlic (start with 1 clove) or (2) quickly marinate the garlic cloves in a small bowl of the lemon juice.
Salt
For flavor and to make everything taste like itself!
Substitute: If using sea salt instead of the kosher salt called for in the recipe, you’ll need to use about half of the amount called for in the recipe, then adjust according to your desired taste.
Ice water
Water brings the hummus together. I learned from chefs Ottolenghi and Tamimi that ice water, in particular, makes the texture even creamier and gives it an almost fluffy, pillowy, and whipped consistency.
Step-by-step instructions
First, soak and cook the dried chickpeas if you haven’t done so already. Cook until very soft.
Or, if you’re using canned chickpeas, boil them in water with a little baking soda for a few minutes to help them soften.


Drain, then transfer to a food processor while still warm. Blend the chickpeas until you’re left with a thick puree.
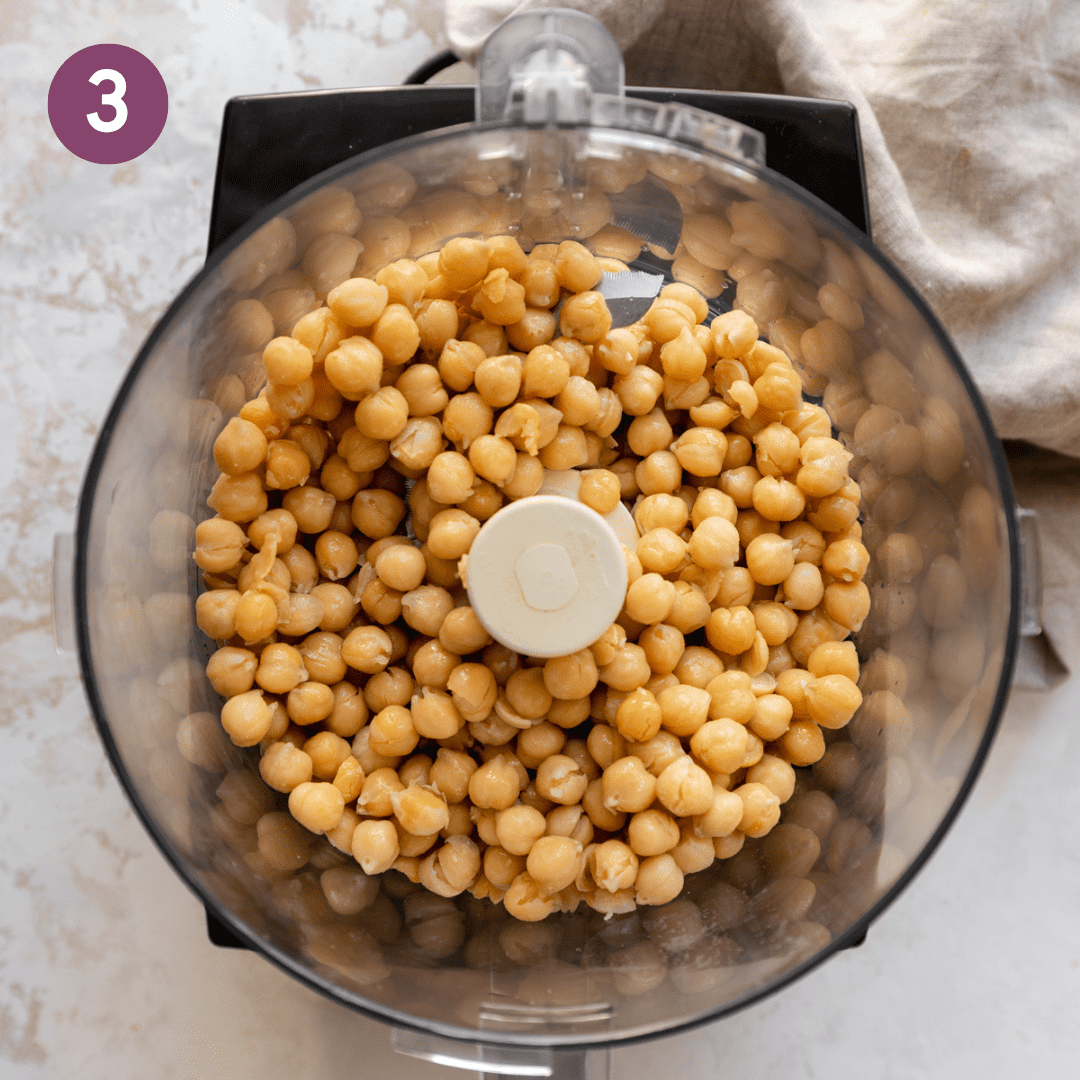
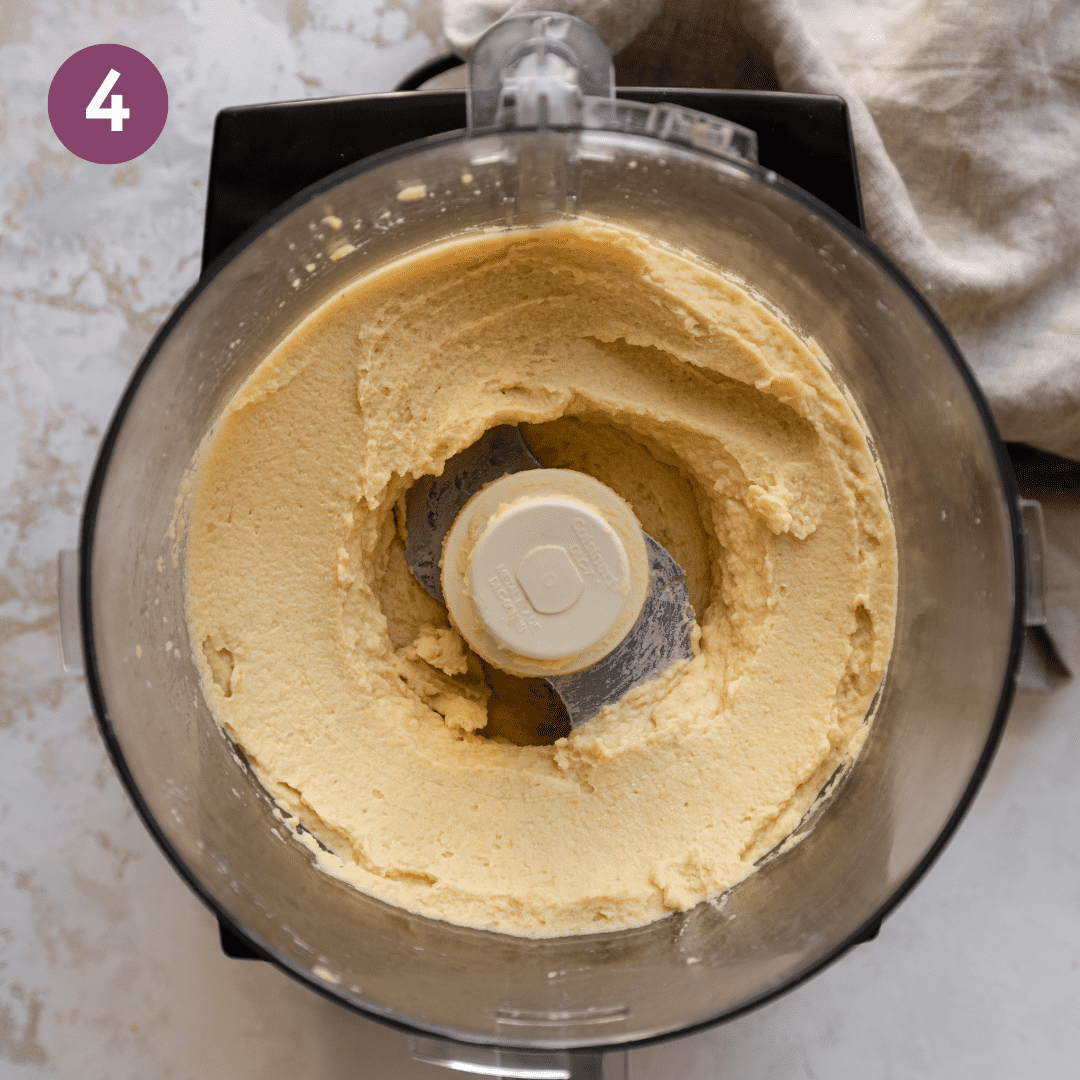
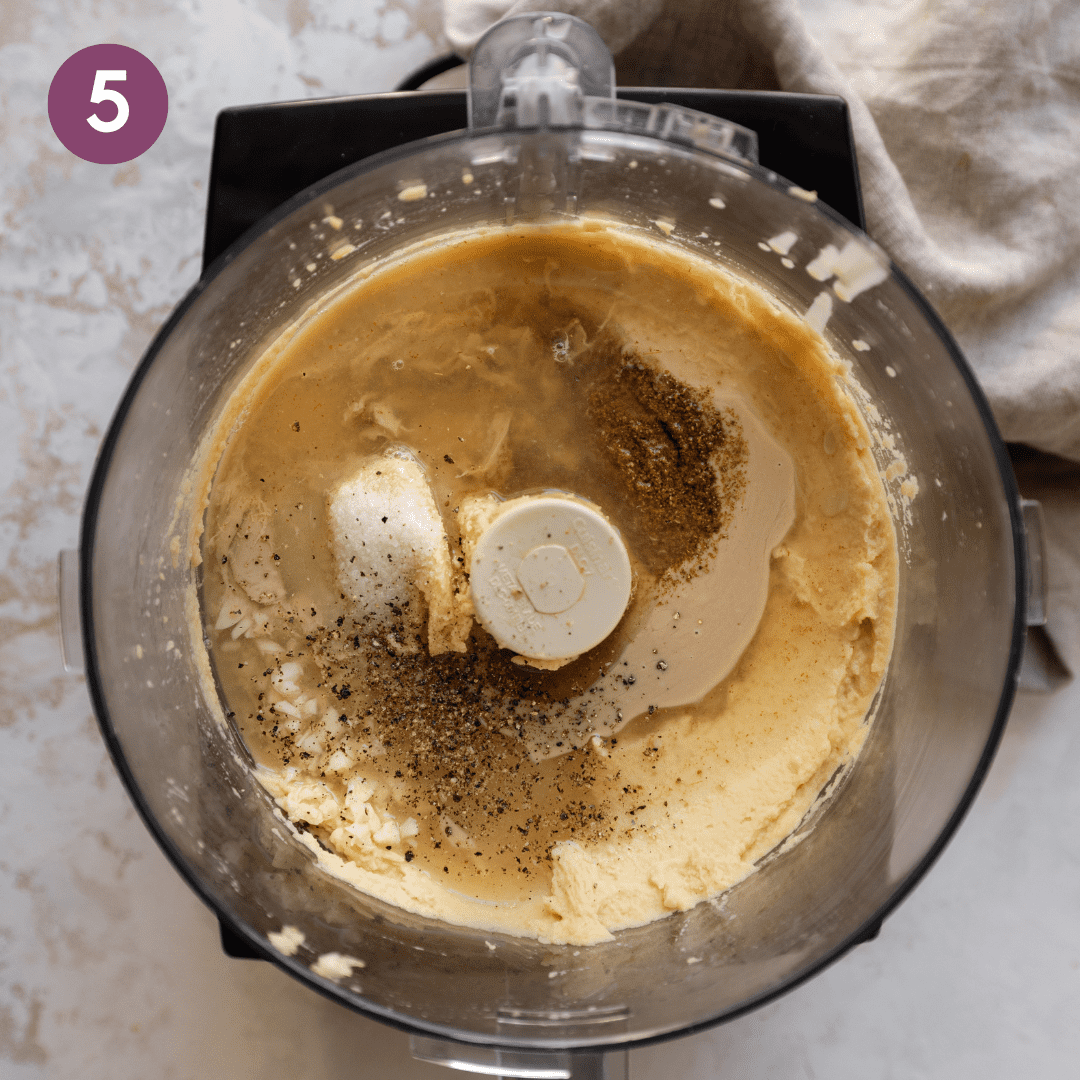
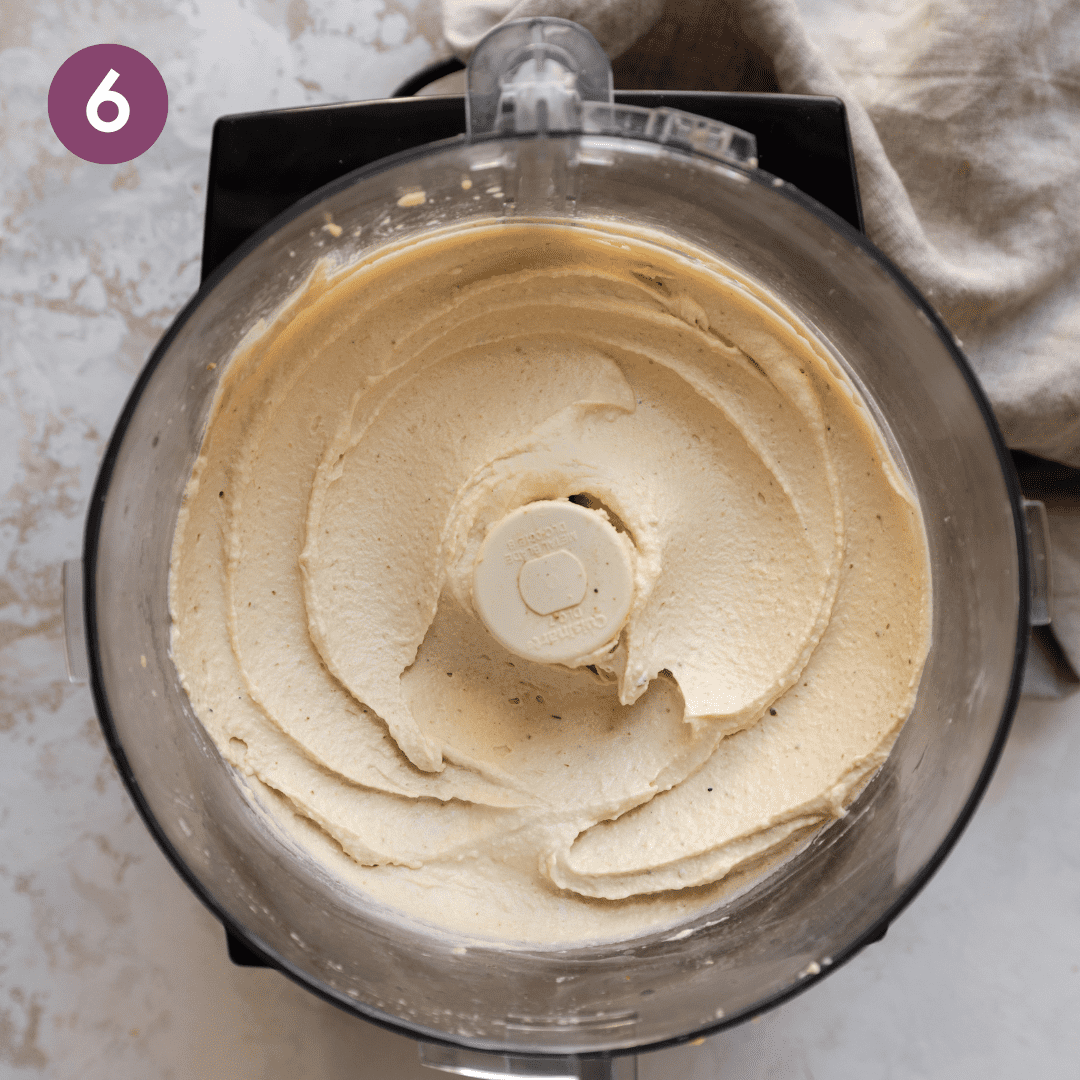
Now add the tahini, lemon juice, garlic, cumin, kosher salt, and pepper. Blend again and slowly stream in the ice water as the machine is running.
Once it’s smooth and creamy, give the hummus a taste and add more seasonings or lemon juice as needed.
Make the lemon-garlic topping before serving the hummus. Heat the oil in a skillet over medium heat, then add the garlic and cook until it’s golden. Add the lemon zest and cook for another 30 seconds.
Transfer the lemon zest and garlic to a plate (reserve the oil) and add a sprinkle of salt on top.
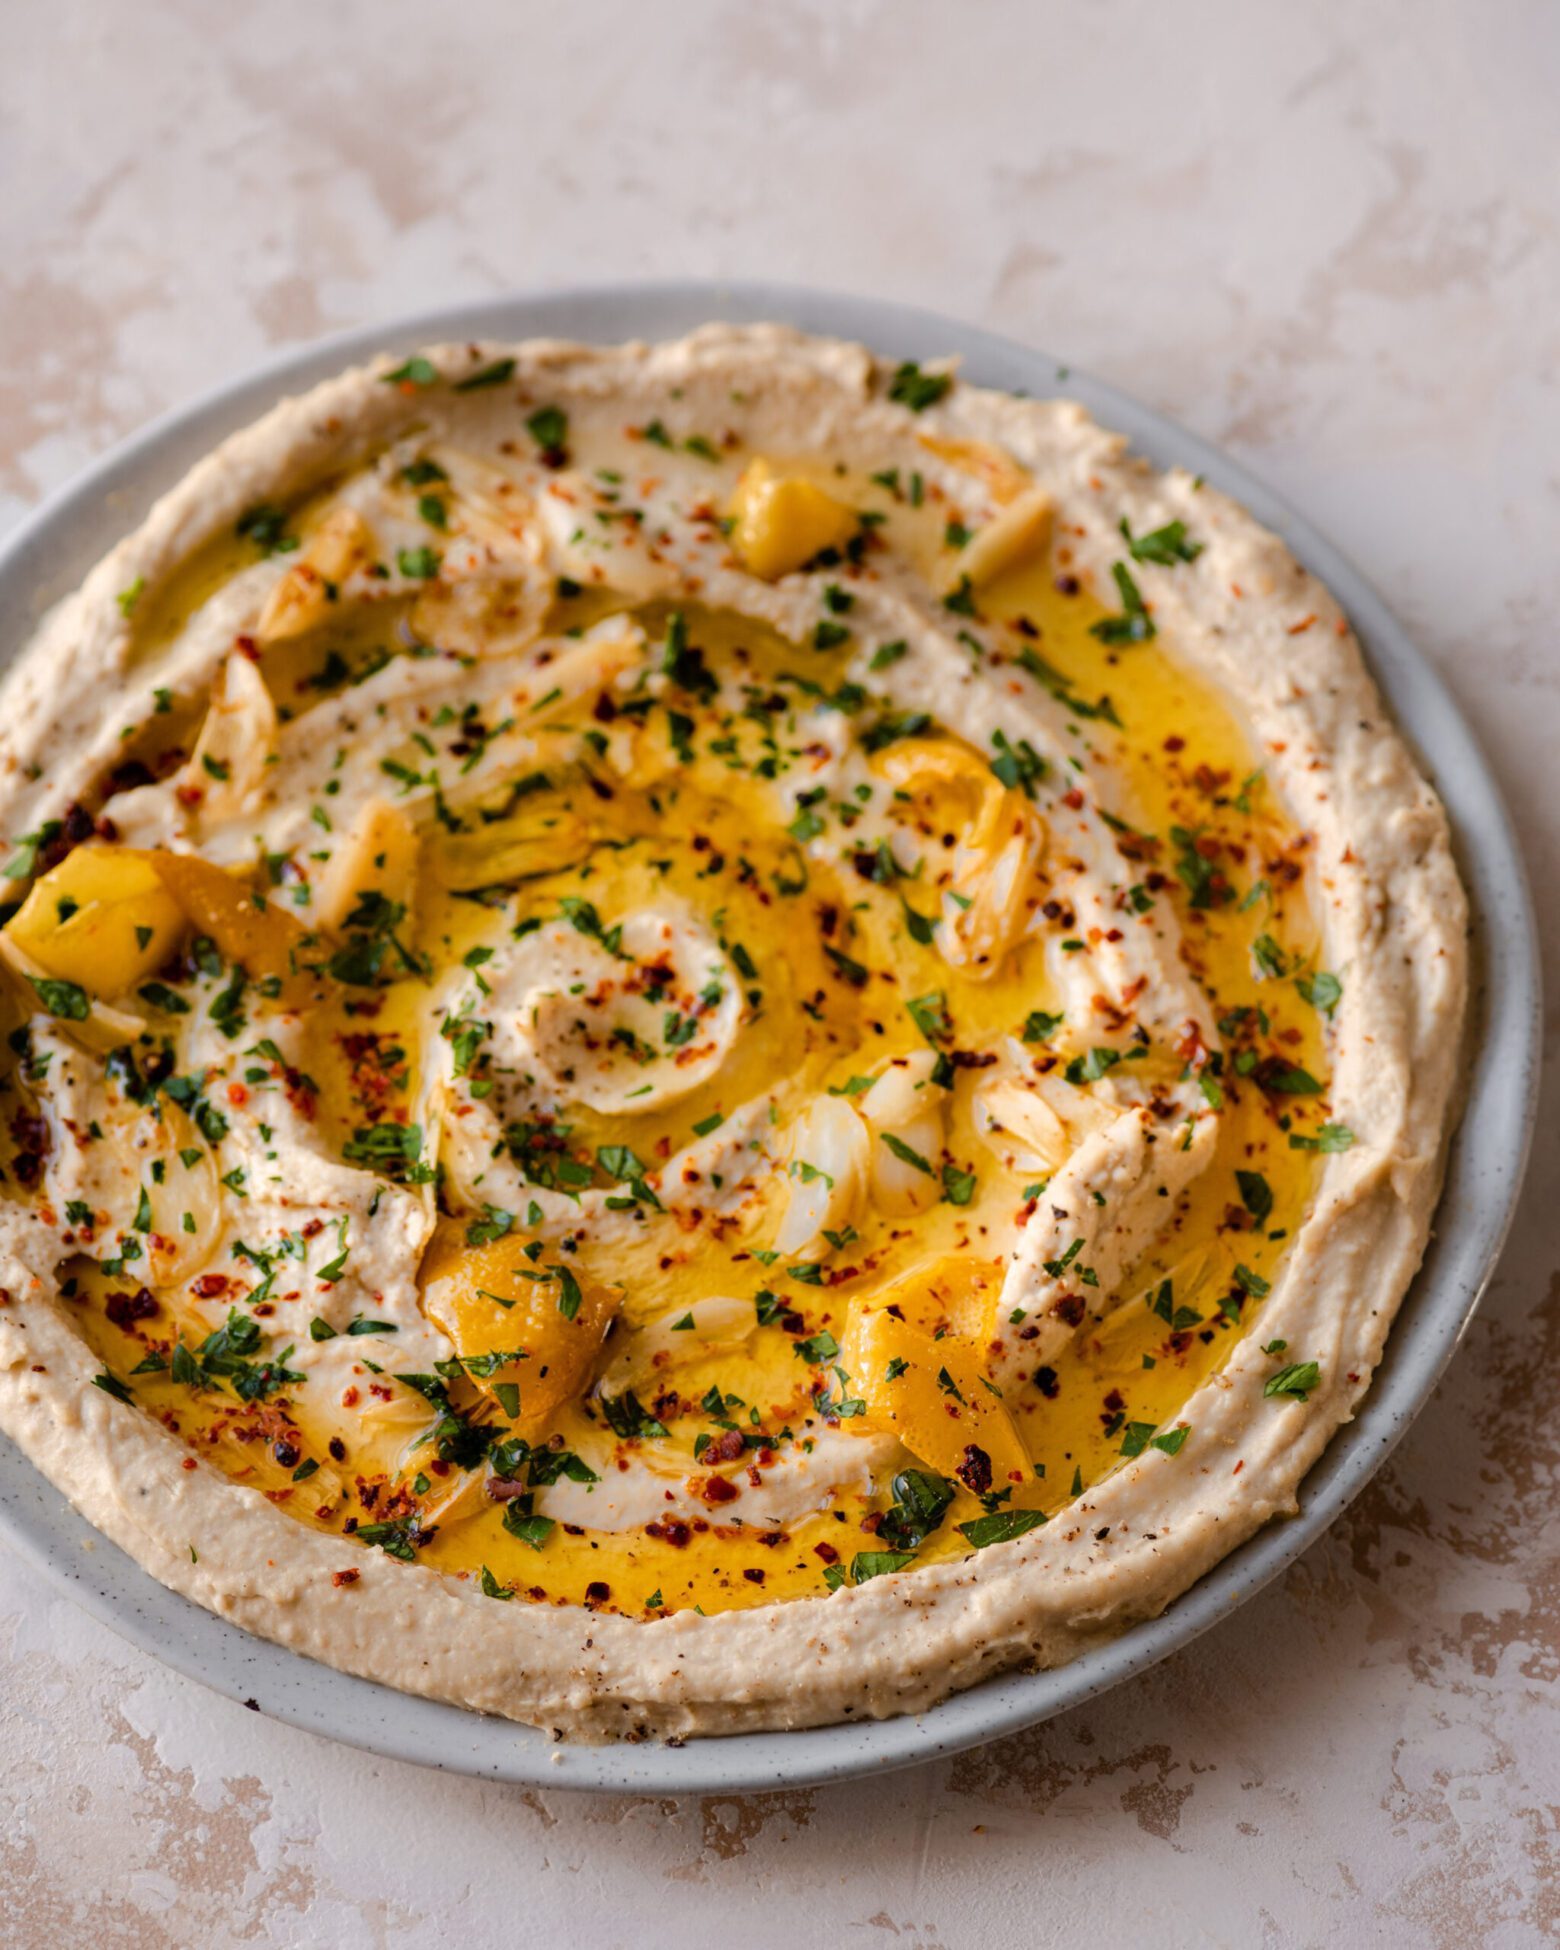
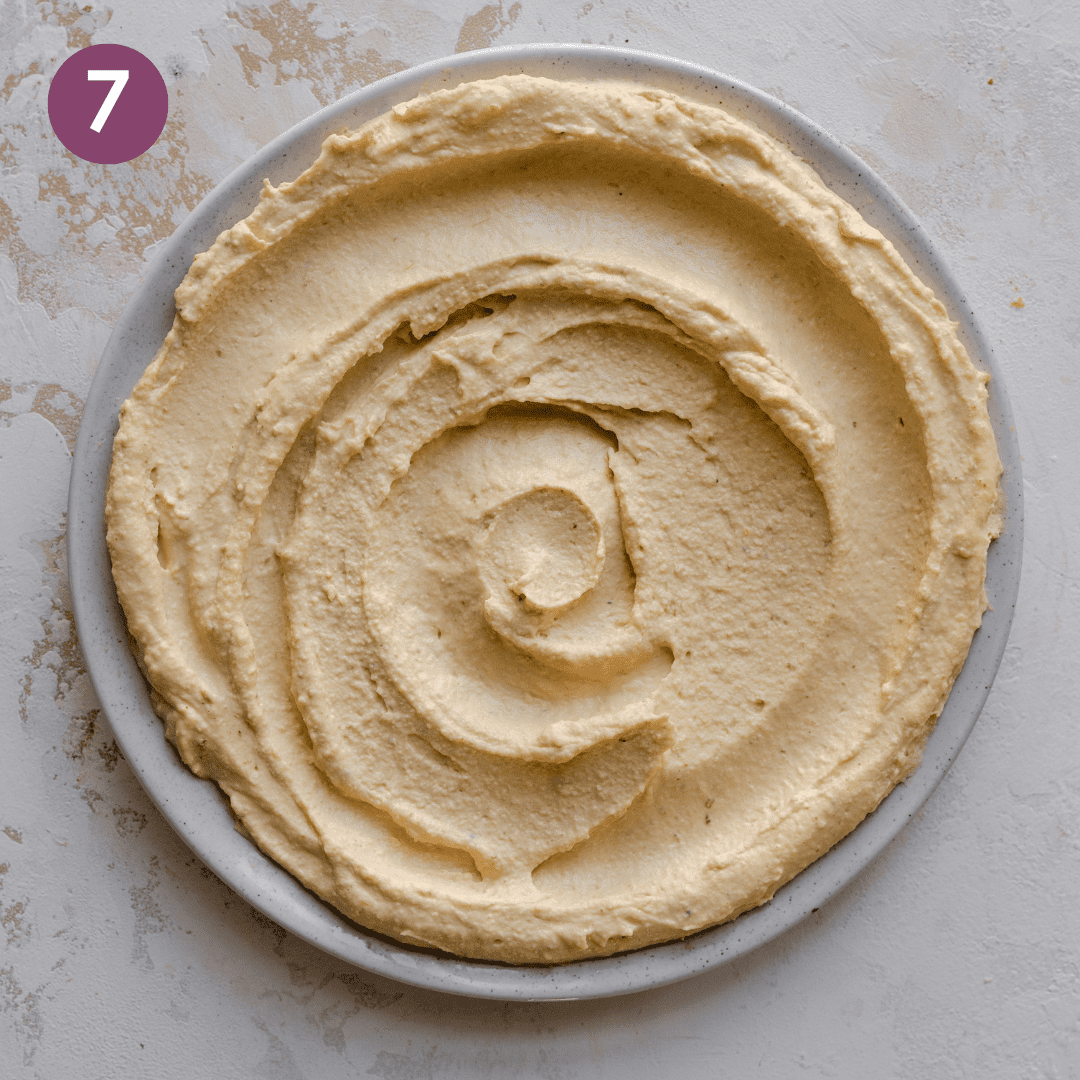
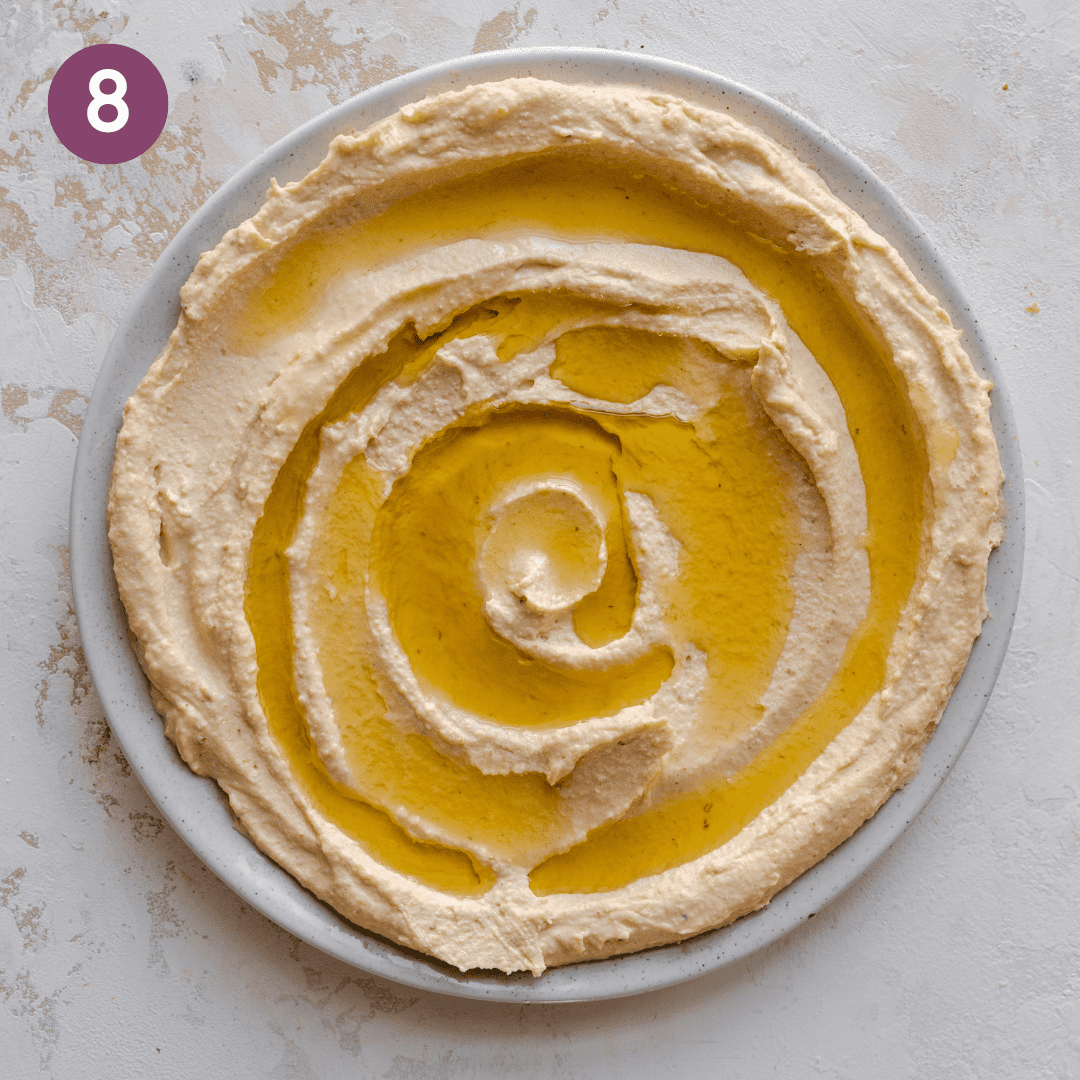
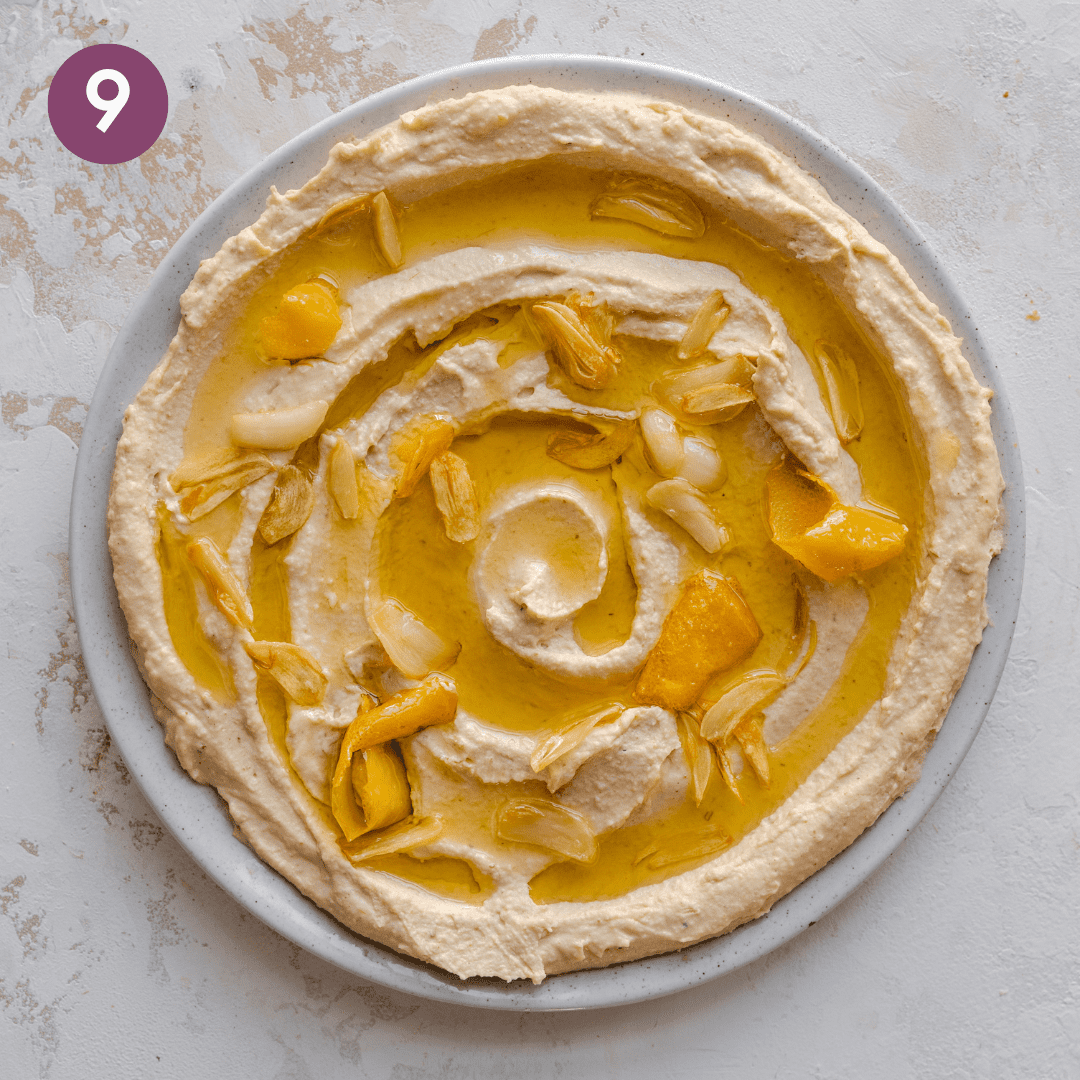
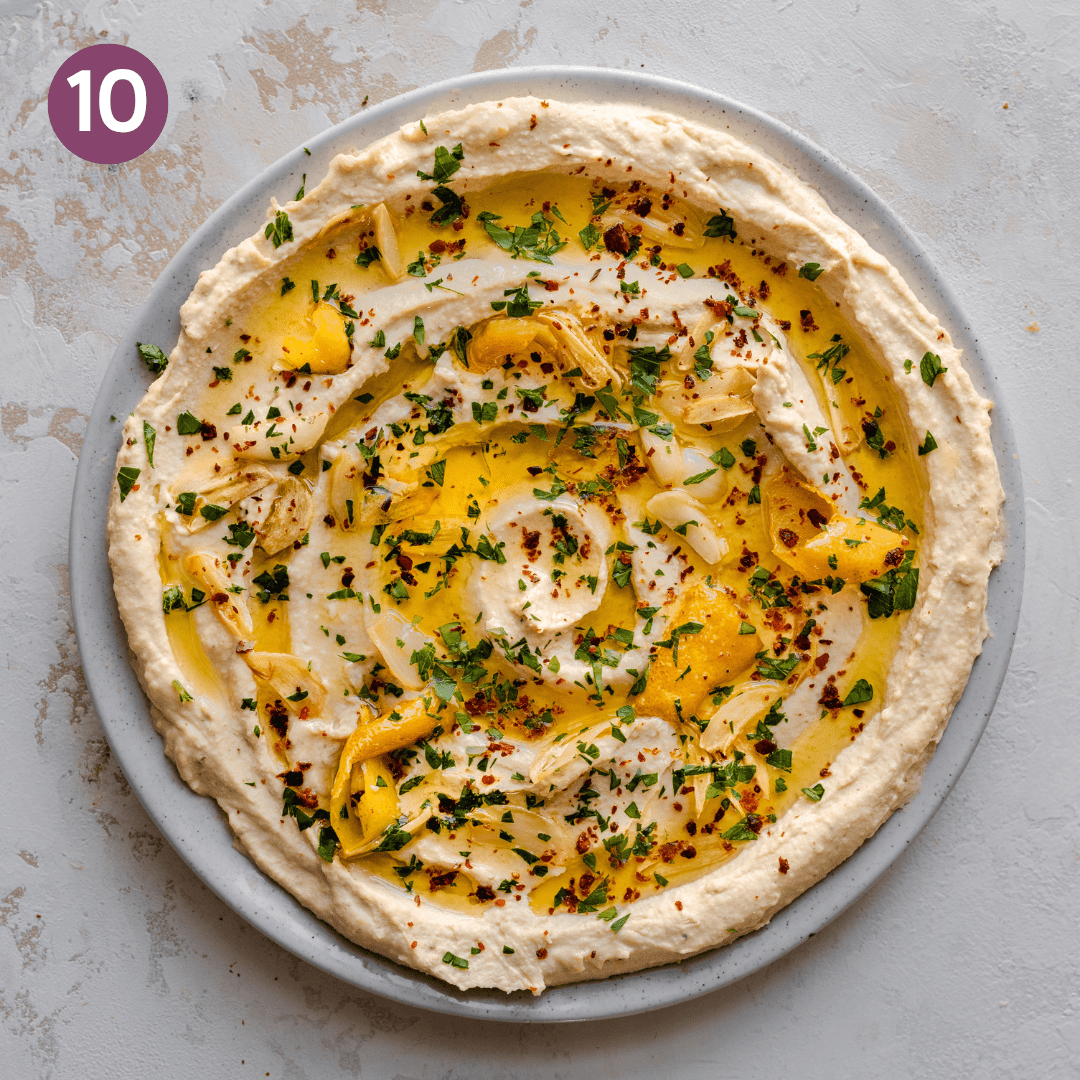
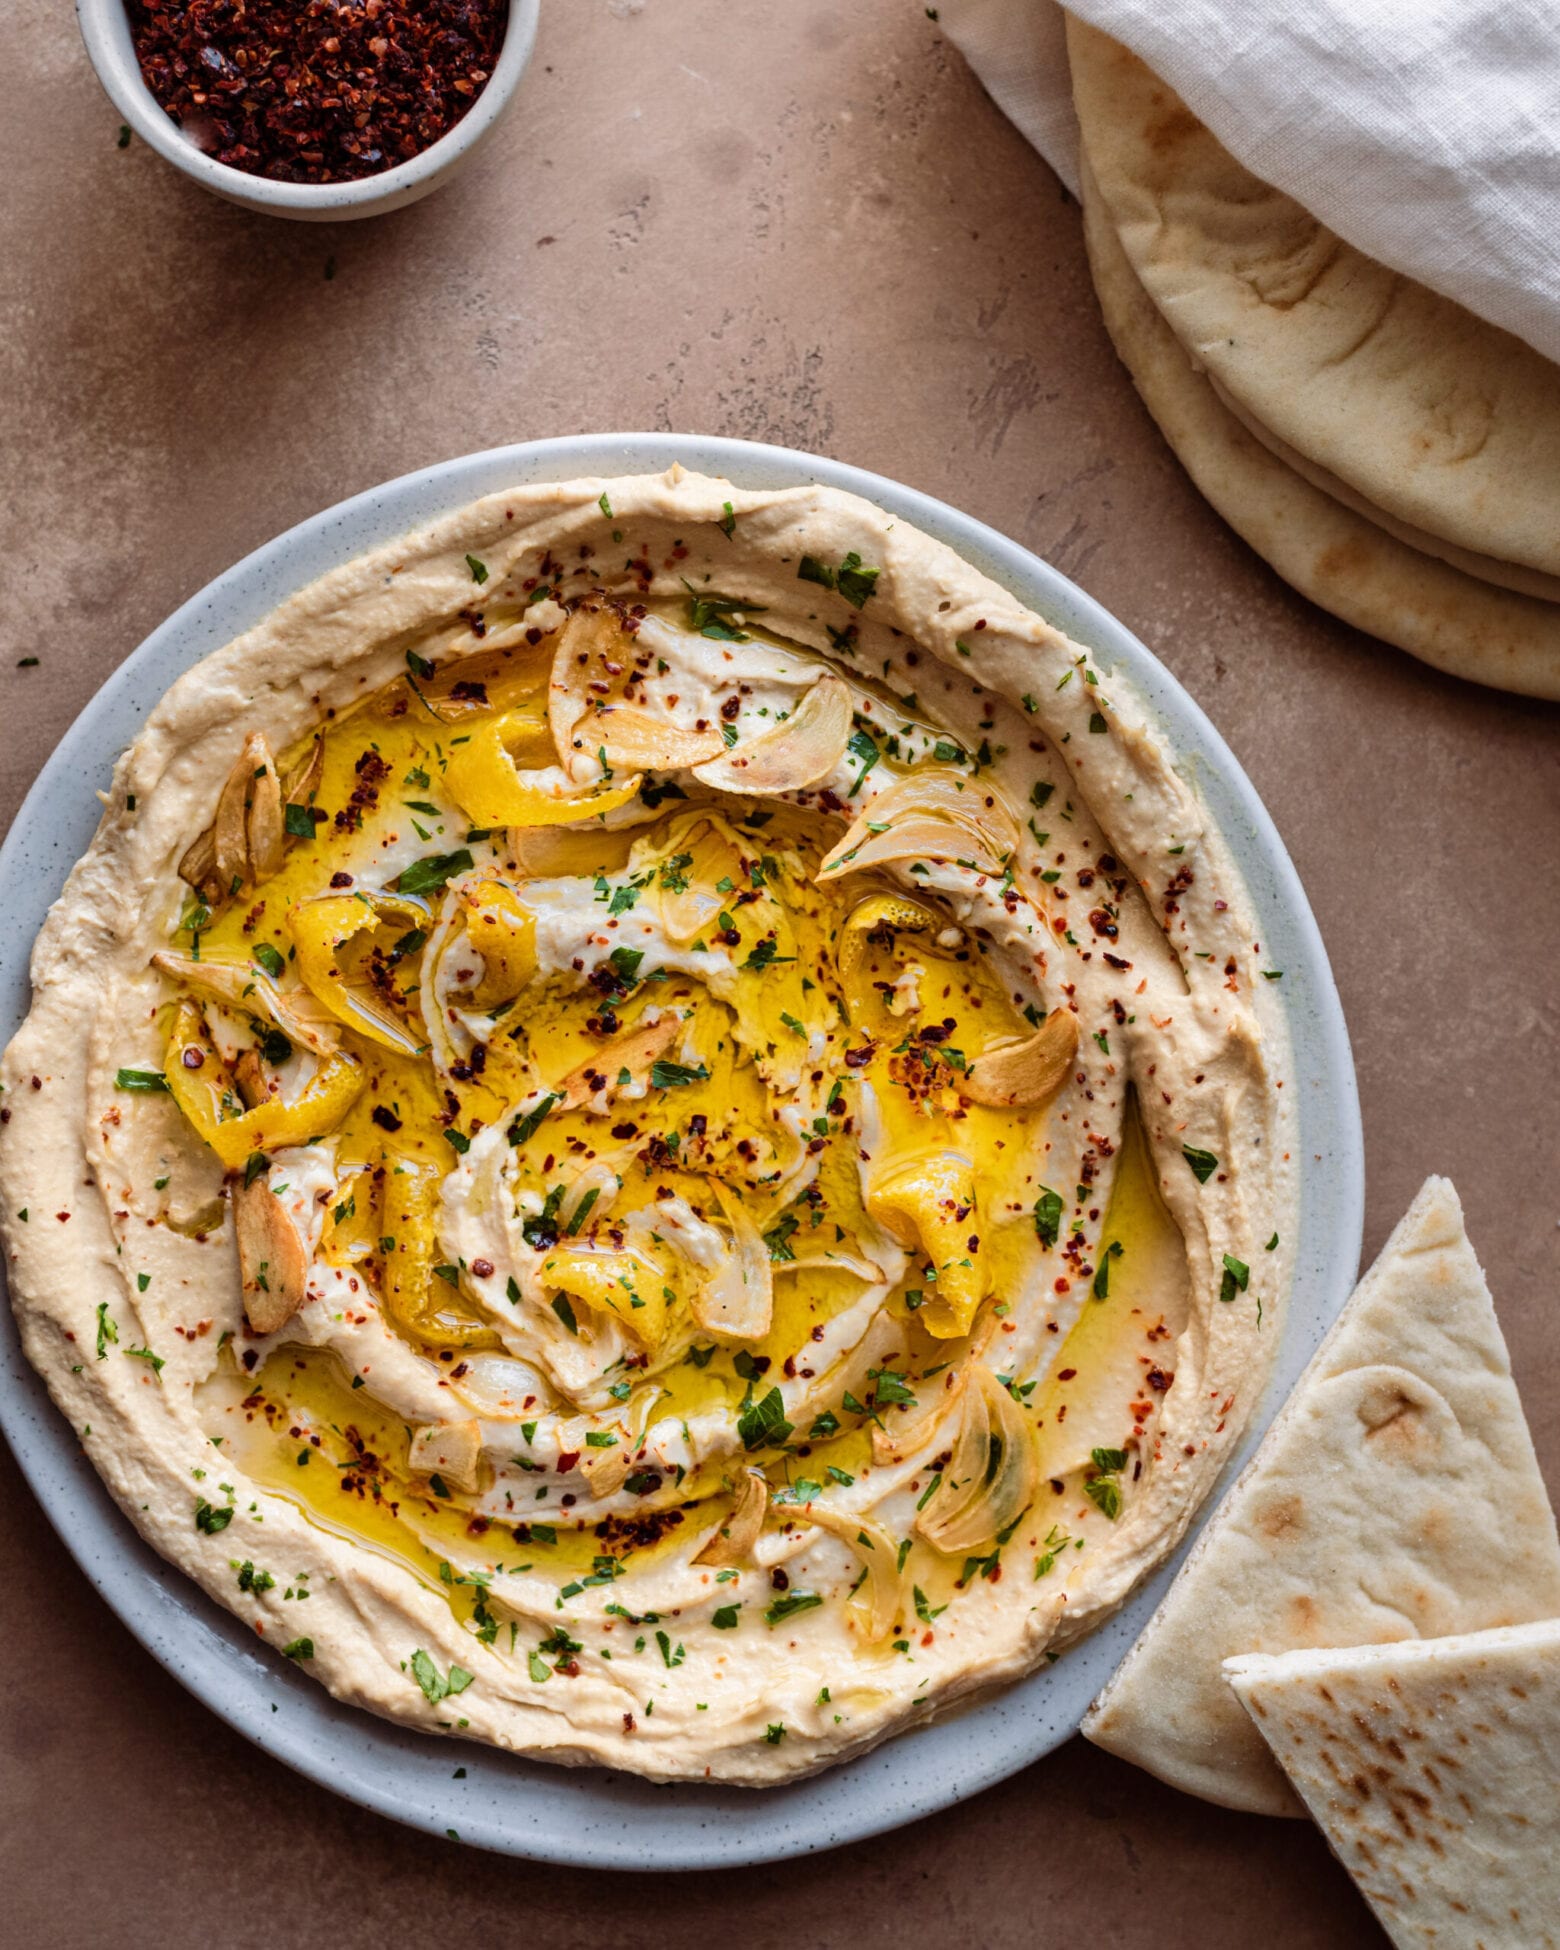
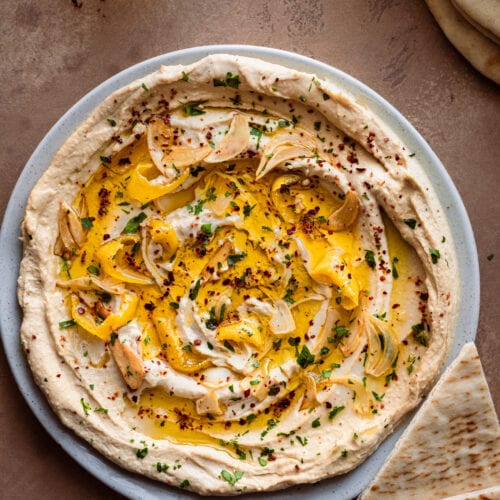
Dress and serve the hummus. Spoon the hummus onto a large serving plate. Use the back of the spoon to make waves on the top and/or a well in the center. Add the garlic-lemon topping and finish with a drizzle of the reserved oil, chopped flat-leaf parsley, and paprika or Aleppo pepper. Enjoy!
Tips for making the best hummus
To peel or not to peel?
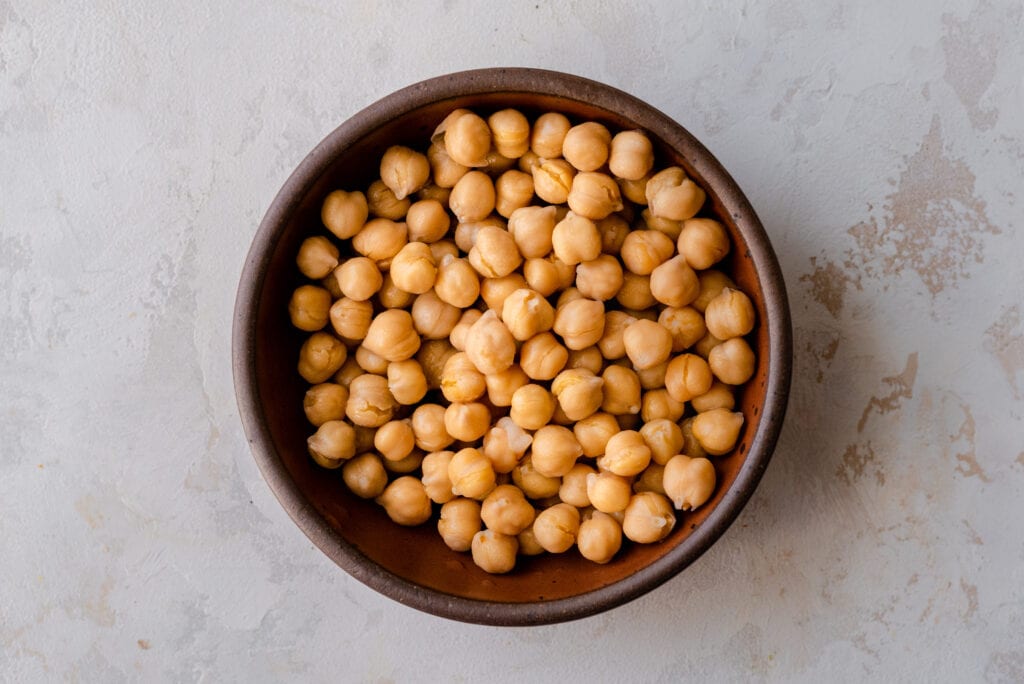
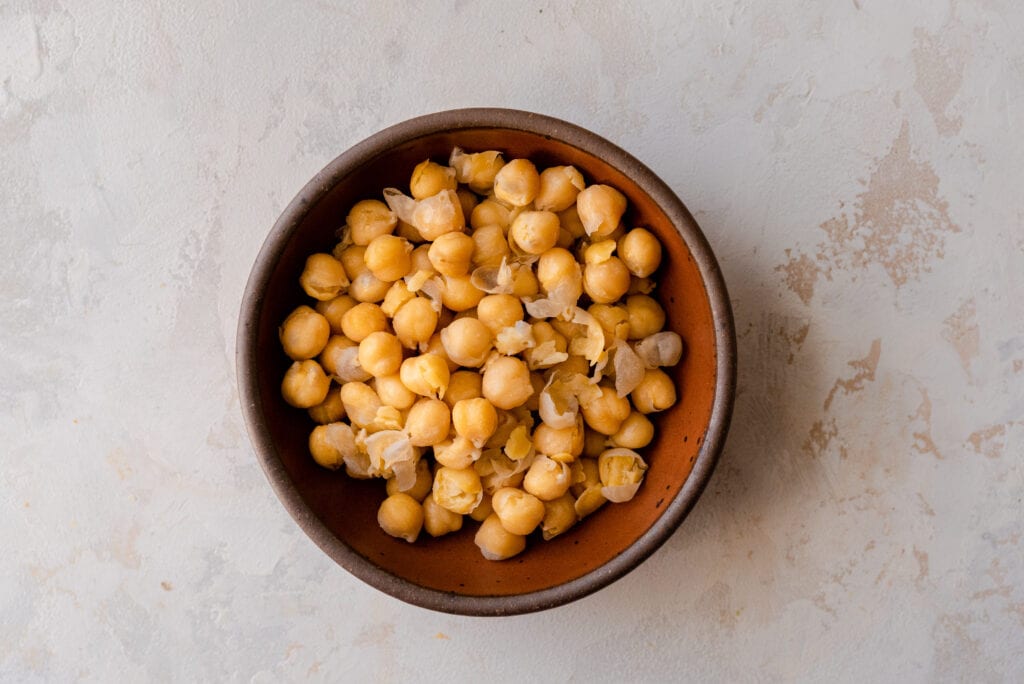
You will achieve the absolute dreamiest texture if the chickpea skins are peeled beforehand, but it isn’t a necessary step.
A lot of chickpea skins actually start to come off naturally after the chickpeas have been boiled with some baking soda. Just discard any loose skins.
Hack for peeling chickpeas faster: Lay the cooked chickpeas on a paper towel. Use a second paper towel to rub them vigorously to help loosen the skins.
The chickpeas should be soft
You’ll know the chickpeas have been cooked to perfection when they feel very soft and can be easily squashed when pressed with a spoon/fork or pressed between your fingers.
If using canned chickpeas, it’s important to simmer them first so the hummus gets super smooth.
Serve hummus at room temperature (or warm)
This way, you experience hummus the way it’s intended to be experienced and how it’s typically served across the Middle East—a luxuriously smooth dip with layers of rich, nutty, and savory flavors.
One way I keep the hummus warm is to make it with chickpeas that have been recently cooked. However, if you’ve pre-cooked and refrigerated your chickpeas, consider warming the chickpeas up in a pot of boiling water for 5 minutes first
How to serve this hummus
- One of the most popular ways to serve hummus here in the West is as an appetizer or snack. Make it a part of a grazing board, surrounded with pita bread or homemade naan, fresh-cut veggies, crackers, or pita chips for dipping.
- In the Middle East, you’ll find hummus included as part of the main or side dishes during breakfast, lunch, and dinner. It’s great on a mezze platter with falafel, tabbouleh, and tzatziki; use it as the base layer on a plate, then top with cooked beans and roasted veggies (similar to my Broccoli and Za’atar Chickpeas with Yogurt Sauce); or enjoy it with your favorite vegan protein, like Grilled Tofu Skewers.
- Hummus is always a fantastic addition to Mediterranean grain bowls and can even be thinned out with water, lemon juice, or vinegar for an easy salad dressing.
- Slather it onto a sandwich or in a stuffed pita with crumbled vegan feta, arugula or kale, cucumber, and pickled red onions.
- Don’t forget the toppings! You can take hummus over the top with the fried garlic and lemon topping from this recipe. Or, to get it on the table faster, stick with a drizzle of extra virgin olive oil and a sprinkle of fresh parsley, sumac or paprika, pine nuts, Aleppo pepper, and/or za’atar on top.
Frequently asked questions
The results won’t be quite as smooth but you can definitely make hummus with canned chickpeas.
In this recipe, you can substitute the dried chickpeas with 2 (15-ounce/425g) drained and rinsed cans.
While it’s easiest to just use a can of drained chickpeas to the food processor, the texture can be slightly chunky and not lusciously smooth. This is because, for hummus, you want super soft chickpeas that have fewer skins. And canned chickpeas are not super soft (they’re rather firm and great for salads/bowls and eating whole.
To remedy that, you can cook the canned chickpeas (even though they’re already cooked). Add them to a saucepan, cover with an inch or two of water, and add ½ teaspoon baking soda. Bring to a boil over high heat, then reduce the heat to maintain a rapid simmer for 20 minutes, or until the chickpeas start falling apart. Continue making the recipe as per the instructions at step 3 (draining the chickpeas and adding them to the food processor.
My two favorite brands for tahini are Soom Foods and Seed + Mill. Soom Foods is easily available on Amazon. Seed + Mill is a smaller operation local to New York and sold at some Whole Foods; if you can find it, it’s liquid gold.
For options that are a bit cheaper, Beirut Sesame Paste is quite good and the Whole Foods 365 brand is decent (affiliate links).
Yes. A high-powered blender with a baton is best and will make the hummus super smooth. However, it’s pretty important to use a small-capacity blender, as there is very little liquid in the recipe. If you use a 64-ounce container, for instance, you’ll have trouble getting it to blend.
It will stay fresh and creamy for up to 1 week in the fridge (but it’s best within 4 days). You can prevent it from drying out by storing it in an airtight container with a light layer of extra virgin olive oil on top.
Allow it to come to room temperature, or warm it up. Warming it up loosens the texture, making it smoother. Simply add the amount of hummus you’d like to reheat to a saucepan, add a couple teaspoons of water, and stir constantly for a few minutes until warmed through. Or, heat it in the microwave in 10-second increments, stirring after each round.
Yes, you can technically freeze hummus, though you’ll lose some of that irresistible texture. To freeze, transfer the hummus to an airtight container but leave some room at the top to allow for expansion. Thaw it in the fridge the day before consuming.
Watch! How to make this hummus
If you love this Homemade Hummus recipe, please be sure to leave a rating and review below! It’s always much appreciated :) And tag me on Instagram – I love hearing your feedback.
Big Vegan Flavor
Techniques and 150 recipes to master vegan cooking.
The Best Homemade Hummus
Ingredients
- 8 ounces (227g) dried chickpeas* (1 cup + 2 tbsp)
- 1 teaspoon baking soda, divided
- A generous ¾ cup (175-195g) good-quality tahini
- 6 tablespoons freshly squeezed lemon juice, plus more to taste
- 3 garlic cloves, chopped**
- 1 teaspoon ground cumin, plus more to taste
- Kosher salt
- Freshly cracked black pepper to taste
- 6 to 10 tablespoons ice water
Fried Garlic-Lemon Topping (Optional)
- ⅓ cup (80 mL) good-quality extra virgin olive oil
- 5 large garlic cloves, thinly sliced
- 4 to 6 strips of lemon peel, about 2 inches long (don't peel too deeply to avoid the white pith)
- Flaky sea salt or kosher salt
Other Topping Options***
- 1 handful of flat-leaf parsley, chopped
- Paprika, sumac, or Aleppo pepper flakes
Instructions
- Soak the chickpeas. Add the chickpeas to a large bowl. Cover with cold water and ½ teaspoon baking soda. Soak for 8 hours or overnight. Drain and rinse.
- Cook the chickpeas. Add the drained chickpeas to a medium saucepan with ½ teaspoon baking soda and 6 cups of water. Bring to a boil over medium-high heat. Cover the pot, and reduce the heat as needed to maintain a rapid simmer and cook for 30 minutes.Uncover the pot and add 1 teaspoon of kosher salt. Continue cooking for 10 to 15 minutes, or until the chickpeas are very soft and smush when pressed with a spoon/fork or pressed between your fingers. Drain well.
- Drain the chickpeas, then transfer to a food processor. Blend for 1-2 minutes until you have a smooth puree, scraping down the sides as you go.
- To the food processor, add ¾ cup tahini, lemon juice, garlic, cumin, 1 heaping teaspoon kosher salt, and pepper to taste. Blend, and with the motor running, stream in the ice water, 1 tablespoon at a time. After 6 tablespoons of ice water, evaluate the texture. If you want it to be looser, stream in more water, and continue blending until smooth and creamy. Once you reach your desired texture, taste for seasonings, adding more salt, garlic, cumin, or lemon juice as needed.
- Make the topping. Heat the olive oil in a medium frying pan over medium heat. Once the oil is warm (but not too hot), add the garlic and cook, swirling the pan or stirring frequently, for 2 to 2 ½ minutes, until the garlic just turns golden (don't wait until it browns). Add the lemon zest and cook for another 30 seconds. Use a slotted spoon to transfer the garlic and lemon zest to a plate and sprinkle with a bit of flaky sea salt. Reserve the oil.
- Transfer the hummus to a large plate and use the back of a spoon to make waves or to make a well in the center. Spoon the garlic-lemon oil into the ridges or into the well. Top with the fried garlic and lemon zest. Top with chopped parsley and a few shakes of paprika.
Notes


Can someone tell me how much in total this recipe makes? I need a recipe to make 2.5 cups and want to know if I need to double or not. I don’t want to go through all this just to be short. We go through 2.5-3 cups every week.
It made over four cups for me.
I made this tonight with roasted eggplant, turned out great!
Hi Mike, it’s great to hear you had success with the recipe. Thanks for the review!
I have made this many times and love it! I’m just curious, in the nutritional info section it says 320 calories. What size serving is that for? Thanks as always for your delicious recipes!!
Hi Sally, we are so glad you love the hummus! And I’m sorry we haven’t exactly measured out the volume of each serving :/ But this recipe makes 8 to 10 servings, and the nutrition info is for 8 servings.
This has been my go-to hummus recipe for years. This time I didn’t get my act together in time to deal with soaking dried beans so I tried your suggestion of boiling canned beans with baking soda. It worked so well! Thanks so much for having two versions of the best hummus ever!
We’re so glad the canned beans version of the recipe worked well for you, Jennifer!
I’ve made this recipe twice now. It will definitely not be the last time either. It is excellent. I’ve decided I prefer very smooth hummus and this does not disappoint. If I could give it more than 5 stars I would.
Thank you for such an outstanding review, Elaine! :)
Hello, Nisha.
Thank you for your excellent work. I have both of your books and I love your videos on the youtube.
I did this “best hummus ever” many time. Thank you for the recipe.
I wish you all the best.
Mirka from Prague
Thank you for the lovely review, Miroslava! We appreciate all of your support :)