Thanks to #bakingscience, two dozen tests, a careful blend of ingredients, and a little baking magic, we’ve got the perfect Vegan Chocolate Chip Cookies.
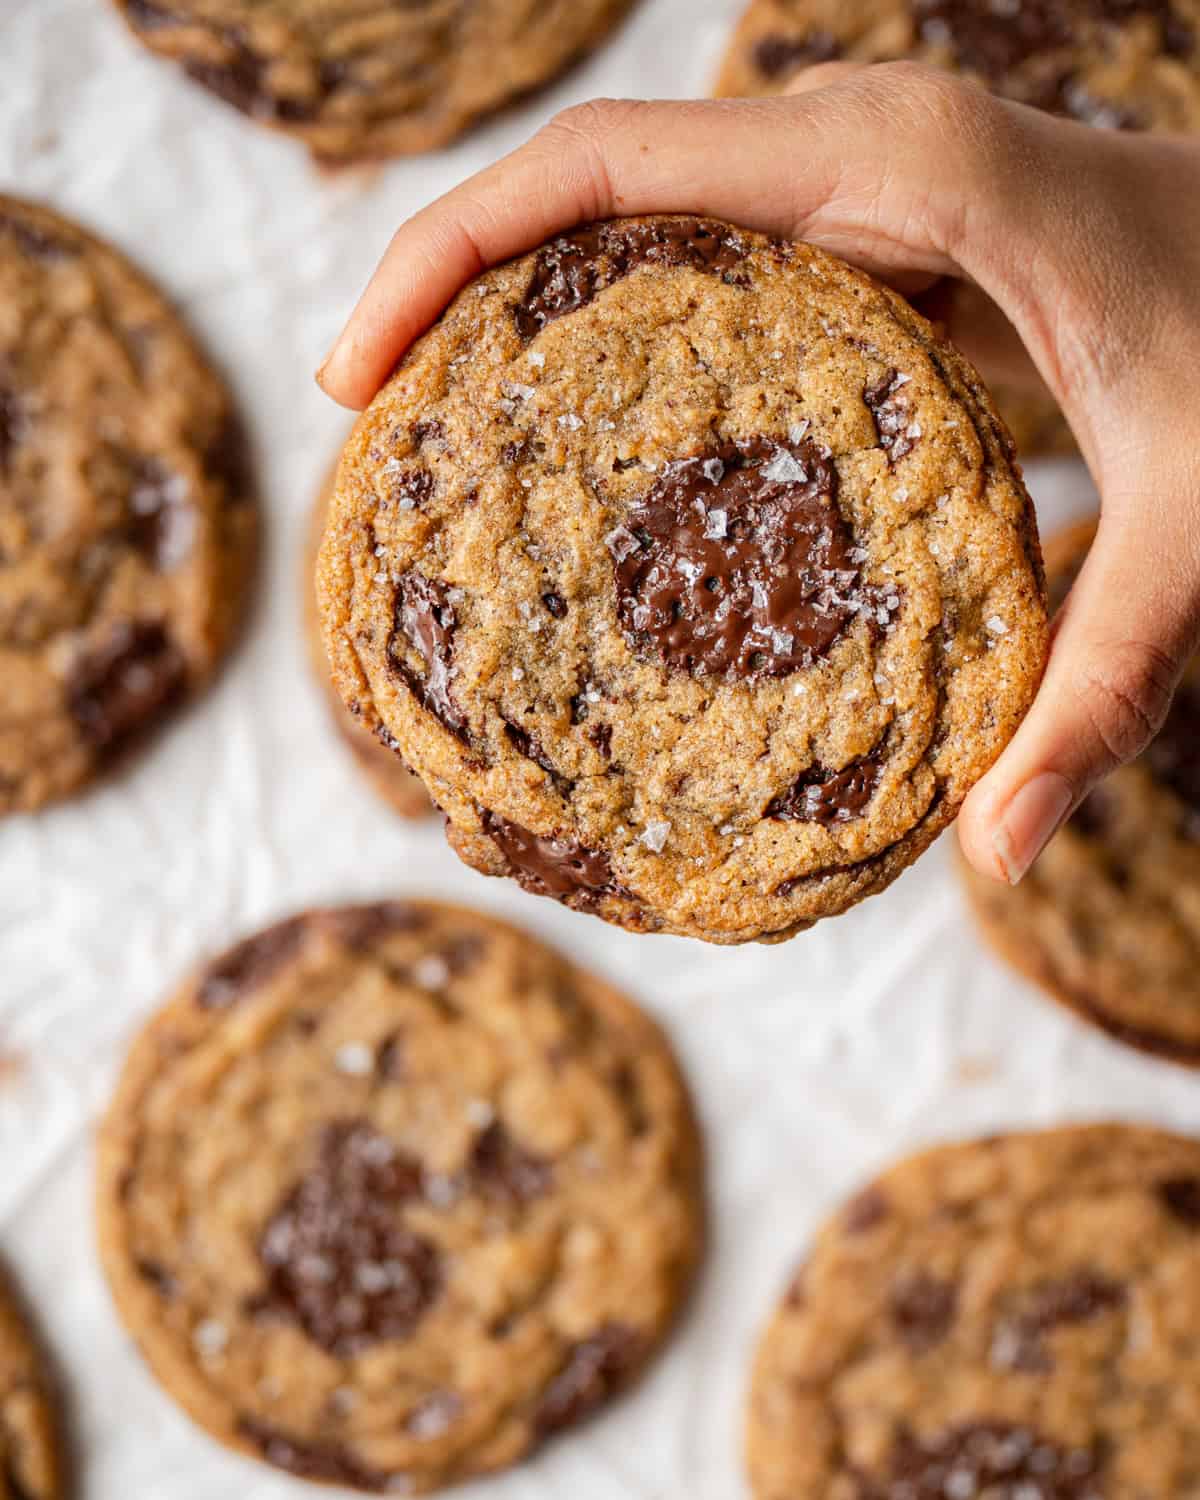
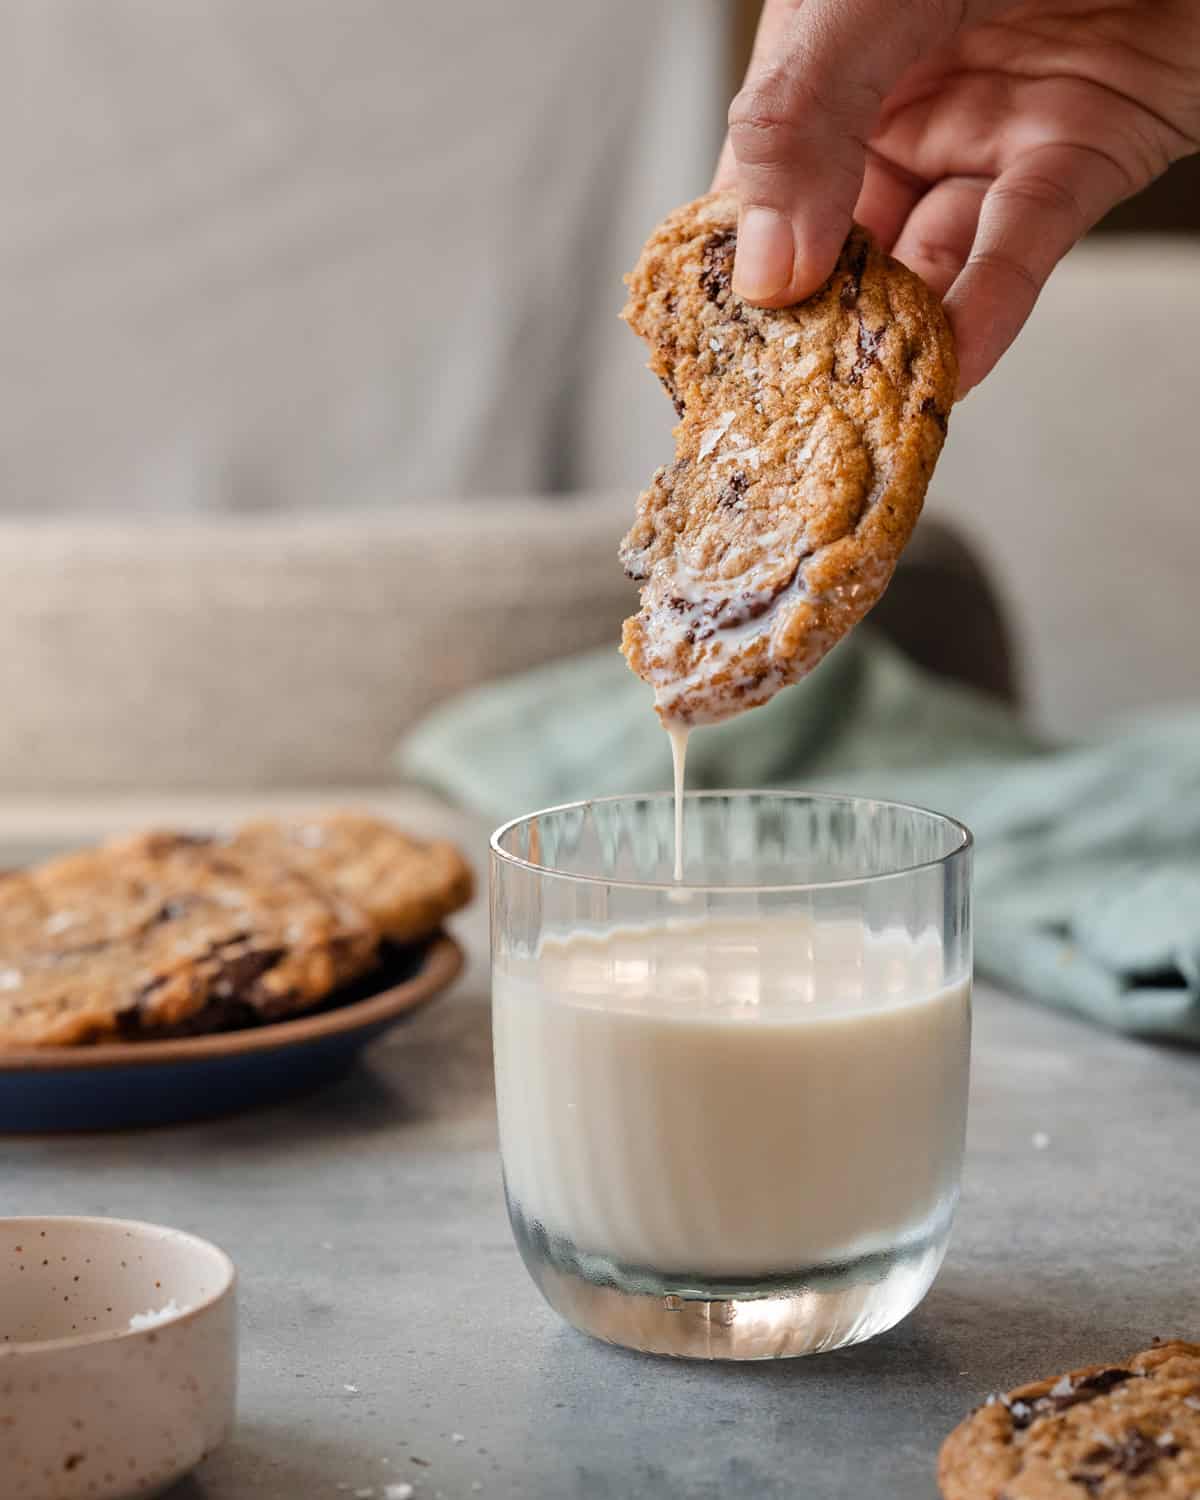
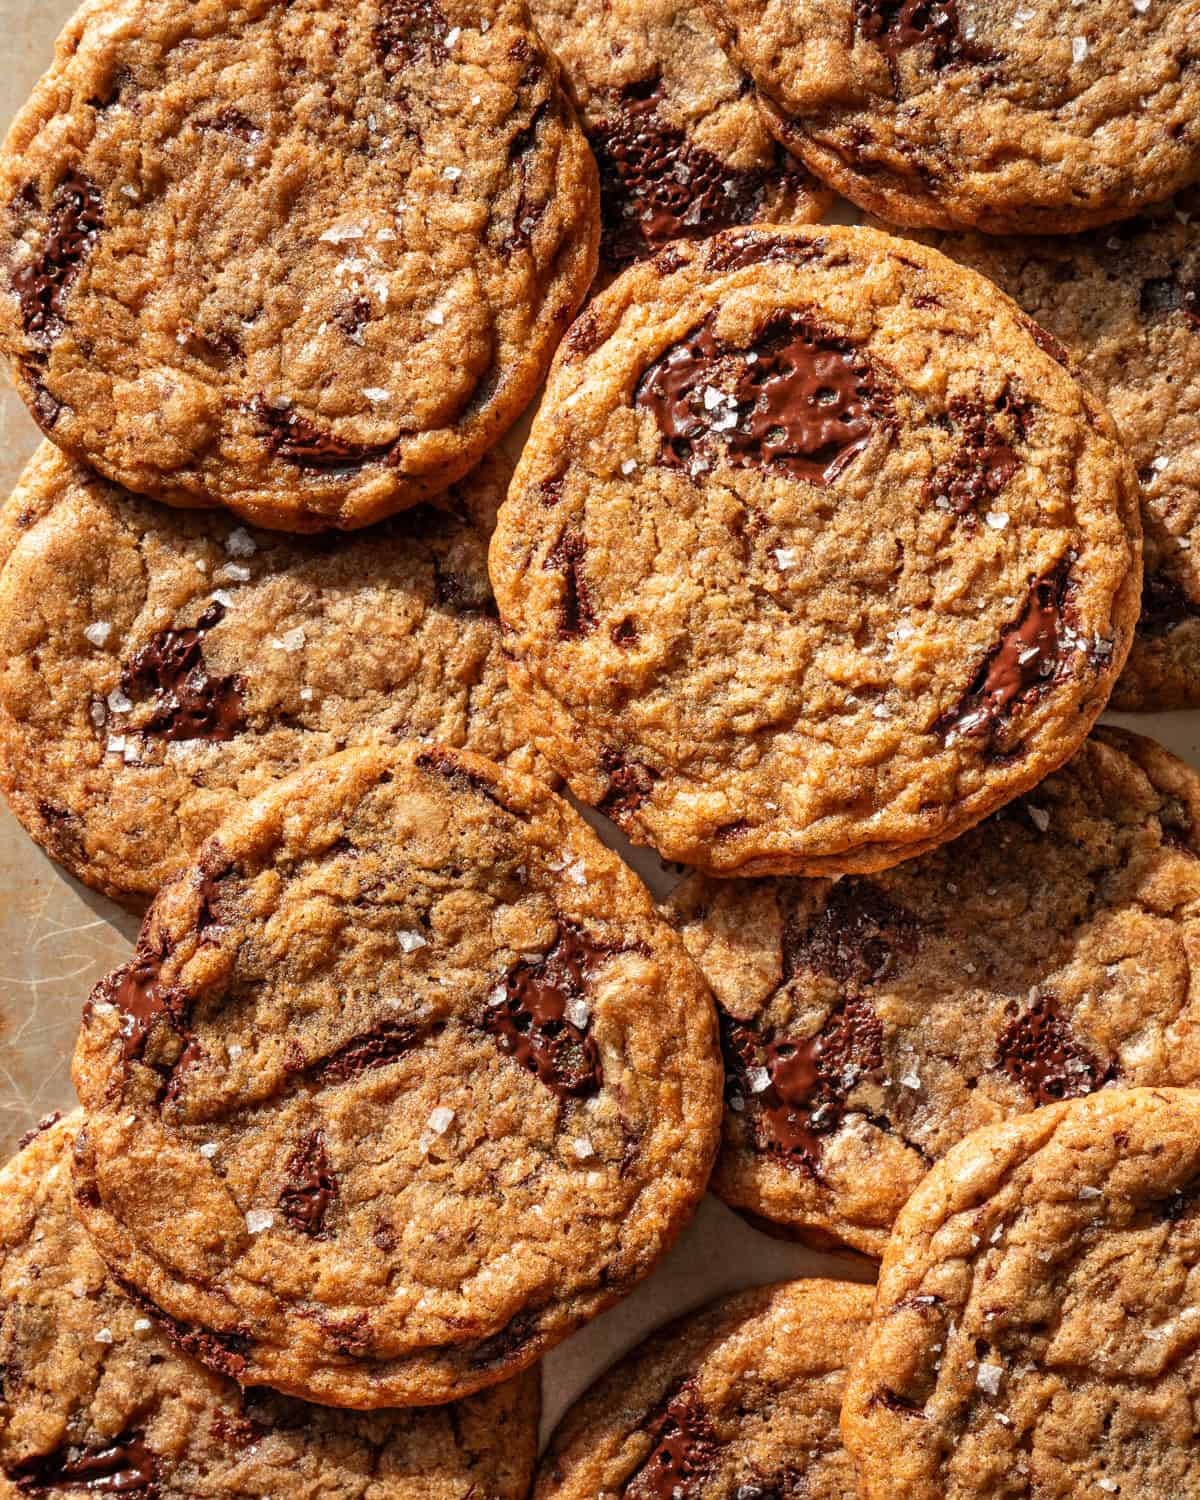
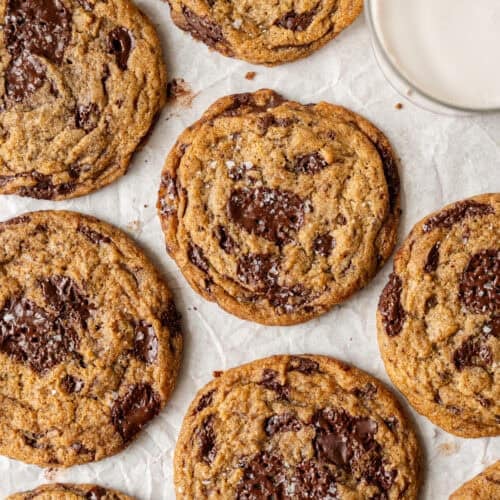
Now, these are no ordinary chocolate chip cookies. Every bite is textural heaven, with soft and gooey middles, crisp edges, and a serious chewiness throughout.
And their flavor? Don’t even get me started! The cookies are rich and buttery, with notes of caramel interspersed with melty pools of dark chocolate and flaky sea salt. I can’t think of anything better. It’s truly my ultimate chocolate chip cookie! And they can even be made gluten-free, YAY!
PS: I teased these cookies back in fall 2023, but then life happened, and I’m only now getting to this post. My apologies, but I think the wait will be worth it!
Table of Contents:
1. Why this recipe works
2. Ingredient notes
3. Step-by-step instructions
4. Tips for making this recipe
5. Frequently Asked Questions
6. Recipe card with notes
7. Watch: How to make these cookies
Why this recipe works
Cookie Chemistry at Its Finest
No shortage of research and testing went into this vegan cookie recipe. I spent days if not weeks reading about cookie science from the experts and playing around with ratios of all kinds: sugar to butter, flour to baking soda, butter to (vegan) eggs, you name it.
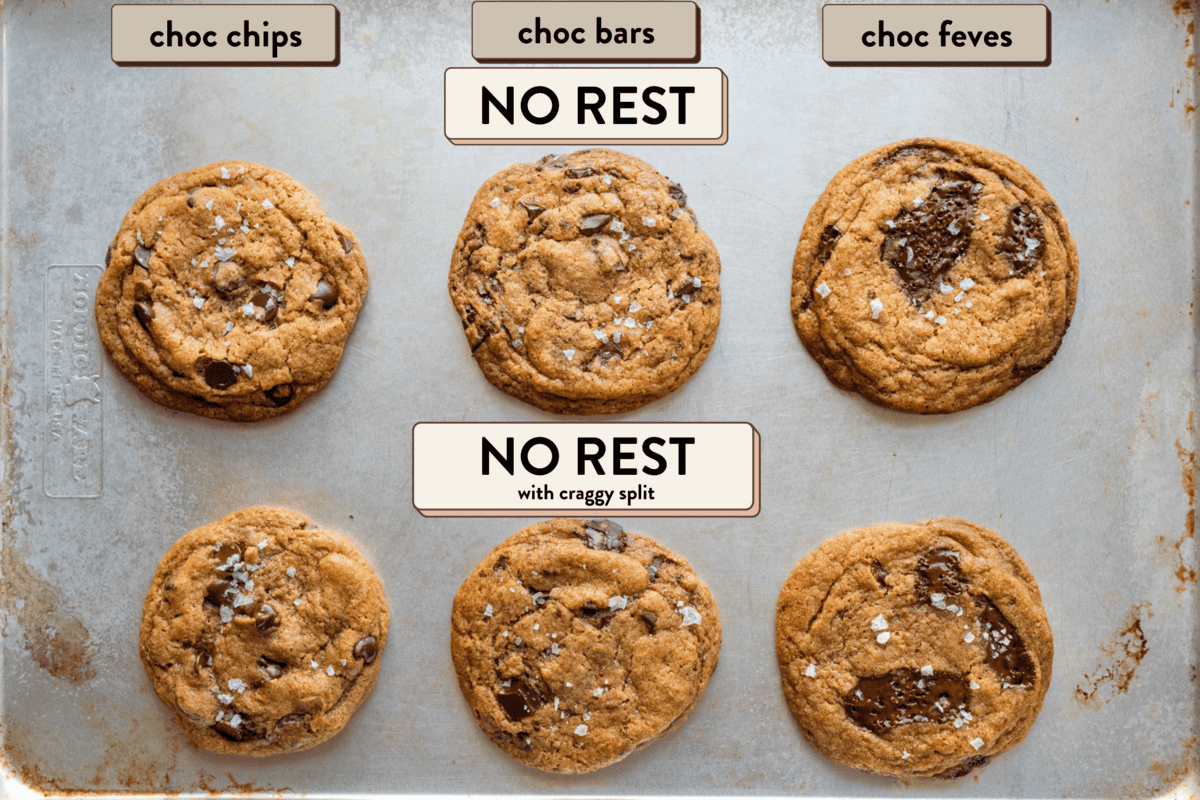
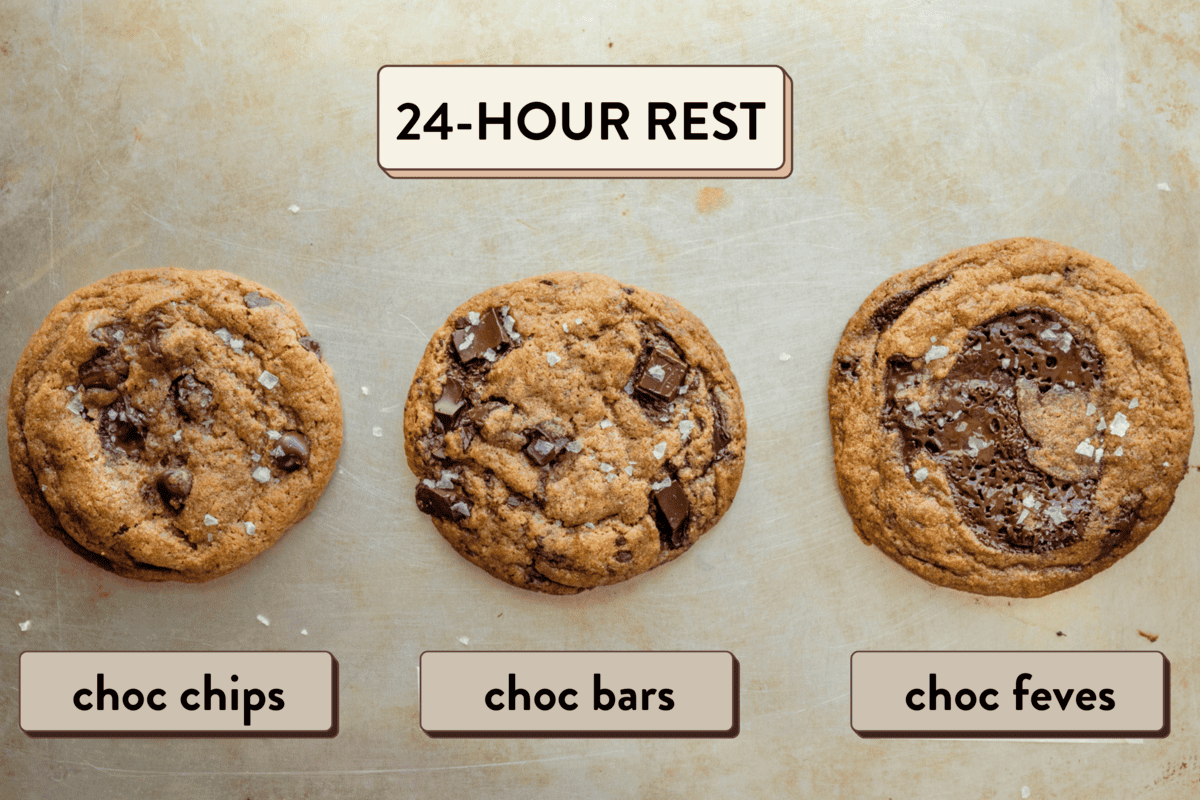
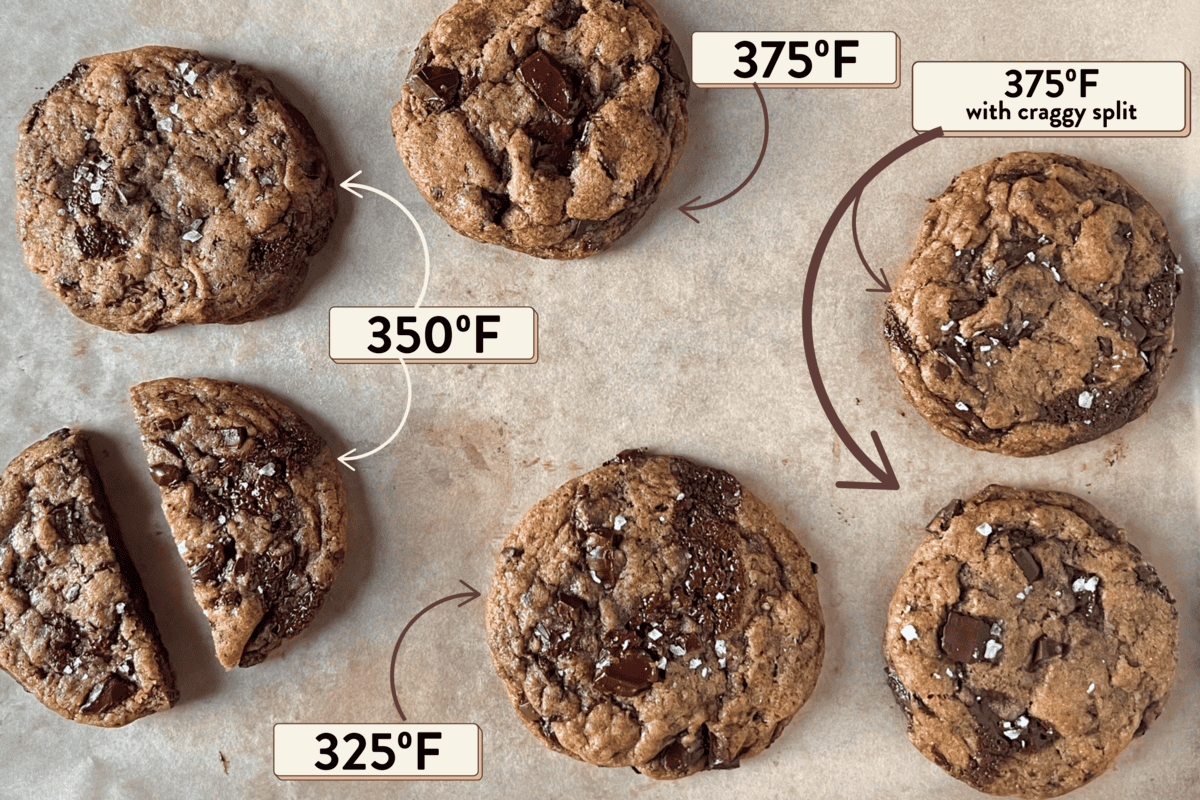
Armed with research, my recipe tester Callie and I tested every practical variable: chocolate chips vs. chopped chocolate vs. chocolate feves, browned butter vs. creamed butter, brown sugar vs. white sugar, the ideal time to rest cookie dough before baking, various oven temperatures, gluten-free alternatives, and more than I can list.
All in all, we baked nearly 300 cookies to develop our perfect grown-up chocolate chip cookie.
Here’s just a very small sampling of some of the variables we tested.
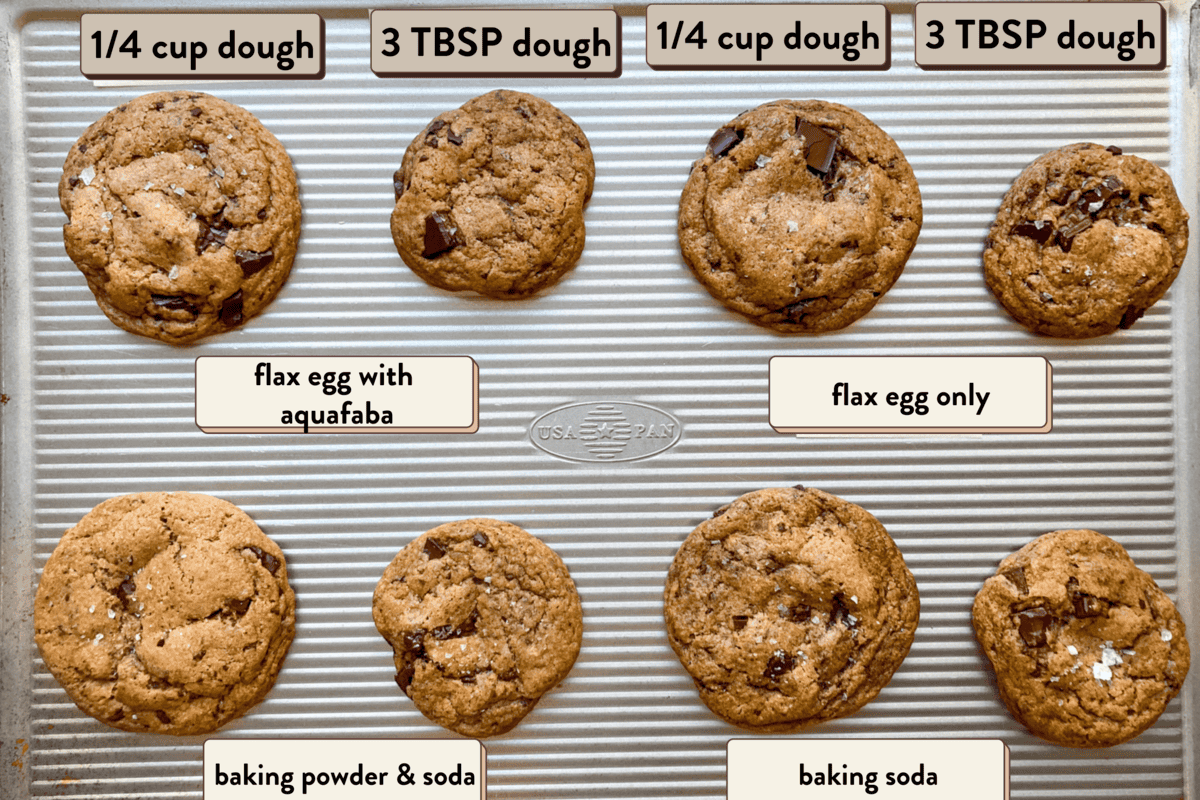
Perfect textural contrast
Let me start out by acknowledging we all have different preferences when it comes to cookie texture. Some like it softer, others chewier, while some prefer dense gooey and others crispy.
To me, the perfect cookie has all of those characteristics.
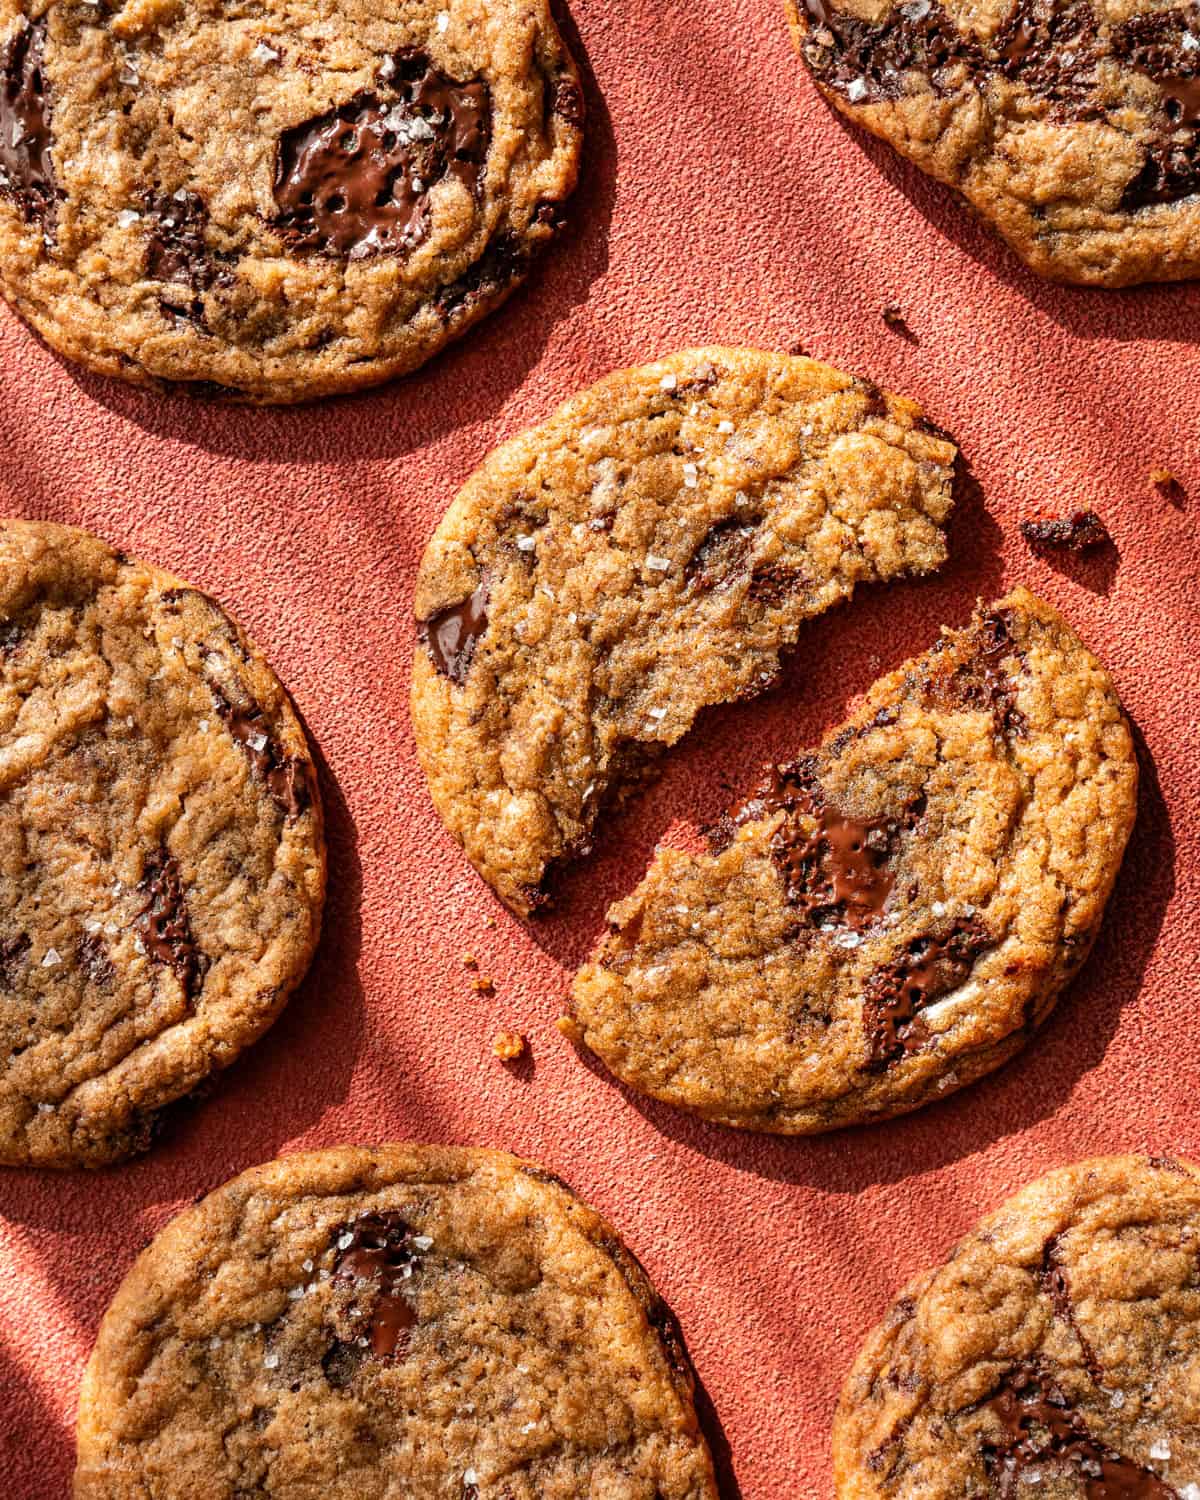
And after lots of trial and error, I’m proud to report that these cookies have a soft and almost gooey middle (but not too soft where it’s like you’re eating cake), lovely crispy edges (but not too crispy where it’s like a cracker), and a wonderful chewiness throughout (the kind you can really sink your teeth into).
Rich and buttery flavor
Just like their texture, these cookies also have incredible flavor. They’re as addictive as classic chocolate chip cookies but have a little more pizazz and depth of flavor, making them extra special.
The cookies are infused with brown vegan butter, lending nutty caramel notes. And dark brown sugar, with its nearly double molasses content, amps up these notes, adding a rich, caramel-esque flavor.
We also quickly realized that regular chocolate chips weren’t going to cut it in these grown-up cookies. We needed big, melty pools of chocolate, which you can achieve by roughly chopping up a (dark) chocolate bar.
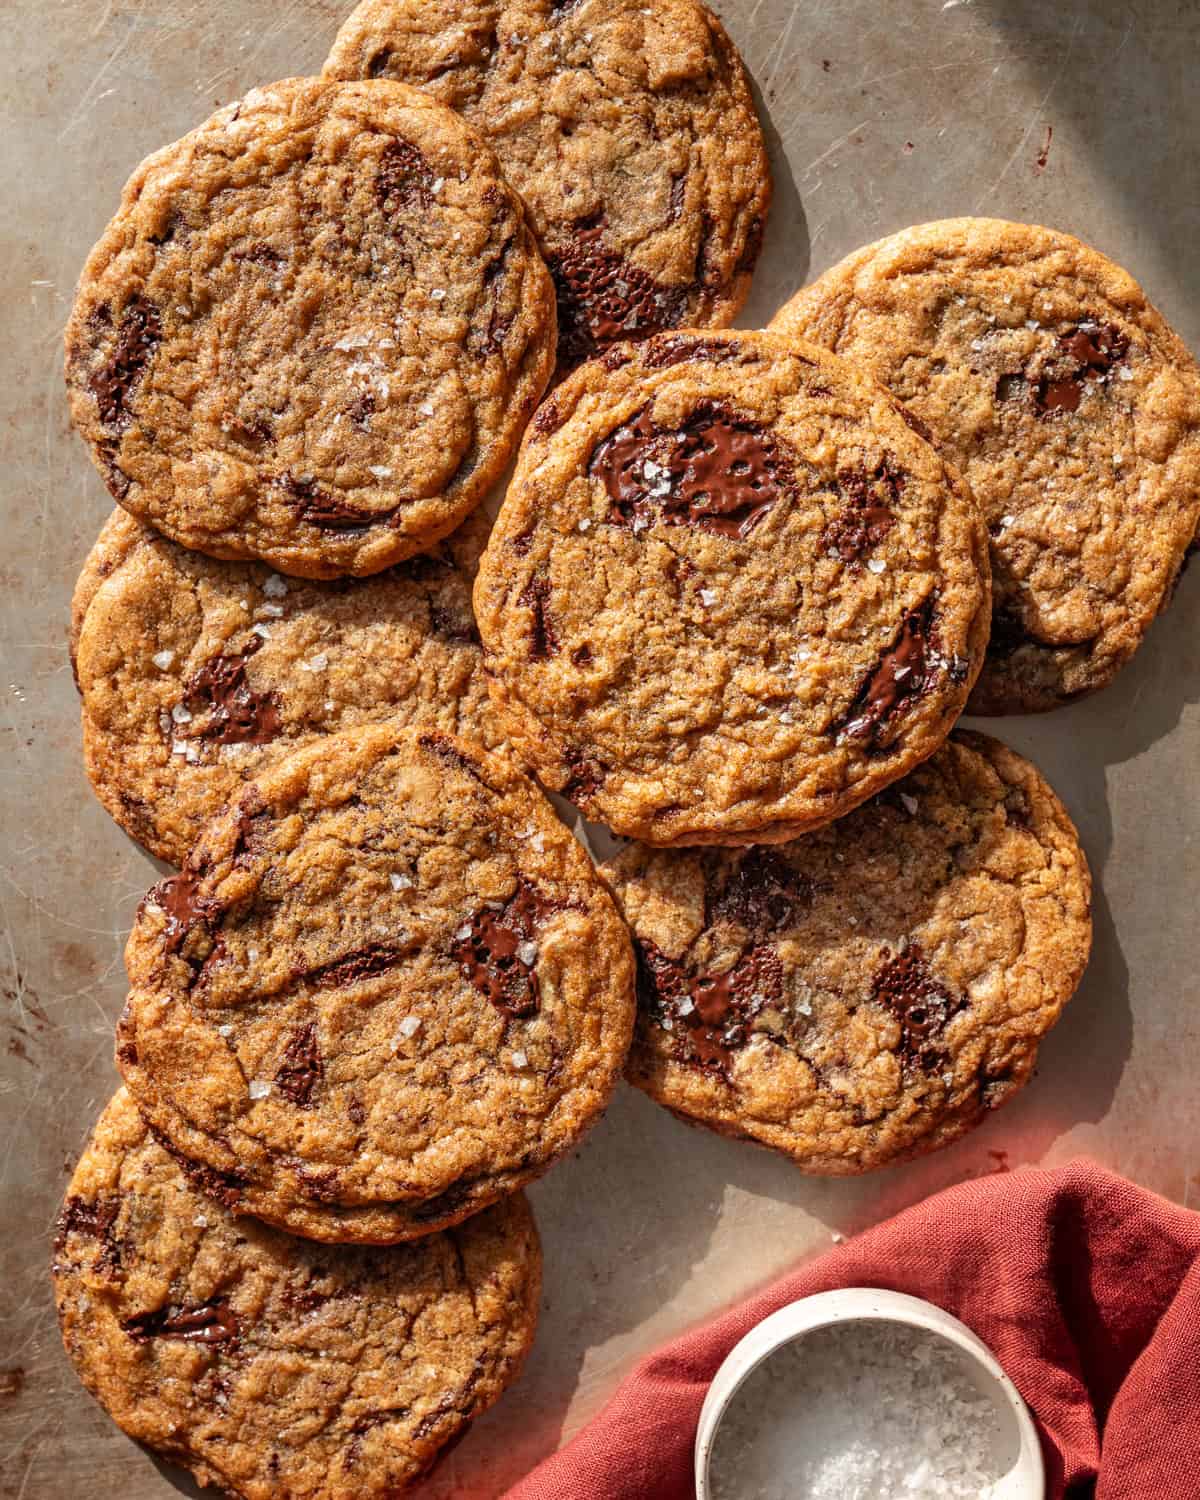
A sprinkle of flaky sea salt adds the perfect finishing touch, lending an addictive balance of sweet, salty, and chocolatey flavors.
Ingredient notes
Melted (browned) vegan butter
You’ll rarely find a chocolate chip cookie recipe without butter…and a lot of it. Most cookie recipes either use creamed & softened butter or melted butter…or a variation of melted butter: browned butter.
In our tests, browned butter was the clear winner.
Melting butter, as opposed to creaming it, produces a more pronounced chewy texture.
Taking the melting a step further to browning adds a more mature, nutty, and caramelized flavor.
Tips for browning butter: Vegan butter doesn’t brown the same way as dairy butter because it doesn’t contain milk proteins, but it will still become slightly darker in color and nutty in aroma after 5 to 7 minutes, depending on the brand used. Use a stainless steel or light-colored skillet or saucepan so you can see the color change.
Our favorite vegan butter brands: After many rounds of testing, our clear favorite is Violife salted butter (soy-, nut-, gluten-free) (affiliate link). It contains a little fava bean protein, which aids in browning. If you have access to this brand, seek it out :)
If you don’t have this brand, you can try adding a teaspoon of almond butter or cashew butter to the butter in the pan, as the protein helps with browning and nuttiness.
If using Miyokos butter, keep in mind that it browns very quickly (in less than 3 minutes). Earth Balance buttery sticks are widely available, but they don’t change much in color; that said, the flavor is nuttier than if purely melted, and is a totally fine option to use.
We recommend butter sticks, not in a tub (the sticks are formulated to mimic dairy-based butter better). If your butter is unsalted, use a bit of extra salt, a heaping ¾ teaspoon instead of ½ teaspoon.
Flax egg
We tested these cookies with a few other vegan egg replacers and found that flax eggs (ground flaxseed mixed with water) worked the best. They bind the dough together and, when baked, give the cookies a delightful chewiness, which is typically what eggs do.
All-purpose flour
No fancy flour is needed here. All-purpose flour worked best at giving the cookies a classic chewy-soft texture.
Gluten-free? Check out the FAQ section to find out which flour substitutions work best.
Dark brown sugar + cane sugar
There’s a reason why most chocolate chip cookies combine brown sugar and white sugar; white sugar only yields thin and crispy cookies, and brown sugar only prevents the cookies from spreading, yielding a soft or cakey middle.
Here, a 2:1 ratio of dark brown sugar to cane (white) sugar delivers soft centers, chewiness throughout, and nicely crisped edges.
Tips for buying: For strictly vegan cookies, buy organic sugars (at least in the US, where conventional sugars are typically processed with animal bone char). If you can’t find dark brown sugar, light brown sugar still works well (affiliate link).
Baking soda
Baking soda helps the cookies spread while baking, leading to evenly baked cookies that aren’t too thick. We tested a variation of this recipe with baking powder as a substitute, and it gave us cookies that were puffy and cakey—no thanks!
Not sure if your baking soda is still fresh? Combine ¼ tsp baking soda + 2 teaspoons vinegar in a small bowl. If it bubbles immediately, it’s still fresh. No bubbles? Time for new baking soda.
Bittersweet or dark chocolate
You want a grown-up cookie? Then you’ve gotta use 60% to 75% dark chocolate bars, not chocolate chips (I know, I know… these are called chocolate chip cookies, but hear me out!).
One, dark chocolate prevents the cookies from being overly sweet; its slight bitterness balances the sugar.
Dark chocolate is easier to source when you’re vegan; good-quality vegan semisweet chocolate is hard to find.
And most importantly, chopped chocolate bars (vs. chocolate chips) result in higher-quality cookies with better flavor and texture.
Most chocolate chips contain melt-resistant chocolate, which means you only get individual tiny pockets of chocolate. In our tests, cookies with chips yielded thicker cookies that didn’t spread as much.
Using chopped chocolate bars has several advantages: (1) you get melty chocolatey pools dispersed throughout the cookie = more chocolate in each bite (yum!); (2) melted chocolate = more moisture = cookies spread a bit more = no thick or cakey cookies (phew!); (3) melty chocolatey pools just look better!
Tips for buying: I recommend using 65-75% dark chocolate bars for a balanced, not-too-sweet taste. If you prefer things a bit sweeter, use 60% dark chocolate. If you prefer less sweet desserts, use chocolate in the 75+% to 80% range.
Pure vanilla extract and sea salt
I’ll always pair vanilla and salt together in desserts because they work together to bring out the other layers of flavors. I use the duo to enhance my Vegan Apple Crisp and here, it enriches the chocolate, buttery, and sugary flavors of the cookies. Without them, the flavor would be a bit flat.
A little flaky sea salt sprinkled on top of the freshly baked cookies also balances the sweetness and enhances the dark chocolate flavor. We love Maldon flaky salt—just a little goes a long way! (affiliate link)
Step-by-step instructions
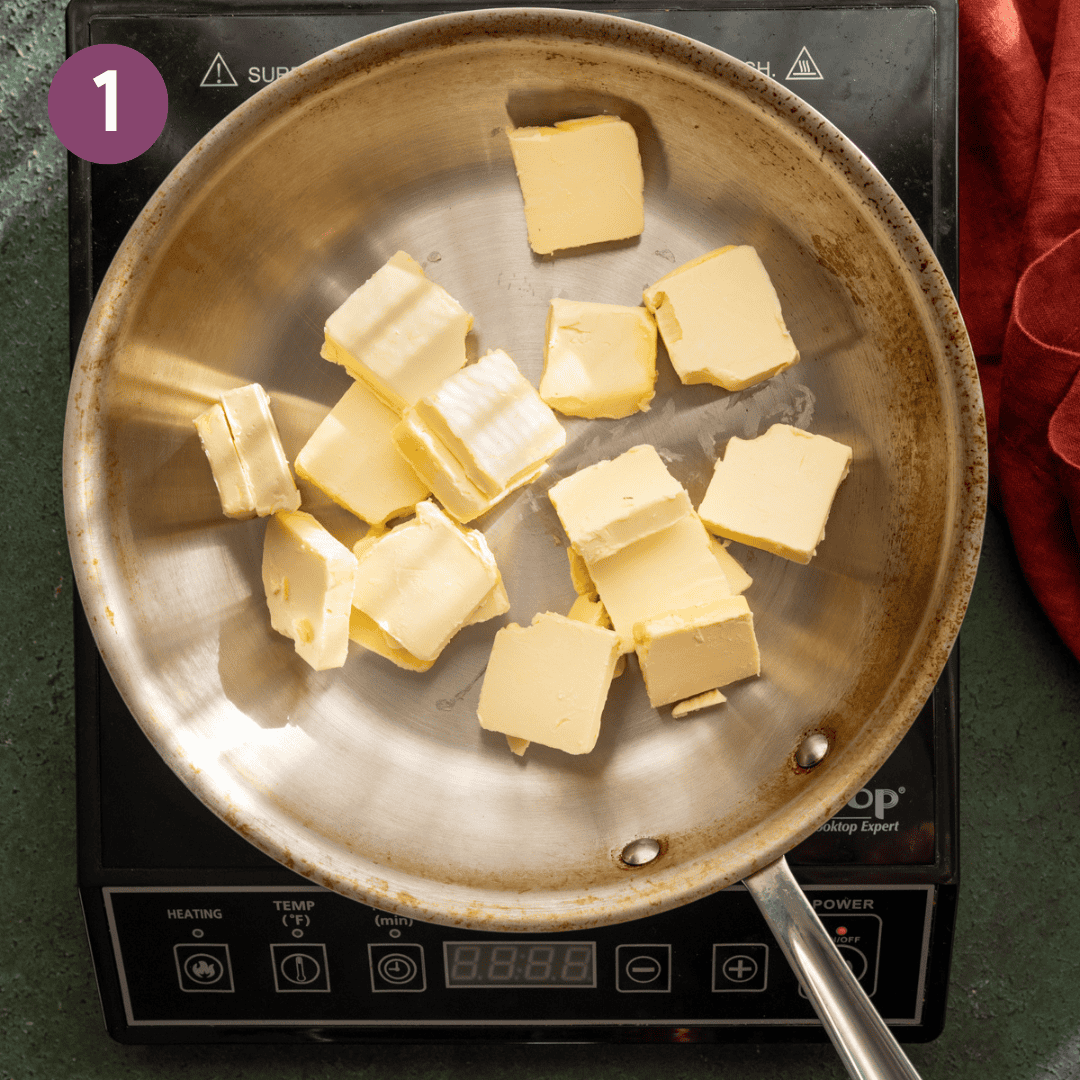
Add the vegan butter to a stainless steel or light-colored skillet or saucepan. Turn to medium heat and allow the butter to melt, stirring occasionally.
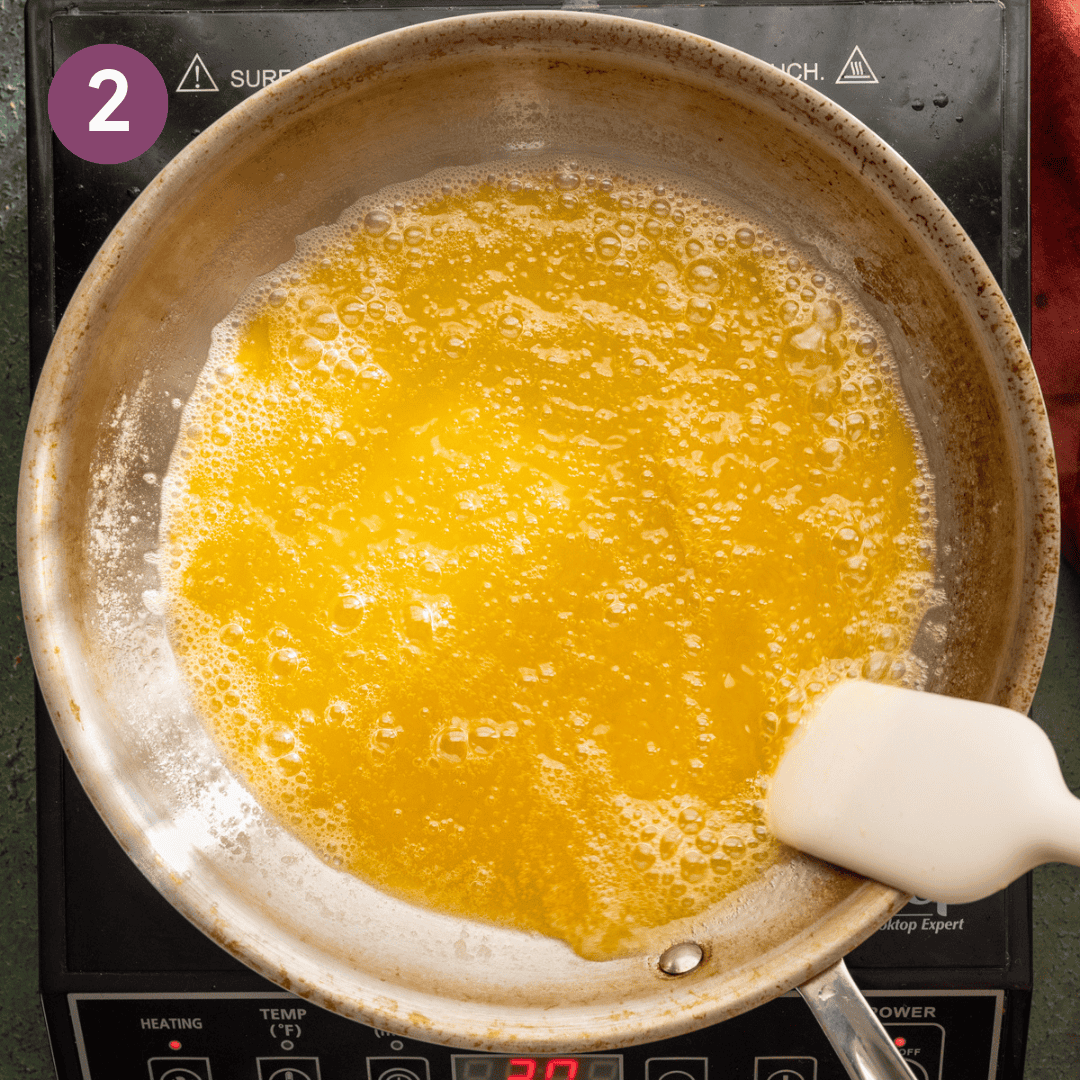
Once foamy and at a bubble, stir or swirl the pan frequently, or until it gives off a nutty aroma and is slightly darker in color. Immediately pour it into a bowl, then refrigerate so the butter can cool to room temp.
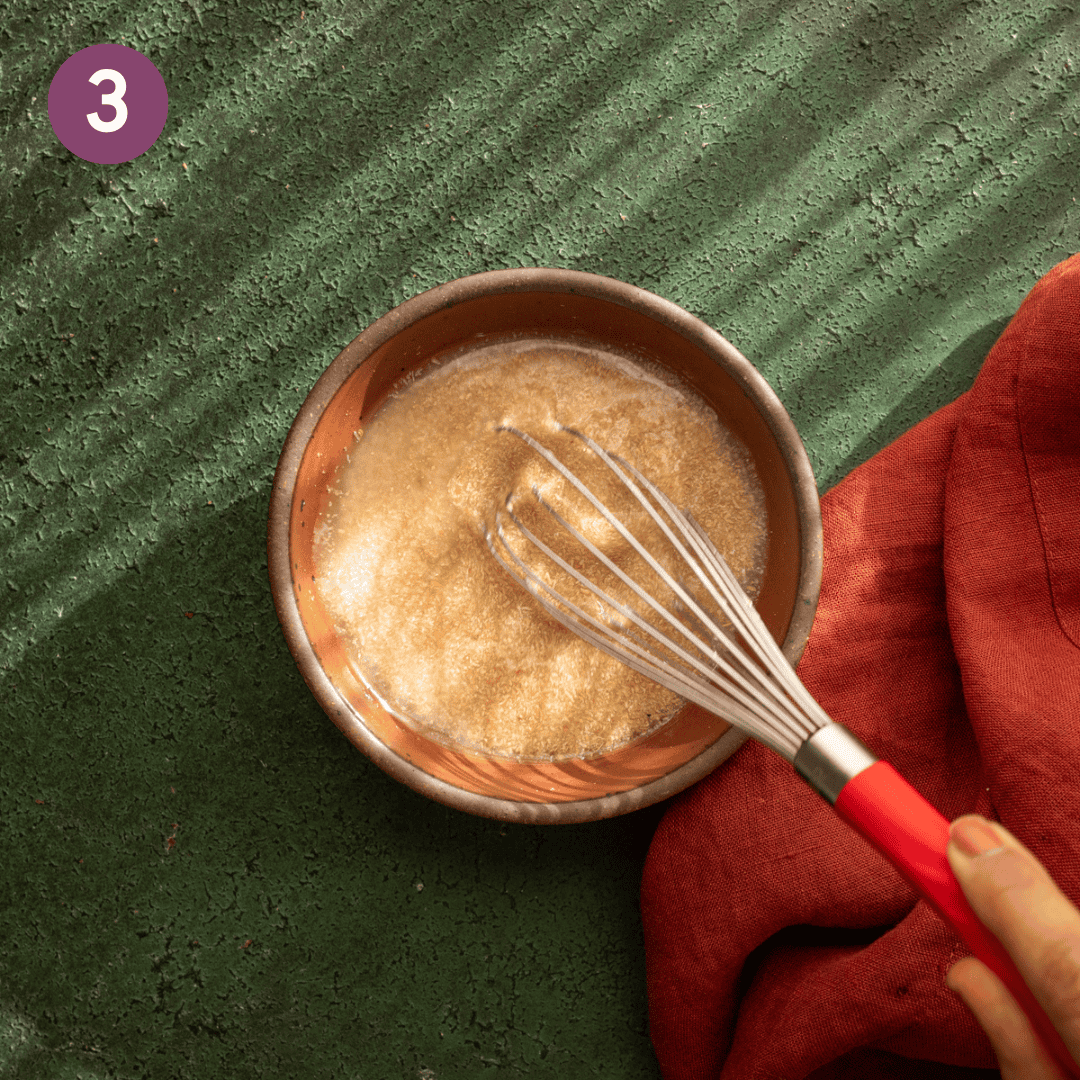
Next, make the flax eggs: whisk the flaxseed meal with warm water. Set it aside to gel.
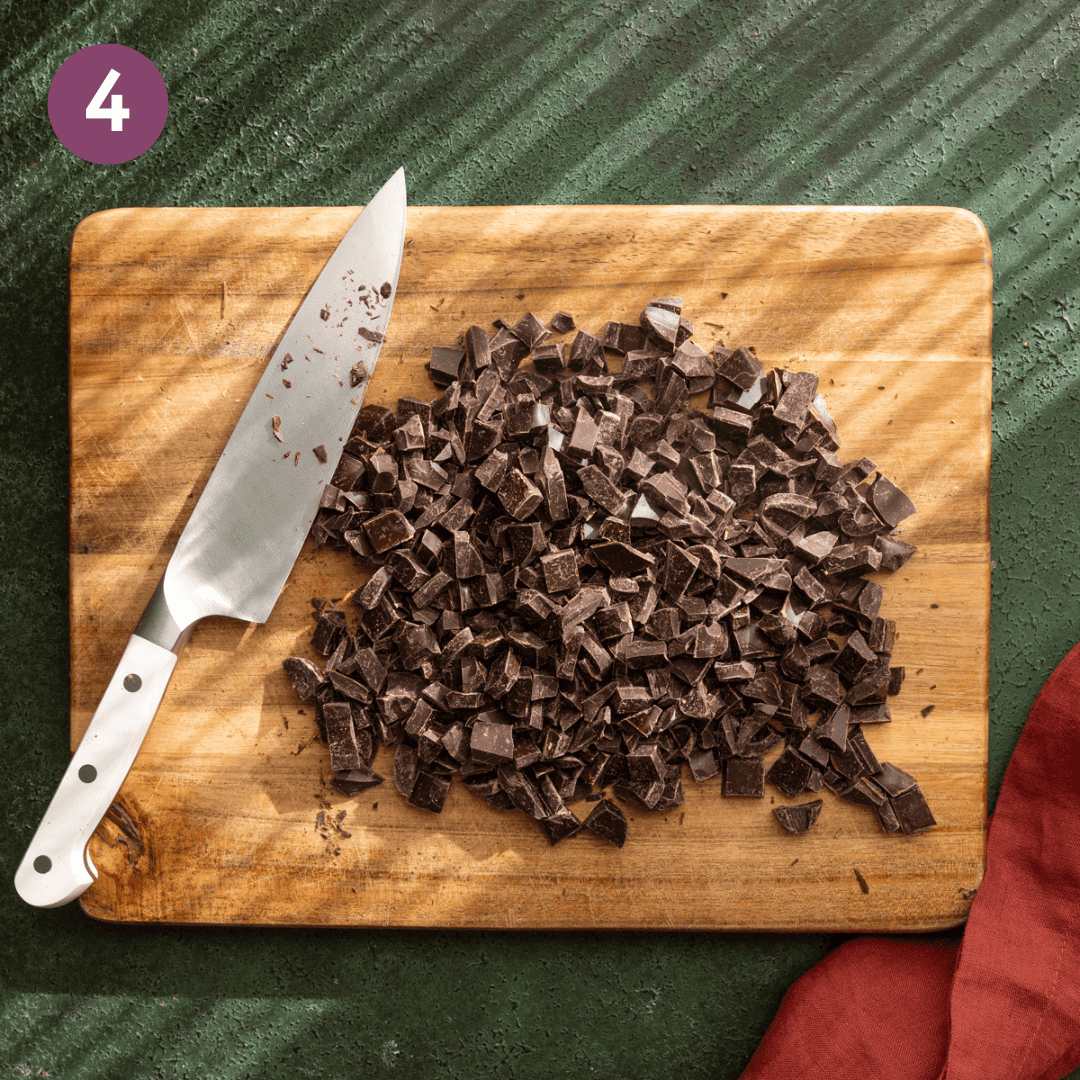
Meanwhile, coarsely chop the chocolate.
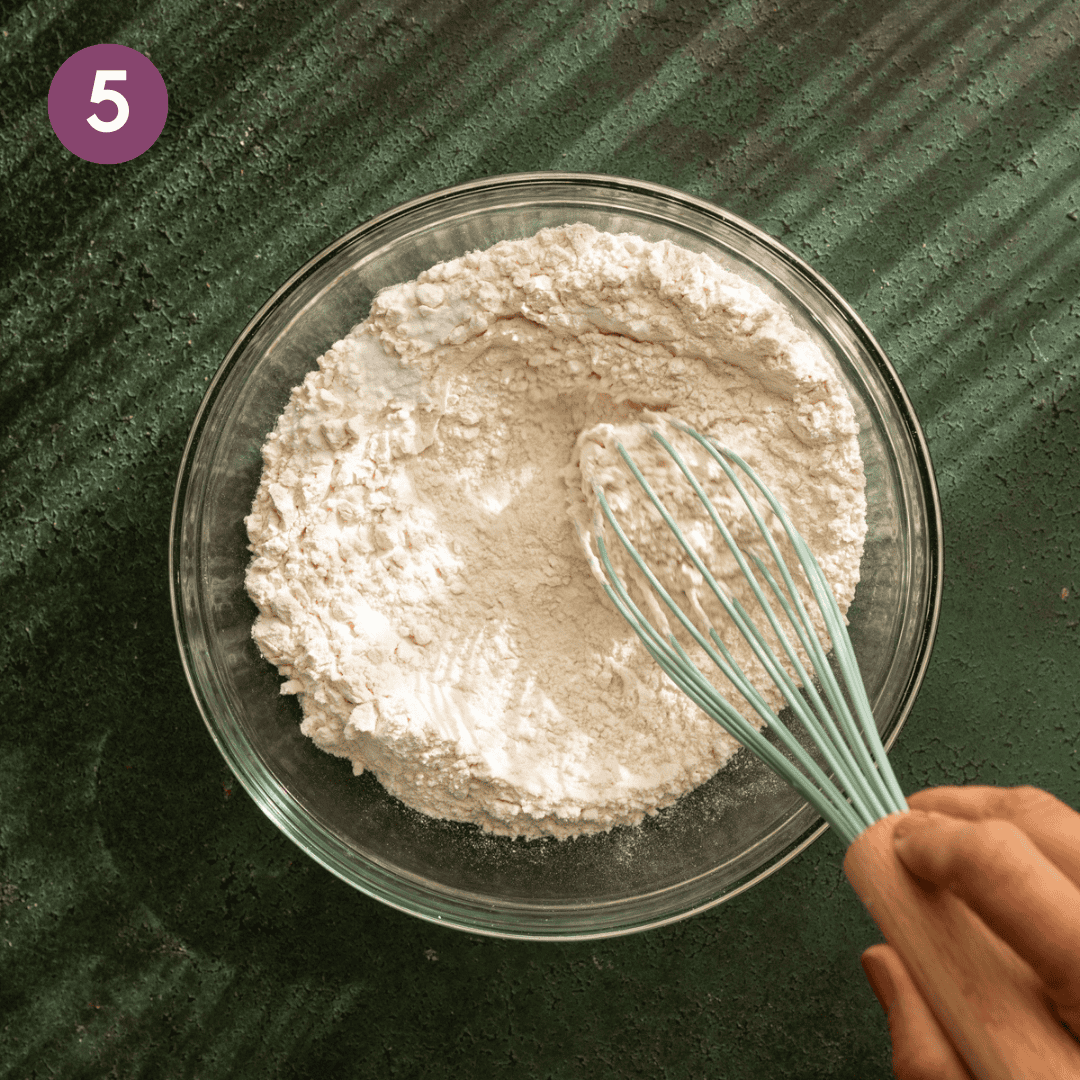
Combine the dry ingredients: Whisk the flour, salt, and baking soda in a medium bowl.
In a large bowl, combine the gelled flax eggs, cooled brown butter, brown sugar, cane sugar, and vanilla.
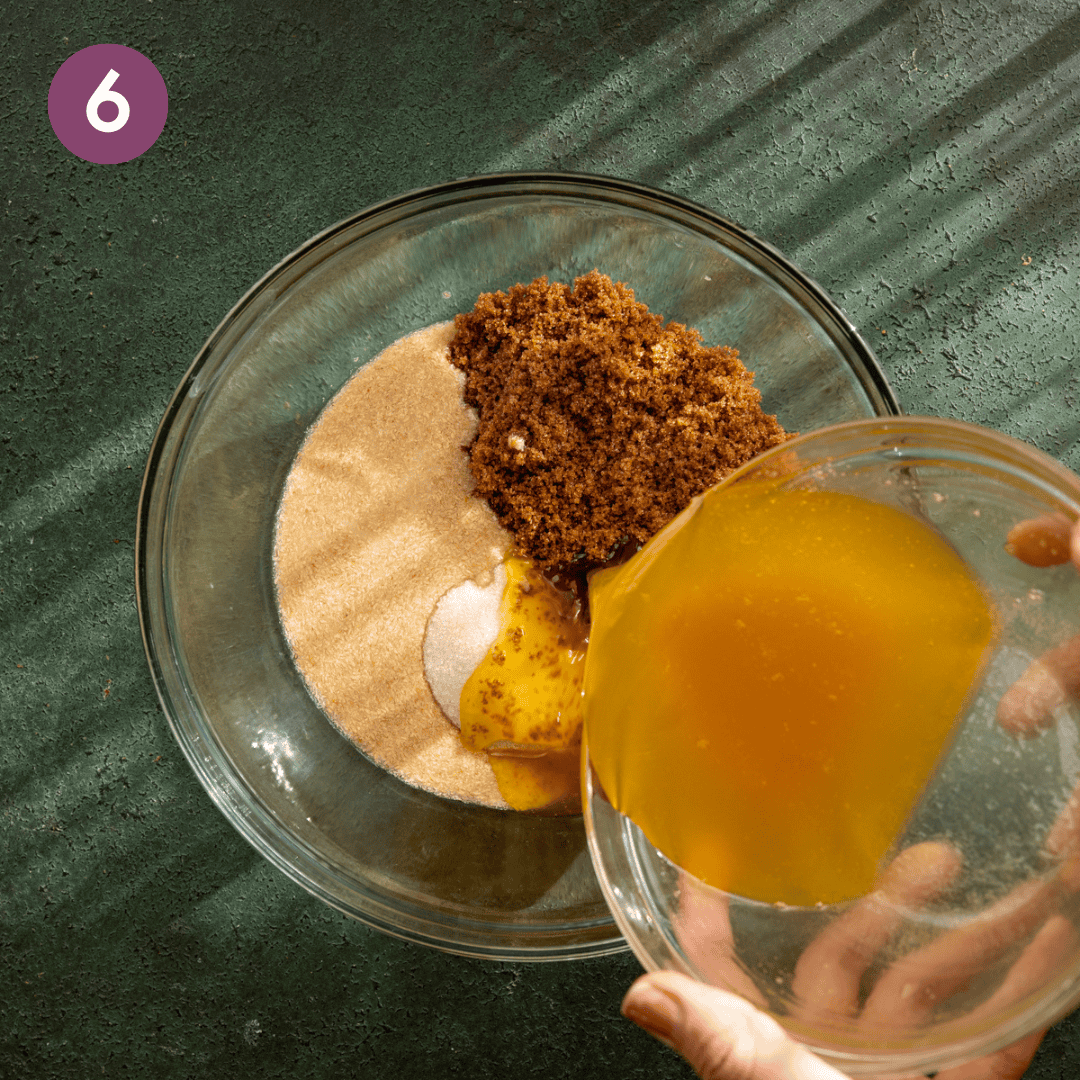
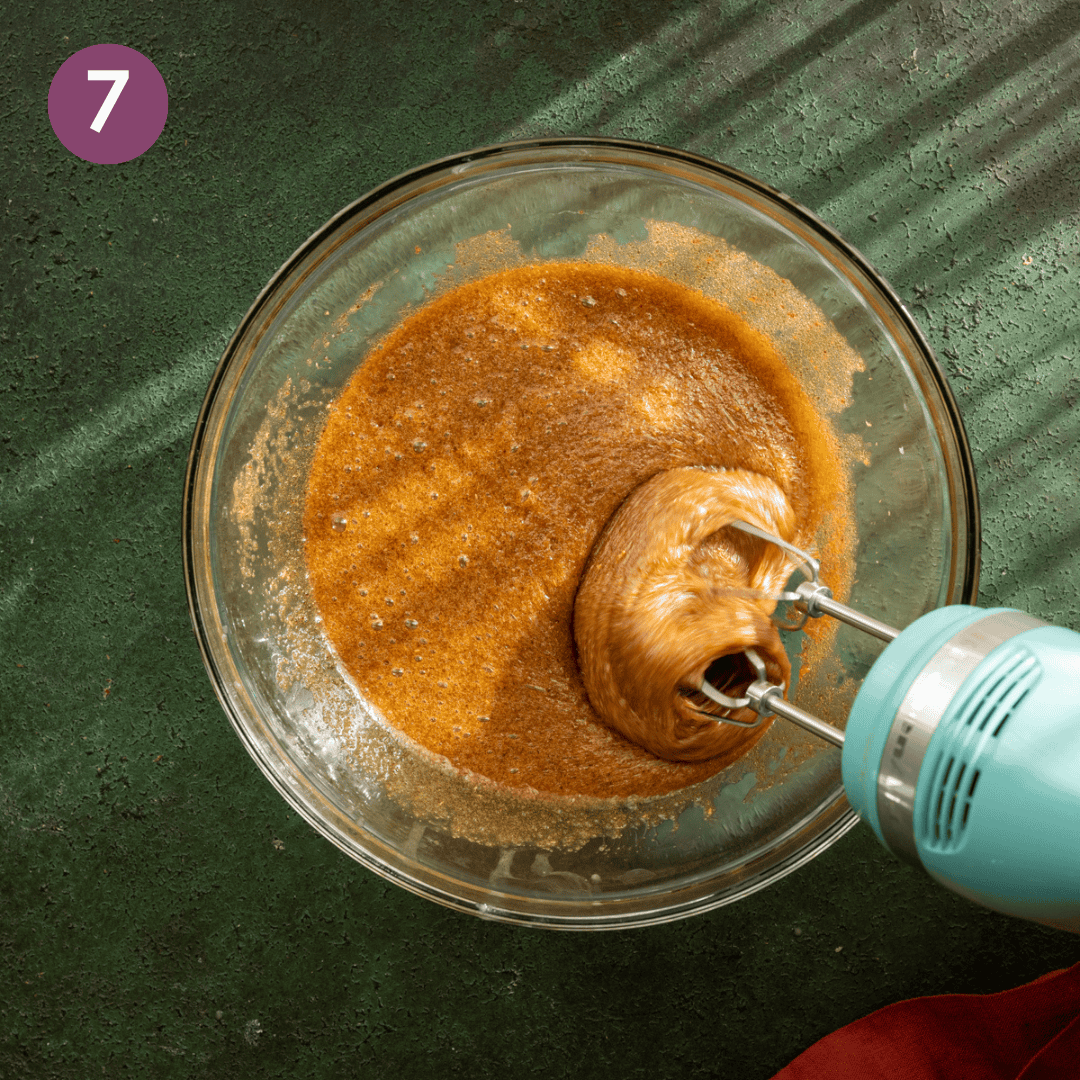
Beat the liquid ingredients with an electric mixer until well combined and fluffy.
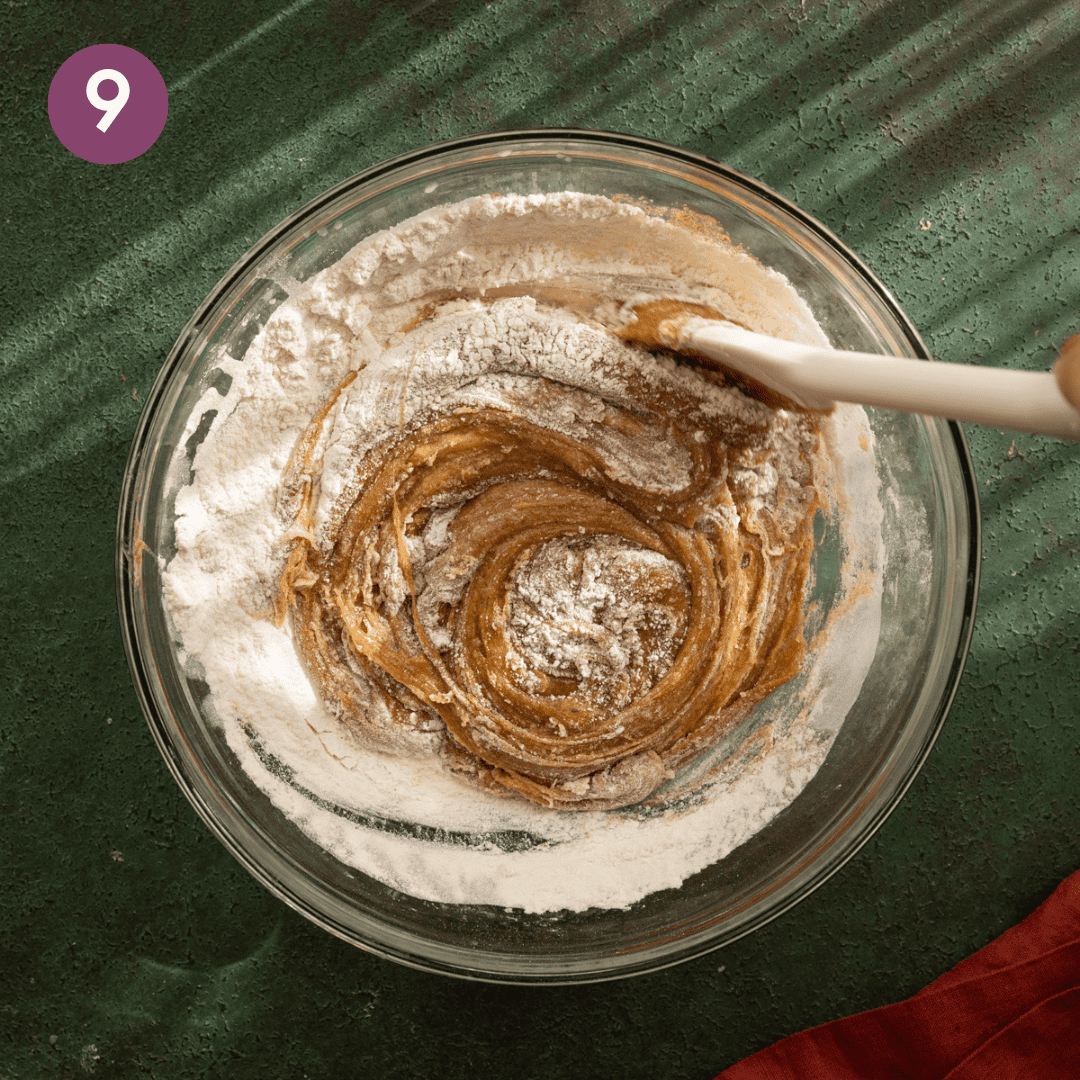
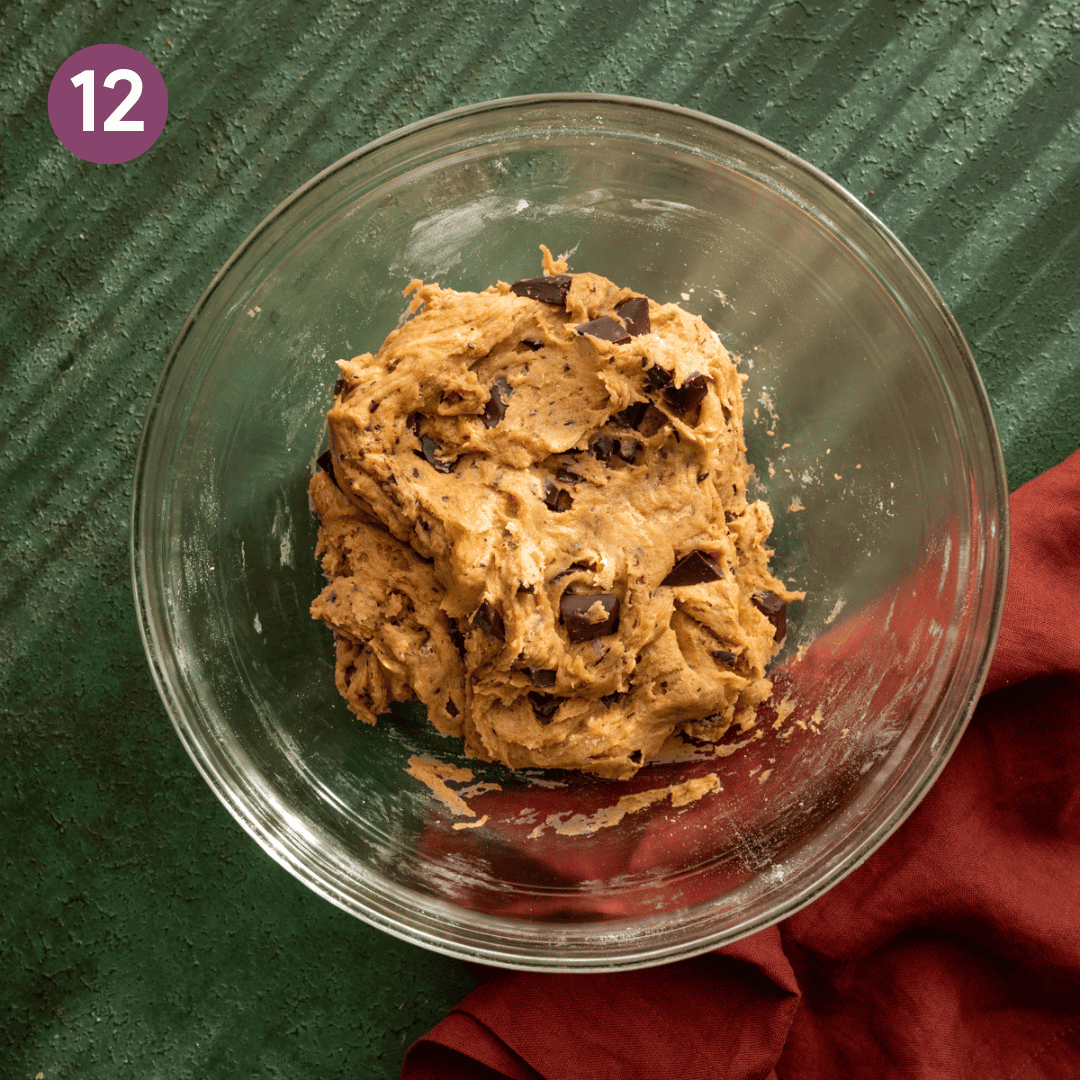
Use a silicone spatula to fold half of the dry ingredients into the fluffy wet mixture until no dry spots remain.
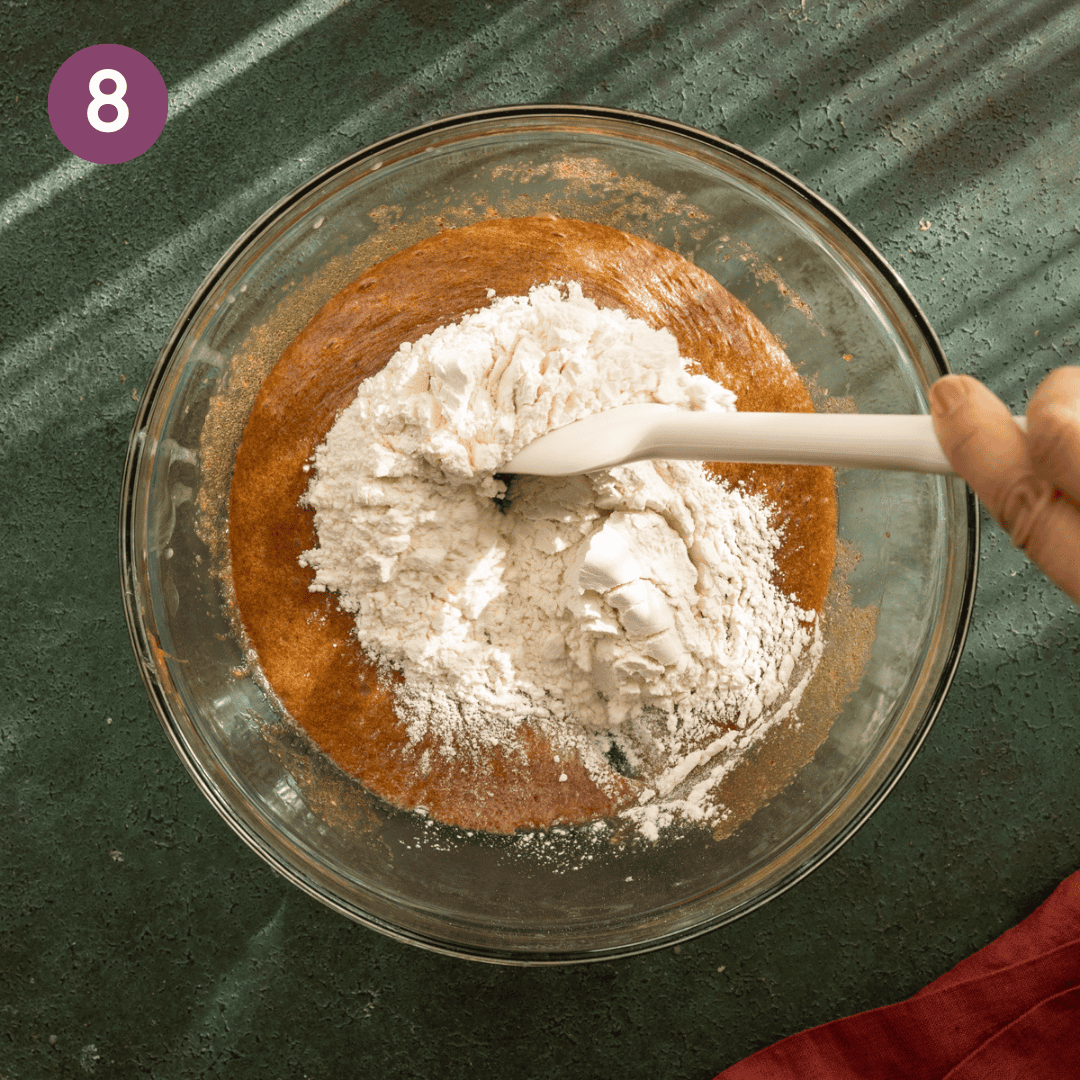
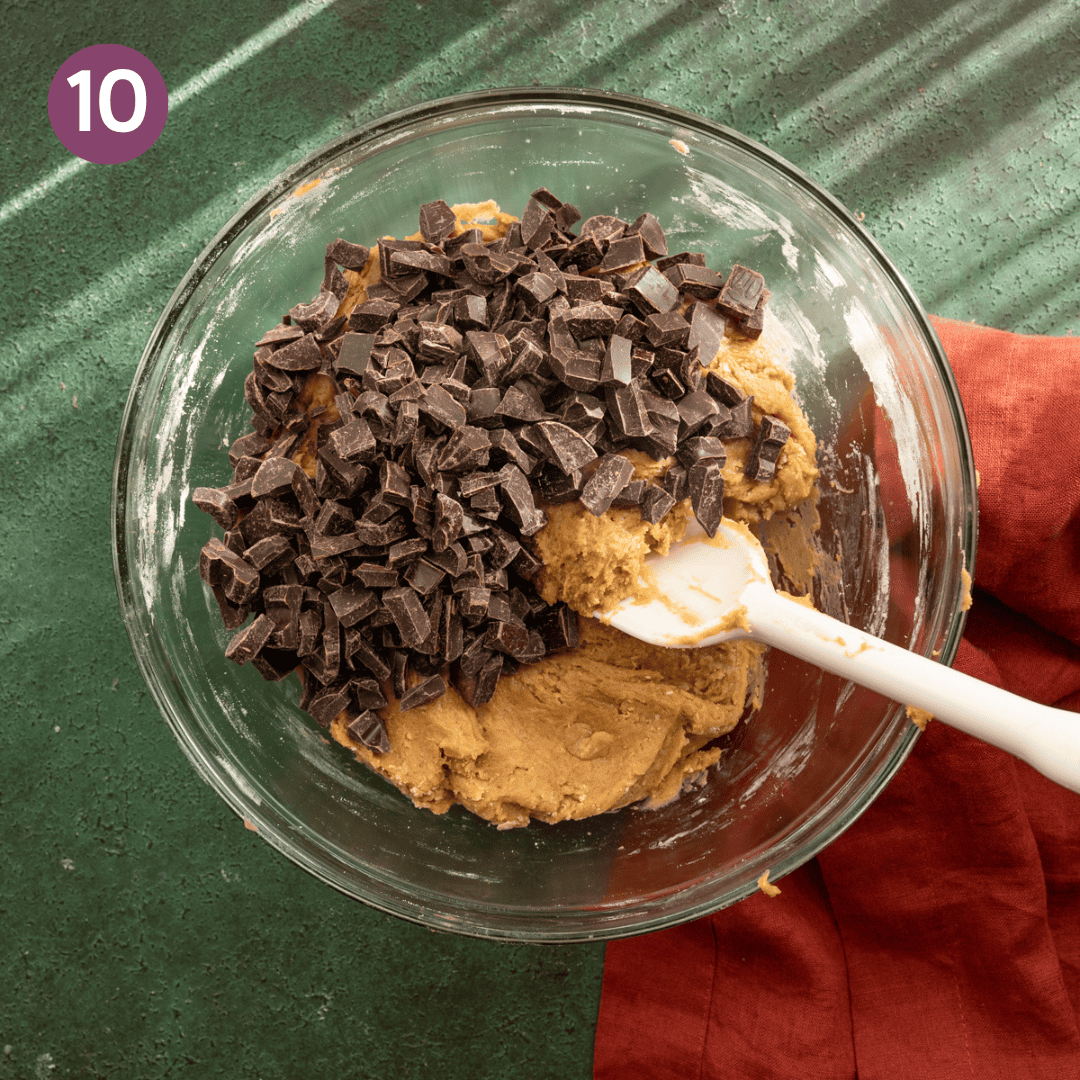
Repeat with the other half of the dry ingredients and the chopped chocolate.
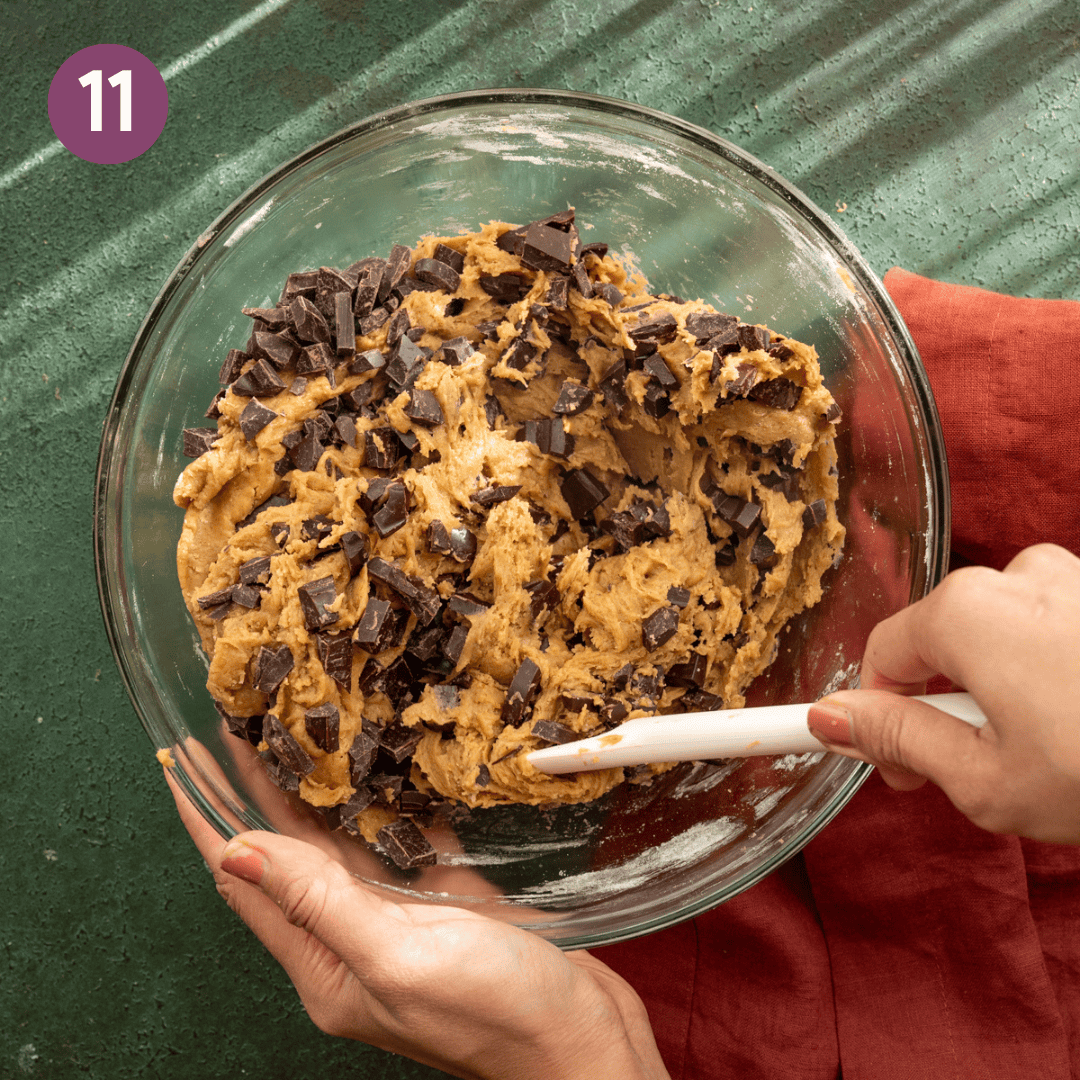
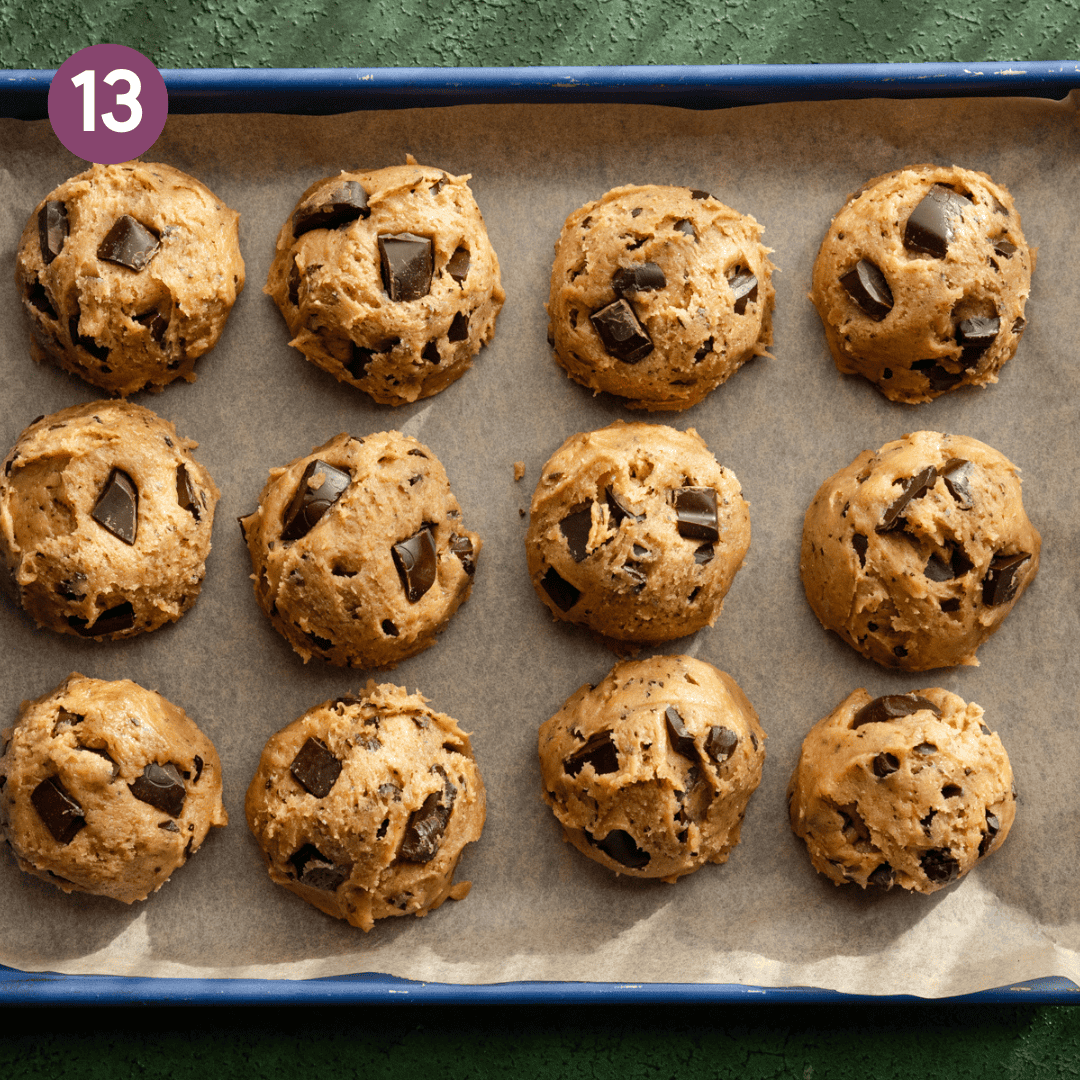
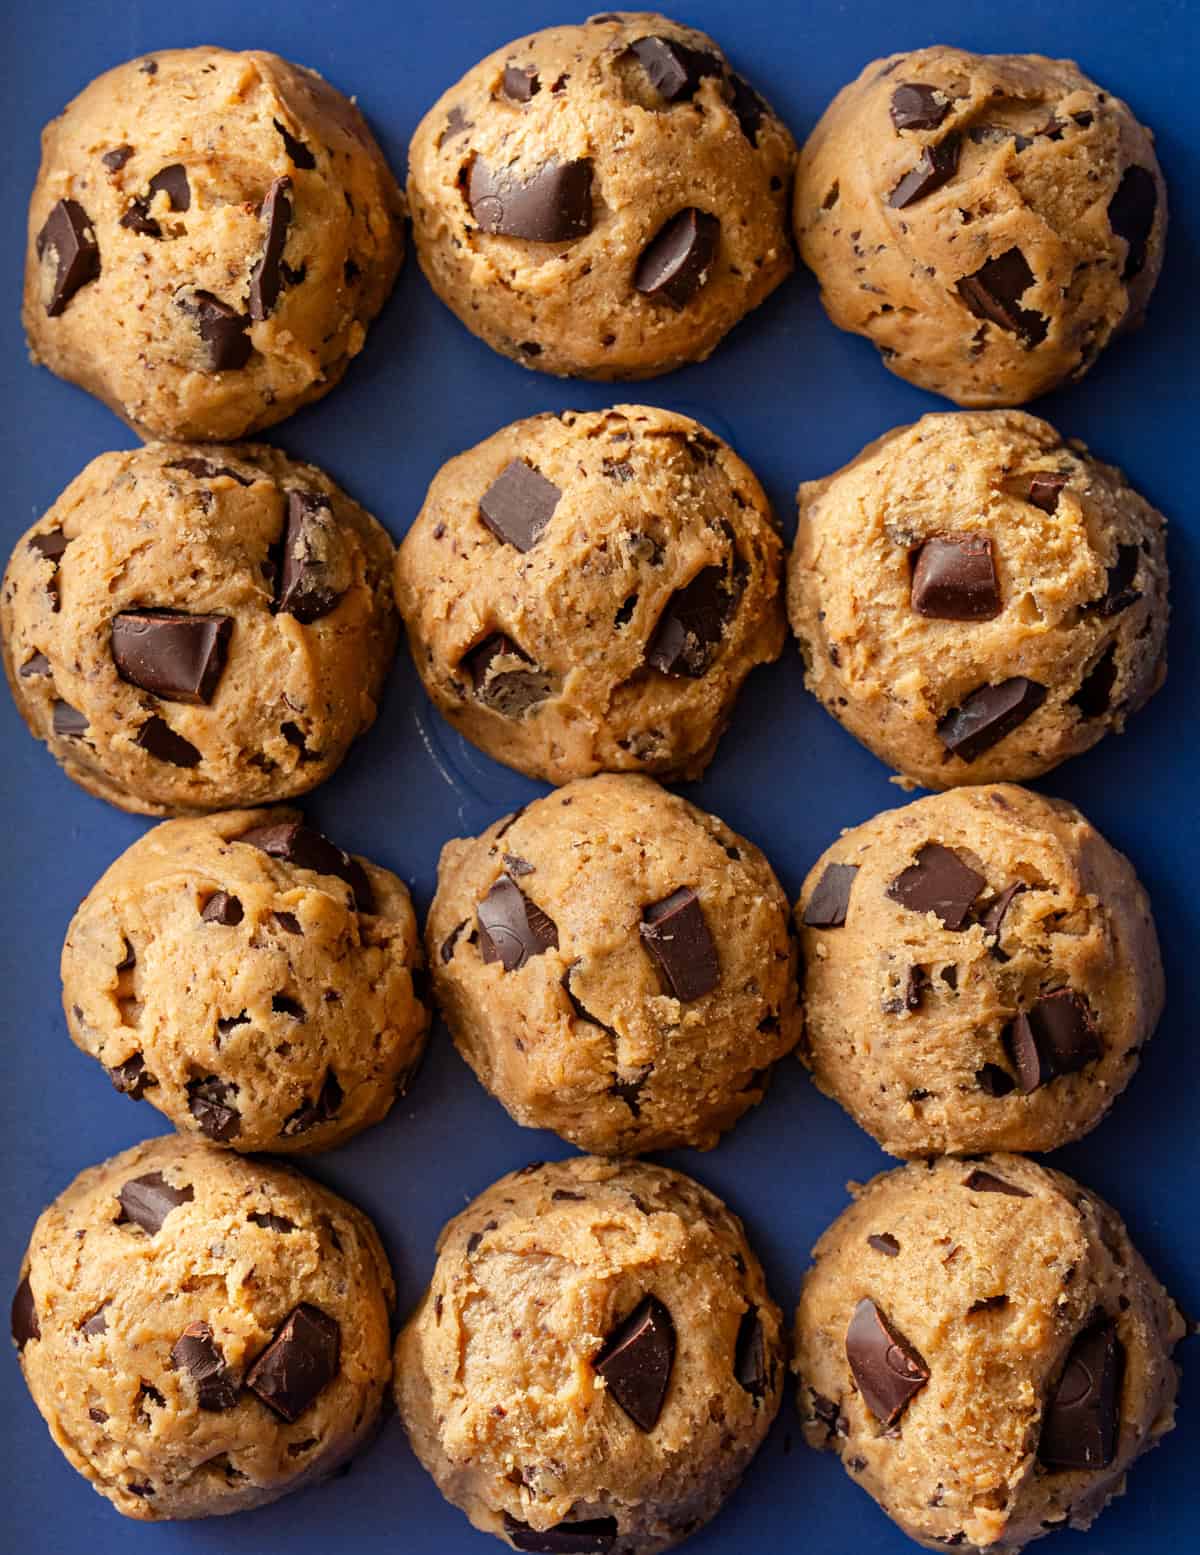
Scoop out cookie dough rounds with a ¼ cup measuring cup (or a large cookie scoop like this or this — affiliate links) onto a parchment paper-lined baking sheet. No need to space them out since they’re going to chill.
Refrigerate the pan until cookie dough balls are set. Afterward, you can transfer them to a reusable bag or container and refrigerate for 24 to 72 hours.
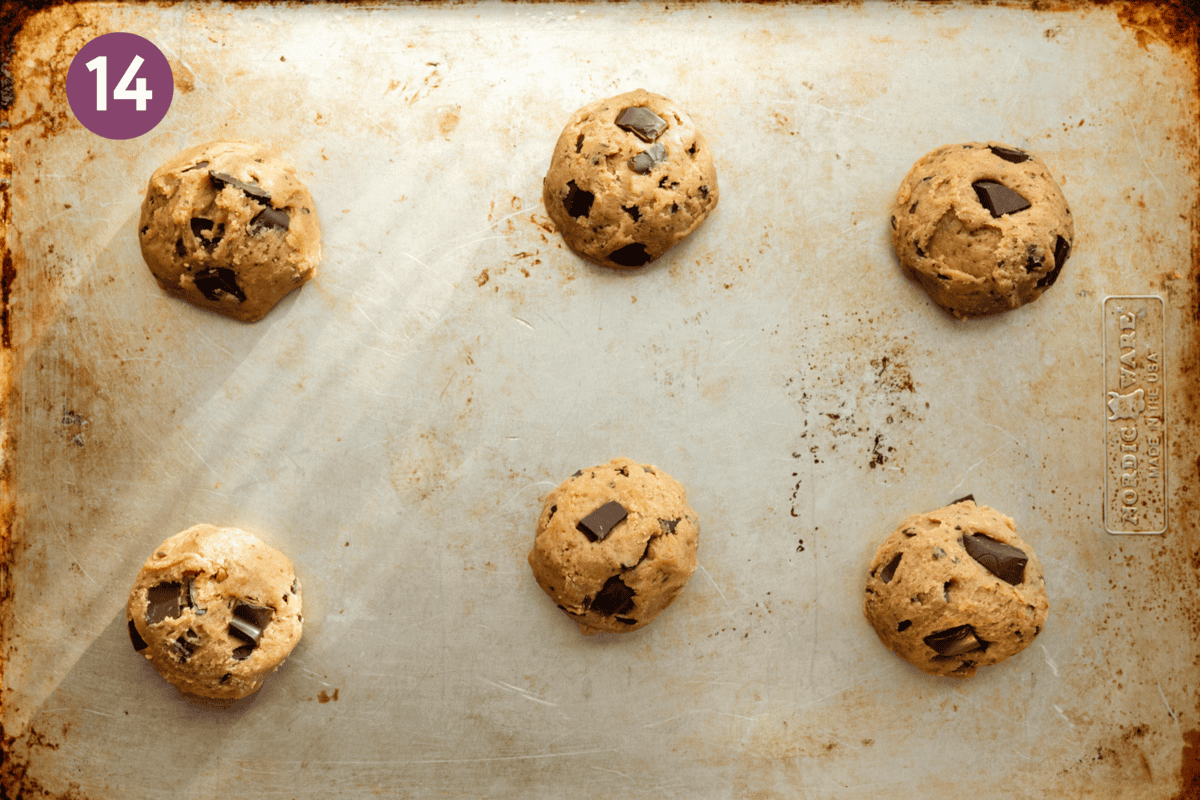
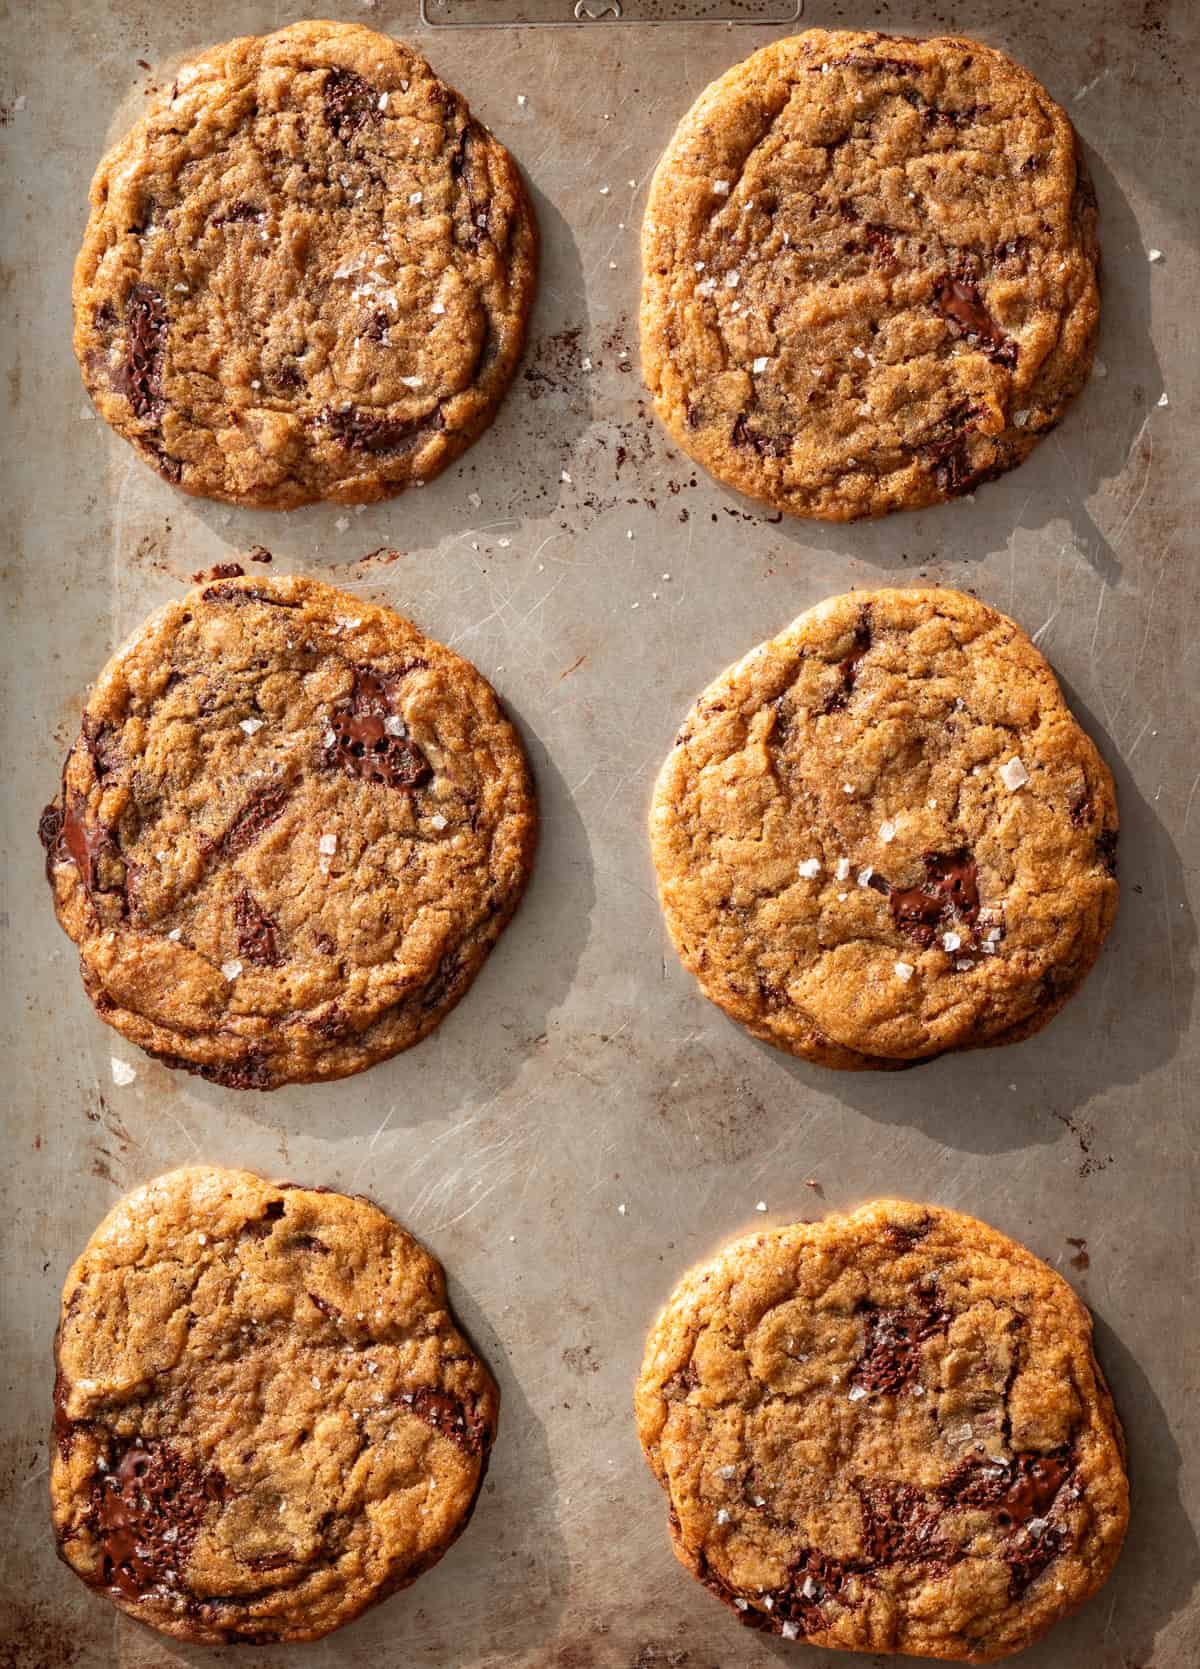
Is it time to bake? Great! Preheat your oven and line a sheet pan with parchment. Space 6 cookie dough rounds on the pan, leaving 3 inches (7.5 cm) of space in between each (these babies are going to spread).
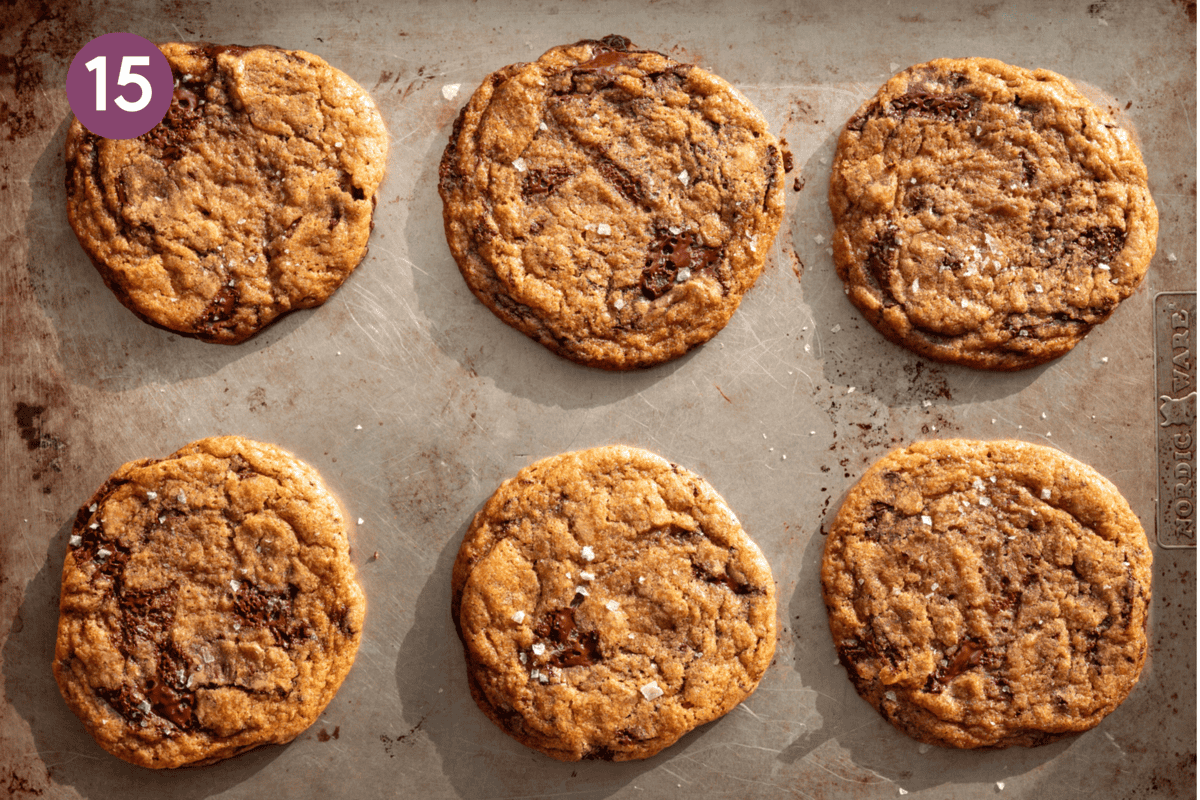
Bake the chocolate chip cookies until the edges are golden brown and a bit set but still gooey and soft in the center, 15 to 16 minutes.
Top freshly baked cookies with a little flaky sea salt. Cool for 10 minutes, then transfer to a wire rack. Enjoy!
Tips for making this recipe
The best cookies have two important features: (1) chopped chocolate (not chips) and (2) the dough has rested in the fridge for ~24 hours.
Lots of science in the next two tips, so here’s the big summary:
(1) Don’t have time to refrigerate the cookie dough? It’s important to use chopped dark chocolate.
(2) Only have access to chocolate chips, not dark chocolate bars? It’s important to rest the dough for 24 hours.
Let the dough rest for 24 hours (or so)
I know, I know. You want cookies now! But in our two dozen tests, letting the dough rest in the fridge was the biggest game-changer. Here’s why:
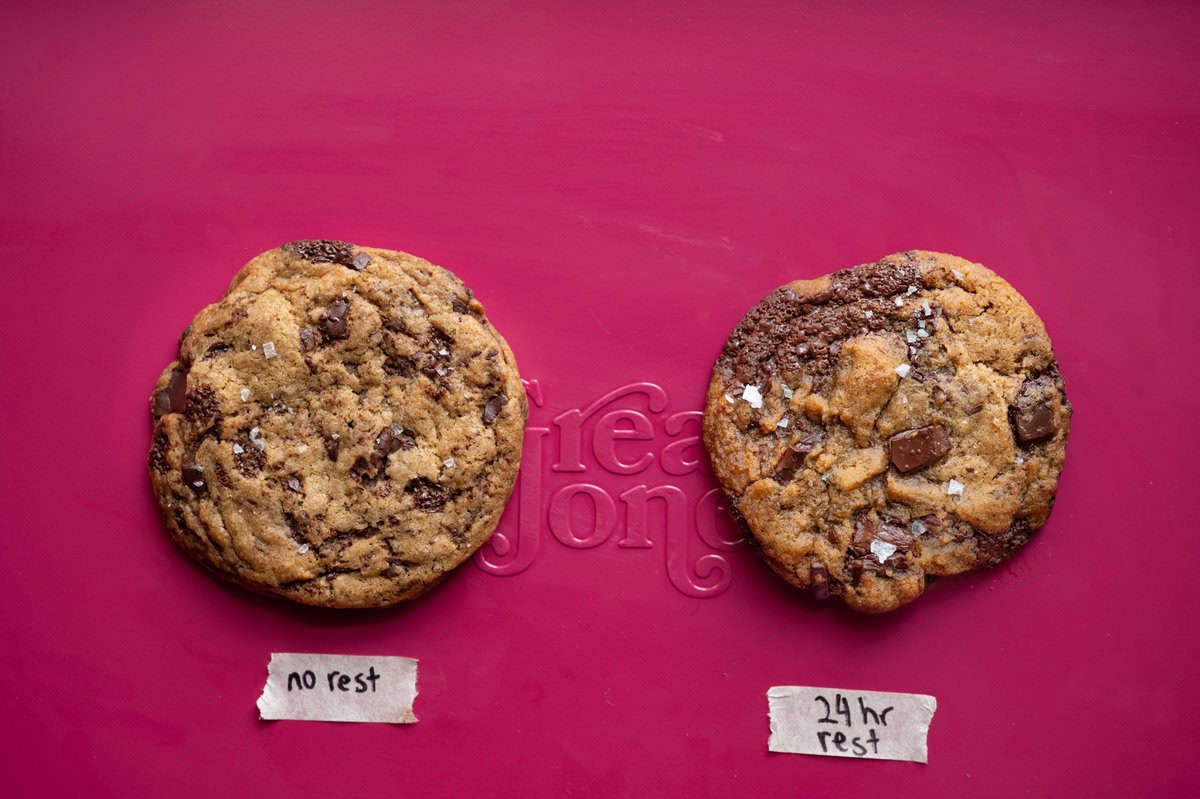
When the cookie dough rests in the fridge, the flavors meld together and the dough gets hydrated. This results in a cookie with better flavor (more developed and complex, richer, caramel-like) and texture (the crispest edges and the chewiest, gooey-ist center; not at all cakey or thick).
If you’re really short on time, even a shorter rest of 8 hours (or even 2 to 4 hours!) makes a significant difference. Or, if a 12 hour rest works better for your schedule, that’s totally fine.
Waiting for cookies can feel like a chore, but it’s absolutely worth the wait and the experts–the likes of Kenji López-Alt, Jacques Torres, dessert queen Claire Saffitz agree.
Life hack: Really need a cookie, like, right now? Bake one cookie after making the dough but save the rest of the cookie dough rounds for tomorrow or the next day.
PS: You can refrigerate the cookie dough for up to 72 hours. Any longer than that, and the rested cookie dough should then go into the freezer.
Use good-quality dark chocolate bars (not chocolate chips)
We tested this recipe with many dark chocolate bars and found that bars with few ingredients and between 65-75% dark or bittersweet chocolate gave us the best result.
If you really want to use chocolate chips, a few important notes: (1) use good-quality dark chocolate chips (anything below 60%, and these will be too sweet); (2) you must refrigerate the dough for ~24 hours.
Cookies baked with chocolate chips that did not get a rest in the refrigerator ended up underwhelming in flavor and with a thick and puffy, not chewy-gooey texture. Luckily, after a 24-hour rest, though, the cookies had improved A LOT.
Large cookies = better texture
When it comes to chocolate chip cookies, size really does matter. Shaping your cookies with 4 tablespoons or ¼ cup (~72g) of dough creates large cookies that beat their smaller counterparts in every way.
Here’s why: larger cookies don’t bake through as quickly, which means you get gooey, soft centers paired with irresistibly crisp edges—a perfect balance of textures. On the other hand, small cookies bake too evenly, resulting in a uniform texture that lacks excitement and depth. And the fine folks at America’s Test Kitchen agree.
Worried the big cookies are too much for one sitting? No problem! Share with a friend, or slice them in half for a smaller treat. Trust me, this is infinitely more satisfying than settling for a batch of tiny cookies.
Measure with a digital scale
If you have a kitchen scale (affiliate link), use it to measure all of the ingredients. Not only is it more precise than measuring cups, but you will have fewer dishes to wash (win-win!).
Don’t overmix the dough
Only fold the dry ingredients into the wet ingredients until everything just comes together and no dry flour remains. This method prevents the dough from being overmixed into a thick, gluten-ey dough, which would make your cookies dense and bread-like.
Want crispier edges? Skip the parchment paper
In our tests, cookies baked on naked sheet pans produced slightly crispier edges. But the pans need to be somewhat well-worn aluminum or nonstick sheet pans. Otherwise, the cookies will stick too much.
If you’re not sure, bake your first batch half on parchment paper and half without, and see which you prefer.
Don’t use warm pans
Let your sheet pan cool to room temp before putting more cookie dough balls on the pan. Warm sheet pans will cause the cookies to spread more. To speed things up, simply run your pan under cool water.
Don’t overbake
Pull the cookies out of the oven when the edges are just starting to set, but when the middle is still soft and gooey. They’ll continue to bake a bit on the pans for ~ 10 minutes before you transfer them to a cooling rack.
Double the recipe :)
These cookies are so good you’ll want to double the recipe! The good news is that unbaked cookie dough can be frozen and even baked cookies can be frozen. Both with excellent results!
Frequently Asked Questions
As much as I want you to indulge in these cookies as quickly as possible, letting the dough rest for 24 hours really does make a big difference (check out the Tips section for more on this).
Even an 8- or 12-hour rest makes a big difference. Really short on time? In our tests, even a 2-hour rest yielded a better cookie than a cookie baked immediately.
And cookies rested for 48 hours taste even better, so you can always “prep” the cookie dough and bake them a couple days later.
If you can’t bake the cookies with 72 hours of refrigeration, though, you should freeze the cookie dough.
We recommend using vegan butter sticks, as they are formulated to mimic dairy butter in baking better than the margarine or butter in tubs.
After many rounds of testing, our clear favorite is Violife salted butter (soy-, nut-, gluten-free), so use that if you have access to it!
Use the same amount of refined coconut oil (12 tablespoons / ~150g) instead.
The cookies won’t have the same amazing flavor without the browned butter and won’t be as chewy with crisp edges, but they’ll still be tasty (and will NOT taste like coconut if you use refined coconut oil).
I’d also recommend using good-quality dark chocolate to compensate for the loss of flavor and texture.
The coconut oil will harden in the dough, so before baking, let the cookie dough balls sit at room temperature for 20 minutes, or until pliable. If the dough balls have lost their shape, reshape them into balls before baking.
Good news! Our gluten-free test worked out very well!
Replace the 2 cups of all-purpose flour with 1 ⅓ cups (192g) of gluten-free all-purpose flour and ⅔ cup (76g) of oat flour (certified gluten-free).
It’s also important that your gluten-free flour blend contains xanthan gum, something like Bob’s Red Mill 1:1 Baking Flour or King Arthur’s Measure for Measure GF Flour (affiliate links).
In our testing, we also found that the gluten-free dough was a bit sticky, so you will likely need to refrigerate it for 10 to 20 minutes before shaping it into balls.
Bake the cookies for 13 to 15 minutes.
Baking one pan of cookies at a time yields the best texture. This is because hot air doesn’t circulate as efficiently in an overcrowded oven.
That said, if you’re in a real rush, you can arrange a rack in the upper-middle and lower-middle of the oven. Bake the cookies for 8 minutes. Remove one pan from the oven (closing the door in between to avoid too much heat escaping), then remove the other pan.
Switch the pans’ positions on the racks for even baking and browning, and bake for another 8 minutes, until the edges are golden brown and a bit set but still gooey and soft in the center.
If eating within one day, store the cookies in an airtight container or sealed ziploc bag on the kitchen counter.
Any longer than a day, and these cookies are best stored in the freezer. Stack the cooled cookies in a freezer-safe container, separating each one with a piece of parchment paper.
Take as many cookies as you want to eat out of the freezer. Defrost by setting each cookie on a paper-towel, without the cookies touching. They defrost in ~10 minutes and taste almost identical to the freshly baked cookies.
To reheat the cookies in the oven, place them on a sheet pan (lined with parchment paper for easier cleanup) and heat at 350ºF (175ºC) for 3 to 5 minutes, or until warm.
You can microwave the cookies but I think the texture isn’t as good.
Absolutely. Shape the dough into balls, chill in the fridge for 24 to 72 hours per the recipe, then freeze any dough balls you don’t bake.
Freeze the balls on a tray until solid, then transfer them to a freezer-safe bag or container.
Yes, but for the best results, first defrost frozen cookies in the fridge until softened (about 24 hours). If they have thawed but are still a bit hard, let them sit at room temp for 15 to 30 minutes, then bake.
If you don’t have the time to defrost and need to bake from frozen, let the frozen cookie dough balls sit out at room temp for 30 minutes, then bake for 16 minutes, or a bit longer.
I think this is overrated, but if it’s important to you, get a large biscuit cutter like this (5″ minimum, but 6″ is ideal). As soon as the cookies come out of the oven, work the biscuit cutter around the edges of the cookie in swirling, circular motions. Video instructions here.
There are a few levers you can pull to make your cookies crispier.
1) Use more cane sugar (white sugar) than brown sugar. For this recipe, use 3/4 cup (167g) cane sugar. And ¼ cup + 2 TBSP (78g) dark brown sugar, tightly packed.
2) Use 3 tablespoons of dough (54g) per cookie instead of 1/4 cup (72g).
3) Lower the oven temperatuer to 325ºF / 165ºC.
4) Don’t use parchment paper on your baking pans.
There are a few levers you can pull to make your cookies softer and fluffier.
1) Use all brown sugar, no cane/white sugar. Since dark brown sugar can be a little potent in flavor, I recommend ~ half light brown and half dark brown.
2) Add 1 1/2 teaspoons cornstarch to the dry ingredients.
3) Use 3 tablespoons of dough (54g) per cookie instead of 1/4 cup (72g).
You may need to refrigerate the dough before scooping into rounds.
Watch: How to make these cookies
More delicious vegan cookies!
If you loved these Ultimate Vegan Chocolate Chip Cookies as much as we did, please give the recipe a rating and review below! And of course, tag me with your remakes on Instagram!

Big Vegan Flavor
Techniques and 150 recipes to master vegan cooking.
Ultimate Vegan Chocolate Chip Cookies
Ingredients
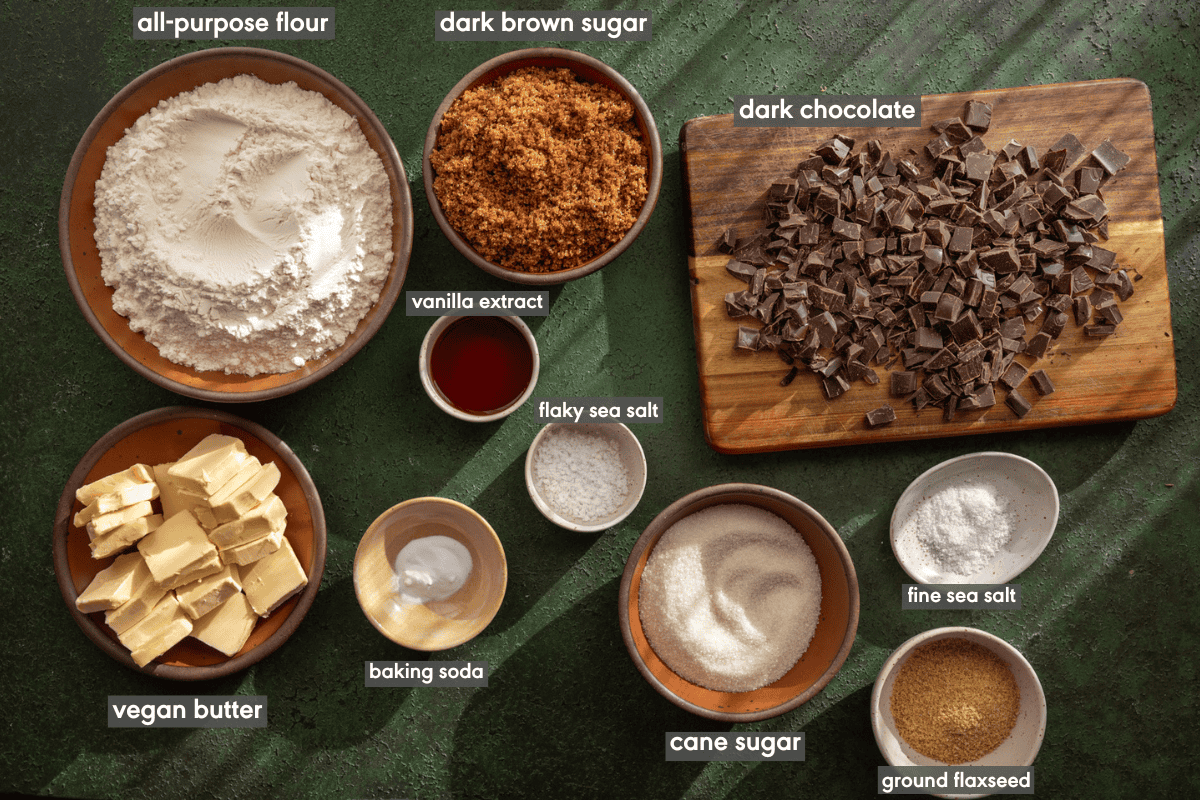
- 12 tablespoons (168g) vegan butter, sliced into thick pats (see Note 1)
- 2 tablespoons (14g) ground flaxseed meal
- 5 tablespoons (70 mL) warm water
- 6 ounces (170g) 65% to 75% dark or bittersweet chocolate (see Note 2)
- 2 cups (250g) all-purpose flour (see Note 3 for GF)
- ½ teaspoon fine sea salt
- ¾ teaspoon baking soda
- ¾ cup (155g) organic dark brown sugar, tightly packed (see Note 4)
- ¼ cup + 2 tablespoons (80g) organic cane sugar
- 1 tablespoon (15 mL) pure vanilla extract (not imitation extract!)
- Flaky sea salt for finishing
Instructions
- Brown the butter before doing anything else, as it needs time to cool: Add the sliced butter to a stainless steel or light-colored skillet or saucepan. Turn to medium heat. Swirl the pan or stir with a silicone spatula occasionally until melted, foamy, and at a bubble (it should take 2 ½ to 3 minutes).Heat for 2 to 3 more minutes, stirring frequently with a silicone spatula until nutty in aroma and slightly darker. Turn off the heat before it starts foaming up the sides of the pan.Immediately pour into a medium heatproof bowl to stop cooking, scraping out all of the butter from the pan with the spatula.Refrigerate for 20 to 25 minutes or until no longer warm. And add a large plate or sheet pan to the fridge to chill.
- In a small bowl, combine the flaxseed meal with the warm water. Whisk well to combine and rest for 15 minutes, whisking again halfway through and once more at the end of the 15 minutes.
- While waiting for the butter and flax egg, coarsely chop the chocolate and set aside. If desired, reserve 12 pieces of chopped chocolate to press into each cookie.
- In a medium bowl, whisk together flour, salt, and baking soda until well incorporated.
- Once flax eggs have gelled and brown butter has cooled, add both to a large bowl. Add the brown sugar, cane sugar, and vanilla. Use an electric mixer on medium to mix everything together until well combined and small waves appear, about 30 seconds (or use a whisk and arm power for ~45 seconds).
- Remove the beaters and switch to a silicone spatula. Add half of the dry ingredients into the wet. Fold with a silicone spatula until just combined. Add the rest of the dry ingredients and chopped chocolate (minus reserved 12 pieces, if desired). Fold just until no dry spots remain. The dough should be thick but somewhat soft, not stodgy.
- Scoop out cookie dough rounds. Use a large cookie scoop to measure out ~72g per cookie dough round (or use a ¼ cup measuring cup, leveling off the top & using a small silicone spatula to get the dough out of the measuring cup). PS: Don't make smaller cookies (see Note 5). Remove the plate/pan from the fridge and line with parchment paper. Scoop the cookie dough balls onto the plate/pan. No need to space them out, as they’re going to chill first. If desired, press a piece of chopped chocolate into the top of each cookie.NOTE: If the dough is too sticky, chill for 10-30 minutes, then shape.
- Refrigerate the pan. Once the cookie dough balls have set, you can transfer them to a ziploc bag and refrigerate. Refrigerate for 24 hours (or up to 72 hours), or 8 hours at a minimum (see Note 6).
- When ready to bake, preheat the oven to 350ºF / 175ºC and arrange a rack in the center of the oven. If your rimmed sheet pan is not well-worn or not made of aluminum or nonstick, line it with parchment paper to prevent sticking (see Note 7). Add six cookie dough rounds, spacing them 3 inches (7.5 cm) apart, as they’ll spread a lot.
- Bake for 14 to 16 minutes, until edges are golden brown and a bit set but still gooey and soft in the center (16 minutes for a slightly crispier edge).
- While still warm, sprinkle a little flaky sea salt. Cool in the pans for 10 minutes (5 minutes if lined with parchment), then transfer to a cooling rack to cool for a few more minutes.
- Bake the remaining batch (or freeze the cookie dough to bake later).
Notes
- For our recommended butter brands, check out the Ingredient Notes.
- Chopped dark chocolate bars = much better than choc chips. For more details & substitutions, check out the Ingredient Notes and Tips sections (tips #1 and #2).
- Check out the FAQ for gluten-free instructions.
- If you can’t find dark brown sugar, light brown sugar still works well.
- Smaller cookies turn out drier and overall less good. Stick with 1/4 cup or 72g per cookie.
- If you can’t refrigerate the dough for 24 hours, a shorter rest is still better than nothing. Even 2 to 8 hours produced better cookies than no rest at all.
- Unlined sheet pans yield crisper edges. But if your pan is new or not made of aluminum or nonstick, line the pan with parchment paper; otherwise, the cookies stick.


I made the recipe exactly according to the directions. I had to use parchment paper because I didn’t trust my baking sheets. They came out fabulous, I loved them! My cookies didn’t spread as much as the ones in the photograph, but they were perfect just the way they were. Maybe my refrigerator is colder? I measured all the ingredients and was surprised how different the amounts were. Apparently I haven’t been packing brown sugar enough!!! Everything was perfect, I appreciate all the detail, and we loved them. I made them Christmas Eve to have on Christmas Day.
I meant to say I “weighed” all the ingredients. I definitely would recommend getting a little kitchen scale for baking!
Thank you for the thorough review, Anne. We’re thrilled the cookies came out beautifully :) Cheers!
Made these for Christmas Eve and my only regret is not doubling it. They went like hot cakes. My family couldn’t get their paws off them. This was my first time refrigerating chocolate chip cookie dough and using dark chocolate and now I’m like where have you been my whole life???? Will never try it any other way.
Hi Julianna, thank you for the kind words! It’s great to hear the whole family was a fan of the cookies.
I made these for “Santa”…lucky I made them Christmas eve…..otherwise there would be no chance of him getting one! Delicious!!! My MIL..”these are just like the bakery ones!”.
Every recipe I make turns out brilliantly. Thank you!
Your positive feedback is the best reward for our hard work. Thank you, Tegan!
Hi are the nutrition facts for 1 cookie?
Thanks!
Hi Sharmeen, yep, one jumbo cookie! Enjoy!
Amazing recipe! I don’t know how you do it. I took the life hack route and baked three of them for my family and they came out both gorgeous and tasty. I have four of them ready to be baked on Christmas Eve morning and five for the freezer. The recipe was very accessible and I have cookies ready to eat now and later. Thanks for all of your work to come up with such a thorough and delicious cookie!
Hi Dalisha, thank you for the lovely review! :) We’re thrilled you loved the cookies.
I could hardly wait to make these since you emailed about them. I followed every step because I trust what you say. And man, I was not disappointed. I think this might be the singular best cookie I’ve ever had.
I used 65% dark chocolate and it was the perfect level of sweetness for me and my friends (I brought these to a holiday-themed book club, all folks in our 30s and 40s). I plan to make these for my niece and nephew since they’ll be staying with me during Christmas break, but I’ll probably go down to 60 or 55% chocolate.
The chewiness was so amazing, like sinking your teeth into the best thing possible. And the flavor. Just wow.
Hi Sabine, thanks for your kind words! It makes us very happy to know you’re such a fan of the cookies :)
These were amazing. I baked one batch after 5 hours of rest and the other after 24 hours of rest. The 24 hours of rest did improve the texture somewhat, but it was not that noticeable to me. Both batches were fabulous.
We appreciate your feedback and support, Will. Thank you for leaving a review!
I am impressed! Resting the dough does make a huge difference in how they turn out. I even recommend up to 48 hours if you can manage. I used tub butter instead of stick butter and it still turned out well. I’m curious to see the difference stick butter will make. I don’t love how much the cookies spread but I must admit the texture is impeccable. Crispy on the outside and soft and gooey on the inside. 14 minutes is the sweet spot. I prefer a thicker cookie texture in the middle so I’ll be experimenting with this recipe to get it right. Still a great recipe all in all.
Thank you for your wonderful review and notes, Kamille! It’s great to hear this recipe was a success for you.
My third batch came out perfect!! Use a good food scale if you can because getting the measurements right makes a difference. I used the plant crock butter brand with sticks this time instead of the tub. I made the cookies slightly less big than is recommended and came out with the perfect texture. This is my dream recipe
Hi Kamille, thanks for the feedback! We’re thrilled you were able to get the cookies just right this time :)
I trust Nisha’s recipes with my foodie life so I went ahead and made a double batch of these. I’ve been chasing the perfect vegan chocolate chip cookie recipe to rival my old omni chocolate chip cookie recipe and this one knocked it out of the park. Every detail described in the post is the truth. The cookies have just the right amount of sweetness, deep caramelized notes, loaded with chocolate (I used a few 72% dark chocolate bars and handful of semisweet chips I had) , and an ideal texture with the perfectly crisp outside and chewy, gooey inside. Truly the best chocolate chip cookies I’ve ever had.
I had a little trouble getting my butter to brown and I’m not entirely sure I achieved fully browned butter, but I used Country Crock sticks and it still turned out phenomenally. I’m excited to try these out again when I have Violife or Miyoko’s butter in the house.
Do yourself a favor and make them. I always appreciate how meticulous Nisha is about testing recipes and walking us through why each and every ingredient is in the recipe. Just follow her recipe, it’s so completely worth it!
Your review made our day, Rhy! Thank you for taking the time to share your thoughts and for trying out the recipe. :)
I have a question, even though smaller cookies are not recommended, I plan to make them for Christmas so I plan to make the small size for more sharing. Do I just bake them a minute or two less? (I’ll try the jumbo size at another time!!)
Hi Anne, you can find Nisha’s notes about this in the blog post! She recommends you simply slice the cookies in half (or double the batch, which would be my recommendation!) I’ll paste the notes from the blog post here for your convenience:
“Large cookies = better texture
When it comes to chocolate chip cookies, size really does matter. Shaping your cookies with 4 tablespoons or ¼ cup (~72g) of dough creates large cookies that beat their smaller counterparts in every way.
Here’s why: larger cookies don’t bake through as quickly, which means you get gooey, soft centers paired with irresistibly crisp edges—a perfect balance of textures. On the other hand, small cookies bake too evenly, resulting in a uniform texture that lacks excitement and depth. And the fine folks at America’s Test Kitchen agree.
Worried the big cookies are too much for one sitting? No problem! Share with a friend, or slice them in half for a smaller treat. Trust me, this is infinitely more satisfying than settling for a batch of tiny cookies.”
One more note, Anne! You can do 3 tablespoons (54g) per cookie, but I wouldn’t scoop them less than that, as Kaitlin mentions in her comment, the smaller cookies bake throughout faster, yielding a cookie with uniform texture that’s not nearly as exciting or desirable in texture. If using the 3 tablespoon, the bake time should be the same, but you can check at 14 minutes to be safe.
I am definitely making these for Christmas this year! Also, this is the recipe that finally sold me on the meal plan. If you put this much intention into your recipes, I am going to LOVE that meal plan. I signed up today!
Hi Anne, thank you for such a wonderful review! We hope you love both the cookies and the meal plans- we promise you won’t be disappointed! :)
Exciting!!! Going to make these tomorrow!!!! Any recommendations on the chocolate bar brands that are good quality for baking or just any personal preference?
Hi Inna, it’s mostly personal preference. I prefer a dark chocolate bar in the 65 to 70% range (Thee or Chocolove are go-tos), but as long as you use a quality bar that you enjoy, it will be fine :)
That is one fabulous vegan cookie post!
Thanks for all the great information and comparisons in it. Super useful for all sorts of cookie recipes.
Oh and the cookies will be tried at the very first opportunity.
Thanks for reading all the way through, Sonja! I agree- this blog post was a labor of love! Enjoy the cookies :)
These sound like a great cookie and it want to try them. What is your suggestion to use instead of flax? We have a flax allergy in the house. Thanks.
Hi Shirley, I would try one of these two options:
(1) A chia “egg”: use the same amount of chia seeds as flax meal and same amount of warm water. Whisk together using the same instructions and wait 10-15 minutes to gel, whisking once or twice in between. If the chia egg is really thick, add a little bit more water.
(2) Use plain unsweetened vegan yogurt. About 6 to 7 tablespoons (85 to 100g). You can fold that in with a silicone spatula after mixing the browned butter and sugars. We haven’t tried that ourselves, but based on our research, we think it could work decently well.
Hope that helps!
Saving this for when I have some cleared fridge space for the overnight storage. Looks amazing!
I’m curious if you’ve ever tried Just Egg in baking applications. I’ve used the stuff for banana bread before and it works great for that, but of course cookies would be a different beast.
Good question, Chance! We’ve only used it as an egg substitute for an omelette, not in baking. Their website says you can, but we have no idea how it would work with these cookies!
Hey Nisha, Can’t wait to try these. If I want to use a stand mixer for this step, would it be better to use the whisk attachment or the standard attachment? The mention of “ribbons” makes me think whisk, but I’m not sure…
“Use an electric mixer on medium speed to mix everything together until well combined and small waves/ribbons appear, about 30 seconds.”
Thanks!
Hi Liz, so happy you’re excited for these! I think the standard beater is fine, as that’s what typically used for cookie dough. The ribbons just light, fleeting ribbons, which should appear with any electric mixing method.
Can i make this with regular butter and eggs? Im not vegan but love your recipes! And im so eager to try this!
Hi Vanessa, I’m so happy you love my recipes :) Since I’m vegan, I haven’t baked with regular butter or eggs in 8 years, so I can’t say how this would turn out.
Can you taste the coffee if you include espresso powder?
Hi Dil, the cookies do not taste like coffee, but the espresso powder enhances the chocolatey flavor. That said, they are still very delicious without the espresso powder.
How about sugar substitutes?
How will coconut sugar and monk fruit or xylitol change the texture/taste?
Hi Lea,
When I developed this recipe, I wanted it to be as close as possible to a bakery-style chocolate chip cookie. Brown sugar and cane sugar add not just sweetness but also structure, so substituting them will change the texture and flavor.
Coconut sugar is a decent substitute for brown sugar in some recipes, but it is drier and has less moisture, and this recipe relies on a fair amount of brown sugar for moisture, so the cookies would have a less moist and dryer, crumblier texture.
As for monk fruit or xylitol, I do not bake with those, but I imagine it would also negatively affect the overall texture and flavor. For instance, monk fruit is 100x sweeter than sugar, so you would only need a small amount, and again, the sugar in this recipe doesn’t merely add sweetness but also structure. If you used only a small amount of sweetener, it would completely change the texture of the dough and cookies.
I was on your website last night looking for Christmas recipes and saw that you had just posted this one. and I knew immediately I had to make these cookies for a college friends Christmas get-together. Because of the timing I couldn’t rest them for the whole 24 hours. I did about 17 hours. Long story short, everyone at the party was RAVING about these. Not a single person there was vegan and they all begged me for the recipe.
Wow, Karina! You were on top of it with this recipe! I need to try it ASAP… the amount of effort that was put into it is actually astounding. Happy to hear the cookies were a hit with the whole party :)