

There are very few absolutes in this world, but there’s one that holds true in my kitchen: I always have a few cans of chickpeas in the pantry.
For one thing, they’re a nutritional powerhouse (packed with protein, fiber, and iron!); but just as important is the fact that they’re super versatile and can be prepared in so many different ways.
Better yet, there are so many ways to jazz them up and make them a highlight—something salty and crunchy to snack on, pureed into a creamy dip, the main event of a nourishing curry or stew, and even, believe it or not, as a component of indulgent desserts.
Let’s get into it!
🎥 Easy methods for mind-blowing chickpeas

Want to see these techniques in action? Check out this YouTube video where I walk through 6 of the 8 methods described in this blog post. With 750K views, it was a huge hit on my YouTube channel!
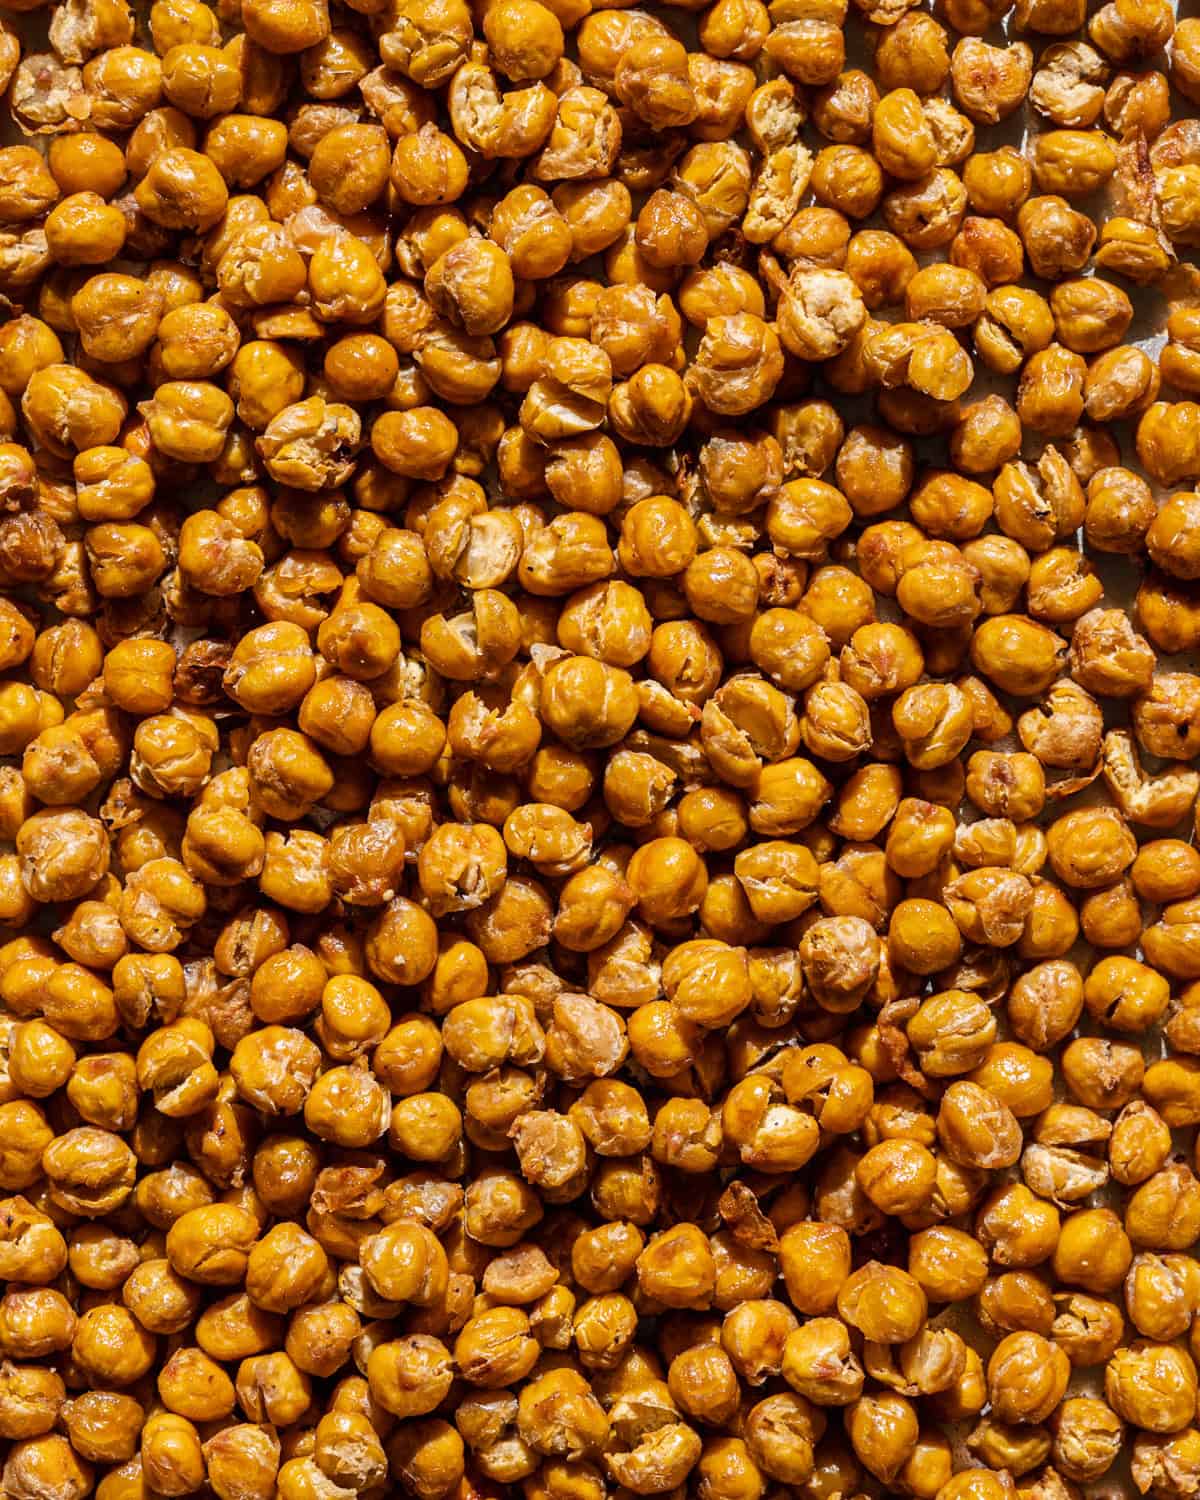
Technique #1: Roasted
Oven-roasting chickpeas is a super easy way to level up your chickpea game, as they get irresistibly crispy and crunchy, and are SO versatile!
Here’s how to do it:
- Rinse and drain the canned chickpeas (1 or 2 cans). Thoroughly dry the chickpeas with a clean dish towel or paper towels to ensure they crisp up in the oven. If any chickpea skins get loose as you’re drying them, discard them.
- Toss the chickpeas with olive oil and season with salt/pepper (1 1/2 of oil tablespoons is sufficient for 2 cans of chickpeas).
- Spread them out on a rimmed baking sheet and bake at 425°F/218°C for 20 minutes, then shake the pan back and forth.
- Continue roasting until golden brown and crisp, another 5 minutes for lightly crispy chickpeas or 15 minutes for very crunchy. If using one can of chickpeas instead of two cans, they’ll be done sooner.
- Variations: Pulse the chickpeas slightly in a food processor before roasting. The smaller pieces get even crispier during the roast and make a great crouton alternative.
Featured Recipes:
Once you have a batch of roasted chickpeas, there are so many fun ways to use them!
- Sprinkle them onto soups or salads as a protein- and fiber-rich alternative to croutons.
- Pair them with your favorite grain + sauce + veggie for a quick bowl meal. Think pesto + farro + roasted cauliflower, or ranch dressing + quinoa + romaine lettuce.
- Add them to a wrap with hummus or guacamole or snack on them by the handful.
- Make my Tandoori Chickpea Stuffed Sweet Potatoes
- Psssst—my YouTube Video, 5 CHICKPEA Recipes EVERYONE Should Know walks through this recipe, and 4 others in this post ☺️
- If you have a copy of my cookbook, Big Vegan Flavor, flip to pages 236 – 238 to find recipes for Crunchy Roasted Chickpeas, 3 ways: classic, Tandoori, and BBQ!

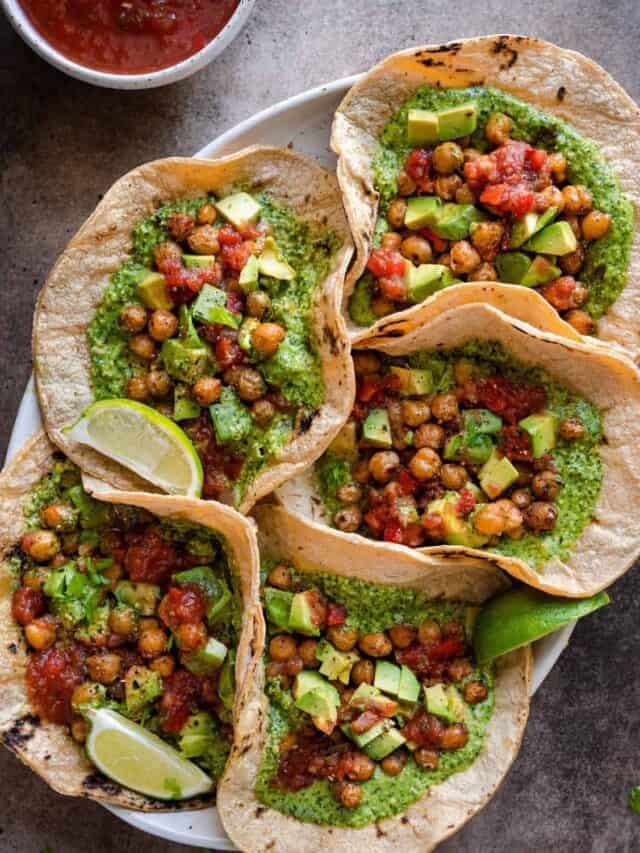
Technique #2: Pan-Fried
This 10-minute technique is perfect for when you want crispy, flavor-infused chickpeas, but don’t have the time for oven-roasting!
For a step by step guide on how to pan-fry chickpeas, check out the recipe card for this post.
Pan-fried chickpea recipes to try:
- They’re the backbone of my 20-Minute Chickpea Tacos (click here to watch me make this recipe).
- Try them in my 20-Minute Broccoli and Za’atar Chickpeas (click here to watch me make this recipe).
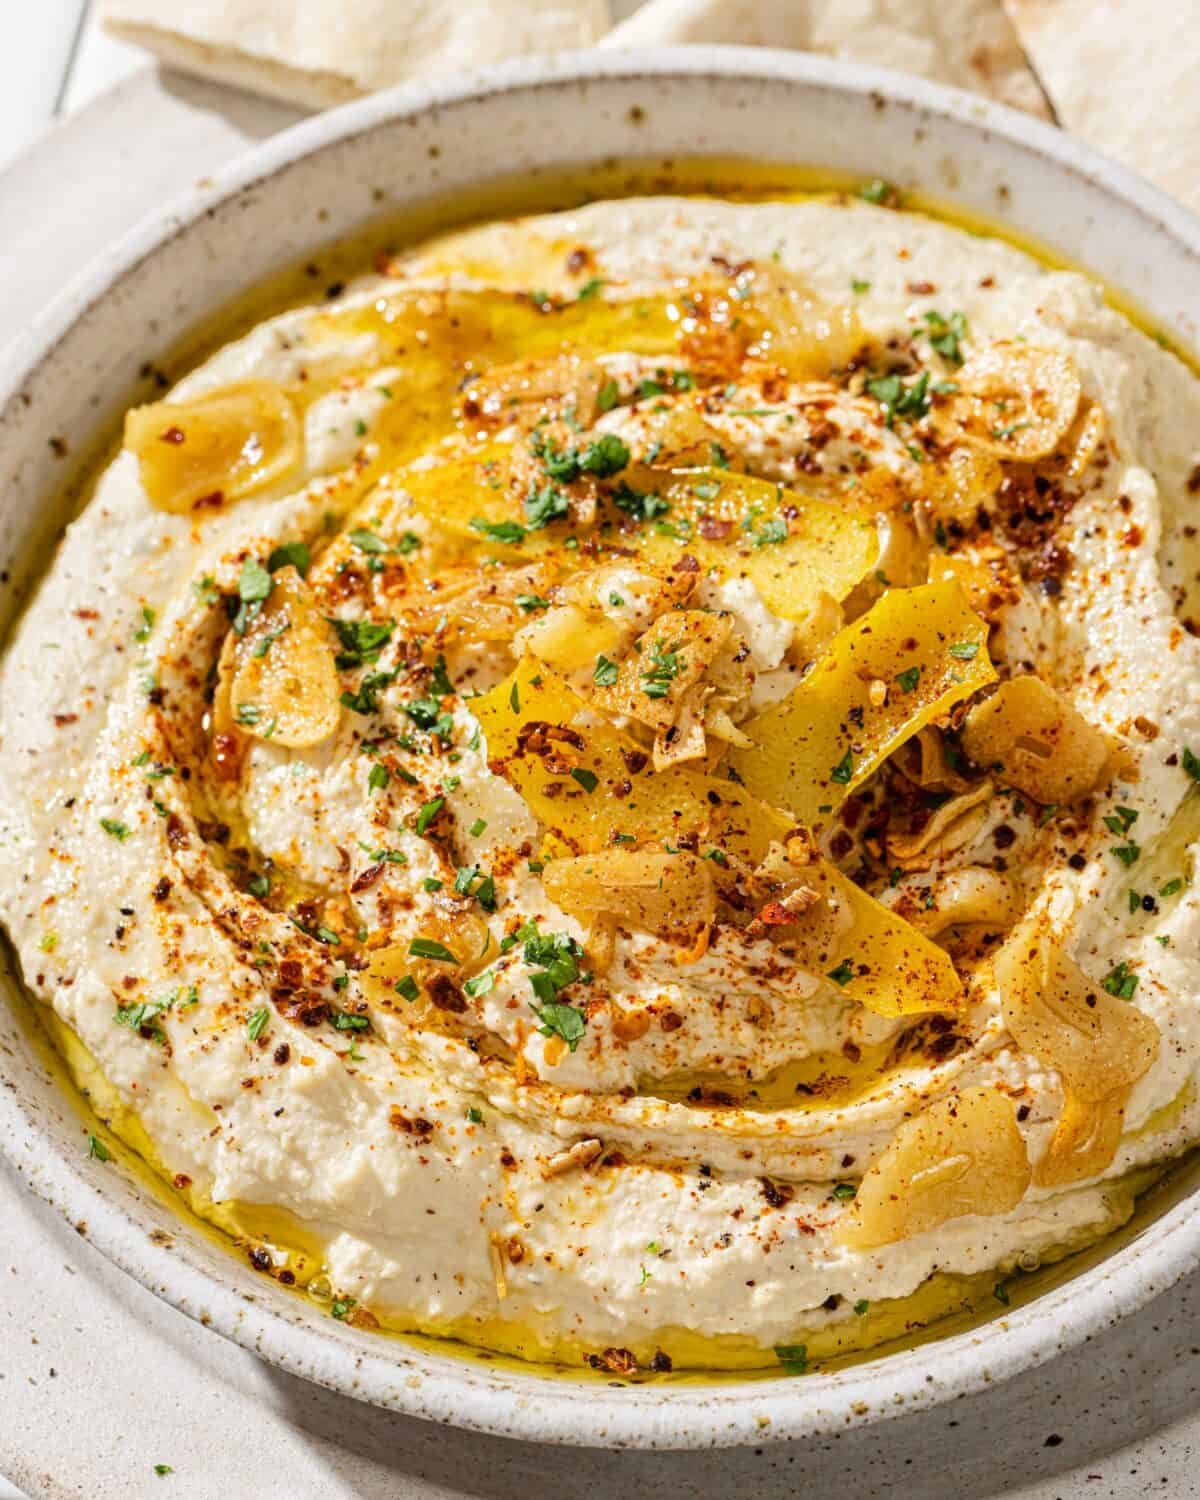
Technique #3: Blended
You can probably guess where this technique is headed… that’s right, we’re talking hummus. If you’re still subjecting yourself to store-bought hummus, this is your sign to try homemade. You deserve better.
Note: I typically prefer using dried chickpeas cooked from scratch to make my hummus, but you can absolutely use canned chickpeas. It makes hummus SO quick to whip up (5 minutes!) and you will still end up with something that’s 10x better than what you can buy in the grocery store.
Hummus recipes to try:
- Start here: The Best Homemade Hummus
- I reveal allllll my best hummus-making tips in my YouTube video, How to make the best hummus of your life (with 4.9 million views 🤯)
- Riff on the original with my Roasted Red Pepper Hummus
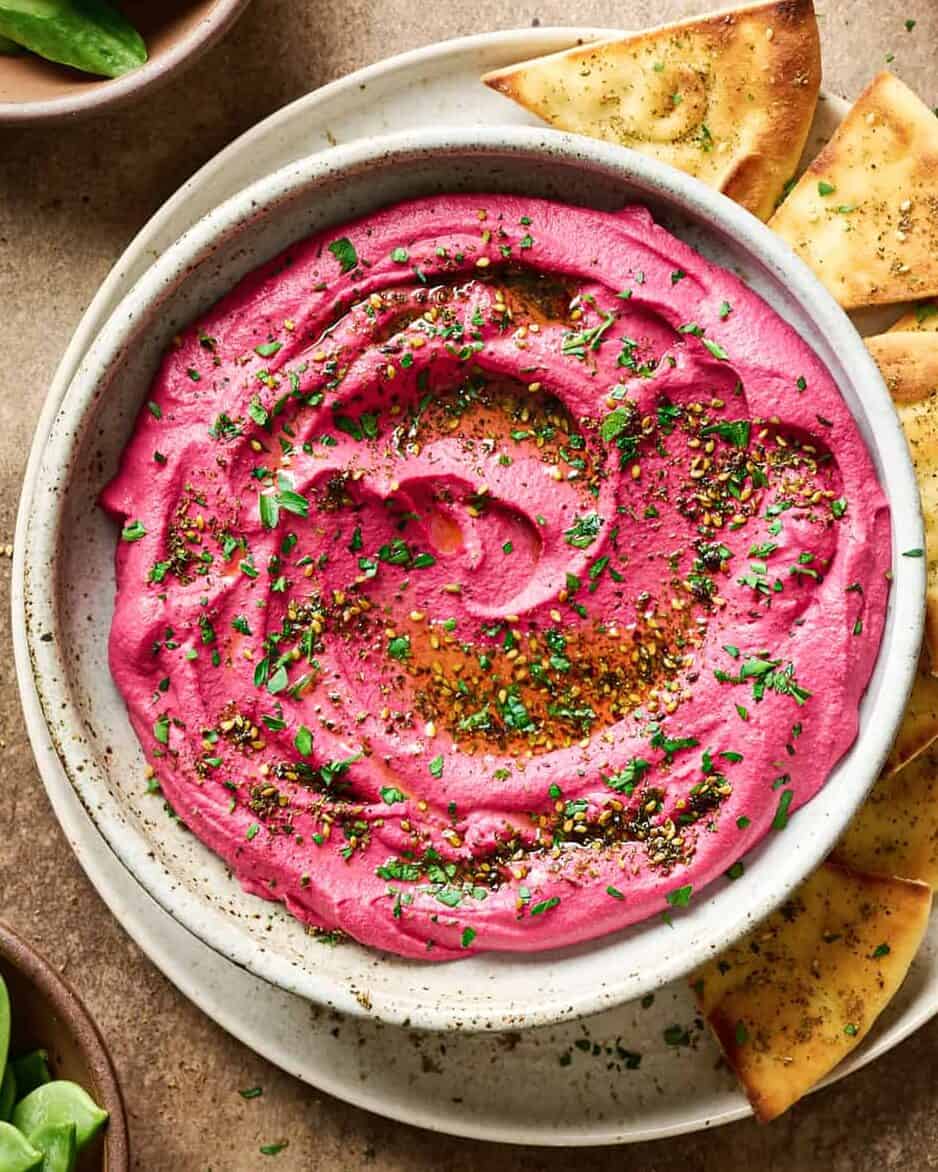
- For a gorgeous showstopper, make Beet Hummus.
Technique #4: Smashed
Smashing chickpeas, either with a fork or potato masher, or pulsed in a food processor, gives you a versatile base that works in both cold and hot dishes.
For cold dishes, smashed chickpeas make an amazing sandwich filling, no cooking required. Toss them with seasonings, a creamy binder, and whatever crunchy add-ins you like, and you’ve got a satisfying protein-packed lunch in minutes.
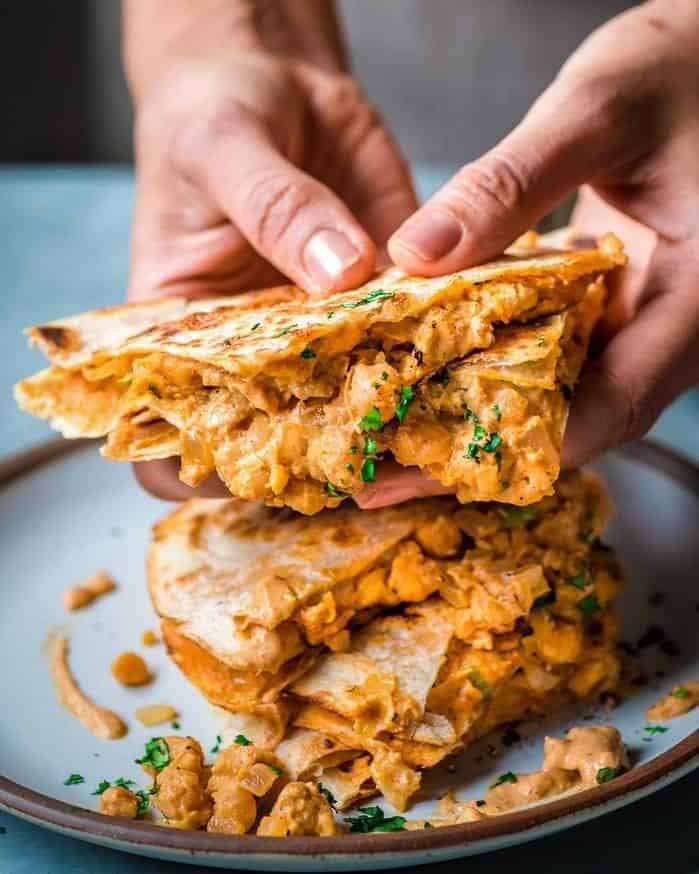
For hot dishes, smashed chickpeas work beautifully as a hearty filling for things like quesadillas and wraps, where the mashed texture helps everything hold together.
Recipes featuring smashed chickpeas:
- Classic tuna salad flavors, but totally plant-based? Yup, it’s possible, with my Vegan Tuna Salad (click here to watch me make it!)
- Make my Vegan Buffalo Chickpea Quesadillas and discover for yourself why they’re a fan-favorite (click here to see me make them!).
- This creamy, bright Chickpea Salad Sandwich is an easy, breezy, satisfying lunch that’s ready in 20 minutes and great for meal prep.
- From Big Vegan Flavor: Scrambled Chickpeas w/ Chile Yogurt Sauce and Za’atar Pita (p. 455)

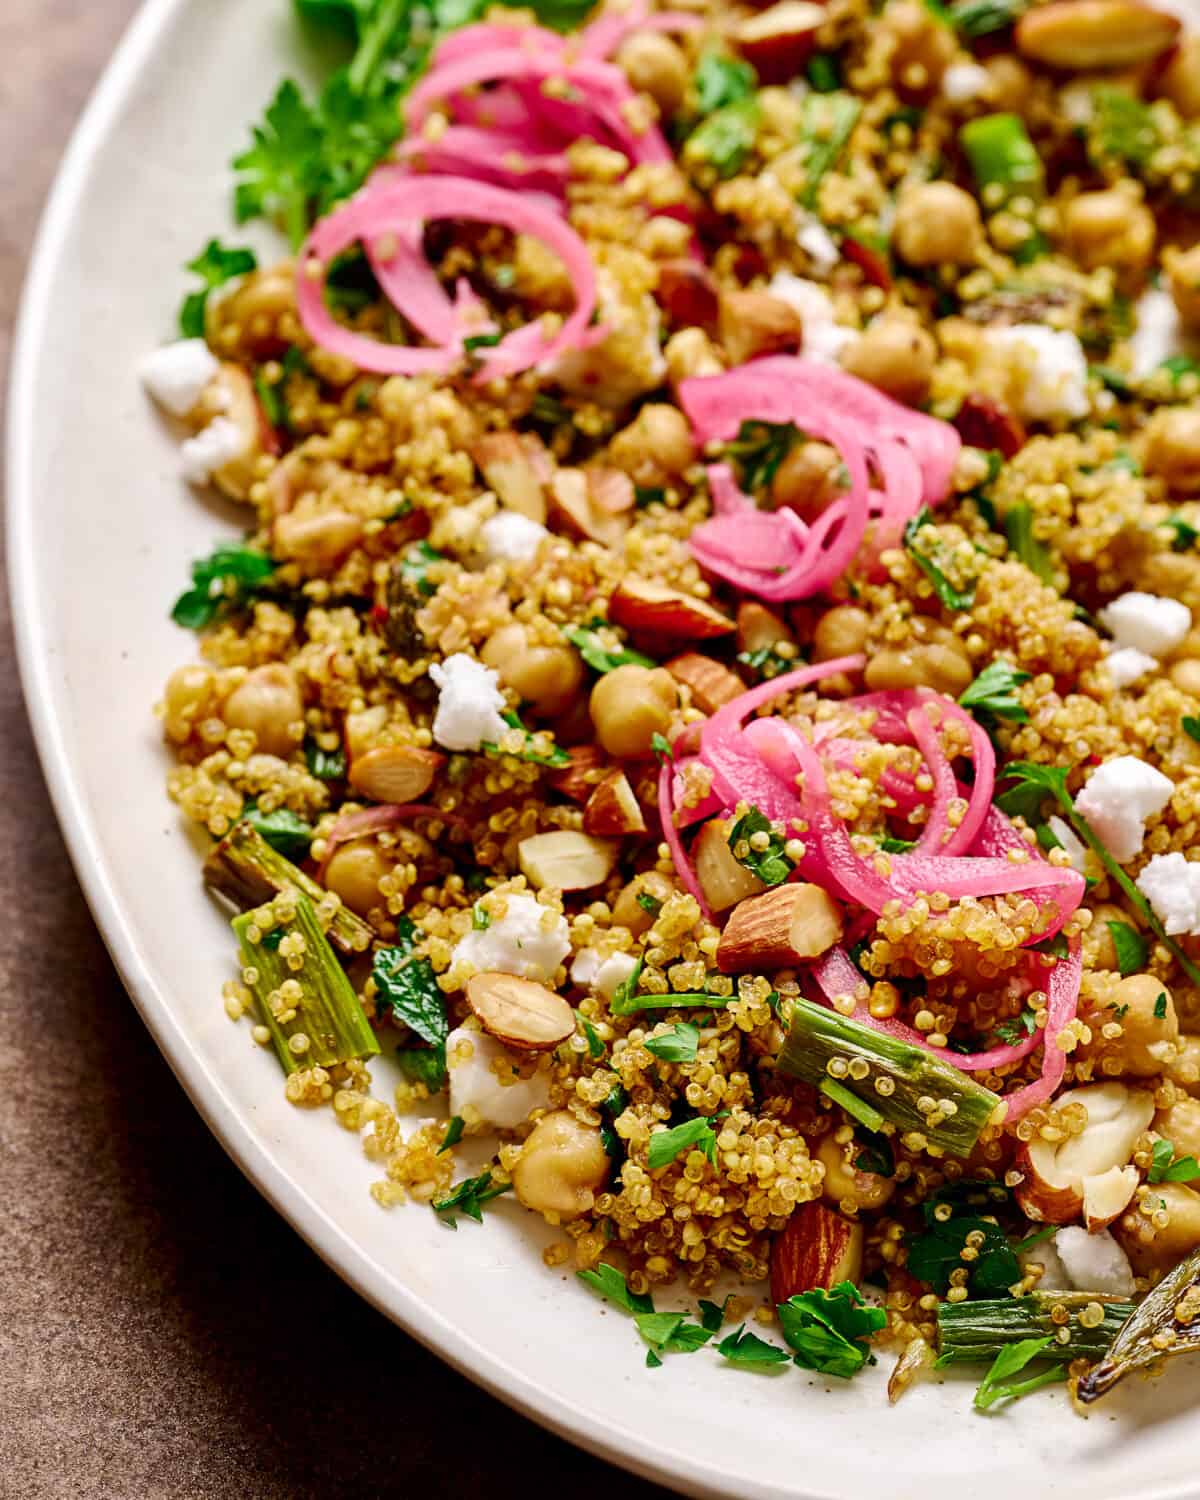
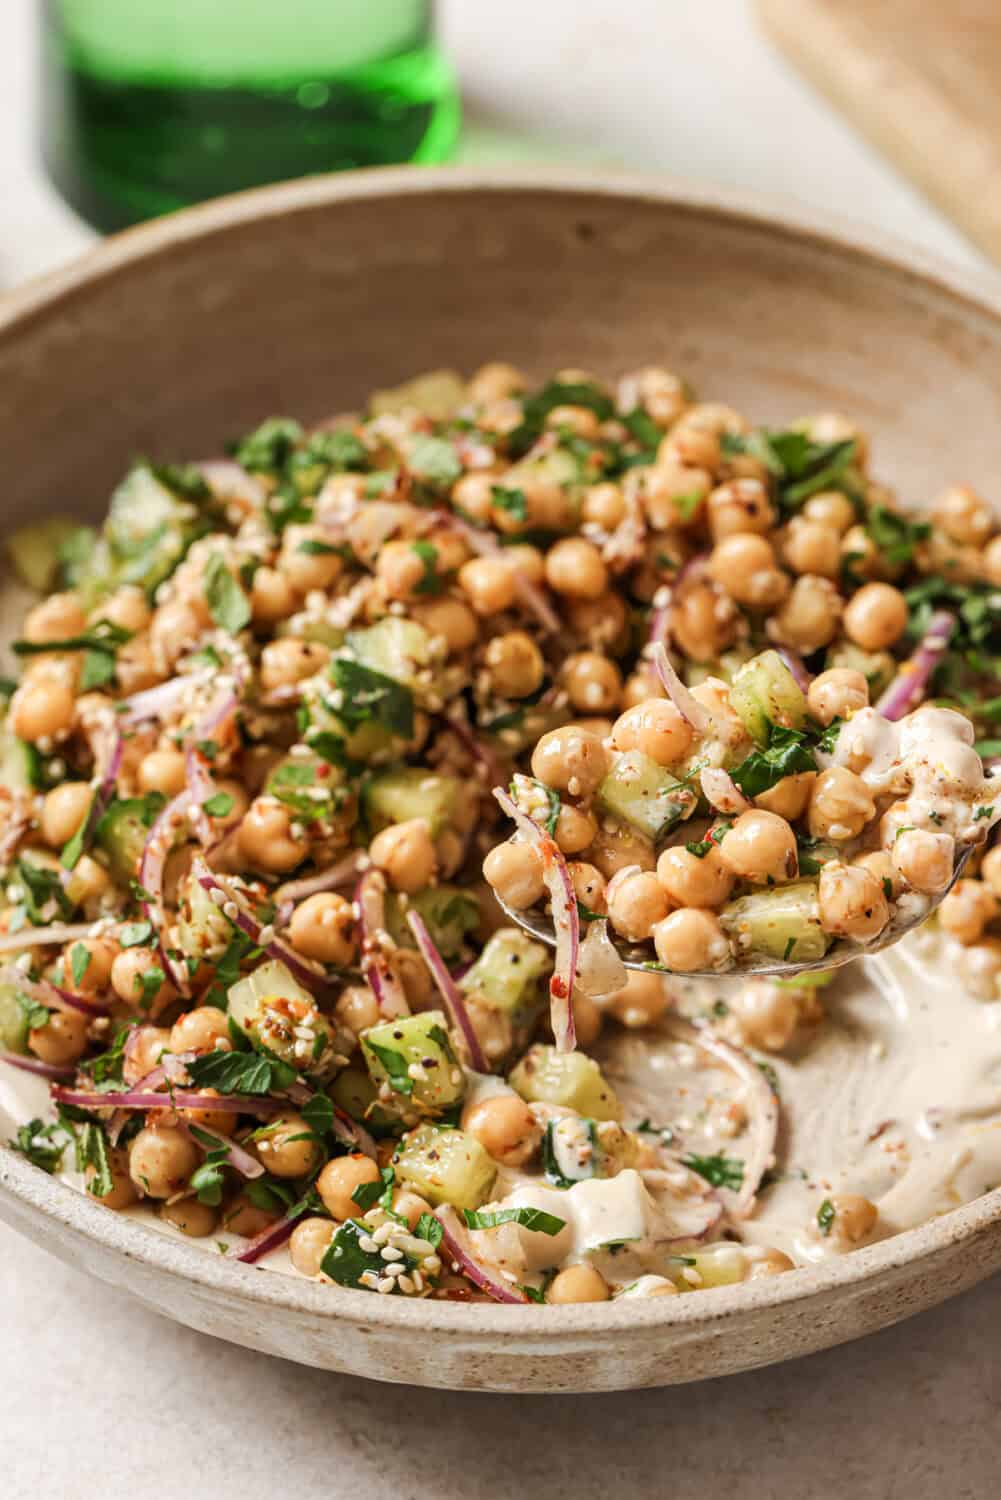
Technique #5: Marinated
This is a no-brainer, no-cook way to take canned chickpeas from fine to fabulous. Toss them in a vinaigrette, let them sit for a bit while you prep the rest of your meal, and come back to find them transformed into the highlight of your lunch.
My favorite marinated chickpea recipes
- They are the star of my Mediterranean Chickpea Salad
- … and a key component in The Best Quinoa Salad (a name I do not give lightly—this is legitimately the greatest quinoa salad you’ll ever have, period.)
- From Big Vegan Flavor: Marinated Chickpeas…it’s in the name! (p. 243)
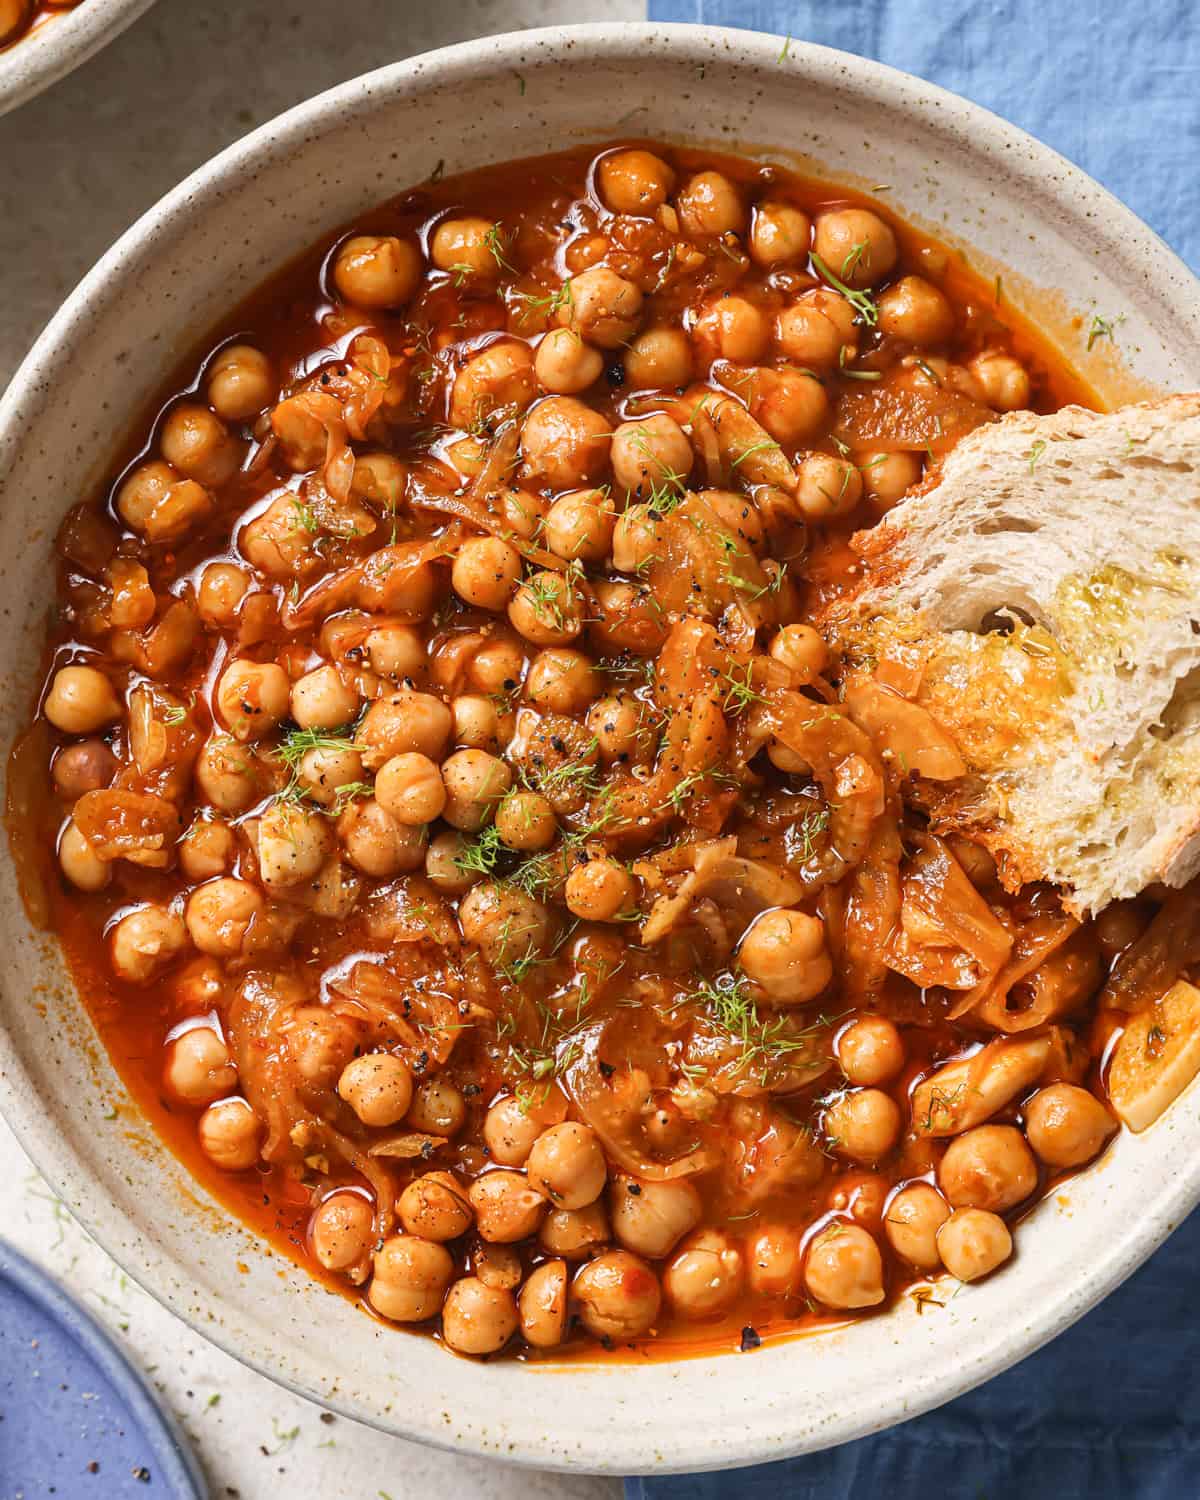
Technique #6: Braised
Don’t be intimidated—braising simply means cooking an ingredient in a small amount of a flavorful liquid, typically in a covered pot. In fact, it’s a pretty hands-off cooking method!
I love braising chickpeas, and once you try it, I’m confident you will too—they get delightfully tender, plump, and infused with so much flavor!
Braised chickpea recipes to try:
- Start with my Tomato-Fennel Braised Chickpeas—a fool-proof introduction to the technique that leaves you with a stunningly flavorful meal.
- Then try my hearty, crowd-pleasing Braised Indian Chickpea Stew.
- From Big Vegan Flavor: Braised Carrots & Chickpeas with Dill Gremolata (p. 419)
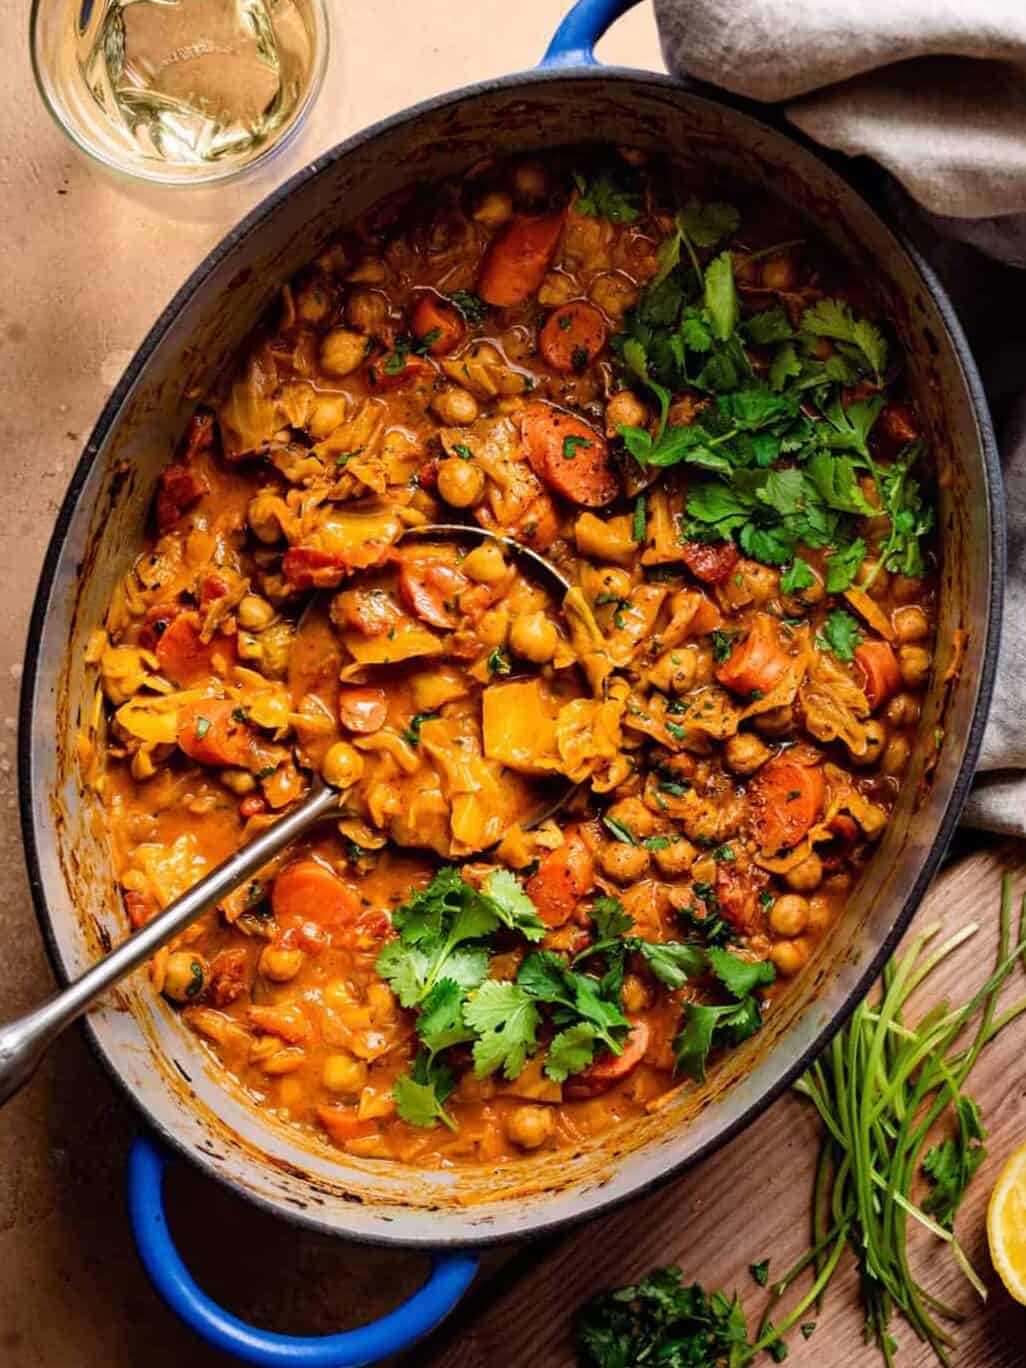
Technique #7: Simmered into soups, stews, and curries
Chickpeas are nutritional powerhouses, rich in both protein and fiber, and they soak up flavor gorgeously, making them an ideal main character in all sorts of simmerables: soups, stews, and curries!
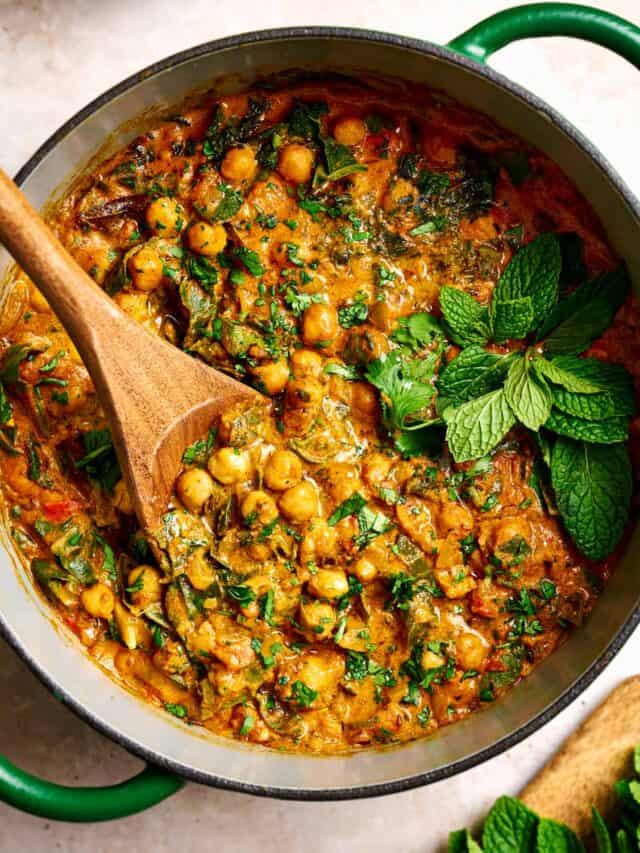
Recipes that feature simmered chickpeas:
- For a creamier spin on chana masala, try my Chickpea Curry!
- This Butternut Squash Curry with Chickpeas is packed with Thai-inspired flavors and never disappoints.
- There’s room in my heart for all soups… but my Lemon Chickpea Soup is a STANDOUT.
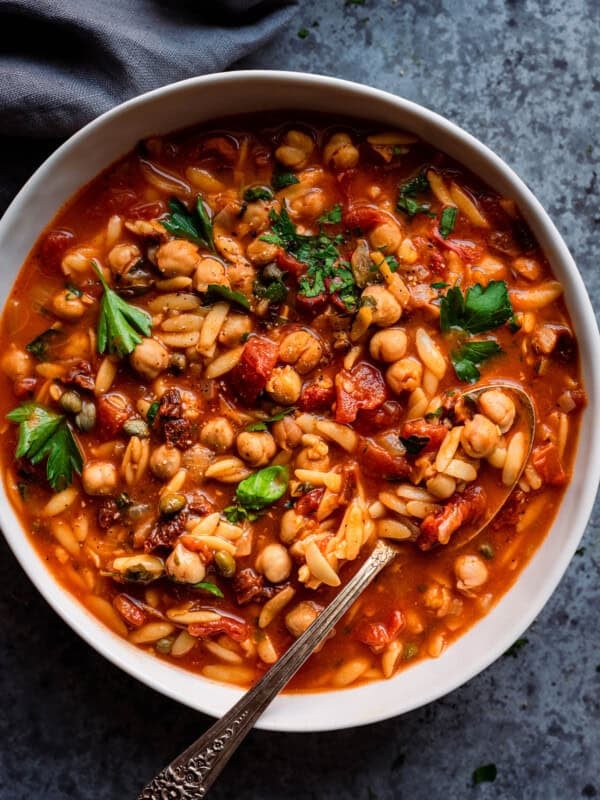
- This cozy, one-pot chickpea tagine is a Moroccan-inspired stew that will warm you up from the inside out.
- From Big Vegan Flavor: Creamy Chickpea Spinach Masala with Tadka (p. 483)

Bonus technique: Use the aquafaba!
That gloopy liquid in a can of chickpeas? That is precious gloop! It’s chickpea water, aka aquafaba, and it is a vegan baking hero.
When you lightly whip aquafaba, it gets foamy and becomes a fantastic egg substitute. It brings a welcome lightness and lift to vegan baked goods. When you whip it to stiff peaks, it can be used to make frostings and vegan meringues!
If you want to learn more about vegan egg substitutes and what to use when, check out this post.
Recipes that use aquafaba:
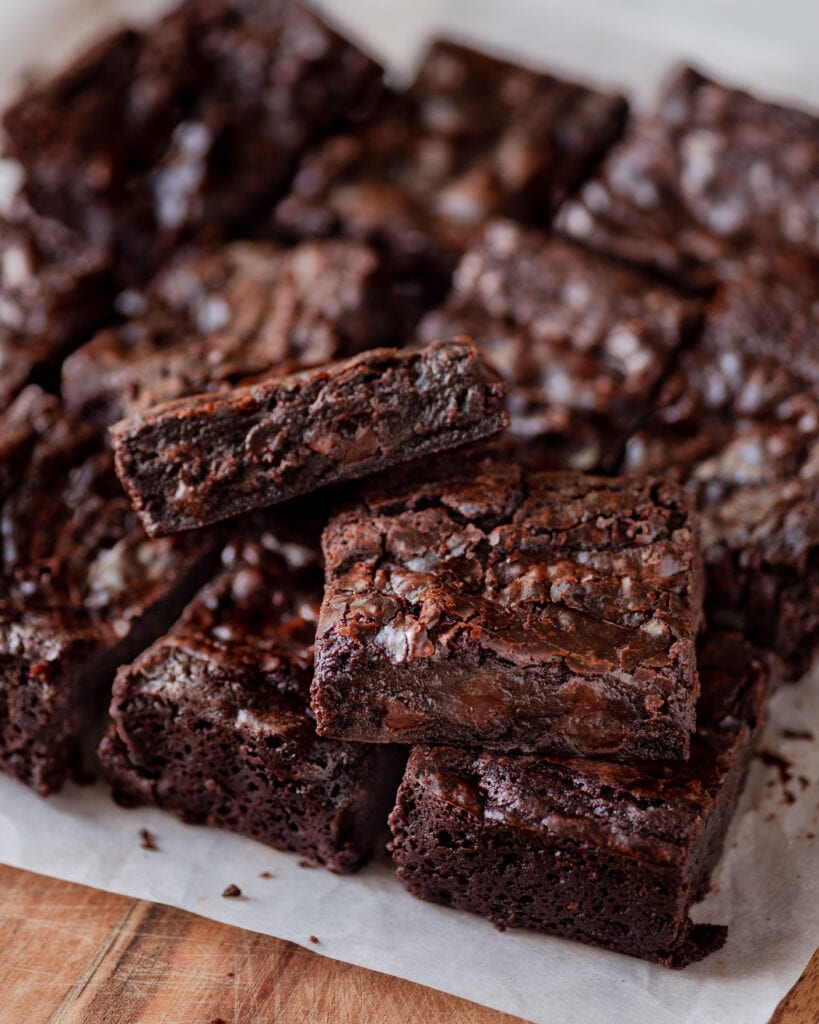
- Whipping aquafaba is one of the techniques that sets these vegan brownies apart from the rest (they were voted Best Vegan Brownie in a blind-taste test!).
- Try it in my light and fluffy banana bread and banana muffins!
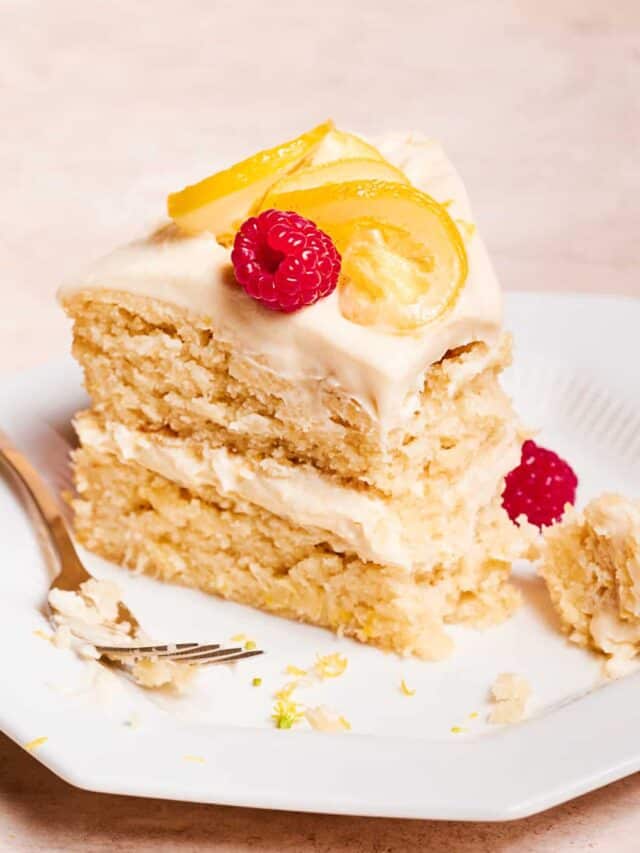
- Got a special occasion coming up? Save some aquafaba to make vegan lemon cake!
- In the fall/winter, make sure you’ve got aquafaba on hand to whip up the best-ever vegan pumpkin bread or a fluffy vegan gingerbread cake.
- From Big Vegan Flavor: Lemon Corn Cake with Lavender & Rosemary (p. 561); Celebration Cake with Chocolate Buttercream Frosting (p. 585)
Canned Chickpeas 101
Yes! Most people know this, but a certain someone in my life once asked me if she had to cook canned chickpeas (it was my sister…she never cooks), so I figured it was worth being extra clear: you can eat chickpeas straight out of the can!
With that said, I don’t recommend just eating them plain out of the can because, well, they’re quite boring. Instead, use one of the methods in this post to jazz them up.
Absolutely nothing—they’re the same thing. For the linguists in the crowd, here’s an article on why this little legume goes by two different names.
Canned chickpeas are cooked, whereas dried chickpeas are uncooked and, like other beans, cannot be eaten raw (they’re hard as pebbles).
While I love cooking beans from scratch when I have a bit more time, you can still make incredibly delicious meals with canned chickpeas—that’s what this post is all about!
Interested in how to cook dried chickpeas from scratch? Check out my post on cooking beans in the Instant Pot.
In a can of chickpeas, there are two components: the beans themselves and the bean liquid, aka the aquafaba. The aquafaba has many uses, so don’t let it drain down the sink! Instead, store it in a jar or airtight container in the fridge for up to 1 week and check out this section for ideas on how to use it.
Want to dive deeper? Check out this playlist of Really Good Chickpea Recipes on the RPL YouTube channel!

Introducing
Big Vegan Flavor
Techniques and 150 recipes to master vegan cooking.
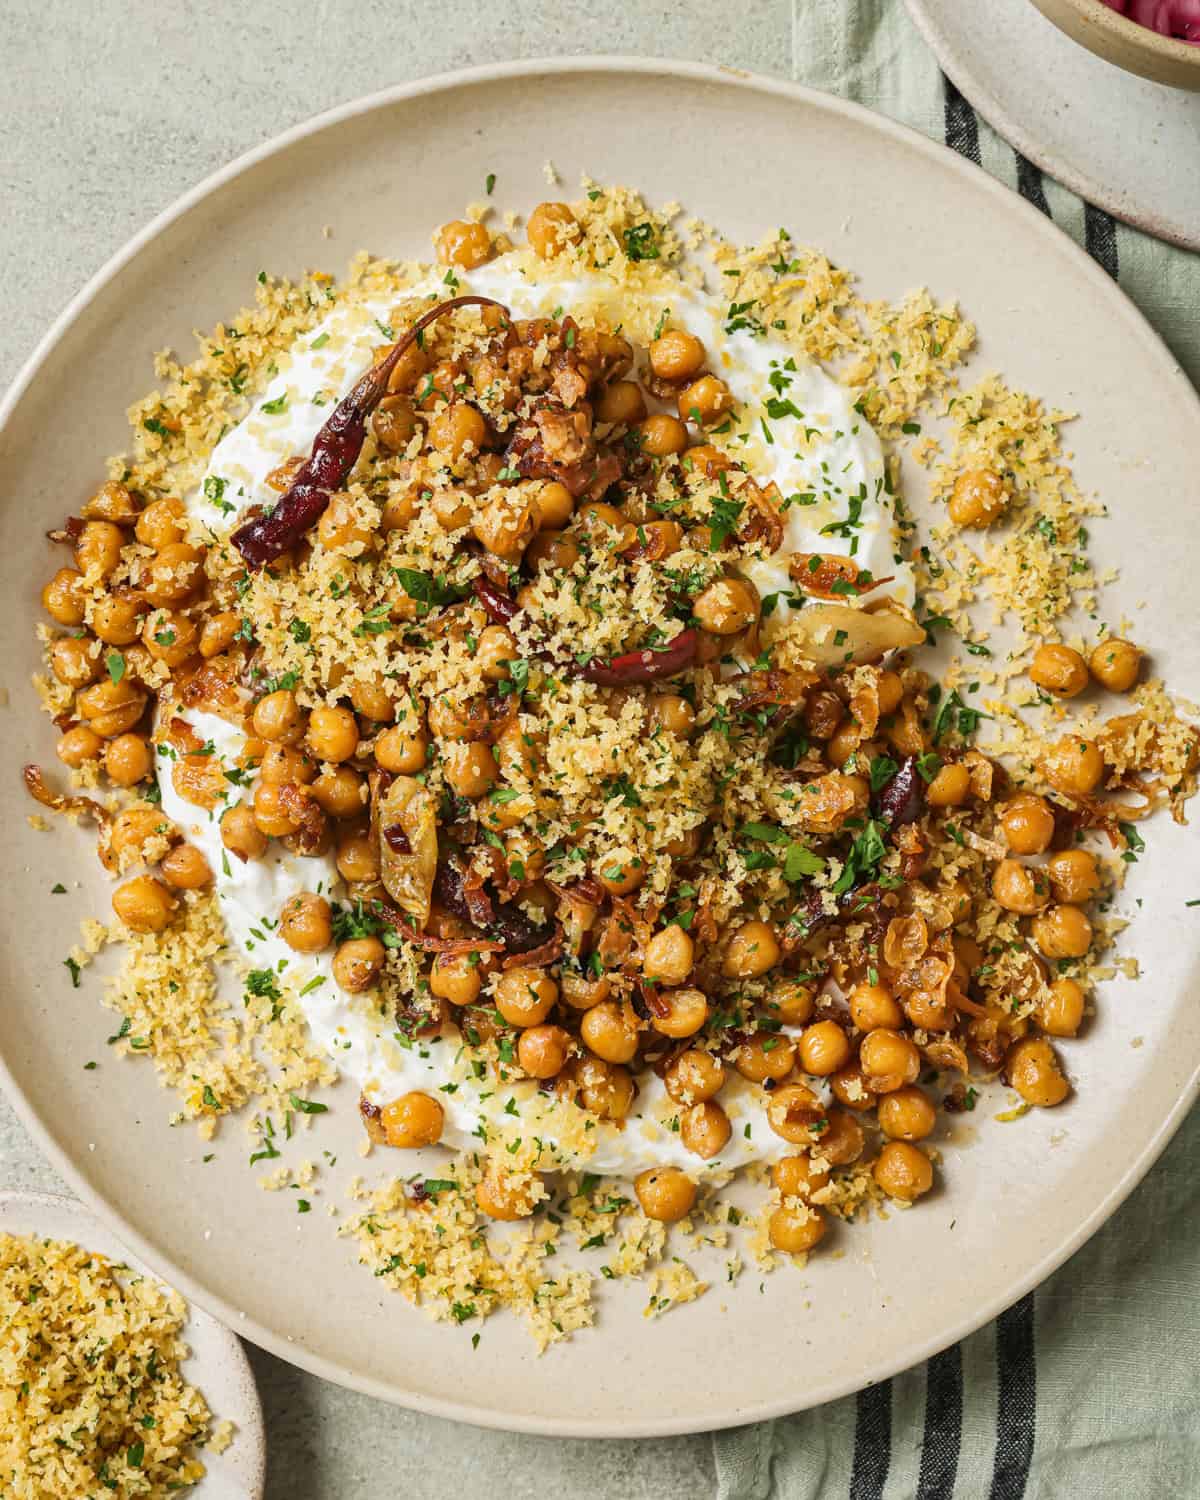
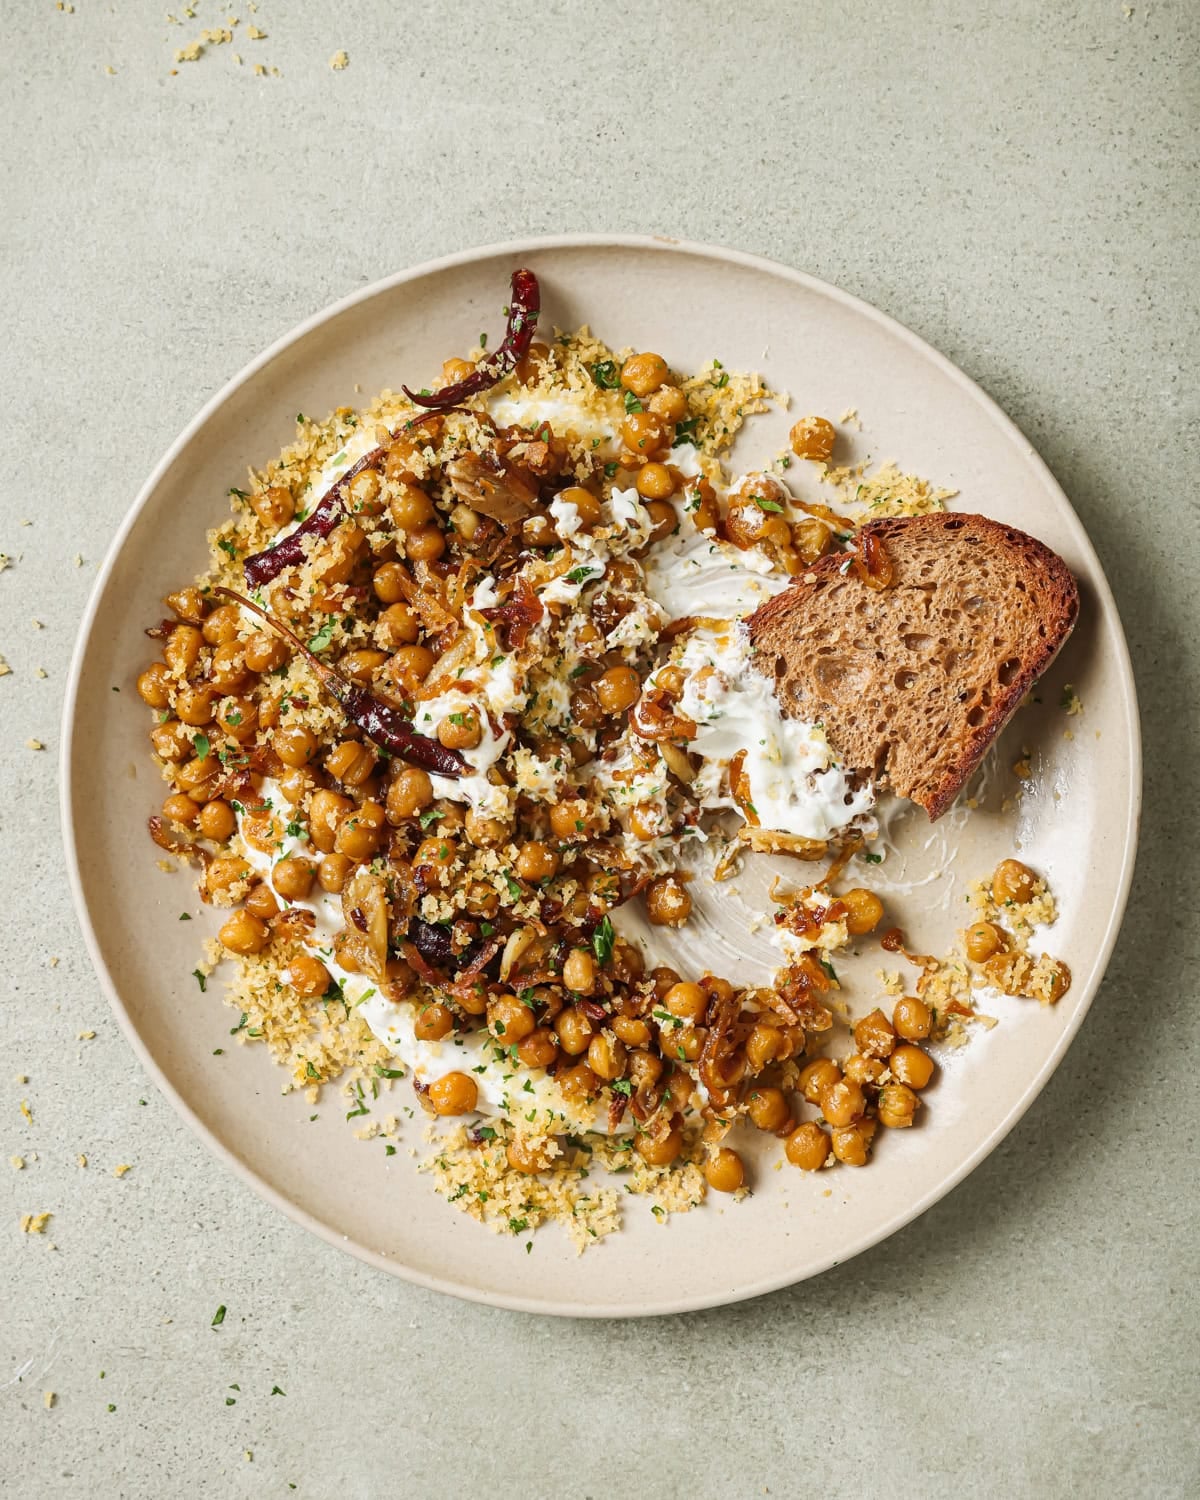
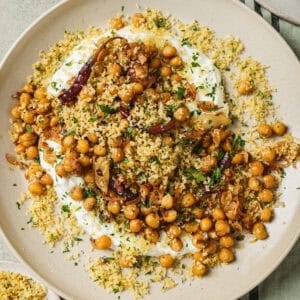
Fried Chickpeas with Yogurt Sauce & Herby Breadcrumbs
Ingredients
Yogurt Sauce and Gremolata Breadcrumbs
- 5 ounces (140g) creamy, plain-flavored vegan yogurt (see Note 1)
- 1 medium lemon, zested
- 1 clove garlic finely grated or crushed with a press
- Kosher salt and freshly cracked black pepper
- 1 tablespoon (14g) extra virgin olive oil
- ¼ cup (18g) panko breadcrumbs
- ½ cup (8g) flat-leaf parsley leaves and tender stems, finely chopped (see Note 2)
Fried Chickpeas
- 3 to 4 tablespoons (42 to 56g) extra virgin olive oil (see Note 3)
- 1 large shallot or 2 medium shallots, sliced into rings but not too thinly (see Note 4)
- Kosher salt and freshly cracked black pepper
- 1 (15 ounce / 425g) can chickpeas, drained and rinsed
- 2 to 3 dried red chili peppers, gently torn or snipped open with scissors
- 3 fat cloves garlic, smashed down on to remove peels and break up a bit
Instructions
- Make the Yogurt Sauce (see Note 4): In a bowl, combine the yogurt, 2 pinches of the lemon zest (reserve the remaining zest for the breadcrumbs), 2 teaspoons (10 mL) of lemon juice, the grated garlic, a pinch of salt, and black pepper to taste. Stir to combine, then taste and add more lemon juice or salt as desired (keeping in mind the other components will also have salt).Refrigerate the sauce until ready to use.
- Make Herby Breadcrumbs: Heat a medium frying pan over medium-low heat with 1 tablespoon (14g) olive oil. Once warm, add the panko. Stir occasionally, then more frequently as it starts to change color, for about 3 minutes, or until golden brown.Add the parsley and remaining lemon zest and stir almost constantly for 30 to 60 seconds, or until everything smells amazing and the parsley is still bright green.Transfer to a bowl or plate to stop cooking and sprinkle with a small pinch of salt and pepper.
- Prep the chickpeas: Drain the chickpeas and rinse. Shake the colander well, then transfer to a clean dish towel and gently pat dry.
- Cook the chickpeas: Wipe out the frying pan and return it to medium heat. Add 3 tablespoons (42g) olive oil and once shimmering, add the shallot with a pinch of salt. Stir occasionally until the edges just start to turn color, 2 ½ to 3 ½ minutes.Add the chickpeas and toss well in the oil. For extra flavor and crisping, drizzle the extra tablespoon of olive on top of the chickpeas. Season with ¾ teaspoon kosher salt and pepper to taste and toss again, then add in the dried chiles and garlic.
- Stir occasionally (or to avoid smashing the chickpeas, shake the pan back and forth occasionally), and cook for 8 to 11 minutes, or until chickpeas are golden brown and the shallot is deeply browned but not burnt.NOTE: If the shallot starts to darken too quickly, lower the heat a touch. If the chiles start to blacken, remove them.
- Assemble: Schmear the yogurt sauce across a serving plate or shallow bowl. Top with the fried chickpeas and sprinkle on the herby breadcrumbs. Dig in with spoons, or if desired, scoop up with pita or crusty bread.
Notes
- I recommend a creamy, tart-flavored coconut-based yogurt for the best results. We love Culina and CocoJune in the RPL kitchen. GT’s coconut yogurt and Coconut Cult are also great.
- Feel free to substitute the parsley with dill, basil, or cilantro.
- This is about 3 ½ oz or 100g of sliced shallots.
- If you want to use less oil, use a nonstick pan to prevent the chickpeas from sticking a lot. Keep in mind that the chickpeas and shallots won’t be *as* delicious and browned, and they may need to be stirred more often.
- If you feel comfortable multitasking, you can make the yogurt sauce while the chickpeas cook.
Nutrition
Nutrition information is automatically calculated, so should only be used as an approximation.


Made this for dinner and we couldn’t stop saying MMMMMM and scraped up every last bit. SO GOOD.
Love this recipe, it is now my rotation of must eats! 😋
Super easy to assemble and incredibly tasty. I chop the chiles for extra heat!
Thank you, thank you, thank you for sharing. I’m not vegan but you can certainly make converts this way.
Love your channel.
Thanks for the stellar review and for all of your support, Adee! 🙂
Very, very helpful !
We’re happy you found value in the blog post, Barbara!
How is this dish soooo good? Feels simple but wow the party in my mouth says otherwise. Those sweet shallots and crisp chickpeas, I could eat them EVERY DAY.
The awesome review, Julienne! 🙂 Also PS- love your name!
In your recipe for butternut squash chickpea tagine in your book you mention that it is best with saffron. I don’t see saffron in the ingredients or in the instructions. How do you use saffron in this dish – how much and when do you add it?
From Nisha: “I originally wrote the tagine recipe to include saffron and loved it, but then I retested it without saffron and it still tasted amazing, so I ended up omitting it from the recipe in an effort to keep the ingredients simple and inexpensive. But looks like I forgot to update the headnote as well 🙂
So you can make the recipe as is (without the saffron) or add just a pinch of saffron threads (about 1/4 tsp) along with the vegetable broth in step 5. Or, you can follow the method outlined in Step 1 for the Vegetable Paella recipe (Chapter 5), which uses saffron. This method involves adding the saffron threads to the vegetable broth and allowing it to soak while you prepare the other ingredients.”